The autofill feature is an important part of the Outlook program. AutoComplete allows you to enter an entire email while composing a message with just one email initial. This feature helps you save time and gives you quick access to emails. However, sometimes users may experience Outlook AutoComplete not working issue; this issue can be caused for various reasons, such as an outdated Office version or bugs with the Outlook program. In this guide, we will discuss methods to resolve Outlook Address AutoComplete not working issue on your Outlook.
How to Fix Outlook AutoComplete Not Working Correctly
There can be various reasons for Outlook Autofill email address not working on your Outlook account; some of the most common reasons are mentioned here.
- If you have disabled AutoComplete in Outlook, you won’t be able to use this feature.
- Bugs and glitches with the Outlook program can also cause this issue.
- Issues with a user profile can also cause AutoComplete feature not working issue.
- Corrupt Outlook Add-ins can also cause this issue.
- Corrupt Outlook data PST files can also cause this issue with Outlook.
- Outdated or corrupt Microsoft Office updates can also cause this issue.
- A corrupt RoamCache folder can also cause this issue with Outlook.
Following are the troubleshooting methods to solve this problem.
Method 1: Enable AutoComplete in Outlook
If you have not enabled the AutoComplete feature in Outlook, you will not be able to use this feature. You will have to manually enable AutoComplete to resolve this Outlook address AutoComplete not working issue. You can follow these simple steps to enable AutoComplete in Outlook.
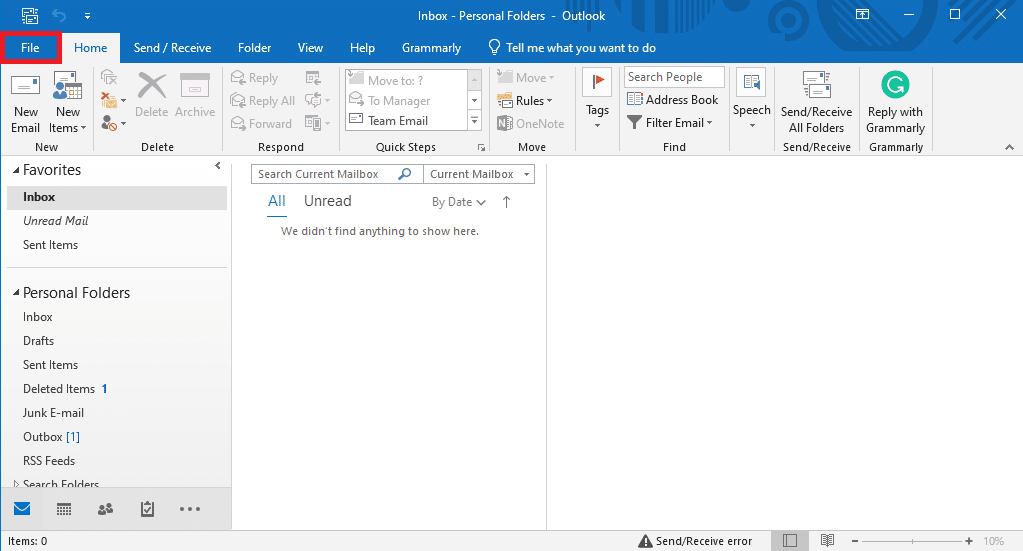
1. לפתוח Outlook, ונווט אל שלח from the top-left side of the window.
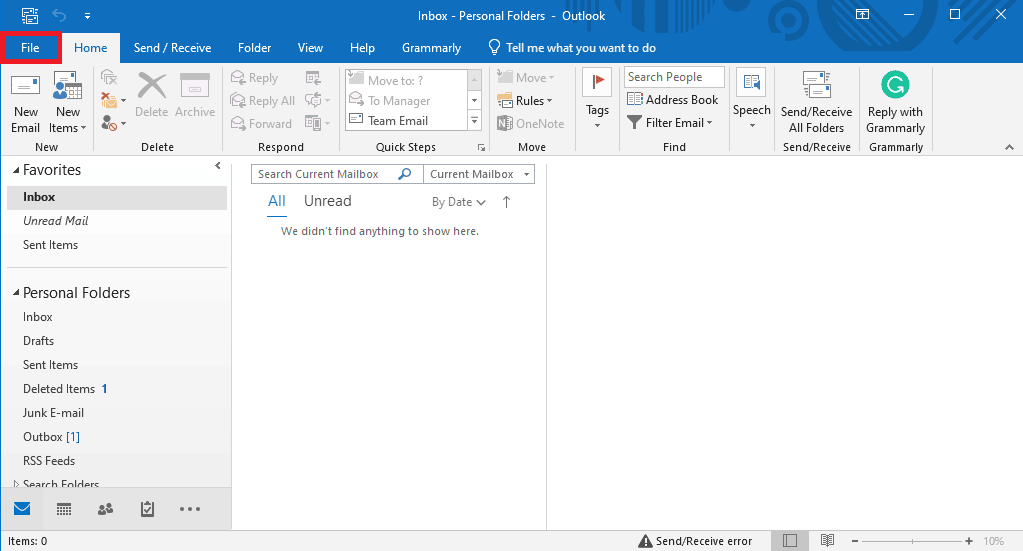
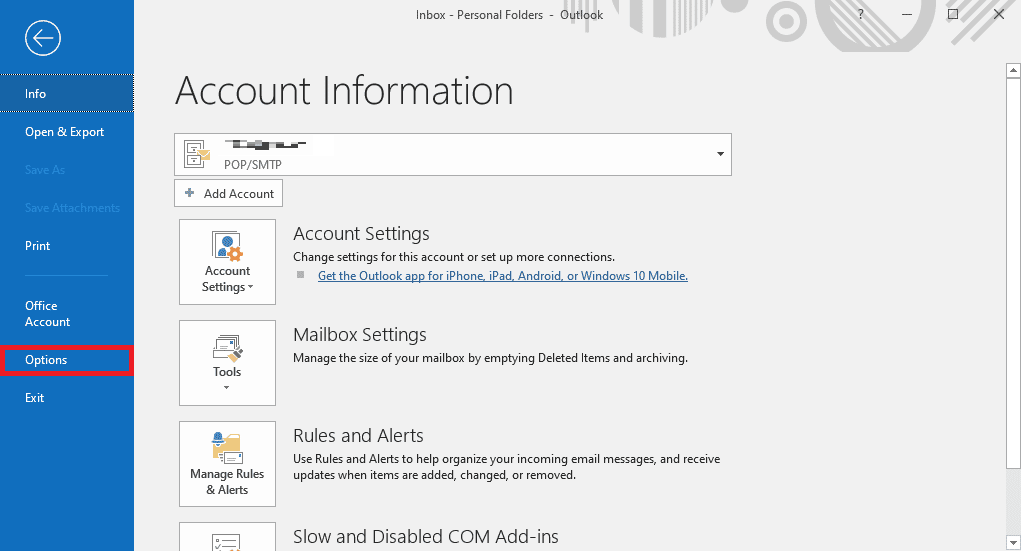
2. Here, from the left-side panel, click on אפשרויות.

3. נווט אל Mail TAB.
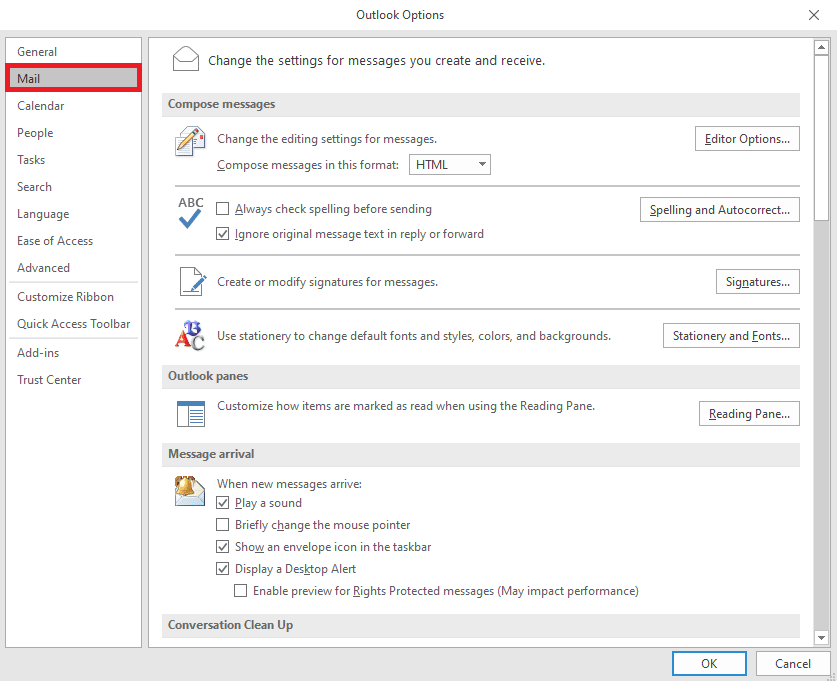
4. Scroll down here, and locate לשלוח הודעות אפשרויות.
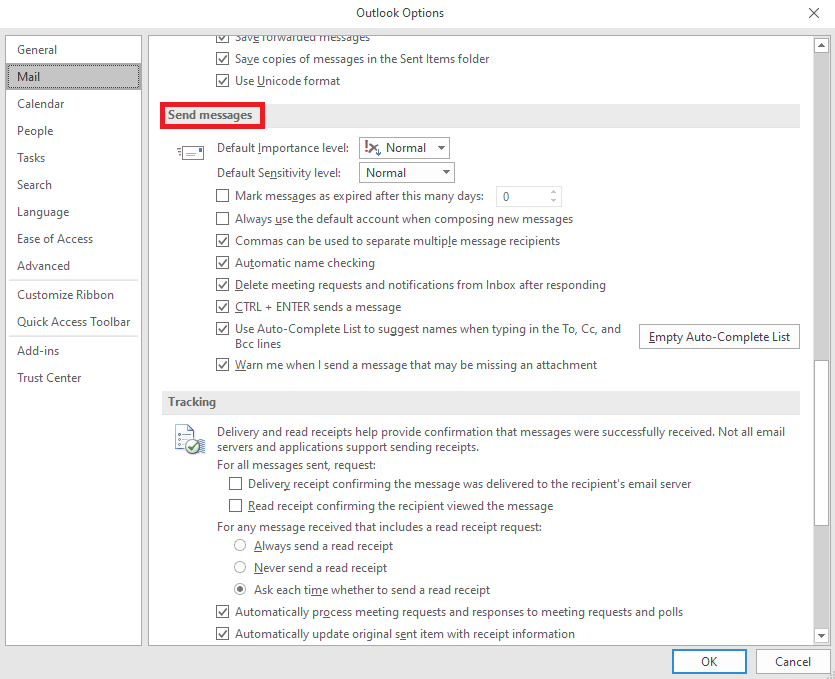
5. כאן, בדוק את Use Auto-Complete List to suggest names when typing in the To, Cc, and Bcc lines.
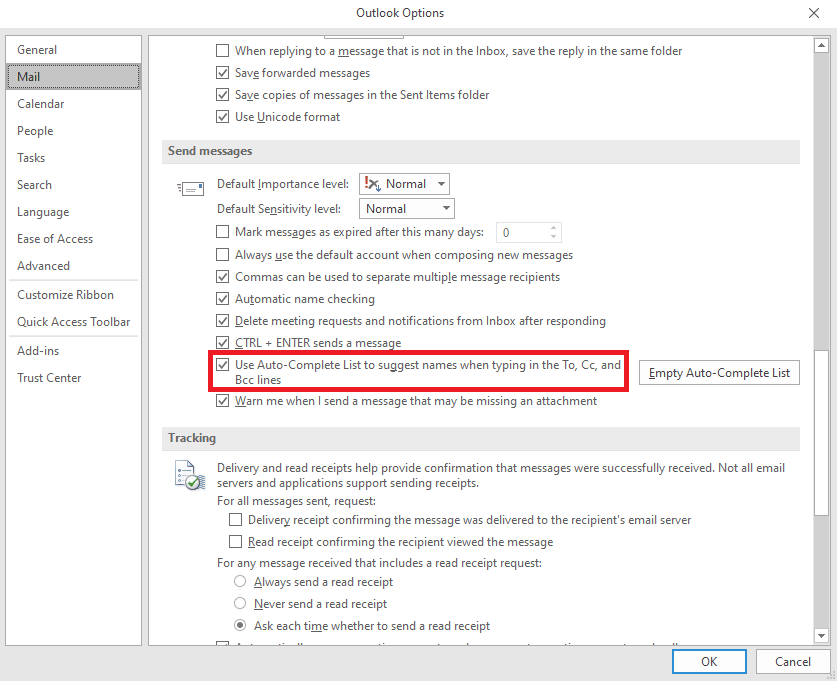
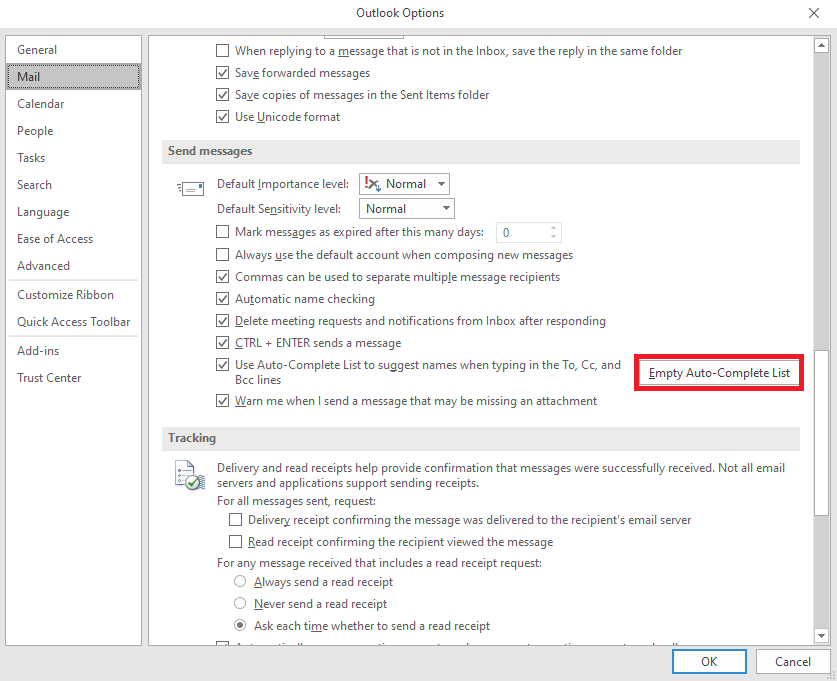
6. If you find this option already checked, click on the רשימת השלמה אוטומטית ריקה.
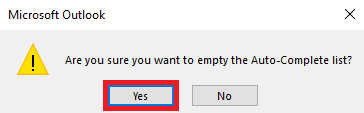
7. קליק יש כדי לאשר את הפעולה.
Method 2: Run Outlook in Safe Mode
Running programs in safe mode can help you avoid various issues. You can use safe mode to make the troubleshooting process easier and avoid hardware issues. You can follow these simple steps to run Outlook in safe mode to resolve Outlook autocomplete not working issue.
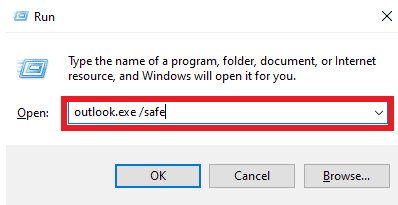
1. ללחוץ מקשי Windows + R לפתוח את Run dialog box.
2. In the Run dialog box, type Outlook.exe/safe ולחץ על מקש Enter.
גם לקרוא: תקן את Outlook מנסה להתחבר לשרת ב-Windows 10
Method 3: Run Outlook with Different Profile
Make sure the Outlook issue is happening only in your Outlook program and not on the entire system. You can try to log in to Outlook with a different profile. You can also add a different account on Outlook.
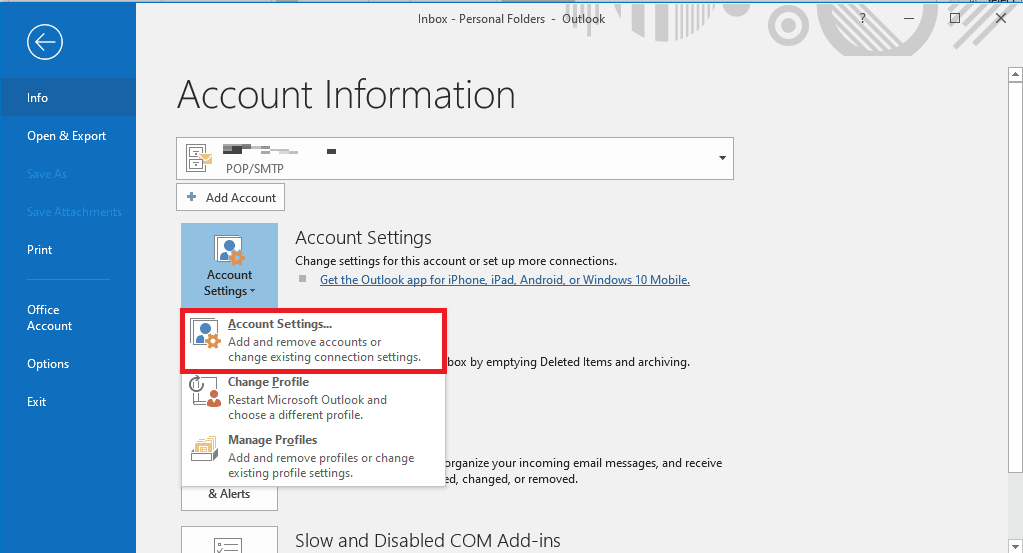
1. לפתוח Outlook on your computer, and click on שלח.
2. בתוך ה פרטי חשבון page, locate and click on הוסף חשבון.
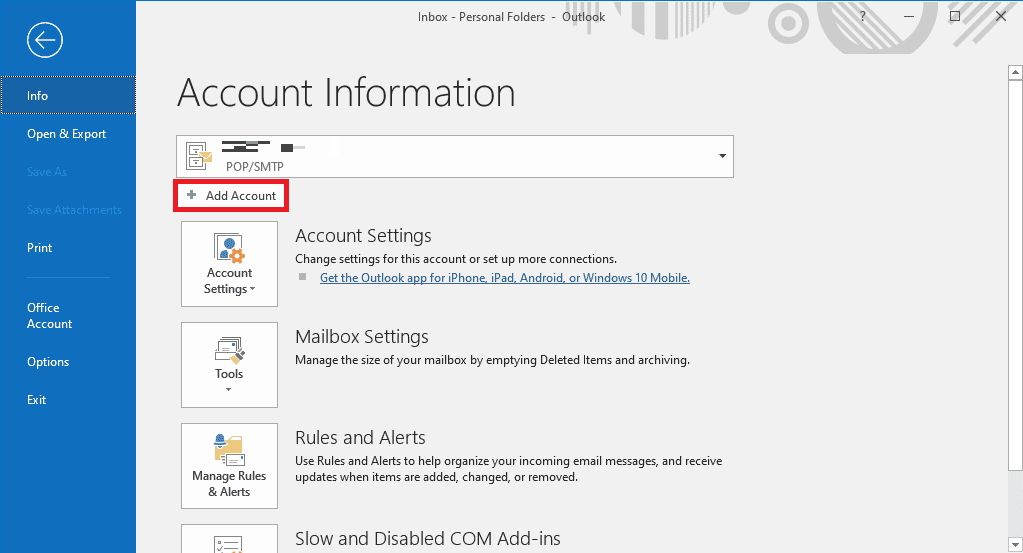
3. הזן אישורי כניסה for a different account.
שיטה 4: השבת את תוספות Outlook
Sometimes, the issue can be caused by an Outlook Add-in. Ad-ins can be very useful and help you organize your Outlook application. However, if Outlook Add-ins get corrupt for some reason, you may experience various issues, such as AutoComplete not working on Outlook. To resolve these issues, you can try to disable Outlook Add-ins. You can follow these simple steps to disable Outlook Add-ins.
1. לפתוח Outlook on your computer and navigate to שלח.

2. Here, from the left-side panel, click on אפשרויות.
3. Now, locate and navigate to תוספות.

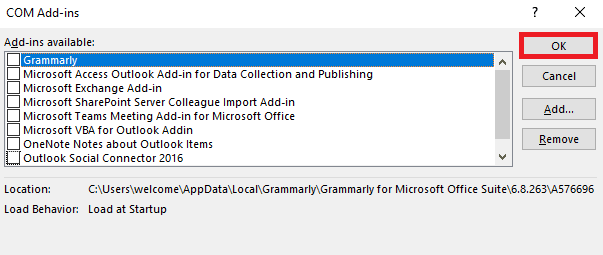
4. Here, locate the ניהול הנפתח ובחר תוספות COM.
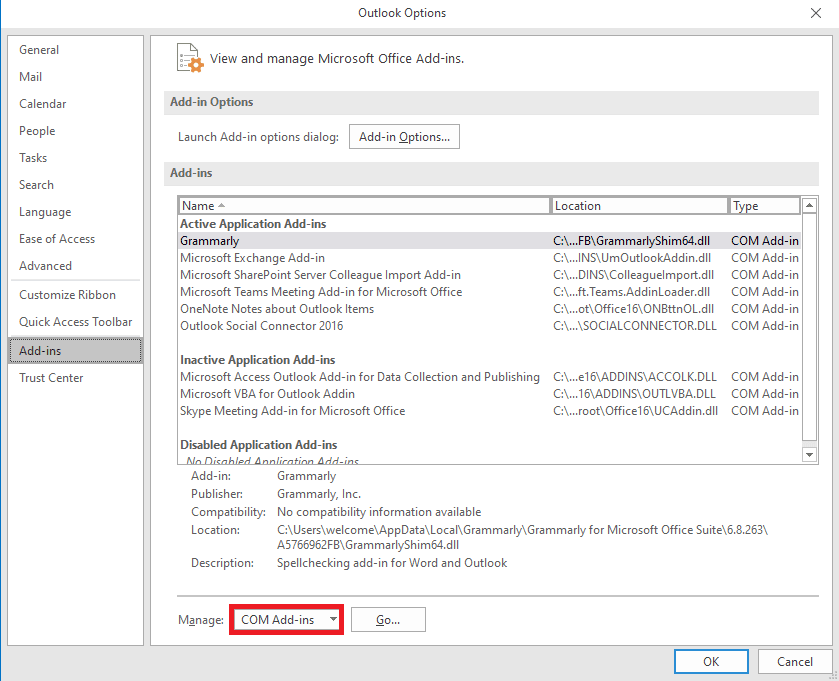
5. כעת, לחץ Go.
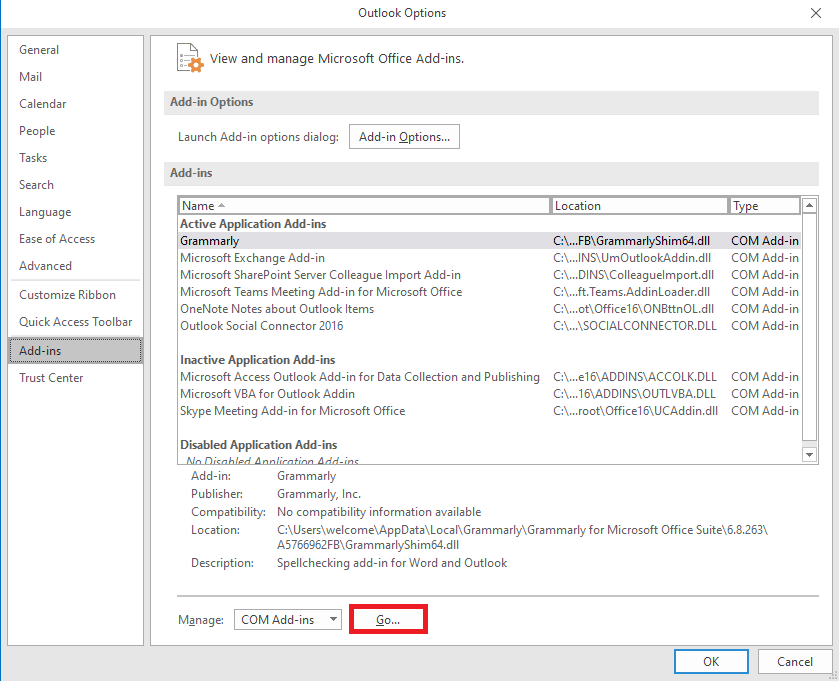
6. הנה, בטל all the Add-ins and then click OK.
Method 5: Repair Outlook Data PST File
PST, or Personal Table Storage, files store Outlook emails; if this file is corrupt or causing issues, you may experience Outlook address AutoComplete not working error. You can use the Inbox repair tool to help you figure out a solution for this issue. Follow these simple steps to execute this method.
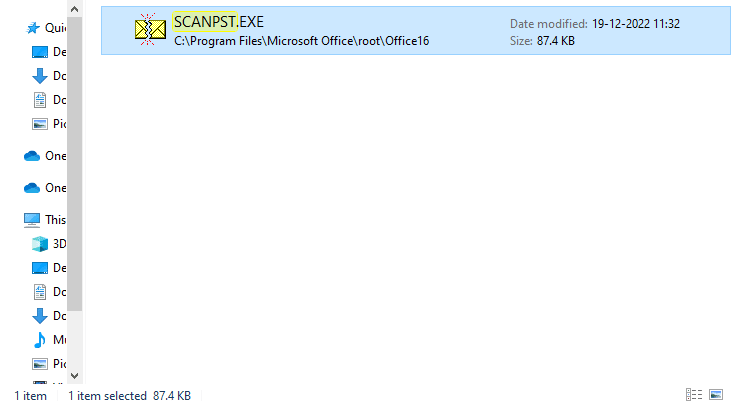
1. פתח את ה Outlook תיקיה על סייר קבצים.
C: תוכניות קבצים
2. לחץ על SCANPST.EXE קובץ.
3. כעת, בחר את לְדַפדֵף option to locate the file you wish to scan.
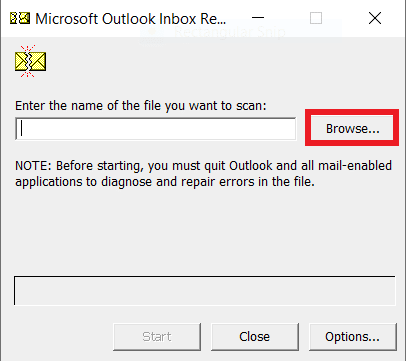
4. In the new dialog box, click on הַתחָלָה.
5. לבסוף, לחץ תיקון to fix all the PST file issues.
If this method does not fix Outlook autocomplete not working issue, move on to the next method.
גם לקרוא: כיצד לשחזר טיוטה שנמחקה ב- Outlook 365
Method 6: Update Microsoft Office
If the Microsoft Office program is experiencing bugs and glitches, updating it can help you fix the issues. An outdated Microsoft Office can make your Outlook vulnerable to bugs and other application issues. Therefore, manually updating Office is a great way to fix not just the AutoComplete issues but also other underlying issues with the Microsoft Office package. You can follow these simple steps to update Microsoft Office from the Microsoft Outlook program.
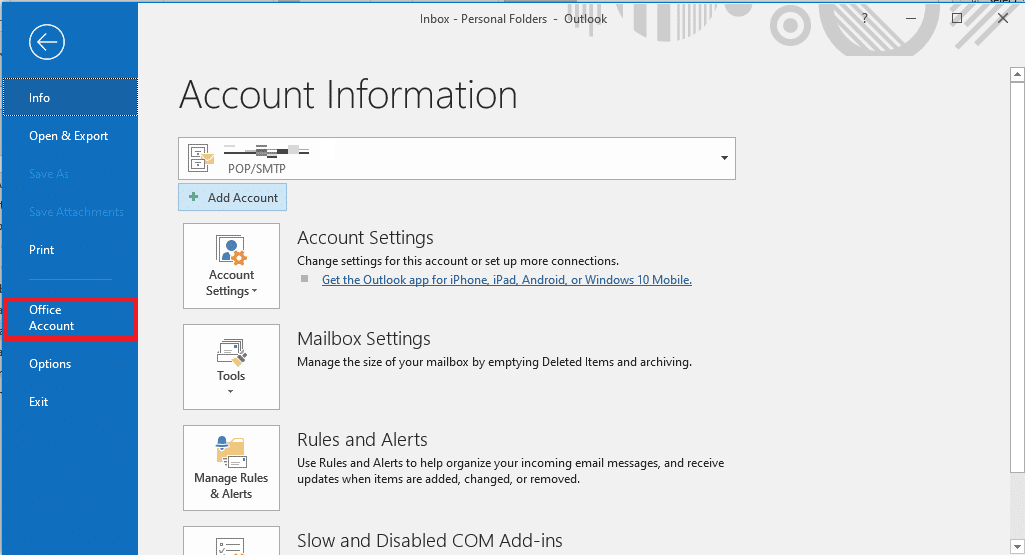
1. לפתוח Outlook on your computer and navigate to קבצים.

2. From the left-side panel, click on the חשבון משרד.
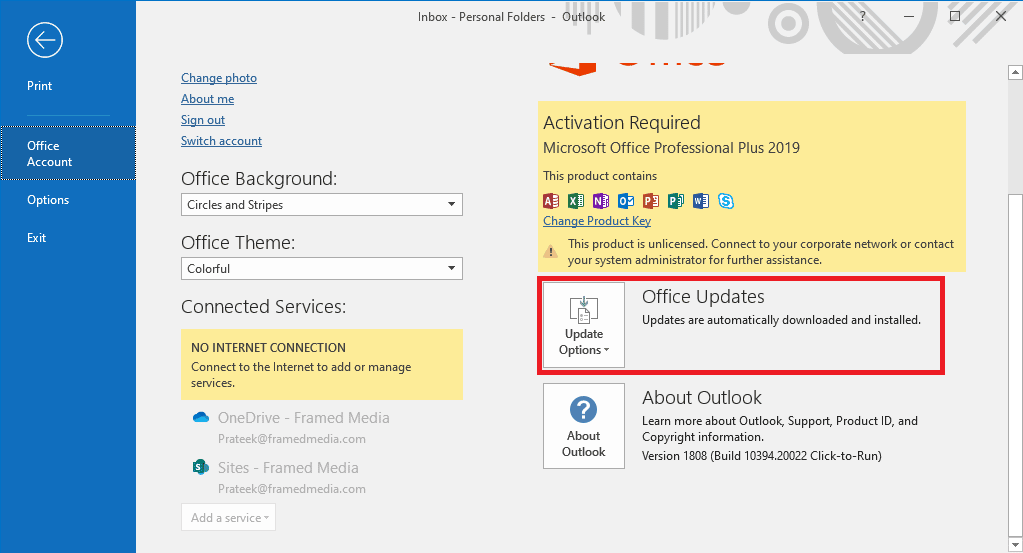
3. Here, locate Office עדכונים.
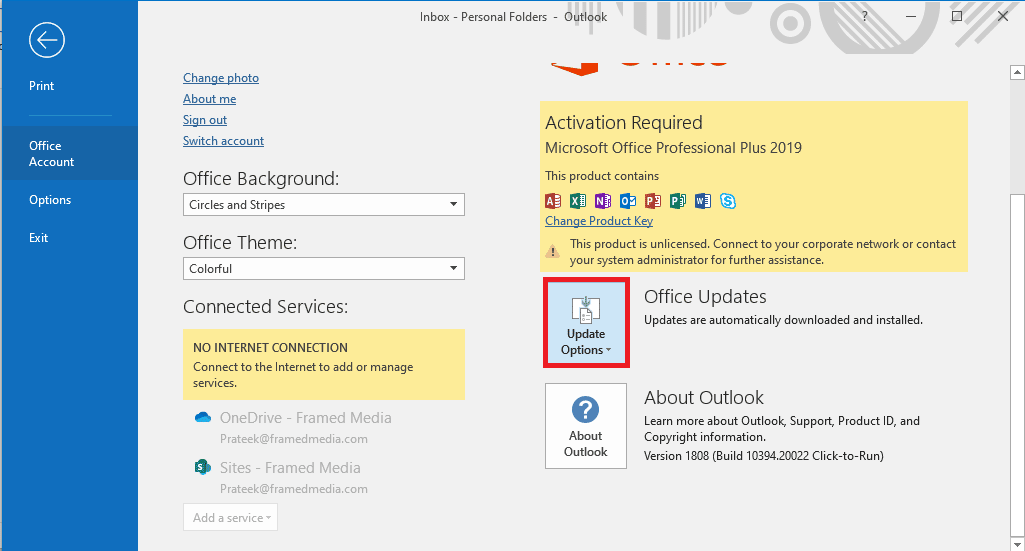
4. כעת, לחץ על אפשרויות עדכון להפיל.
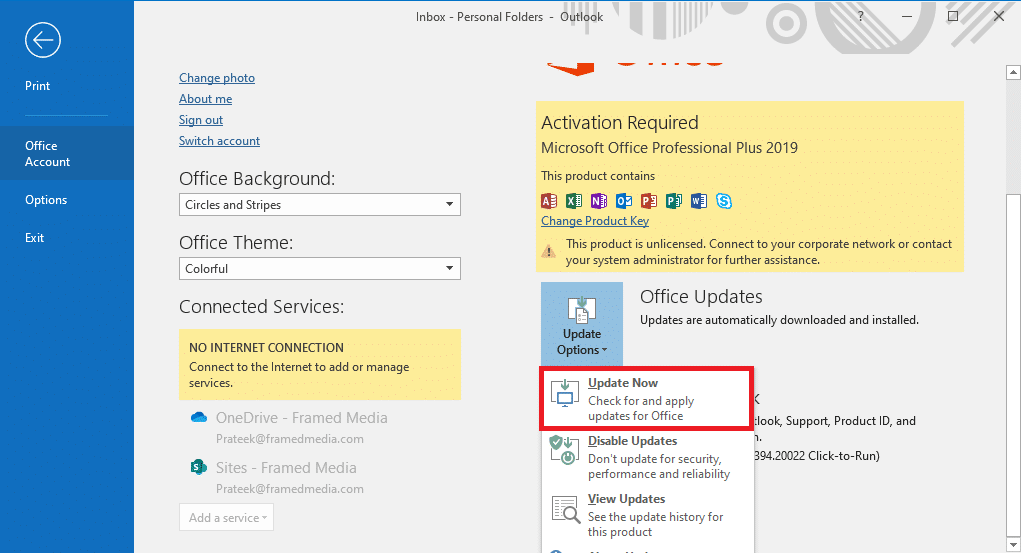
5. לבסוף, לחץ על עדכן כעת.
If this method does not fix Outlook Autofill email address not working issue, move on to the next method.
Method 7: Rename RoamCache Folder
If you have enabled the AutoComplete feature but still have the issue, it can be due to a corrupt RoamCache folder. You can fix this issue by resetting the AutoComplete folder. You will only need to rename the RoamCache folder in the directory. You can rename the RoamCache folder for both, a home email account and a Microsoft Exchange server account.
Option I: Rename RoamCache Folder for Home Email Account
You can follow these simple steps to rename the RoamCache folder in a home email account.
1. לפתוח Outlook on your computer and navigate to שלח.

2. כעת, לחץ על הגדרות חשבון drop-down and then select הגדרות חשבון.

3. Here, select your Home Email Account.
4. סְגוֹר the Outlook program.
5. ללחוץ Windows + E keys כדי לפתוח סייר קבצים.
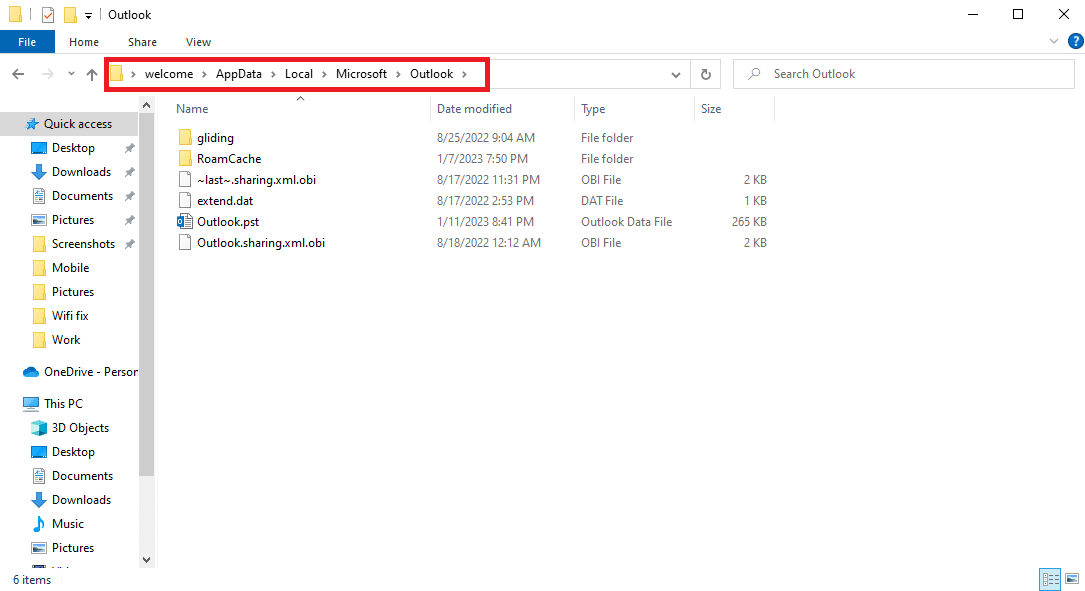
6. נווט למיקום הבא נתיב.
%LOCALAPPDATA%MicrosoftOutlook

7. Here, locate the RoamCache תיקייה.

8. Rename this folder with a new name.
גם לקרוא: תקן שמנהל מערכת Microsoft Exchange חסם גרסה זו של Outlook
Option II: Rename RoamCache Folder for Microsoft Exchange Server Account
You can follow these simple steps to rename the RoamCache folder in a Microsoft Exchange server account to solve Outlook address AutoComplete not working issue.
1. לפתוח Outlook on your computer and navigate to שלח.

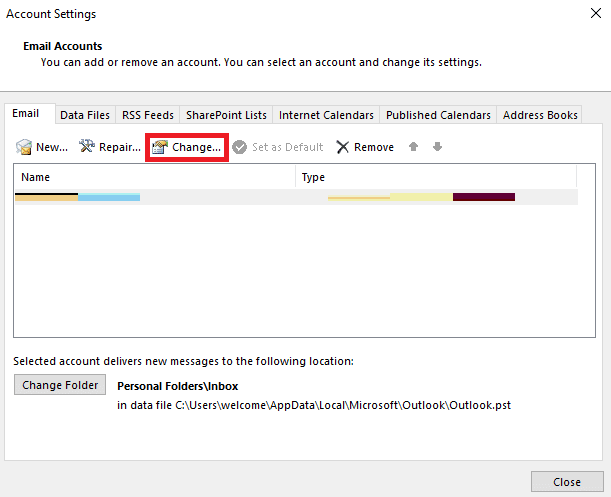
2. כעת, לחץ על הגדרות חשבון drop-down and then select הגדרות חשבון.
3. Here, select your Microsoft Exchange Server Account.
4. כעת לחץ על שינוי.
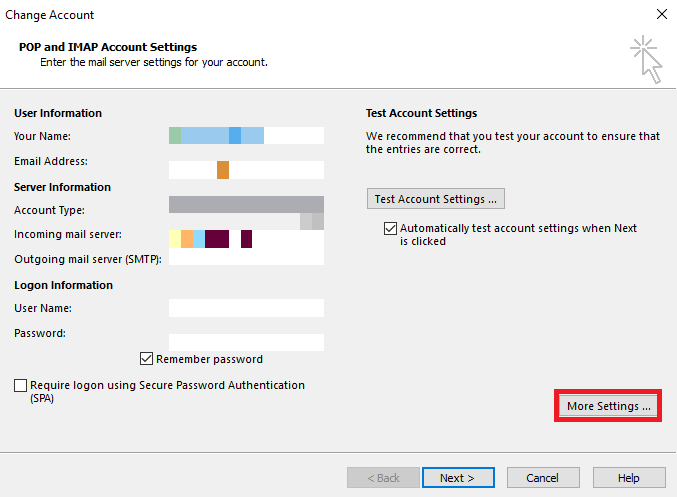
5. כאן, לחץ על הגדרות נוספות.
6. נווט אל מתקדם TAB.
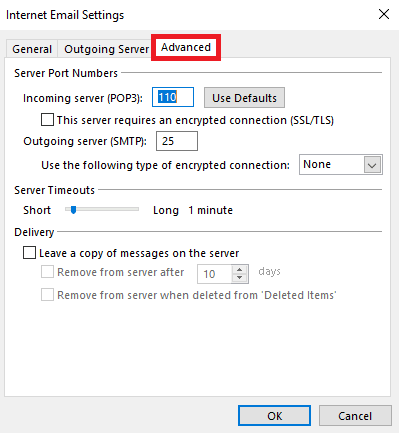
7. Unselect the השתמש במצב Exchange Cached תיבה ובחר הַבָּא.
8. לבסוף, לחץ סיום.
9. סגור את Outlook תכנית.
10. ללחוץ Windows + E keys בו זמנית לפתוח סייר קבצים.
11. בתוך ה סייר קבצים, navigate to the following location נתיב.
%LOCALAPPDATA%MicrosoftOutlook
12. Here, locate the RoamCache תיקייה.
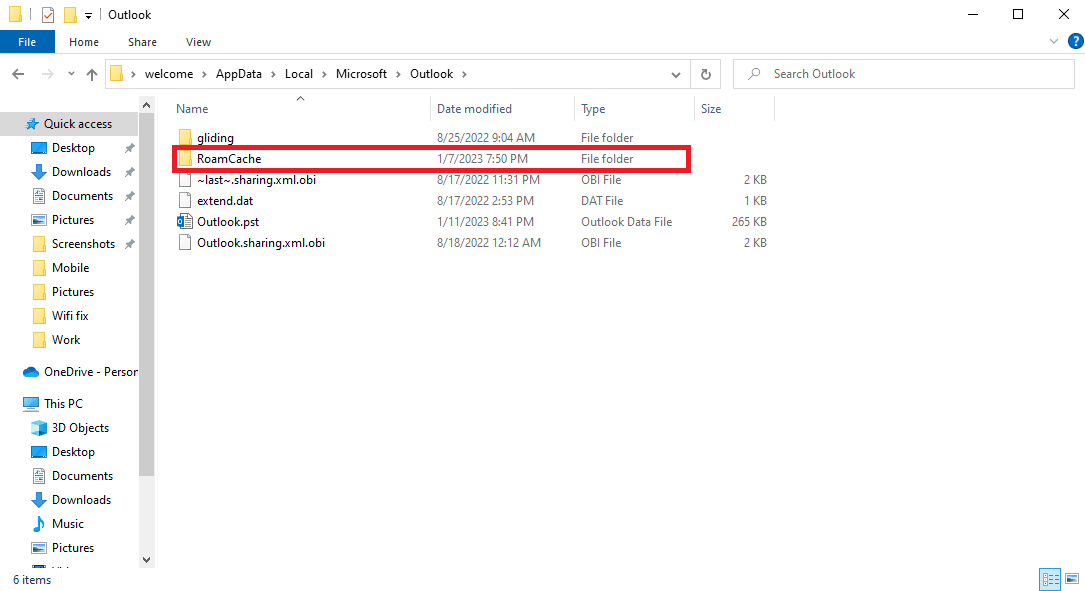
13. Rename this folder to old_RoamCache.
14. כעת, פתח את Outlook program and follow the steps mentioned above to navigate to the השתמש במצב Exchange Cached אוֹפְּצִיָה.
15. בדוק את ה Use Cached Exchange Mode.
16. לבסוף, הפעל מחדש את אפליקציית Outlook.
מומלץ:
אנו מקווים שהמדריך הזה עזר לך והצלחת לתקן Outlook AutoComplete not working נושא. ספר לנו איזו שיטה עבדה עבורך. אם יש לך הצעות או שאלות עבורנו, אנא הודע לנו בקטע ההערות.

