Windows To Go is a feature available to users that allows them to install and run Windows OS, like Windows 8 or 10, from a USB or external hard drive. Several computer users who use operating systems like Linux and macOS prefer to use this feature to install the desired Windows OS on the external USB drive rather than installing it on the internal drives. And third-party solutions like Rufus also allow users to create Windows To Go USB Drive using Rufus application. So, in this article, you will learn how to use Rufus to create Windows To Go USB Drive with detailed steps.

How to Use Rufus to Create Windows-To-Go USB Drive
With the help of the Windows To Go feature, users can save the internal storage space as the OS runs from the USB or external HDD.
The Windows To Go feature מערכות הפעלה נתמכות הם:
- Windows 8 & 8.1 Enterprise Edition
- Windows 10 Education Edition
- מהדורת Windows 10 Enterprise
- Windows 10 Professional Edition
עם זאת, Windows-To-Go feature is no longer available in Windows 10 (2004 and later versions). So, if you want to use this feature, you have to use third-party software, such as רופוס. Due to the unavailability of the built-in Windows To Go feature, Rufus Windows To Go USB Drive has now become one of the most popular software to use.
להלן דרישות מערכת to create Windows To Go USB Drive using Rufus:
- Rufus Software
- Windows 8, Windows 8.1, or Windows 10 (all editions) required to use Rufus to create Windows To Go USB Drive
- 32 GB or more USB or HDD size required
- Supported and compatible Windows OS ISO image is required
So, after reading and understanding the requirements, let us head for the main focus of this article: How to use Rufus to create Windows To Go USB Drive? Follow the upcoming steps to perform the same on your system.
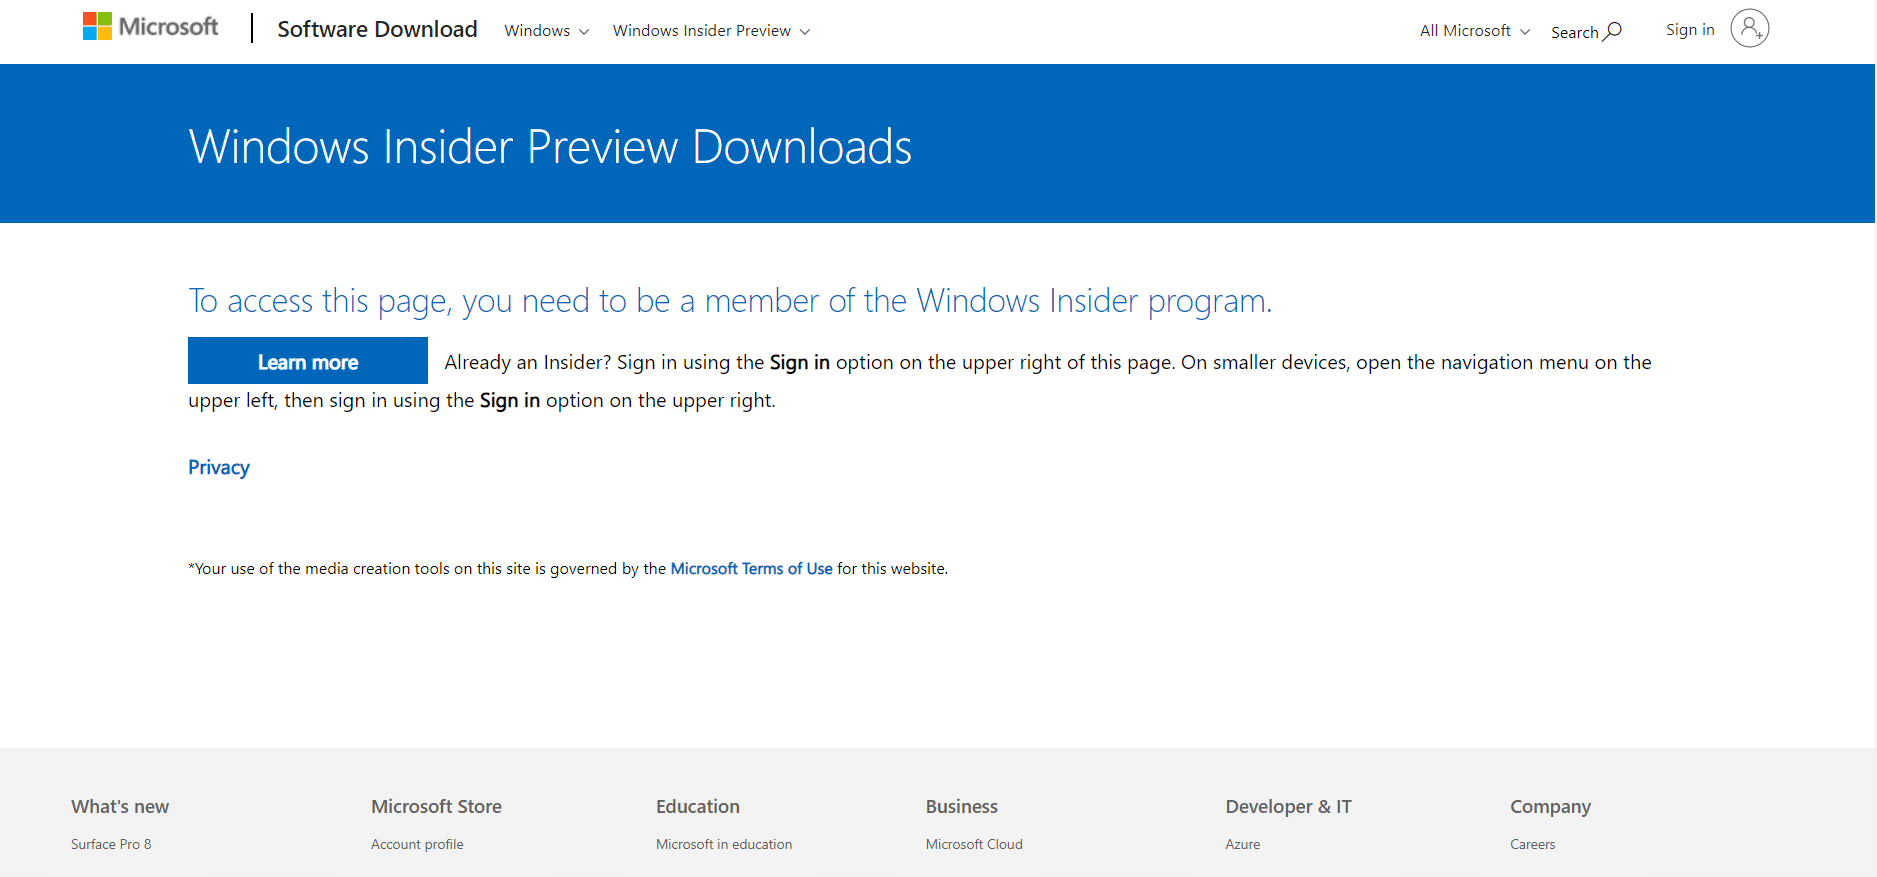
1. Begin by downloading the Windows Insider Preview ISO באמצעות שלך חשבון Microsoft.
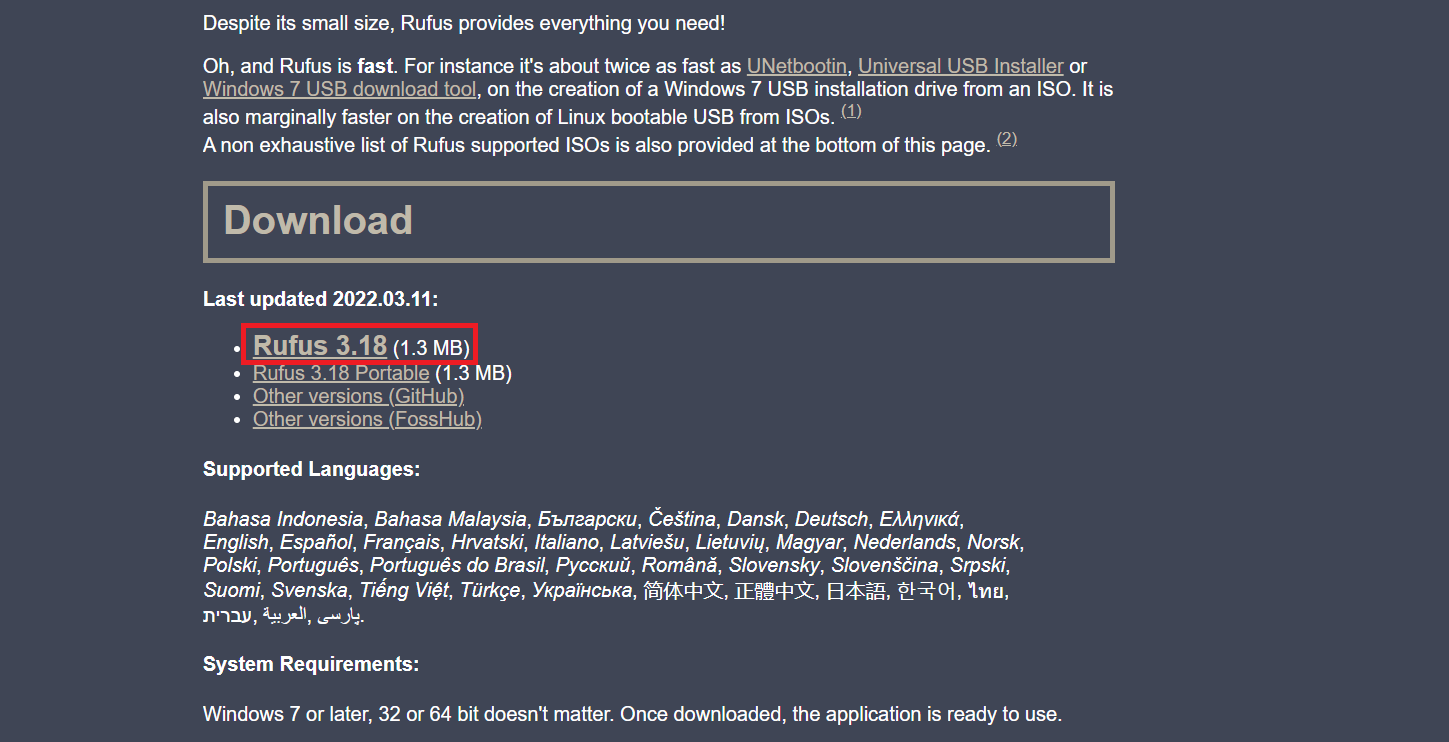
2. הורד והתקן את תוכנת רופוס on your Windows 10 PC as shown.
הערה: Download the latest, normal רופוס version and not the portable one.
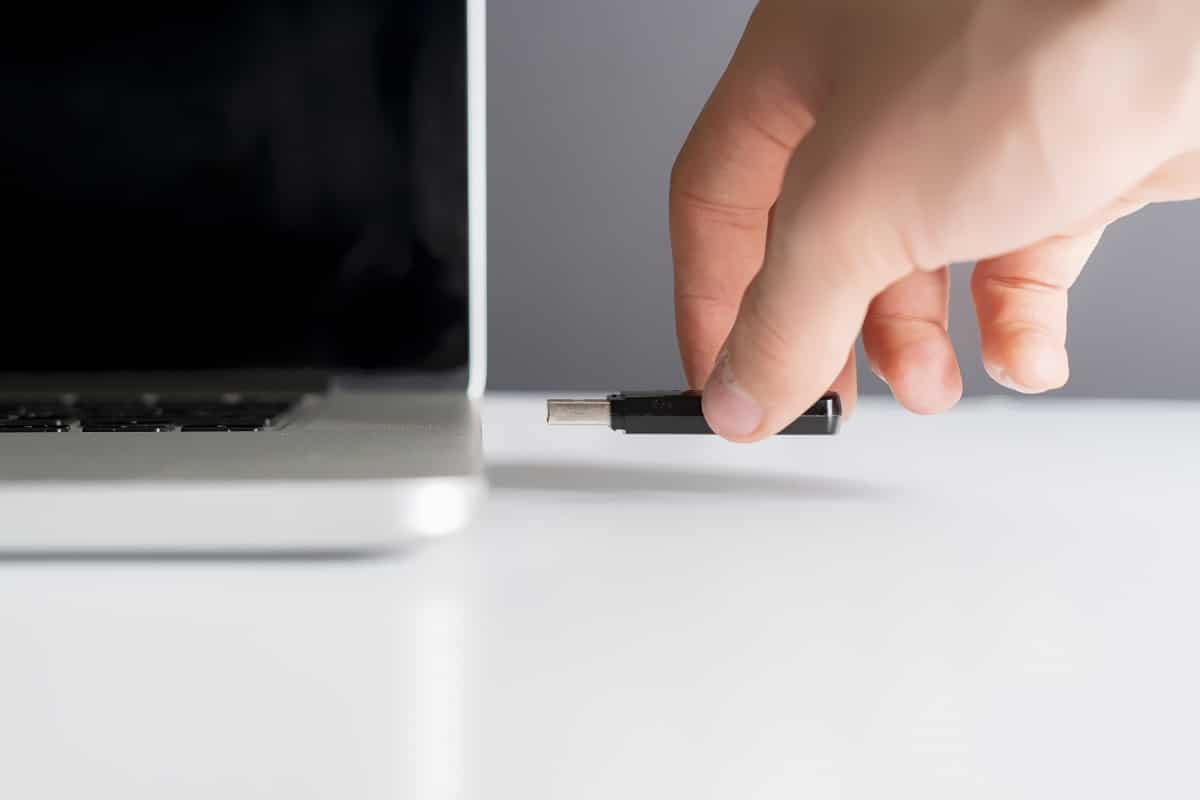
3. חבר את שלך דיסק און קי to use it as Windows To Go USB drive.
הערות: Back up all the data from this drive as data will get erased automatically during this process.
גם לקרוא: Fix Windows 10 Won’t Boot From USB
4. הפעל את תוכנת רופוס on your Windows 10/8/8.1 system.
5. בחר desired USB drive תחת מכשיר בתפריט הנפתח.
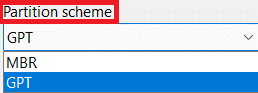
6. כעת, מתחת ל- Partition scheme and target system type, בחר את MBR partition scheme for BIOS or UEFI computer option from the list. This way, the newly created USB drive will work with older BIOS and newer UEFI systems.
7. בחר NTFS תחת מערכת קבצים.
הערות: FAT32 cannot be used due to its size limitation.
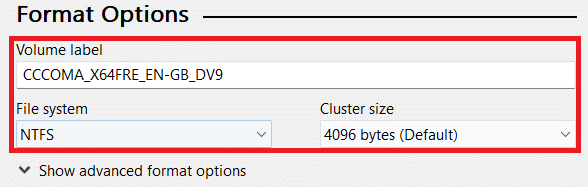
8. בחר 4096 בתים (ברירת מחדל) תחת גודל אשכול.
9. New volume label field gets changed automatically during the rescue disk creation process.
10. תַחַת אפשרויות פורמט, check the boxes for these options:
- פורמט מהיר
- Create a bootable disk using: לְדַפדֵף ובחר שלך תמונת ISO מהמערכת שלך.
- After selecting the bootable תמונת ISO, unselect the default Standard Windows installation option and select the other Windows To Go אוֹפְּצִיָה.
- Create extended label and icon files

11. כעת, לחץ על הַתחָלָה option from the bottom to start the bootable disk creation process.
12. The pop-up message will appear stating: WARNING: ALL DATA ON DEVICE [USB drive name] WILL BE DESTROYED. לחץ OK to continue the process further.
13. Now, Rufus software will take almost 1.5-2 hours of time to prepare the Windows To Go drive for you. So, keep this software running in the background.
14. Once the process is finished, you will see the מוכן message in the Rufus software status bar.
15. לבסוף, הפעל מחדש את המחשב האישי שלך to test and run the newly installed Windows To Go drive.
This way, you have completed the Rufus Windows To Go USB Drive process successfully.
מומלץ:
So now, you have understood how to use Rufus to create Windows To Go USB Drive with the detailed steps to your aid. You can let us know any queries about this article and suggestions about any other topic you want us to make an article on. Drop them in the comments section below for us to know.

