Windows Spotlight displays images of different sceneries and animals on your computer’s lock screen every 24 hours. You’ll also find educational information about lock screen images and options to like or dislike images. Windows Spotlight is easy to activate but sometimes fails to work.
Some users report that their lock screen background image remains the same and doesn’t change after enabling Windows Spotlight. There are also instances when Windows Spotlight fails to display information about images במסך הנעילה.

A buggy Windows Update may cause your PC to stop displaying Spotlight images. Corrupt system files can also trigger the problem. We’ll explain why these errors happen and how to fix the problem.
1. בדוק את חיבור האינטרנט שלך
When you activate Windows Spotlight, it displays pre-downloaded background images included in Windows installation for the first few days. Afterward, Windows fetches additional images from Microsoft (Bing)—this requires an internet connection.
If you’ve never connected your computer to the internet after enabling Windows Spotlight, Windows won’t display new images when it’s done rotating the pre-downloaded images. Connect your computer to a Wi-Fi or Ethernet network and monitor your lock screen for some days.
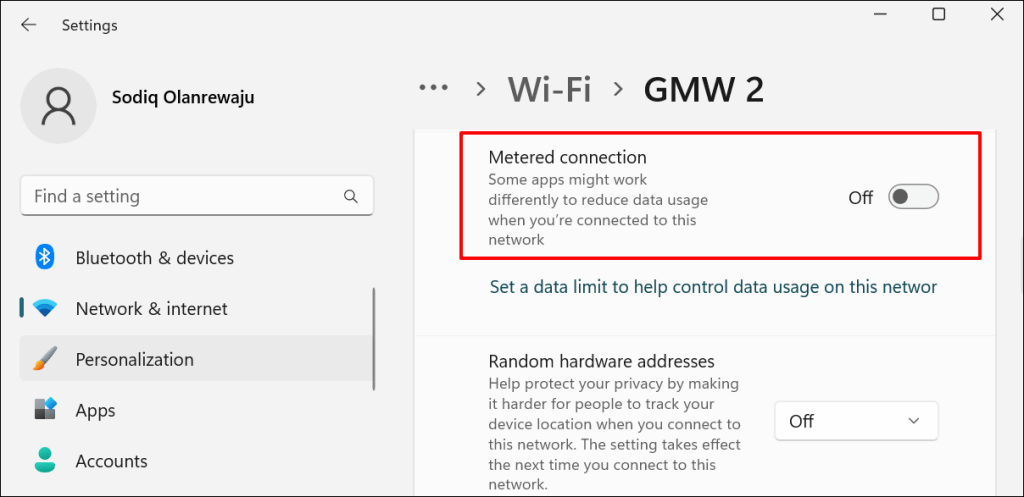
Metering your internet connection can also prevent Windows from downloading Windows Spotlight images in the background. So, verify that your computer’s internet connection isn’t metered.
ב-Windows 11, עבור אל הגדרות > רשת ואינטרנט > בחר Wi-Fi or Ethernet > [Network name] Properties > and turn off חיבור מדוד.
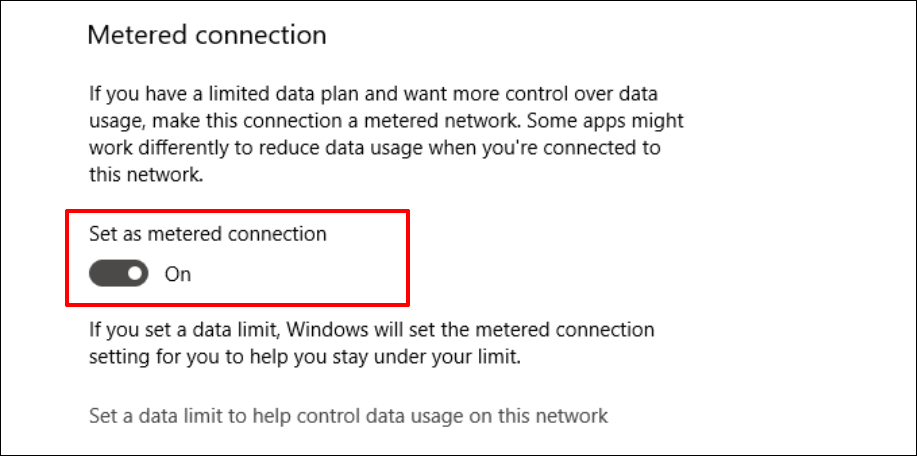
In Windows 10, head to הגדרות > רשת ואינטרנט > מצב > שינוי מאפייני חיבור, וכבה הגדר כהגדרת מדרג.
2. Restart Windows Spotlight
Stopping and re-enabling the Windows Spotlight feature can also get your PC back to changing lock screen images.
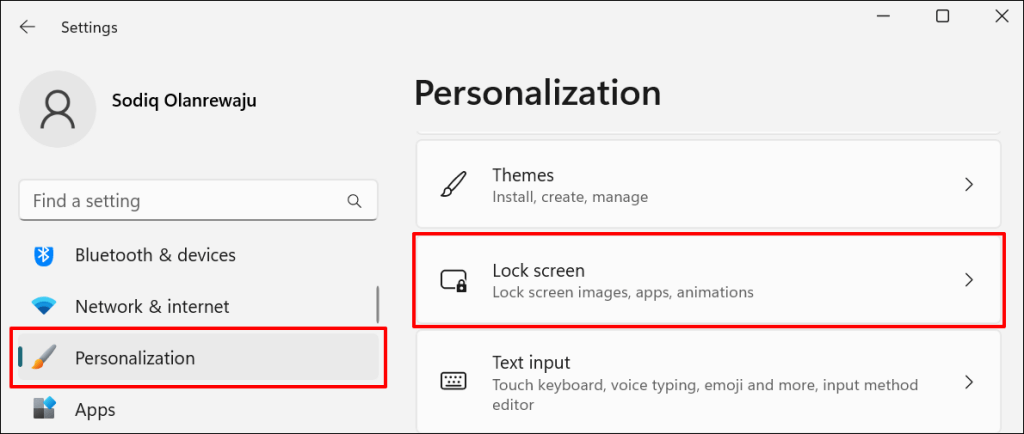
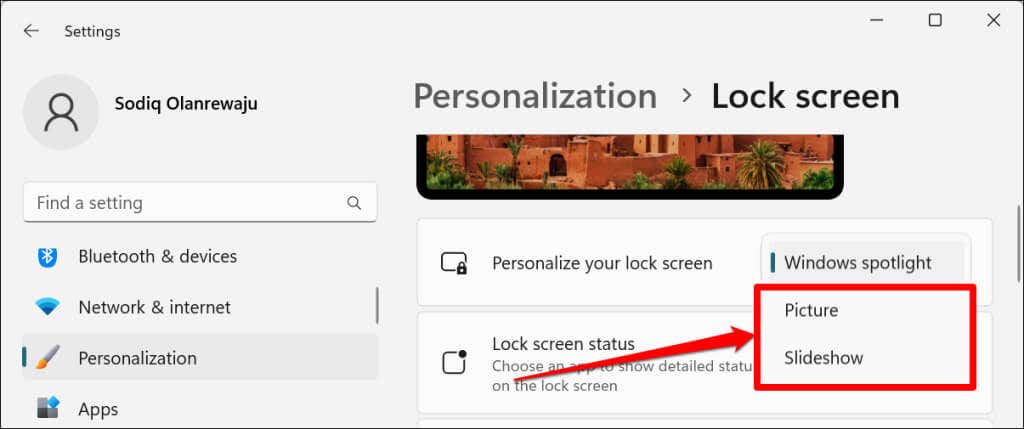
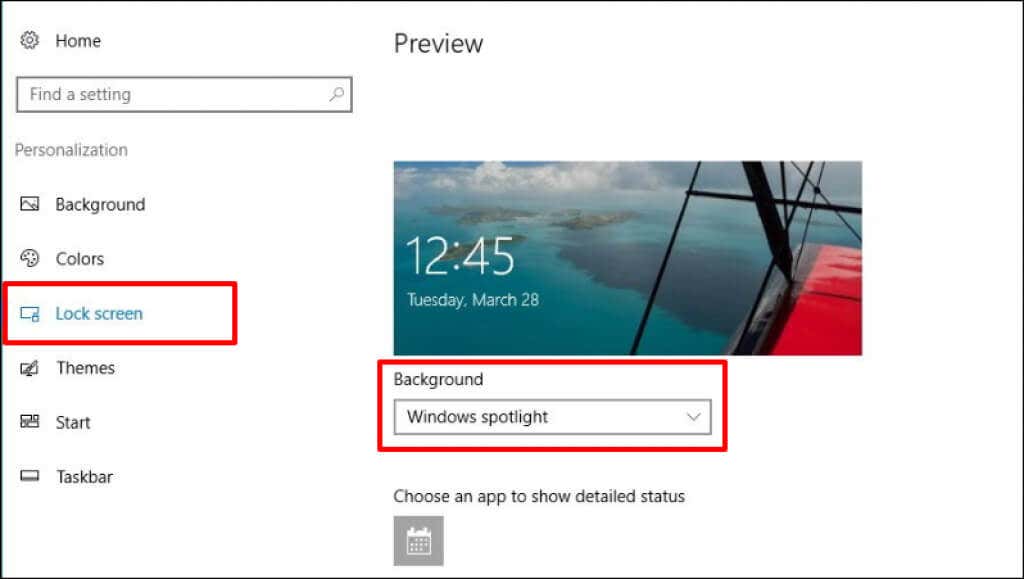
- ב-Windows 11, פתח הגדרות, בחר התאמה אישית בסרגל הצד ובחר ממסך הנעילה.
- בחר זרקור חלונות drop-down menu in the “Personalize your lock screen” row.
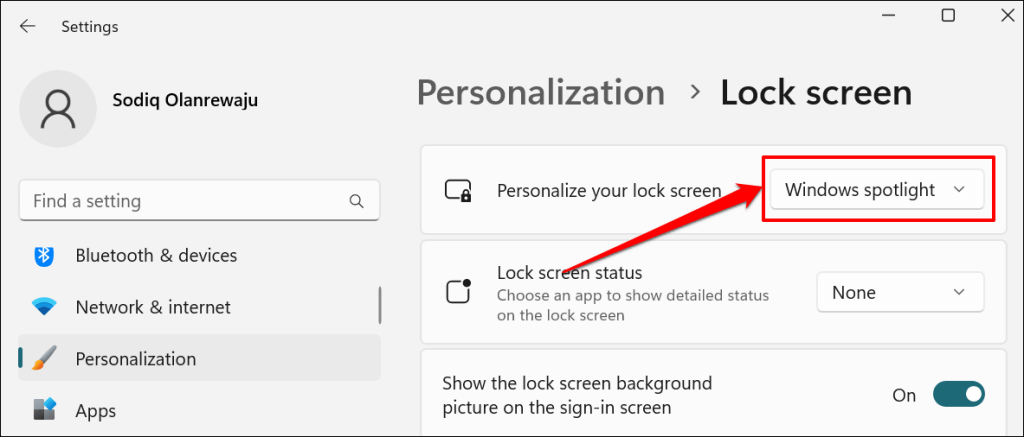
ב-Windows 10, עבור אל הגדרות > התאמה אישית > ממסך הנעילה and set the “Background” to the זרקור חלונות אוֹפְּצִיָה.

- בחר אחת מהאפשרויות תמונה or מצגת.
Reboot your computer and re-enable Windows Spotlight in the personalization settings menu. Close all active apps before restarting your computer, so you don’t lose unsaved data.
3. Reset Windows Spotlight Settings
Re-register the system files powering the Windows Spotlight functionality. You’ll find these files in the Windows Content Delivery Manager folder. Follow the steps below to re-register Windows Spotlight files in Windows 10 and 11.
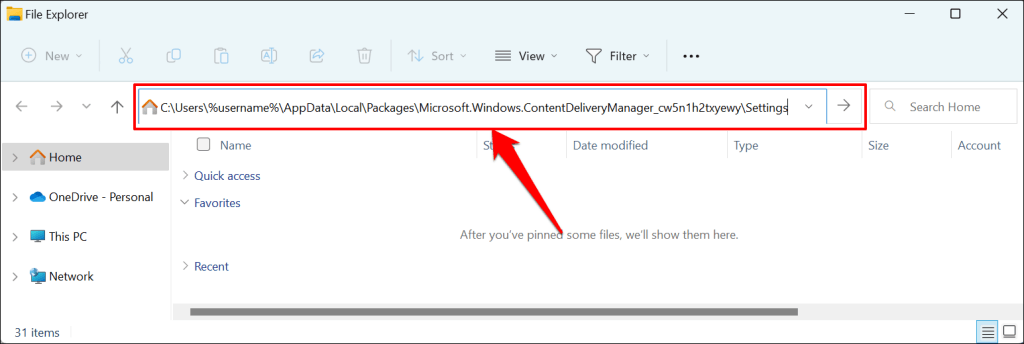
- Open your PC’s File Manager, paste the directory below in the address bar, and press זן.
C:Users%username%AppDataLocalPackagesMicrosoft.Windows.ContentDeliveryManager_cw5n1h2txyewySettings
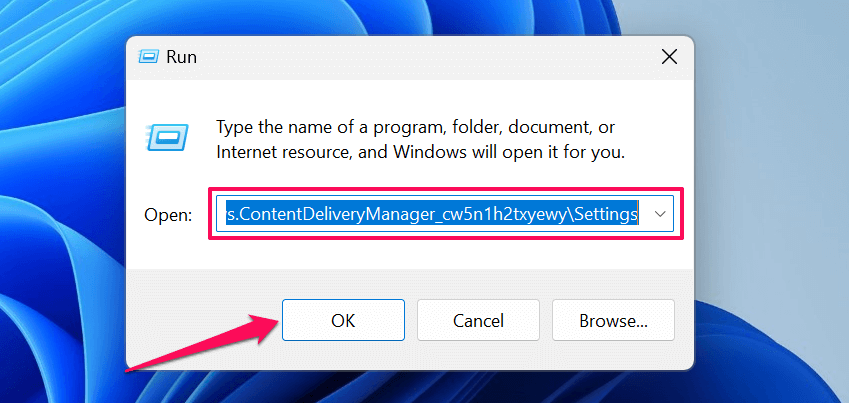
You can also access the folder through the Windows Run box. Press מקש Windows + R, paste % USERPROFILE% / AppDataLocalPackagesMicrosoft.Windows.ContentDeliveryManager_cw5n1h2txyewySettings בתיבת הדו-שיח ובחר OK.
You’ll find two files (נדידה.נעילה ו settings.dat) in the Windows Content Delivery Manager Settings folder.
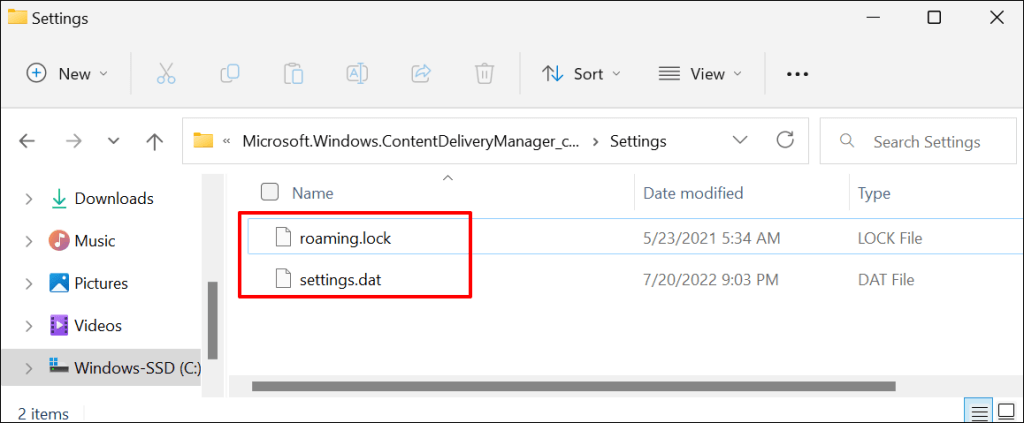
- Right-click the roaming.lock file, select the שינוי שם icon, and rename the file to נדידה. lock.bak.
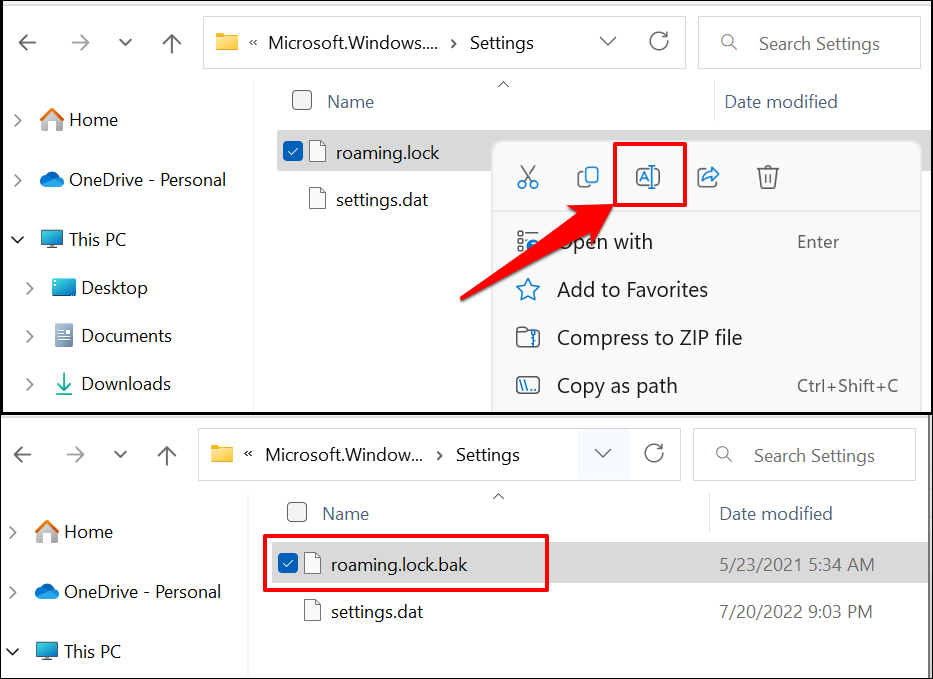
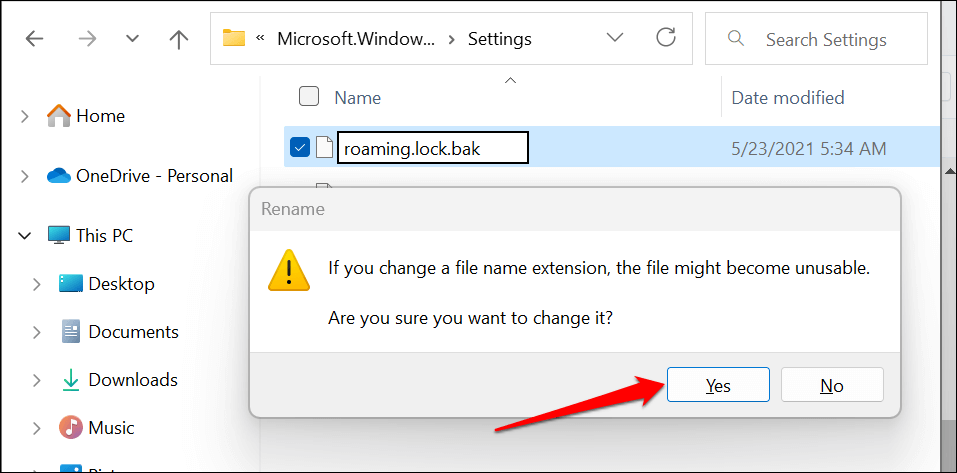
Windows will warn that changing the file extension will render the file unusable. Select יש להמשיך.
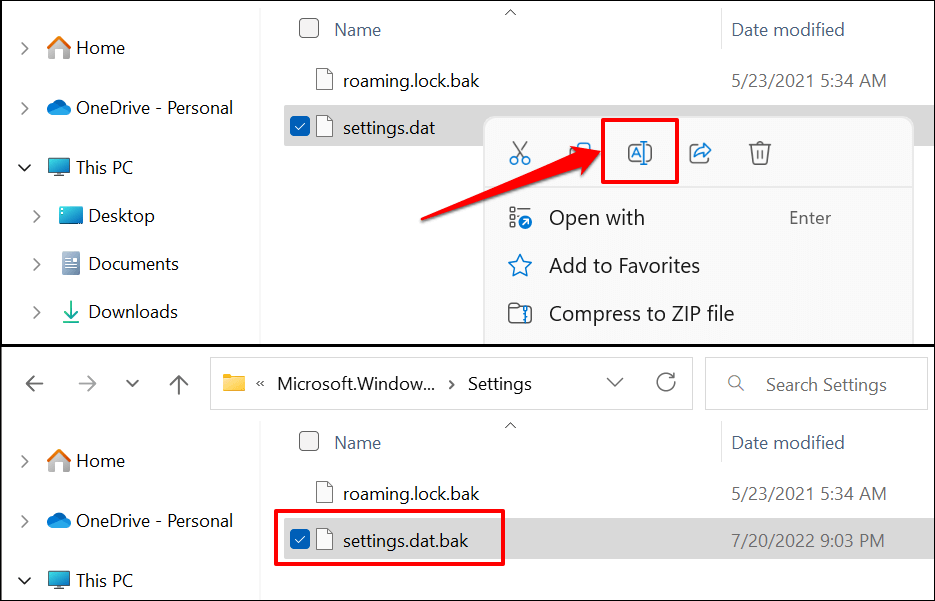
- Do the same for the settings.dat file. Right-click the file, select the Rename icon, and rename it to settings.dat.bak.
Windows will create fresh copies of both files in the folder when you restart your computer. That should get Windows Spotlight working correctly again.
4. Re-register Windows Spotlight
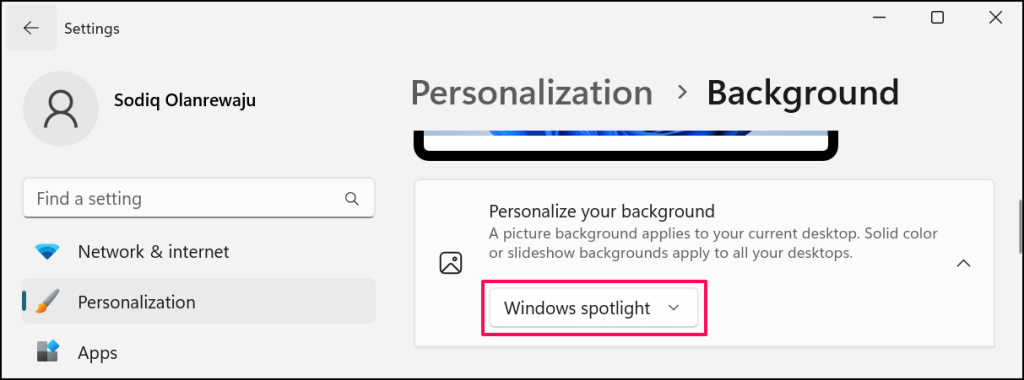
Re-register Windows Spotlight if the problem persists or if Windows doesn’t replace the Windows Spotlight files after resetting the feature. Before you proceed, ensure your PC’s background personalization is set to Windows Spotlight. Otherwise, you may encounter an error re-registering Windows Spotlight.
In Windows 11, head to הגדרות > התאמה אישית > רקע and set the “Personalize your background” option to זרקור חלונות.
On Windows 10 devices, head to הגדרות > התאמה אישית > ממסך הנעילה and set “Background” to זרקור חלונות.
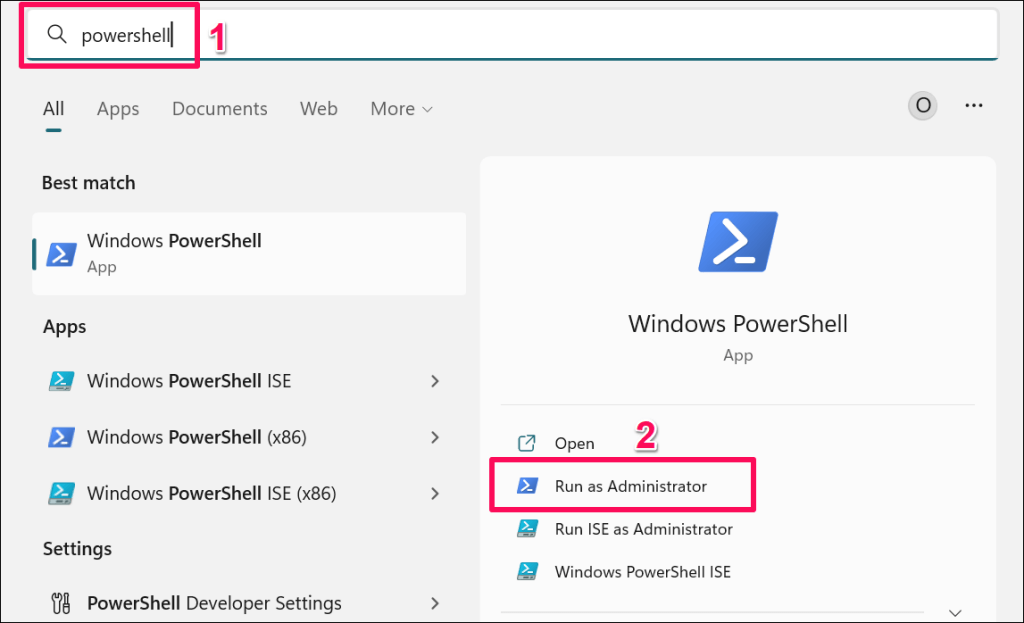
- Open your PC’s Start menu, type PowerShell in the search bar, and run the Windows Powershell app as an administrator.
- Paste the following command in the Powershell terminal and press זן.
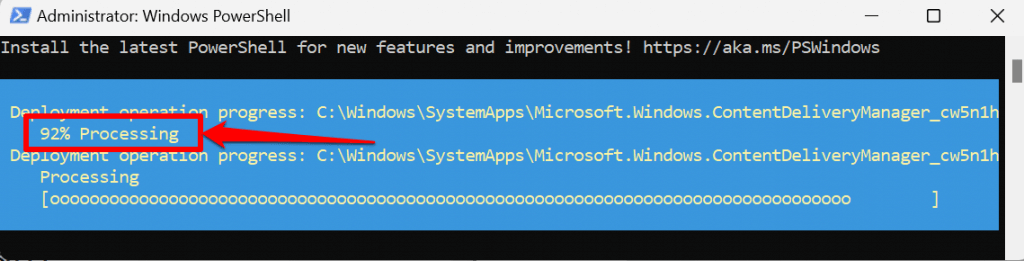
Get-AppxPackage -allusers *ContentDeliveryManager* | foreach {Add-AppxPackage “$($_.InstallLocation)appxmanifest.xml” -DisableDevelopmentMode -register }

- Close the Windows Powershell and reboot your computer when the deployment operation progress hits 100%.
Reboot your computer and check if your Windows automatically changes the background image on your lock screen every 1-2 days.
5. הפעל את בודק קבצי המערכת
Corrupt system files can cause Windows Spotlight and other system processes to malfunction. Use the Windows בודק קבצי מערכת to find and repair corrupt system files on your computer.
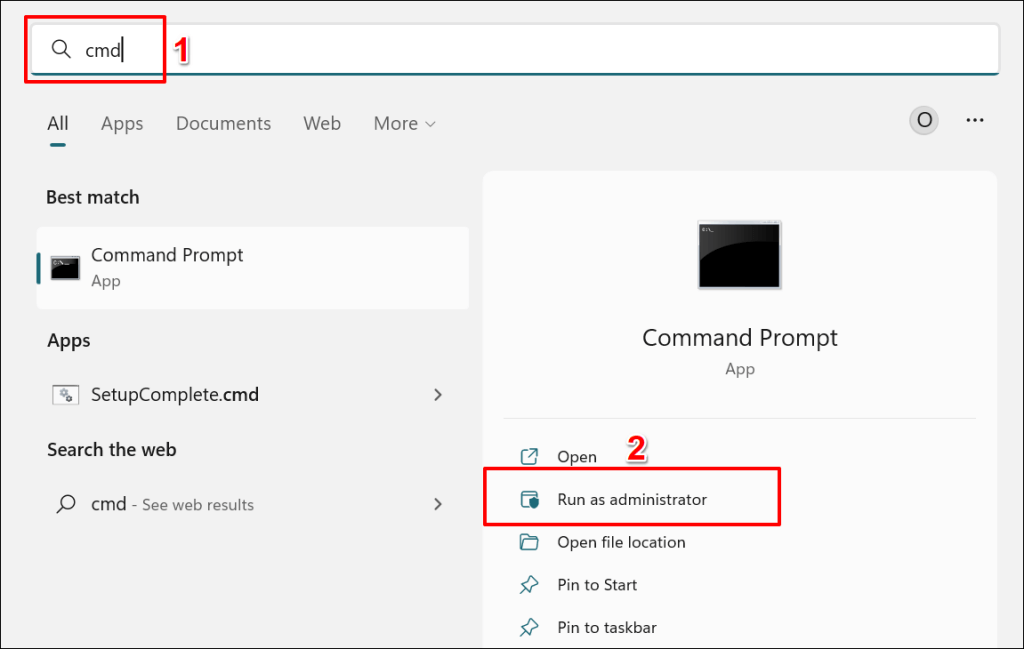
- פתח את תפריט התחל, הקלד cmd in the search bar, and run the Command Prompt administrator.
- If your PC runs Windows 10, run the following command and press זן. Jump to step #3 if you have a Windows 11 computer.
DISM.exe / Online / ניקוי תמונה / שחזור

The command prompts the Deployment Image Servicing and Management (DISM) tool to download files needed to replace corrupt system files. Proceed to the next step when the restore operation is complete.
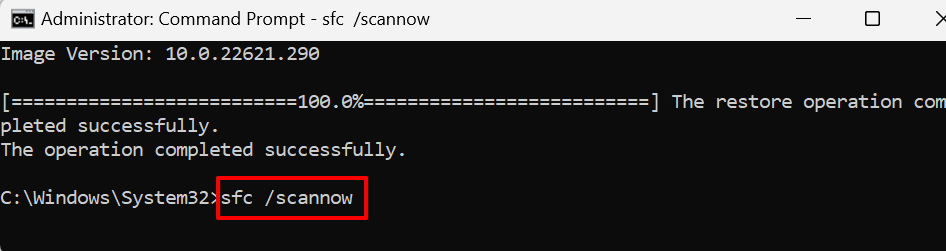
- הקלד או הדבק sfc / scannow in the Command Prompt terminal and press זן. This command runs the System File Checker.
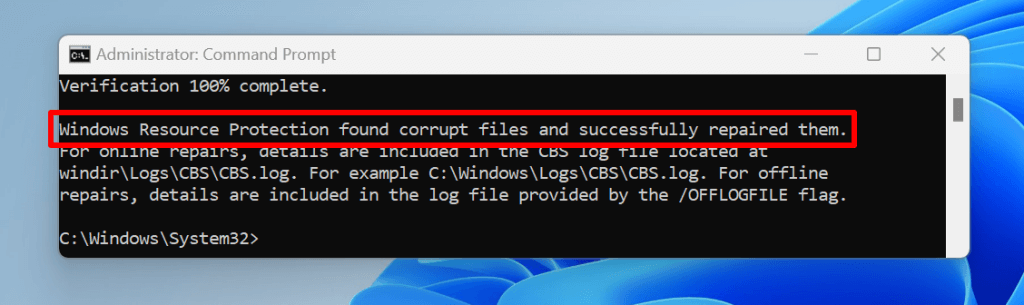
SFC will display a “Windows Resource Protection found corrupt files and successfully repaired them.” message if it finds and replaces any corrupt file.
Run SFC in Safe Mode if you keep getting a “Windows Resource Protection could not perform the requested operation.” error. Try the next troubleshooting fix if the SFC doesn’t find any corrupt file or if Windows Spotlight still doesn’t work.
6. Delete Windows Spotlight Assets
Windows may fail to change your lock screen if corrupt files are in the folder housing Windows Spotlight pictures. Clearing out Windows Spotlight files can fix the problem.
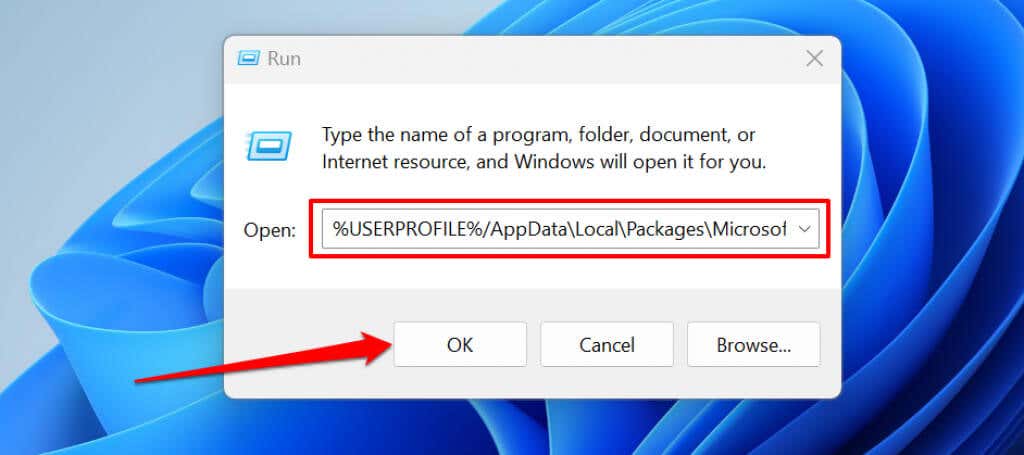
- חדשות ועדכונים מקש Windows + R to launch the Windows Run box. Paste the path below in the Run box and press זן.
% USERPROFILE% / AppDataLocalPackagesMicrosoft.Windows.ContentDeliveryManager_cw5n1h2txyewyLocalStateAssets
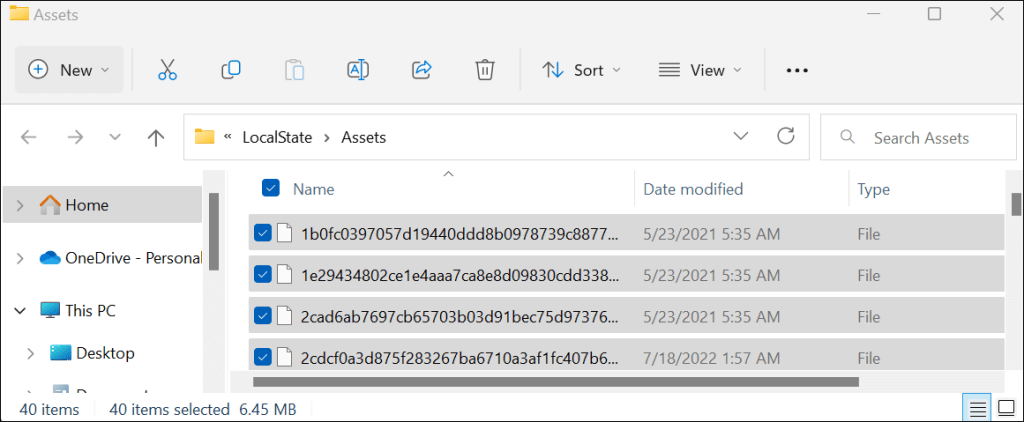
- Delete all files in the Assets folder. Press Ctrl + A ולחץ על מחק מפתח במקלדת.
Restart your computer and check if deleting that resolves the issue. Enable Windows Spotlight and ensure your computer has an internet connection.
7. עדכן את המחשב שלך
If you haven’t updated your computer in a long time, installing an update might restore Windows Spotlight to normalcy.
In Windows 11, open the הגדרות אפליקציה, בחר Windows Update בסרגל הצד ובחר בדקו אם יש עדכונים or הורד והתקן הכל.
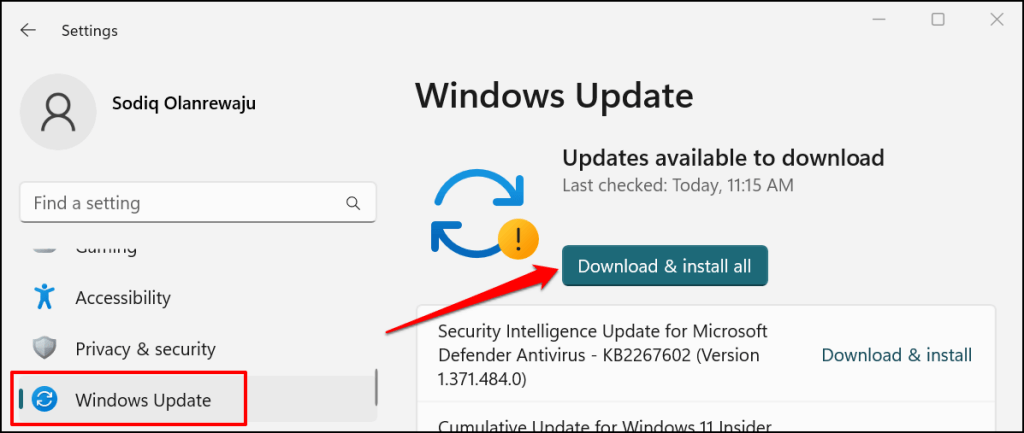
ב-Windows 10, עבור אל הגדרות > עדכון ואבטחה > Windows Update ובחר בדקו אם יש עדכונים.
8. הסר את התקנת Windows Updates
A bug-ridden or unstable Windows update can break Windows Spotlight and other system features. If Windows Spotlight stopped working correctly after installing a Windows Update, uninstall the problematic update. You can also roll back your computer to a previous/stable state using שחזור מערכת.
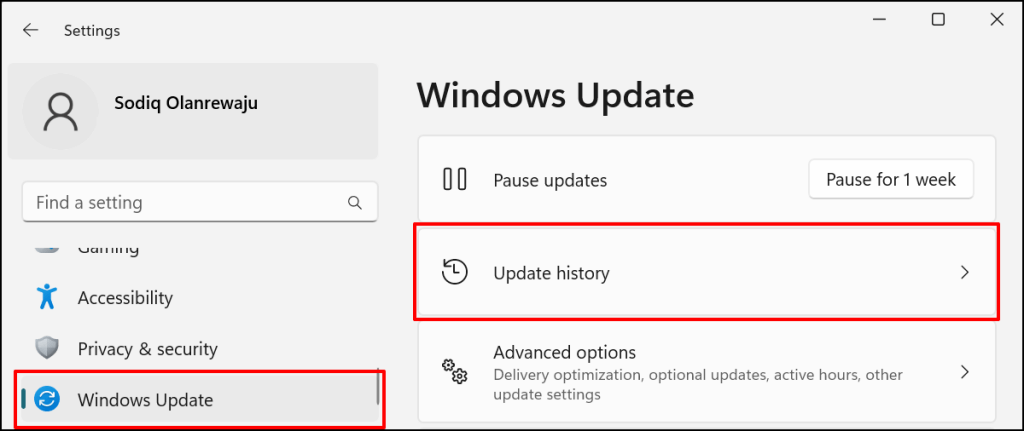
- פתח את הגדרות אפליקציה, בחר Windows Update בסרגל הצד ובחר היסטורית עדכון.
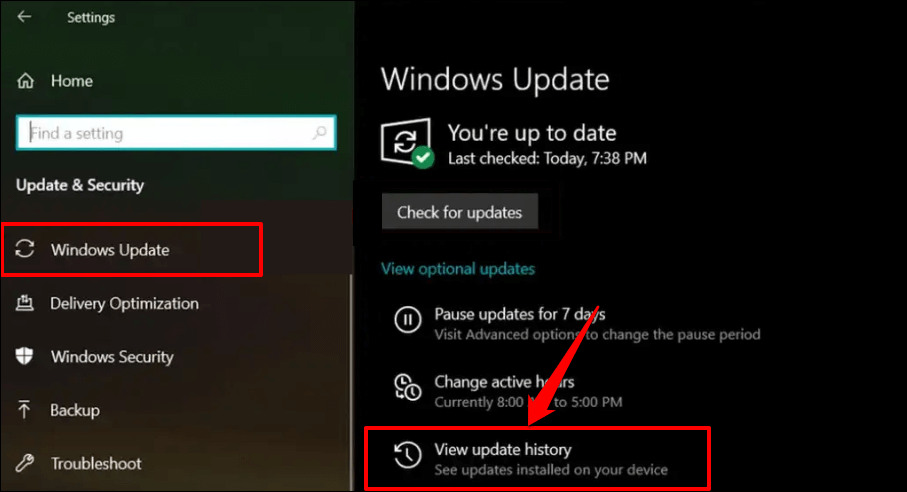
If your PC runs Windows 10, go to הגדרות > עדכון ואבטחה > Windows Update, ובחר צפה בהיסטוריית העדכונים.
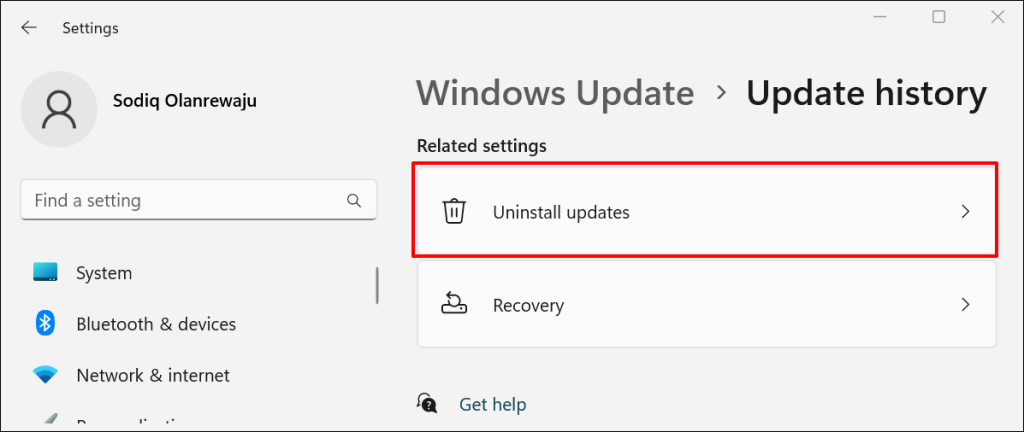
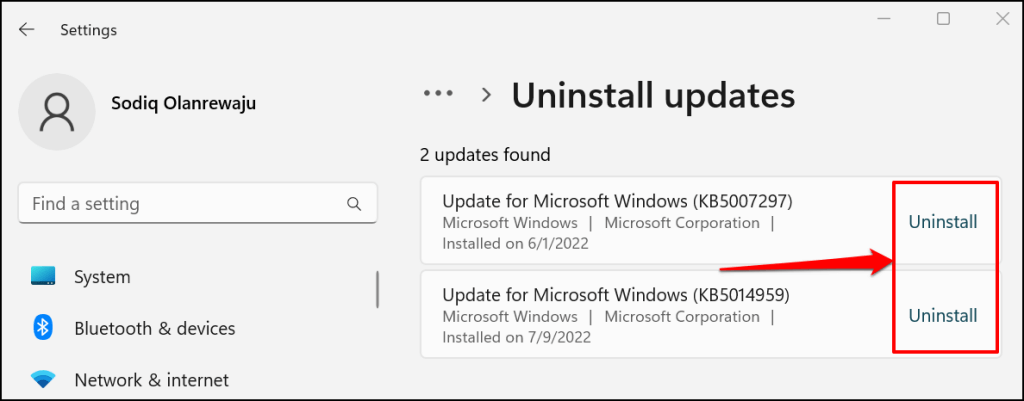
- Scroll to the “Related settings” section and select הסר את ההתקנה של עדכונים.
- בחר Uninstall next to the update you suspect is responsible for Windows Spotlight malfunction.
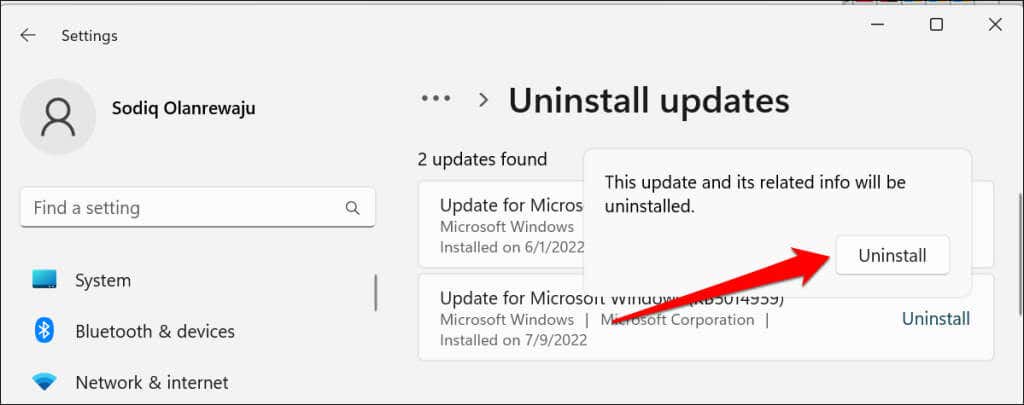
- בחר Uninstall again on the pop-up to proceed.
Check if Windows Spotlight works correctly after Windows successfully uninstalls the updates and restarts your computer.
אור בקצה המנהרה
פנה לתמיכה של Microsoft if these solutions don’t fix the problem. Performing a clean reinstall of Windows may also fix the problem. However, ensure you back up your files to an external drive or cloud storage service.

