Halo Infinite multiplayer beta is hitting the gaming platforms and is available for free on PC and Xbox. It is making gamers all excited to play it with their friends globally. It is a great deal to grab if you and your boys want to hit it off in the latest successor of the beloved Halo series. However, the open beta phase comes with a bumpy ride. One of the many obstructions which are haunting the dedicated fanbase of the series is Halo Infinite Customization not loading error. This is quite frustrating and players voiced their displeasure quite openly on the internet. So, we took matters into our own hands and compiled this guide on how to fix Halo Infinite Customization not loading in Windows 11.
How to Fix Halo Infinite Customization Not Loading in Windows 11
In this article, we have explained tried and tested methods to fix Halo Infinite Customization not loading error. But firstly, let us learn about the causes of this error. Well as of now, the reason behind the error is still unknown and quite frankly, it is understandable. The game is still in the open beta phase. It is not news for a game being full of bugs in these early stages. Although, culprits could be:
- Faulty or incompatible Internet Protocol Version 6 (IPv6) configuration.
- The outage from the game service providers end.
方法 1: クリーン ブートを実行する
First, you should clean boot your PC to fix Halo Infinite Customization not loading on Windows 11. This will help to get rid of bugs and might fix the said error. Read our guide on How to Perform Clean boot in Windows 10 here to do so.
Method 2: Close Unnecessary Background Processes
If there are any unwanted processes running in the background which are taking up lot of memory & CPU resources, then you should close those processes, as follows:
1。 押す Ctrl + Shift +Esc keys 一緒に打ち上げる Task Manager.
2。 の中に プロセス tab, you can see the applications and processes that are consuming a lot of memory resources by the メモリ コラム。
3.を右クリックします unwanted processes (例えば マイクロソフトのチーム) をクリックして 終わり タスク、以下に示すように。
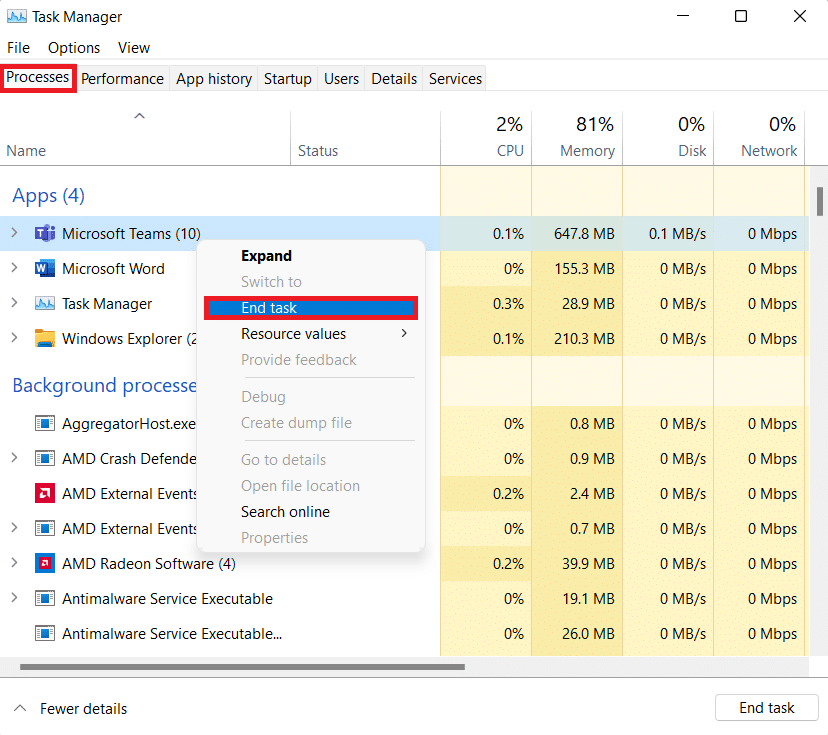
4. 繰り返す the same for other tasks that are not required currently and then, launch Halo Infinite.
Method 3: Disable IPv6 Network
Here are the steps to fix Halo Infinite Customization not loading on Windows 11 by disabling the Internet Protocol Version 6 (IPv6) networking:
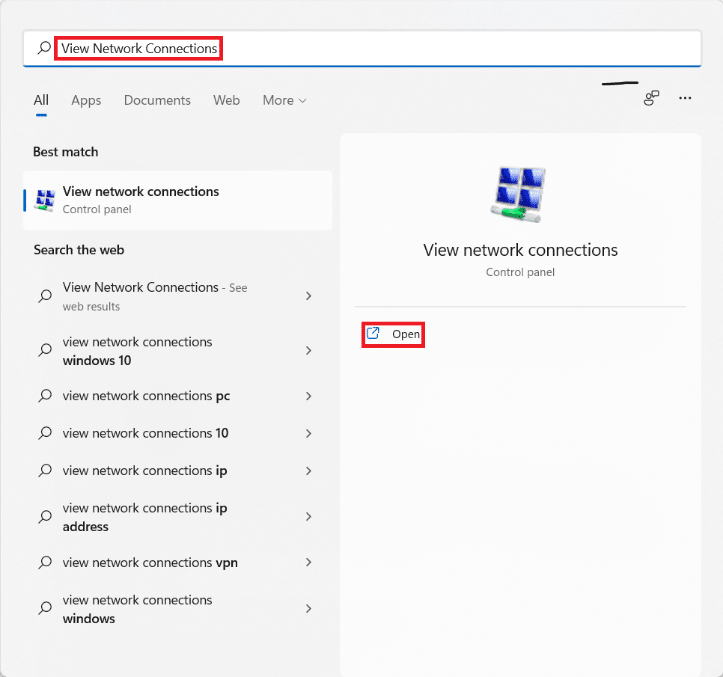
1。 クリックしてください 検索アイコン、 タイプ ネットワーク接続を表示する、をクリックします Open.
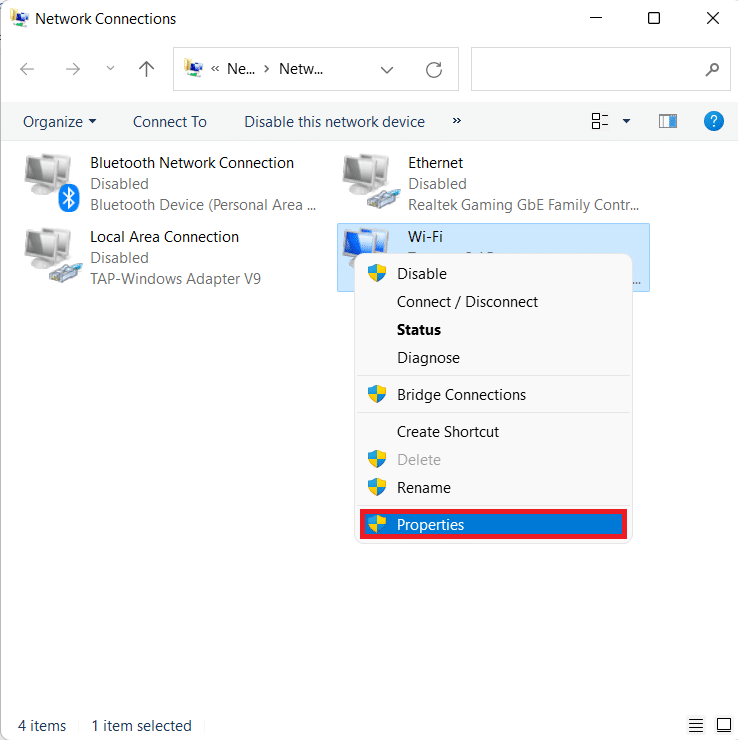
2。 の中に ネットワーク接続 window, right-click on the ネットワークアダプター (例えば Wi-Fi) you are connected to.
3。 選択 プロパティ 図に示すように、コンテキスト メニューから。
4。 の中に のWi-Fiのプロパティ window, scroll down in the ネットワーキング タブには何も表示されないことに注意してください。
5. ここで、 6インターネットプロトコルバージョン(TCP / IPv6) option and uncheck it.
注: ていることを確認してください 4インターネットプロトコルバージョン(TCP / IPv4) チェックされます。
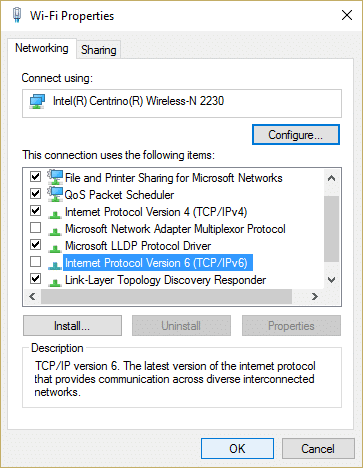
6.最後に、をクリックします OK を入力して変更を保存してください。
Now, try restarting Halo Infinite once again to see if the error still exists.
また読む: How to View Running Processes in Windows 11
Method 4: Enable Teredo State
Another alternative to fix Halo Infinite Customization not loading issue on Windows 11 is by enabling Teredo State, as discussed below:
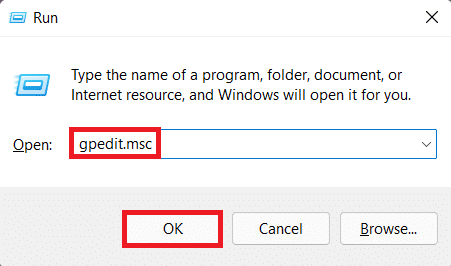
1。 押す Windowsの+ R 一緒に開くキー ラン ダイアログボックス。
2。 タイプ gpedit.mscを をクリックします。入力したコードが正しければ、MFAの設定は正常に完了します OK 開く ローカルグループポリシーエディター.
注: If you are unable to access it, read How to Enable Group Policy Editor in Windows 11 Home Edition here.
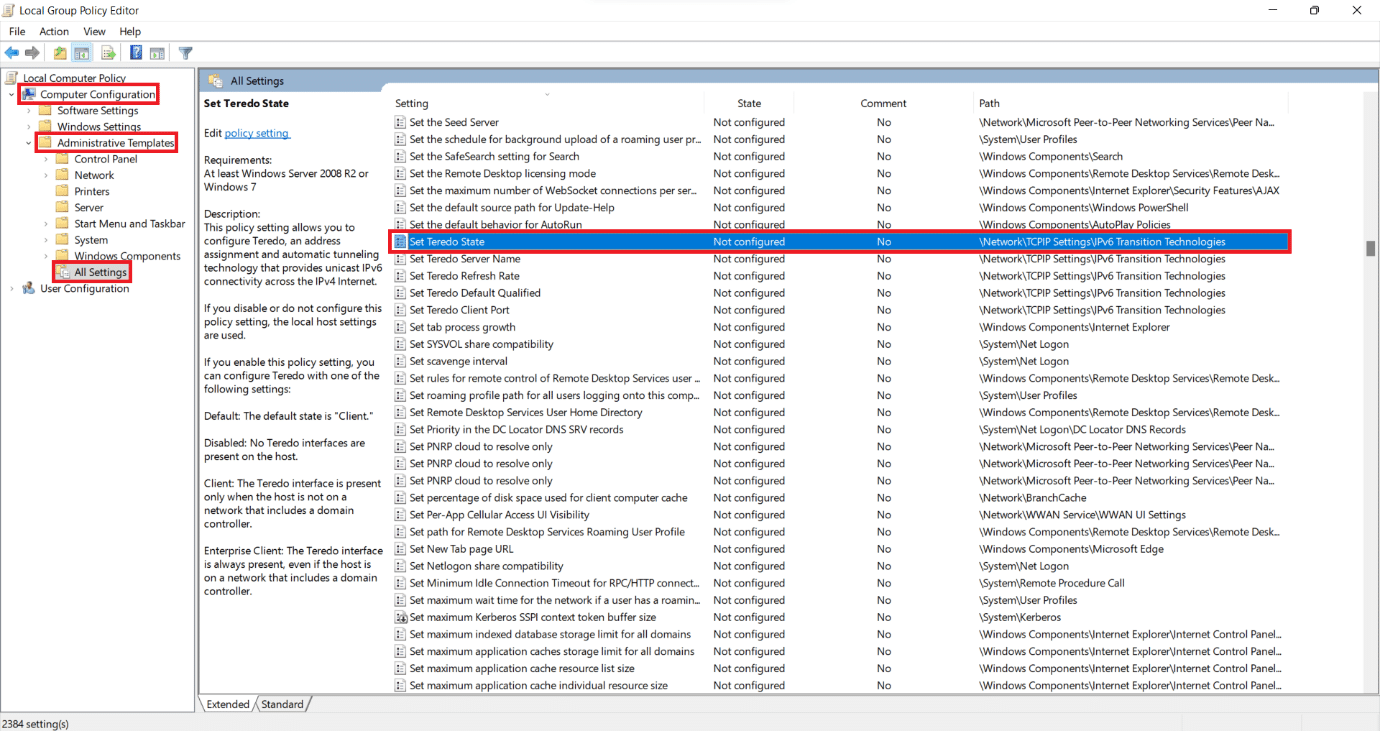
3。 案内する [コンピュータの構成] > [管理用テンプレート] > [すべての設定] 左ペインから
4. Then, locate and double-click on Set Teredo State, shown highlighted.
5.ここで、をクリックします 使用可能 をクリックして Enterprise クライアント Select from the following states ドロップダウンリスト。
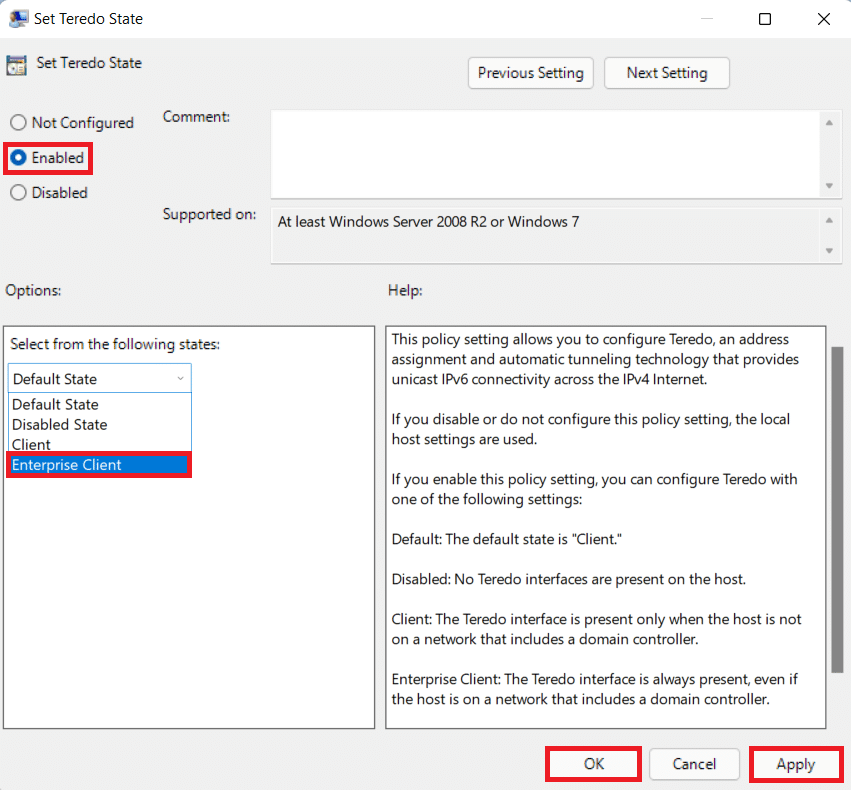
6。 クリック 適用> OK to save the changes and try playing the game in multiplayer mode.
Method 5: Increase Virtual RAM
You can also increase virtual RAM to fix Halo Infinite Customization not loading in Windows 11, as follows:
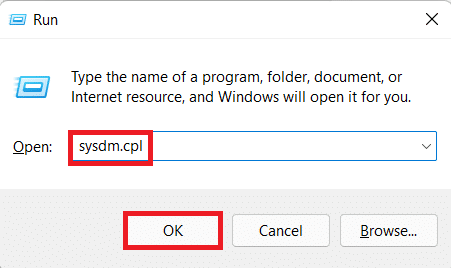
1。 オープン ラン dialog box , type sysdm.cplと をクリックします。入力したコードが正しければ、MFAの設定は正常に完了します OK.
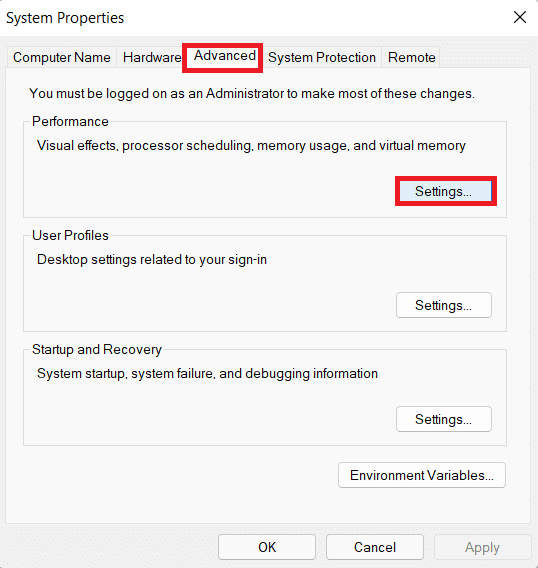
2。 に行く 高機能 タブの システムのプロパティ 窓。
3。 クリック 設定… ボタンの下に 性能 section, as shown.
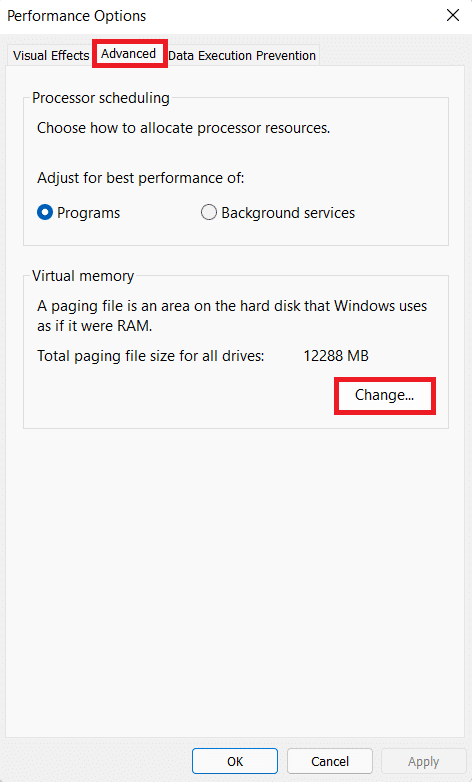
4。 の中に パフォーマンスオプション ウィンドウ、に移動します 高機能 タブには何も表示されないことに注意してください。
5。 クリック 変化する… ボタンの下に バーチャル メモリ section, as shown.
6. 次のボックスのチェックを外します。 すべてのドライブのページングファイルサイズを自動的に管理します。
7. Select the primary drive from the list viz C: をクリックします。入力したコードが正しければ、MFAの設定は正常に完了します ページングファイルがありません.
8.次に、をクリックします 作成セッションプロセスで > OK、以下に示すように。
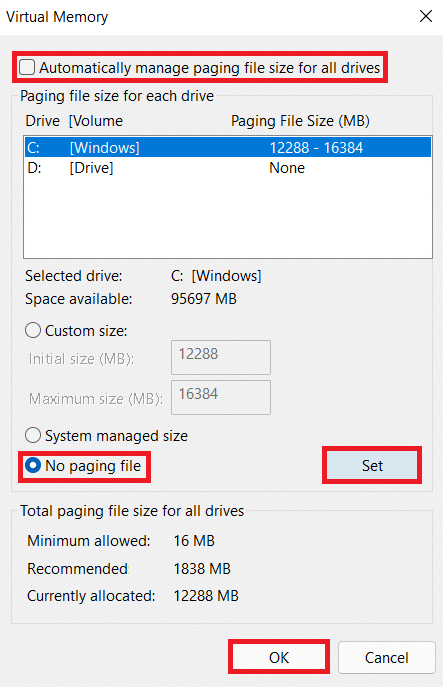
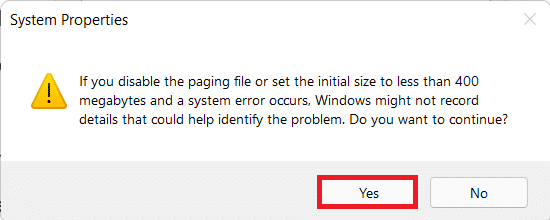
9。 選択 有り セクションに システムのプロパティ confirmation prompt that appears.
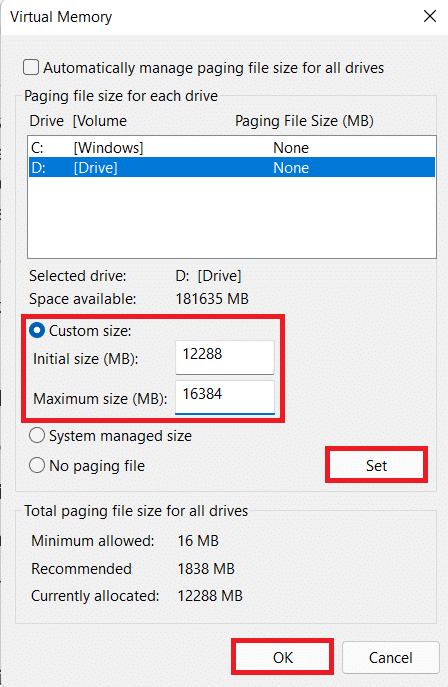
10。 クリック non-primary volume in the list of drives and select カスタムサイズ.
11。 入力する paging size 両方のための 初期 & 最大サイズ in MegaBytes (MB).
注: The paging size is ideally twice the size of your physical memory (RAM).
12。 クリック 作成セッションプロセスで and confirm any prompt that appears.
13.最後に、をクリックします OK PCを再起動してください。
また読む: How to Enable or Disable Quick Access in Windows 11
Method 6: Disable Game Overlays
Another method to fix Halo Infinite Customization not loading in Windows 11 is to disable the game overlays. This will reduce the high memory usage and resolve lags & glitches as well. We have explained the process for Discord app, NVIDIA GeForce and Xbox Game Bar in Windows 11.
Option 1: Disable Discord Overlay
1。 オープン DiscordPCクライアント とをクリックしてください 設定 アイコンを押します。 next to your Discord ユーザ名.
![]()
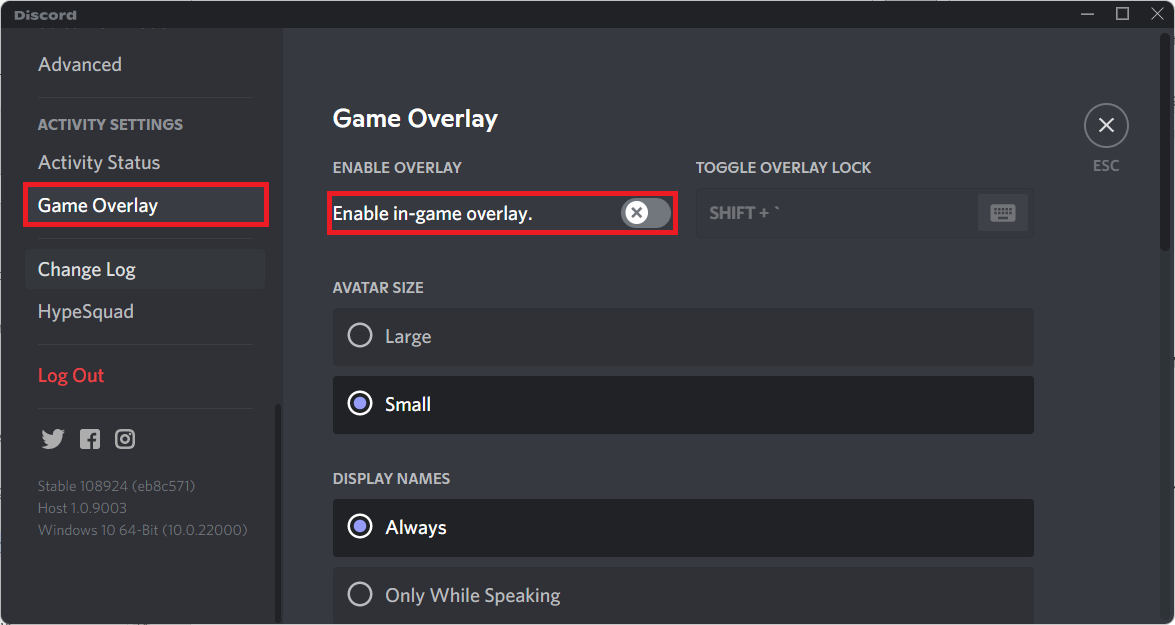
2. Scroll down the left navigation pane and click on ゲームオーバーレイ 下 アクティビティ設定 のセクションから無料でダウンロードできます。
3。 スイッチ オフ のトグル ゲーム内オーバーレイを有効にする to disable it, as shown.
また読む: Discordを削除する方法
Option 2: Disable NVIDIA GeForce Experience Overlay
1。 開く GeForce体験 アプリをクリックして 設定 icon as highlighted below.
![]()
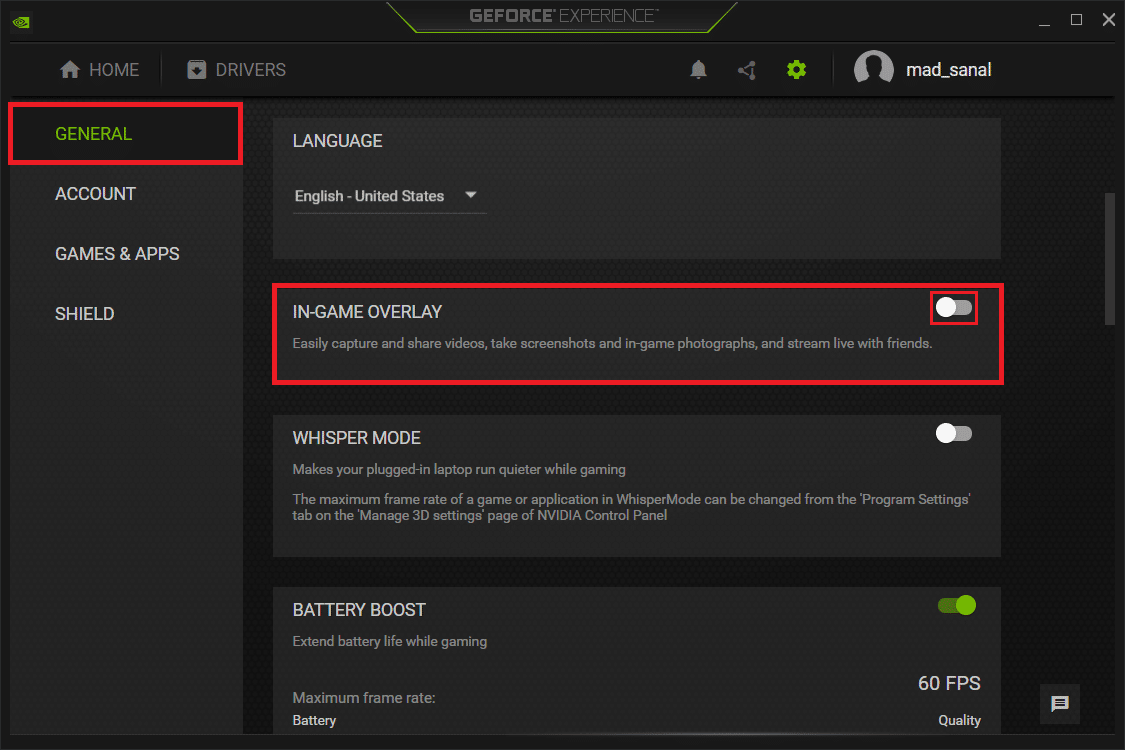
2。 の中に tab, Switch オフ のトグル ゲーム内オーバーレイ 無効にします。
3. PCを再起動する to let the changes take effect.
また読む: What is NVIDIA Virtual Audio Device Wave Extensible?
Option 3: Disable Xbox Game Bar Overlay
1。 押す Windows + Iキー 一緒に開く 設定.
2。 クリック ゲーム settings in the left pane and Xboxゲームバー 右ペインに表示されます。
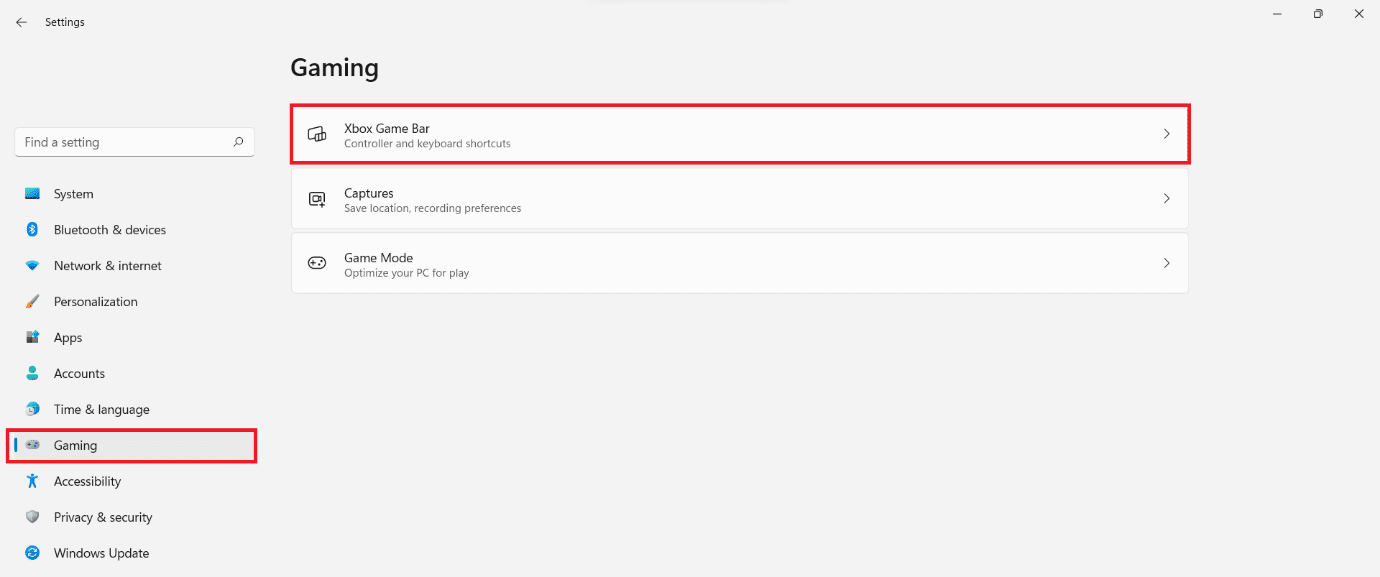
3。 スイッチ オフ the toggle to turn off the Xboxゲームバー.

Method 7: Verify Integrity of Game Files (For Steam Users)
Now, if you use Steam then, you can verify integrity of game files to fix Halo Infinite Customization not loading error in Windows 11.
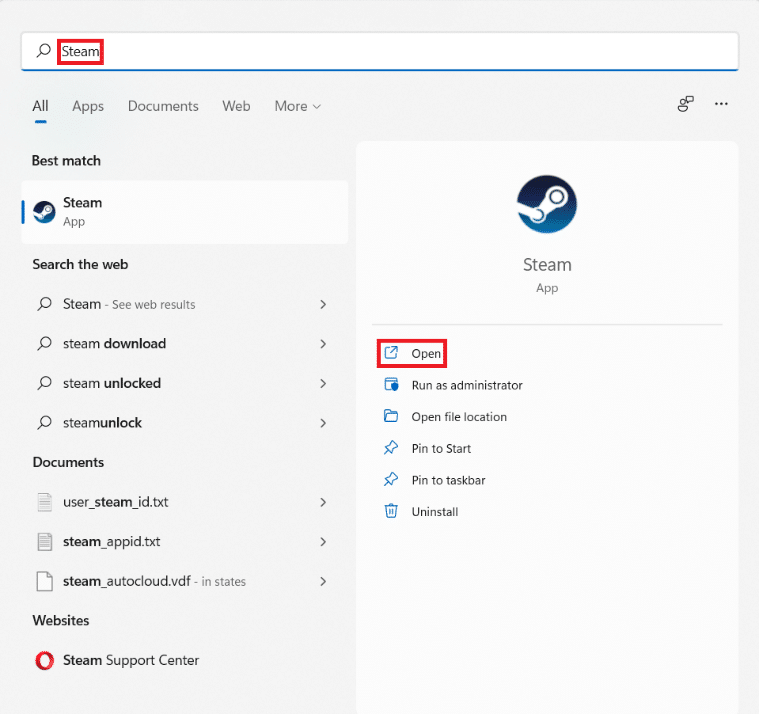
1。 クリックしてください 検索アイコン とタイプ Steam、次にクリックしてください Open.
2。 の中に Steam PC client としょうかん 図に示すようにタブをクリックします。
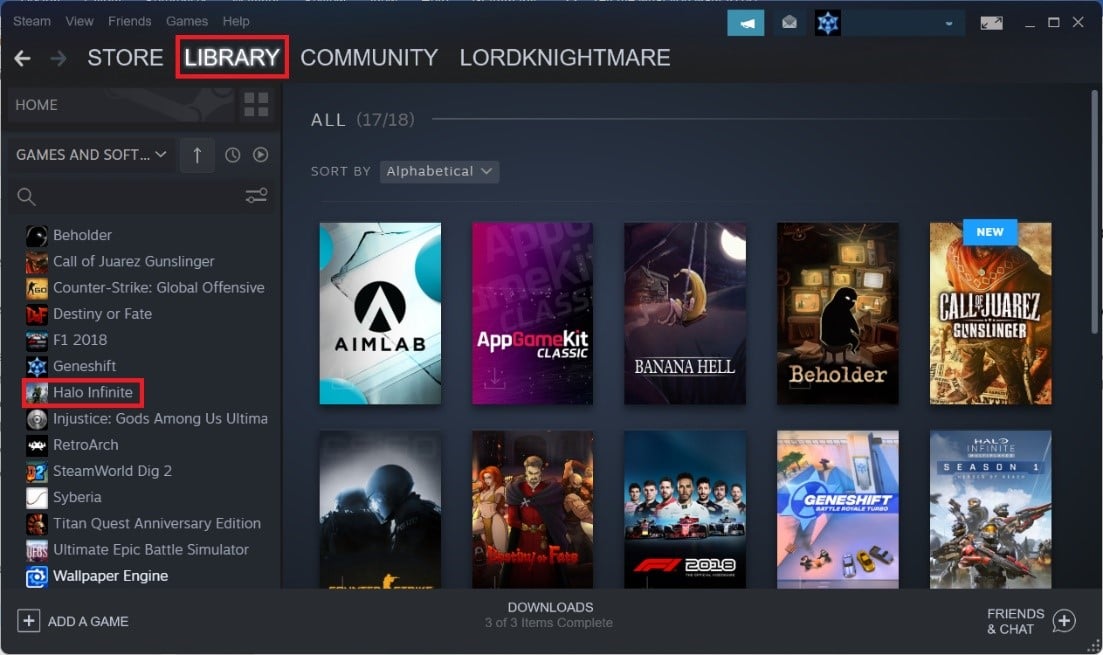
3 検索する Halo Infinite in the left pane and right-click on it to open the context menu. Click on プロパティ.
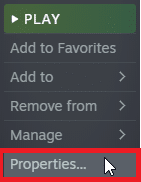
4。 の中に プロパティ ウィンドウをクリック ローカルファイル in the left pane and click on Verify Integrity of game files… shown highlighted.
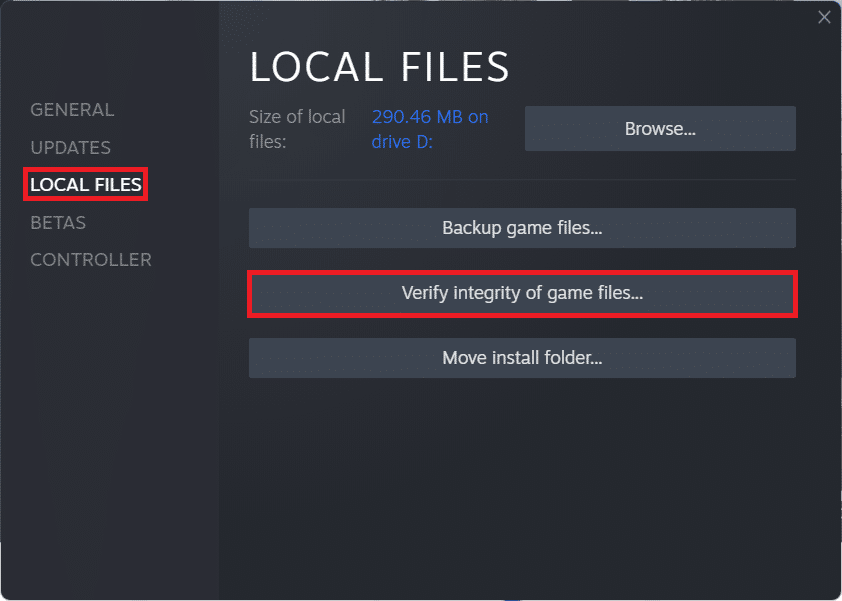
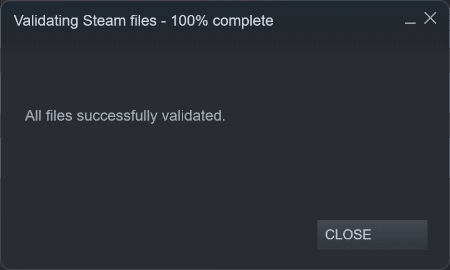
5. Steam will find discrepancies and if found, they will be replaced & rectified.
また読む: How to Change Steam Profile Picture
Method 8: Update Halo Infinite (For Steam Users)
Often, there may be bugs in the game, so you should update your game to fix Halo Infinite Customization not loading in Windows 11 problem.
1。 起動する Steam client and switch to the としょうかん tab as shown in メソッド7。
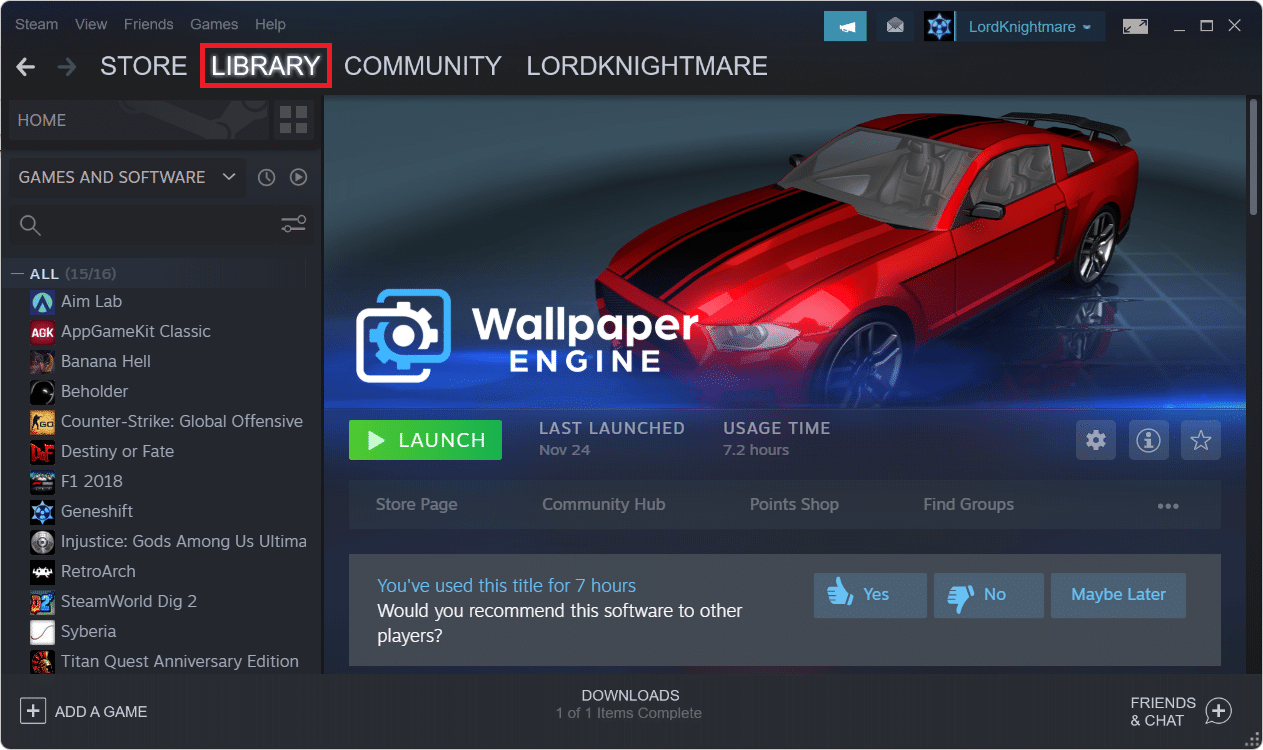
2.次に、をクリックします Halo Infinite 左ペインに表示されます。
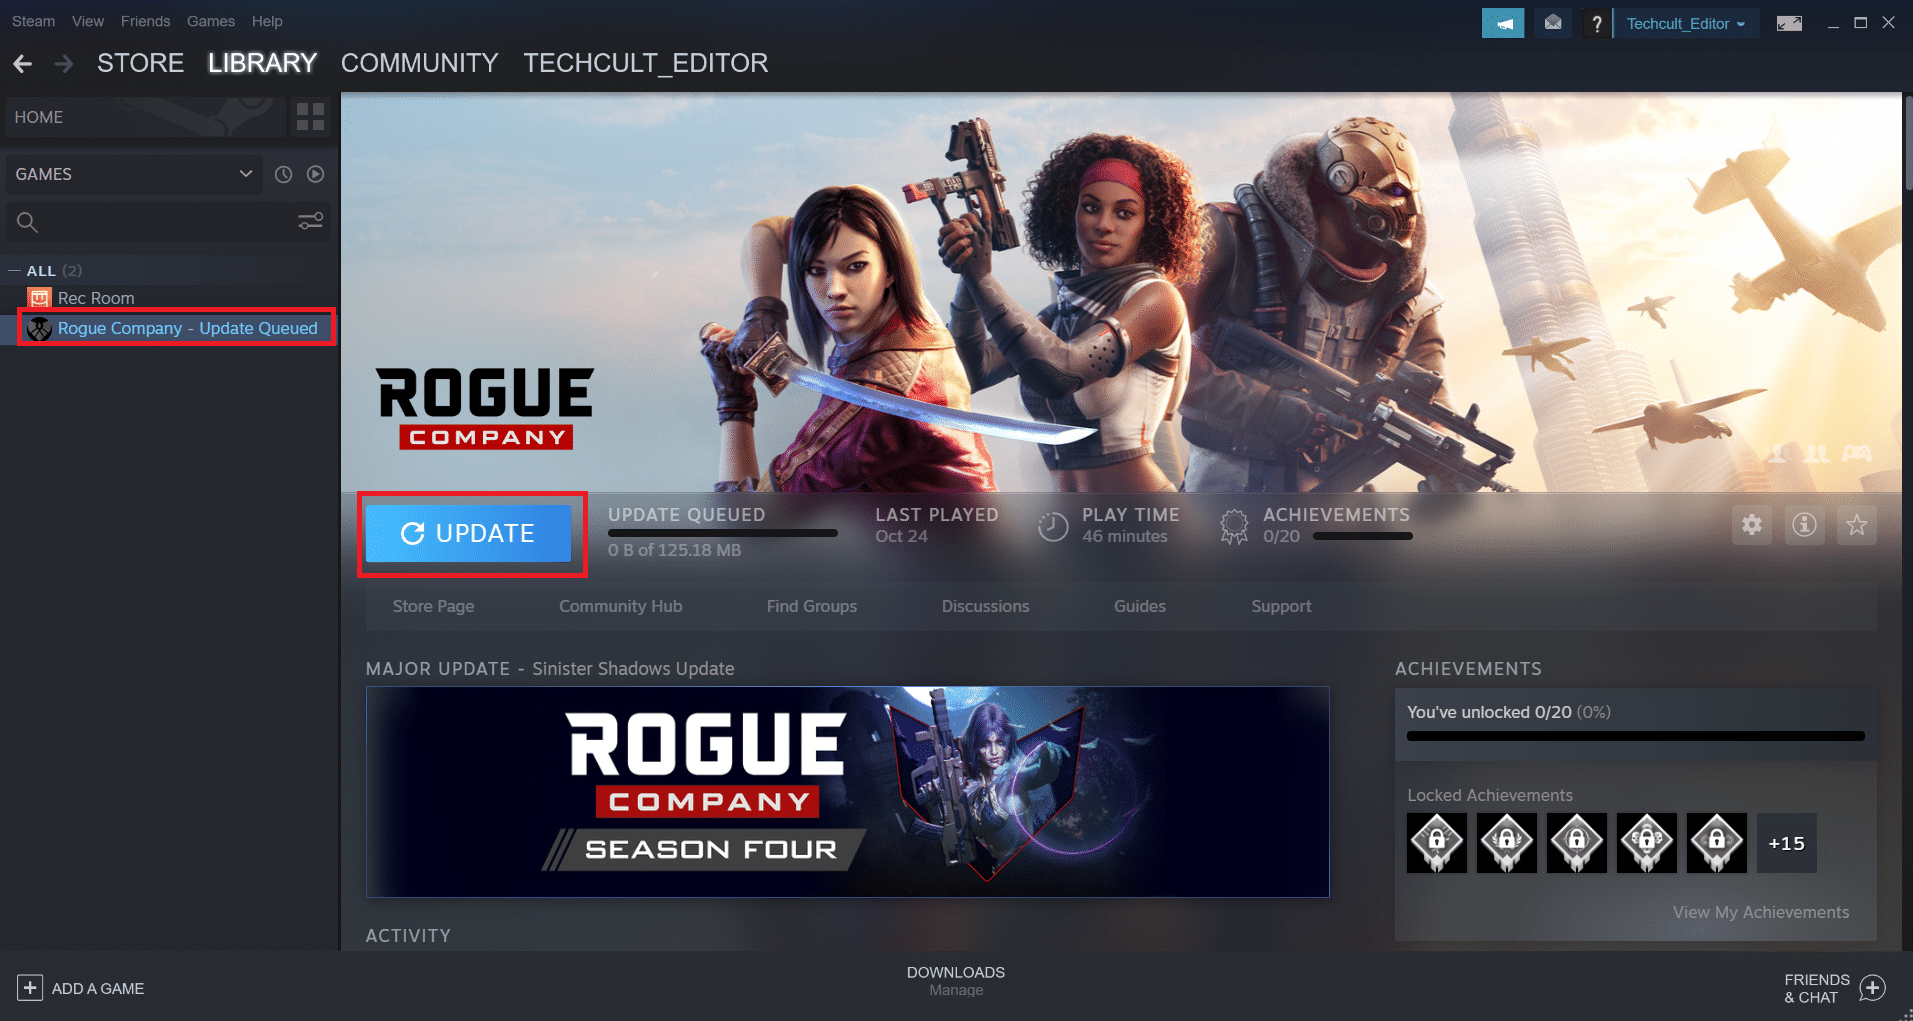
3. If there is any update available, you will see the UPDATE option on the game page itself. Click on it.
注: We have shown Update option for Rogue company for illustration purposes only.
Method 9: Use Xbox App Instead of Steam
Many of us use Steam as our primary client since it serves as a hub for the most popular PC games. Halo Infinite multiplayer is also accessible on Steam, though it may not be as bug-free as the Xbox app. As a result, we recommend downloading Halo Infinite multiplayer beta through the Xboxアプリ を代わりにお使いください。
また読む: Fix Xbox One Headset Not Working
方法 10: Windows を更新する
If none of the above methods work, then update your Windows OS to fix Halo Infinite Customization not loading on Windows 11 issue.
1。 押す Windows + Iキー 一緒に開く 設定 アプリ。
2.ここで、をクリックします Windows Updateの 左ペインに表示されます。
3.次に、をクリックします アップデートの確認.
4. If there is any update available, click on ダウンロードしてインストール ボタンが強調表示されます。
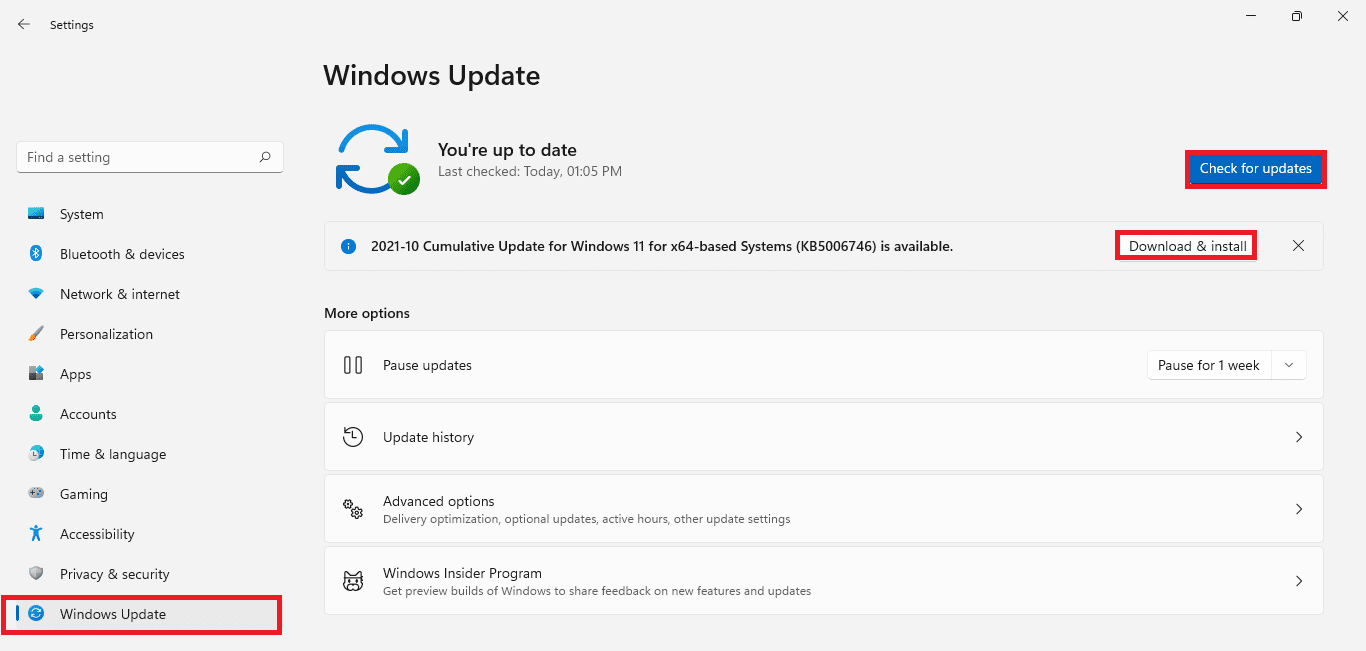
5. 待つ Windows to download and install the updates. Finally, 再起動 あなたのPC.
Pro Tip: System Requirements for Halo Infinite
最小システム要件
| 64ビットプロセッサとオペレーティングシステムが必要 | |
| オペレーティングシステム | ウィンドウズ 10 RS5 x64 |
| プロセッサ | AMD Ryzen 5またはInteli1600-5 |
| メモリ | 8 GBのRAM |
| グラフィック | AMDRX570またはNVIDIAGTX1050 Ti |
| DirectXの | Version 12 |
| 収納スペース | 50 GBの空き容量 |
推奨されるシステム要件
| 64ビットプロセッサとオペレーティングシステムが必要 | |
| オペレーティングシステム | Windows 10 19H2 x64 |
| プロセッサ | AMD Ryzen 7XまたはInteli3700-7k |
| メモリ | 16 GBのRAM |
| グラフィック | Radeon RX 5700 XT or NVIDIA RTX 2070 |
| DirectXの | Version 12 |
| 収納スペース | 50 GBの空き容量 |
推奨:
We hope the article proved to be useful on how to fix Halo Infinite Customization not loading in Windows 11. We welcome all your suggestions and queries so please write to us in the comment box down below. We would also love to hear from you about the next topic that you want us to explore next.

