If you have a NVIDIA graphics card, then NVIDIA Geforce Experience utility software is helpful to keep your games driver updated and optimized to play games. However, one of the common issues that users face is NVIDIA Geforce Experience C++ runtime error. In this article, we bring to you a perfect guide that teaches you to fix this runtime error on Geforce Experience. So, continue reading!
How to Fix NVIDIA Geforce Experience C++ Runtime Error on Windows 10
There are various reasons that cause this Geforce Experience runtime error on Windows 10. Some of them are listed below;
- No Administrative Access to NVIDIA Geforce Experience.
- Outdated Software Version.
- Conflict on NVIDIA Services.
- Corrupt Installation Files.
Now, let us see the possible troubleshooting methods to fix NVIDIA Geforce Experience C runtime error.
Method 1: Reboot PC
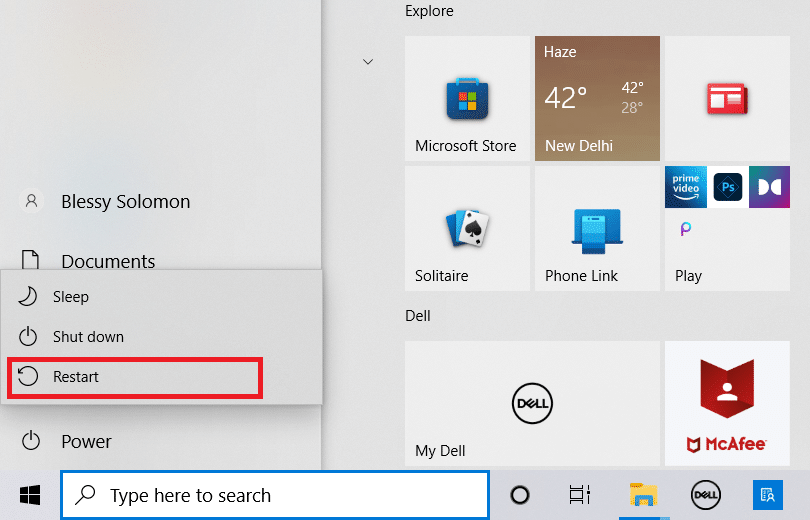
Firstly, you need to reboot your Windows PC before going through any other methods. Restarting your system will fix any temporary bugs and glitches in your operating system. Follow the given steps to restart your Windows PC.
1。 プレス ウィンドウズキー.
2。 選択します 出力 オプションを選択します。
3.ここで、をクリックします 再起動.
Method 2: Run NVIDIA Geforce Experience as Administrator
Another main cause of NVIDIA Geforce Experience C++ runtime error is missing elevated privileges to the software. Hence, you can run the program as administrator to solve this problem. Follow these steps to do so.
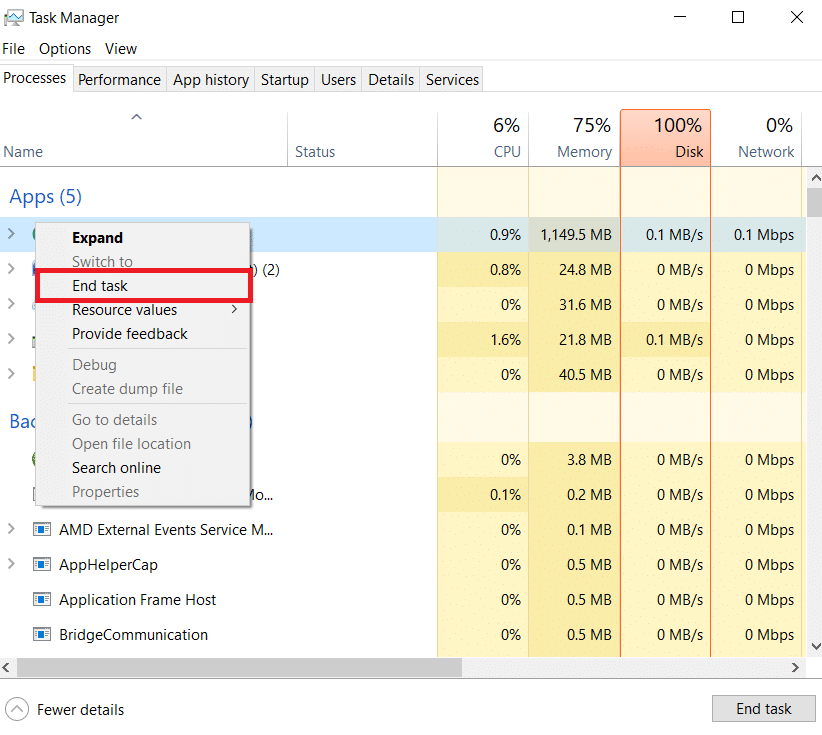
1. Firstly, close all the NVIDIA processes. Follow our guide to end task on Windows 10.
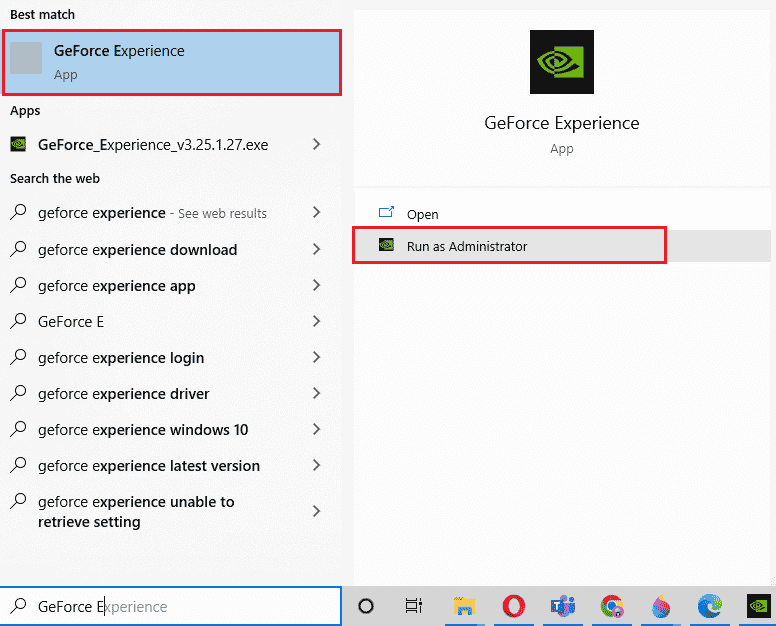
2. 次に、 ウィンドウズキー、タイプ Geforceエクスペリエンス をクリックします。入力したコードが正しければ、MFAの設定は正常に完了します 管理者として実行.
また読む: Fix NVIDIA Overlay Not Working on Windows 10
Method 3: Disable NVIDIA Services
If any NVIDIA services are conflicting, then also this results in NVIDIA Geforce Experience runtime error. So, to avoid the error you need to disable the NVIDIA services on your Windows PC. Following are the steps to disable all NVIDIA services.
1。 プレス Windowsの+ R キー を立ち上げるために一緒に ラン ダイアログボックス。
2.ここで、タイプ services.mscと とヒット キーを入力してください を開く サービス 窓。

3 検索する NVIDIA service and right-click on each such service (e.g. NVIDIAディスプレイコンテナLS), then select the Force Stop option from the context menu.
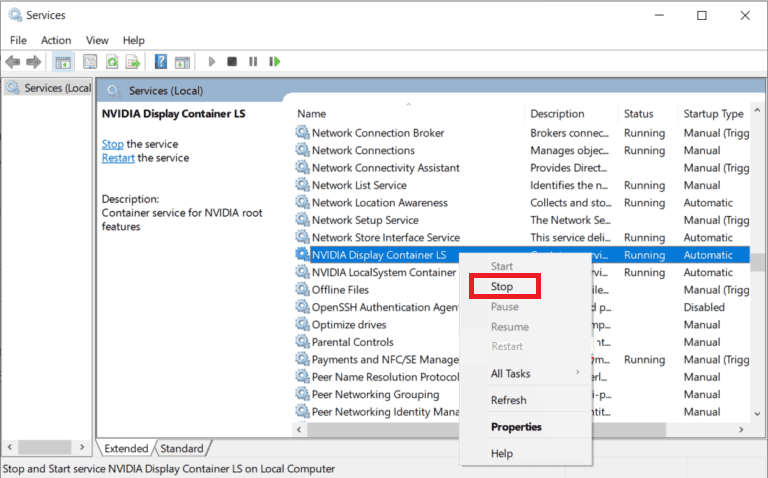
Disabling the conflicting NVIDIA services may fix NVIDIA Geforce Experience C runtime error.
また読む: Windows 10 での C++ のランタイム エラーを修正する
Method 4: Update NVIDIA Geforce Experience
Updating the Geforce Experience app can also solve the problem of runtime error on Geforce Experience. Mostly latest drivers are developed as per the latest operating system out in the market. If you are using an outdated version of Windows, then it is possible that the utility software may show various errors. So, it is advisable to update the NVIDIA Geforce Experience app to remove any bugs and errors. Here, we have listed the steps to update the software below.
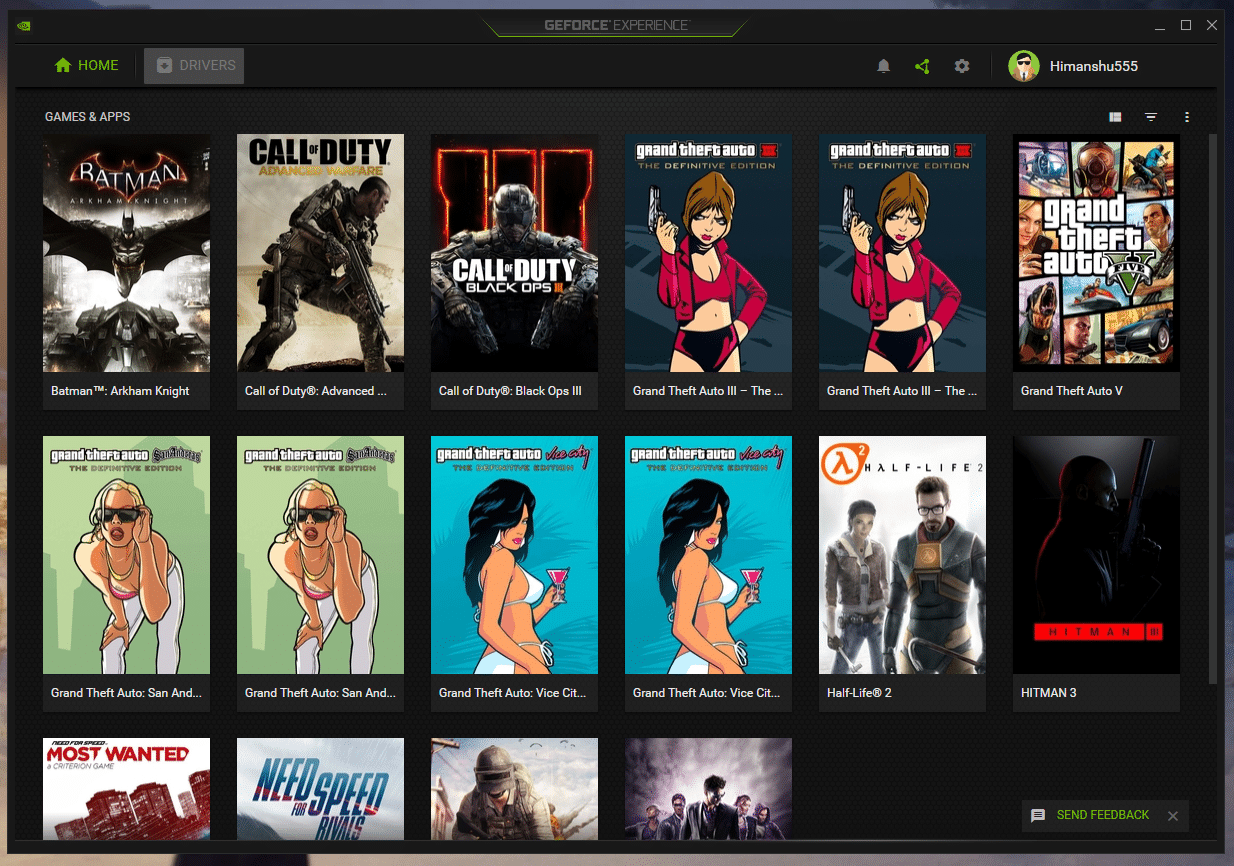
1。 打ち上げ NVIDIA Geforce Experience as administrator.
2。 に行く DRIVERS メニュー。
3.次に、をクリックします。 アップデートを確認する option to check for any available updates.

4A. If there are any updates available, then click on DOWNLOAD button to download and install them.
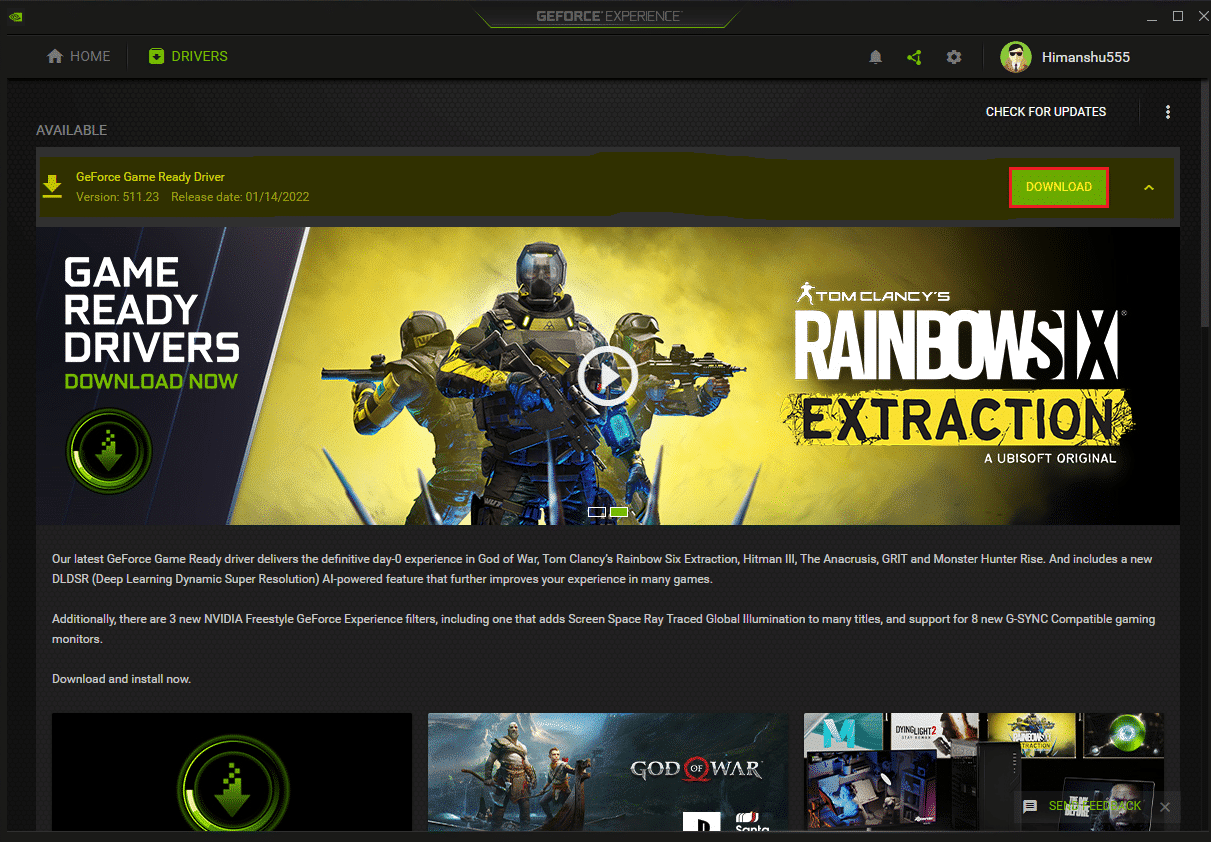
4B. If your driver is updated then, you’ll get the message stating You have the latest GeForce Game Ready Driver.
また読む: このバージョンの Windows と互換性がない NVIDIA ドライバーを修正
Method 5: Reinstall NVIDIA Geforce Experience
If none of the above methods works for you then try reinstalling Geforce Experience. This is the last resort to fix NVIDIA Geforce Experience runtime error. Following are the steps to reinstall the app on your Windows PC.
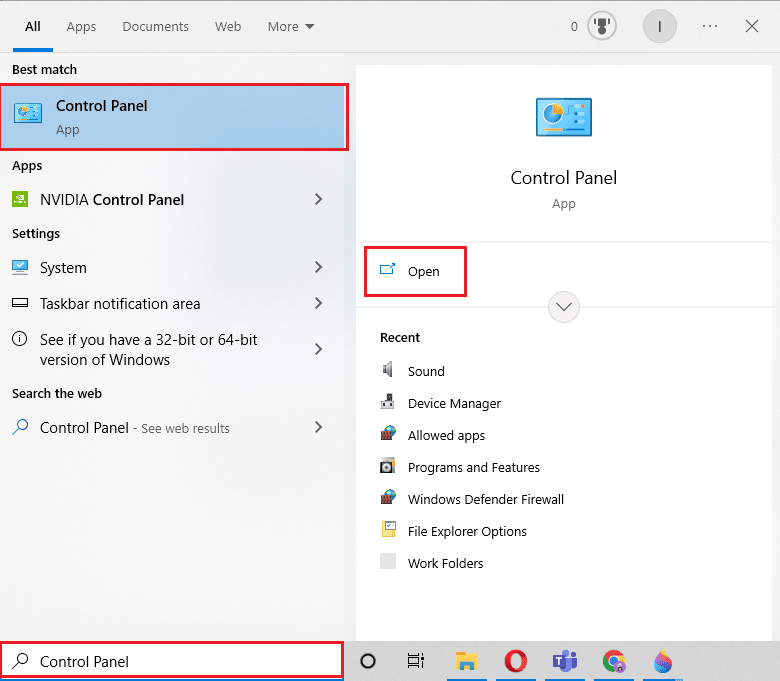
1.ヒット ウィンドウズキー、 タイプ コントロールパネル をクリックします。入力したコードが正しければ、MFAの設定は正常に完了します Open.
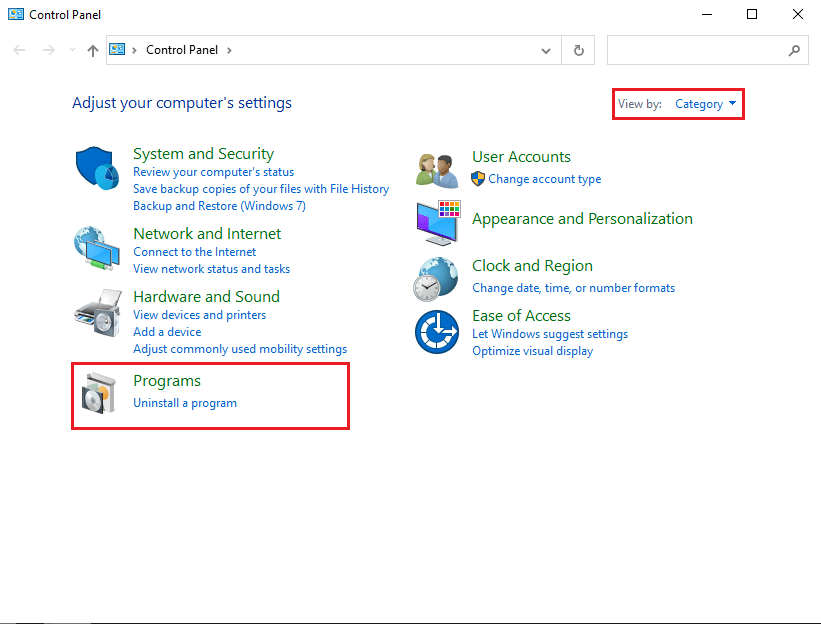
2。 セット 表示順 > カテゴリ、次にクリックしてください プログラムをアンインストールする 下 プログラム
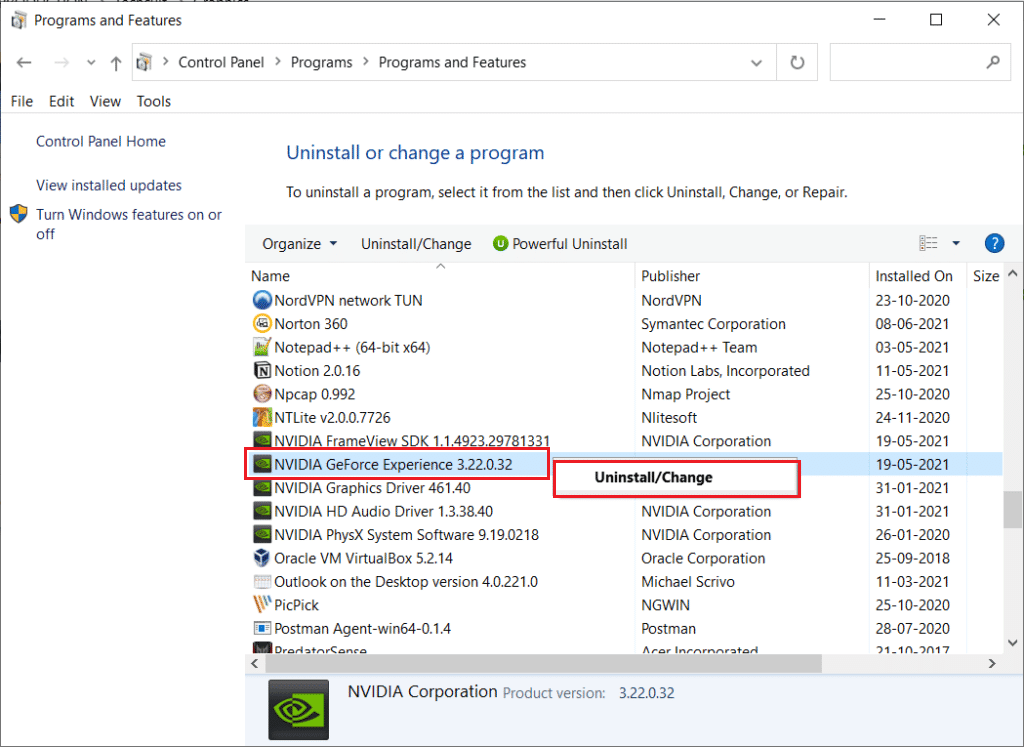
3. ここで、 NVIDIA GeForce エクスペリエンス program, right-click on it and select アンインストール/変更.
4 その後、 PCを再起動する after uninstalling the program.
5. 最後に、 NVIDIAのGeForce体験 ダウンロードのページ をクリックします。入力したコードが正しければ、MFAの設定は正常に完了します ダウンロード Now and reinstall the program.

推奨:
この情報が役に立ち、問題を解決できたことを願っています。 NVIDIA Geforce Experience runtime error. Please mention which technique was the most beneficial for you. Let us know in the comments section below if you have any queries or comments for us about this article.

