If you have 2 in 1 Windows device such as Tablets, you would be familiar with the importance of the screen rotation feature. Users report that the screen rotation feature has stopped working & the Screen Rotation Lock option is greyed out. If you’re facing this issue, then don’t worry as this is just a setting issue which means it can be easily fixed. This guide will walk you through the steps to fix rotation lock greyed out in Windows 10.
Here are issues which can be resolved using this guide:
- Rotation lock missing
- Auto Rotate not working
- Rotation lock greyed out.
- Screen rotation not working
Fix Rotation Lock greyed out in Windows 10
何か問題が発生した場合に備えて、必ず復元ポイントを作成してください。
Method – 1: Enable Portrait Mode
One of the methods to fix this problem is to rotate your screen in portrait mode. Once you rotate it to portrait mode, most probably your rotation lock would start working, i.e. clickable again. In case your device is not rotating into portrait mode automatically, try to do it manually.
1。 押す Windowsキー+私 to open Settings then click on the エントルピー のアイコンをクリックします。

2. Make sure to select ディスプレイ 左側のメニューから。
3.を見つけます Orientation section where you need to choose 肖像画 プルダウンメニューから
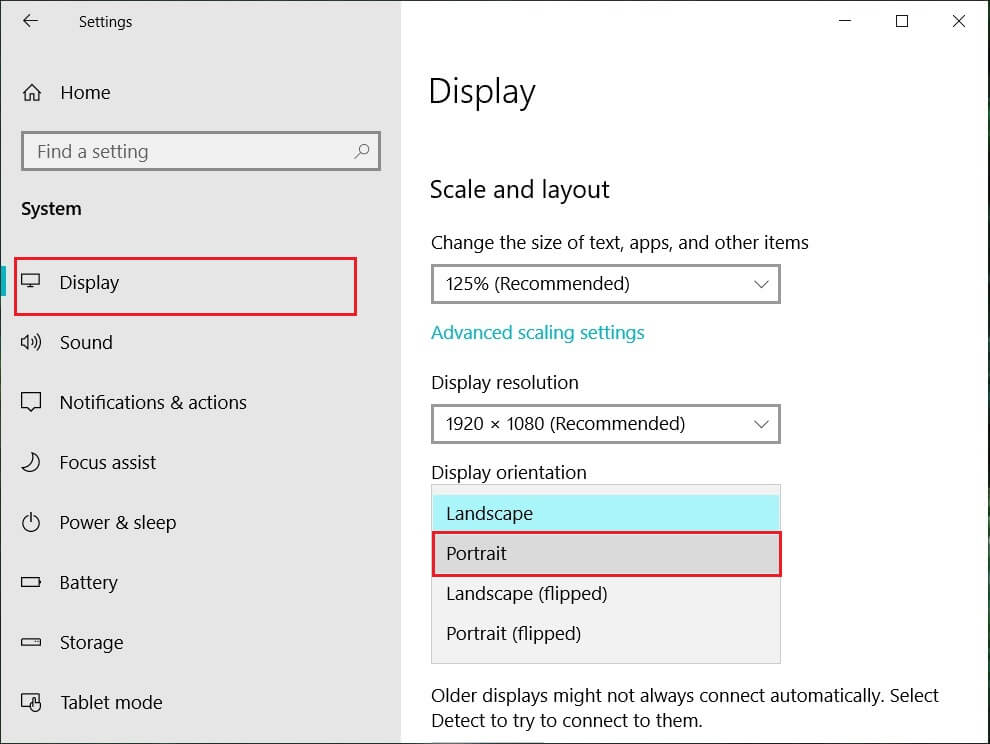
4. Your device will automatically turn into portrait mode.
Method – 2: Use your device in tent mode
Some users, particularly Dell Inspiron, experienced that when their rotation lock is greyed out, the only way to solve this problem is to put your device in Tent Mode.
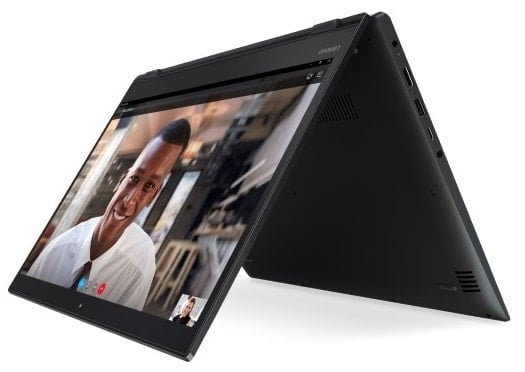
画像のクレジット: Microsoft
1. You need to put your device in Tent Mode. If your display is upside down, you need not worry.
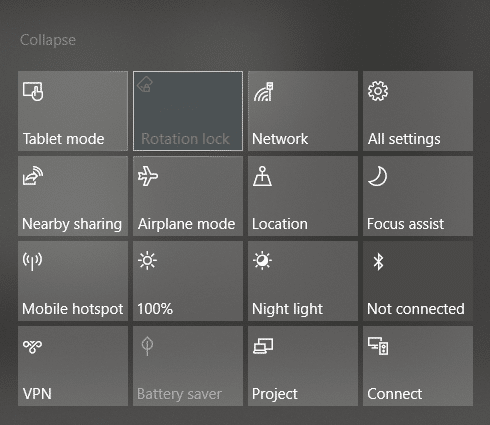
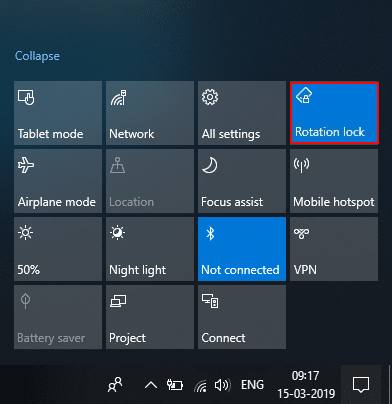
2.をクリックします Windowsアクションセンター, 回転ロック will be working. Here you need to turn it off if you want so that your device rotate properly.
Method – 3: Disconnect your keyboard
If rotation lock is greyed in your Dell XPS and Surface Pro 3 (2-in-1 device), you need to disconnect your keyboard, and many users reported that disconnecting the keyboard solves the rotation lock problem. If you own different devices, you can still use this method to fix rotation lock greyed out in Windows 10 issue.
Method – 4: Switch to Tablet Mode
Many users experienced that this rotation greyed out the problem by switching their device into Tablet Mode. If it is switched automatically, it is good; otherwise, you can do it manually.
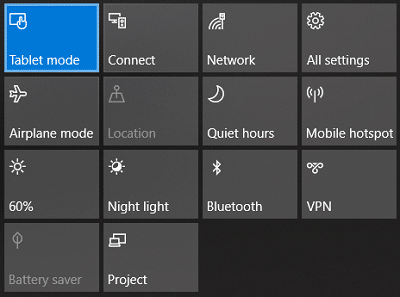
1。 クリックしてください Windowsアクションセンター。
2. ここにあります。 タブレットモード option, Click on It.
OR
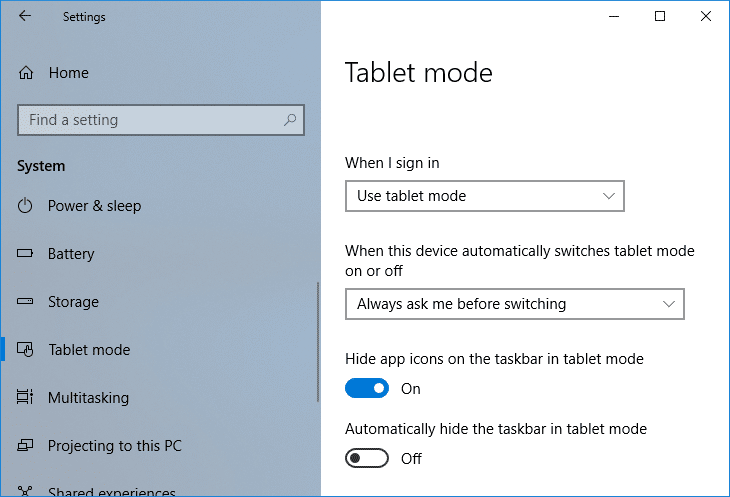
1. Windows キー + I を押して開きます 設定 次に、 エントルピー のアイコンをクリックします。
2. Here it would help if you located タブレットモード option under the left window pane.
3. Now from the “When I sign in” drop-down, select “タブレットモードを使用する"
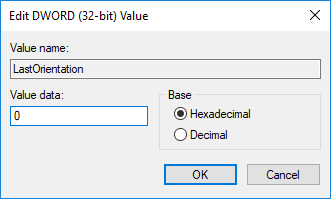
Method – 5: Change LastOrientation Registry Value
If you still experience a problem, you can solve it by changing some registry values.
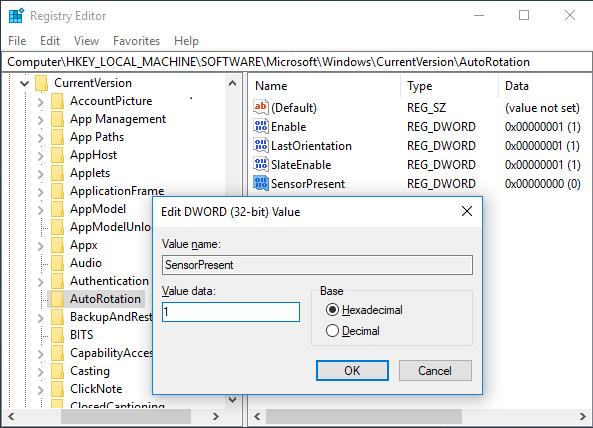
1. Press Windows +R and enter regeditを Enterを押します。

2. Once registry editor opens, you need to navigate to the below path:
HKEY_LOCAL_MACHINESOFTWARMicrosoftWindowsCurrentVersionAutoRotation
注: Follow the above folders one by one to locate Auto Rotation.
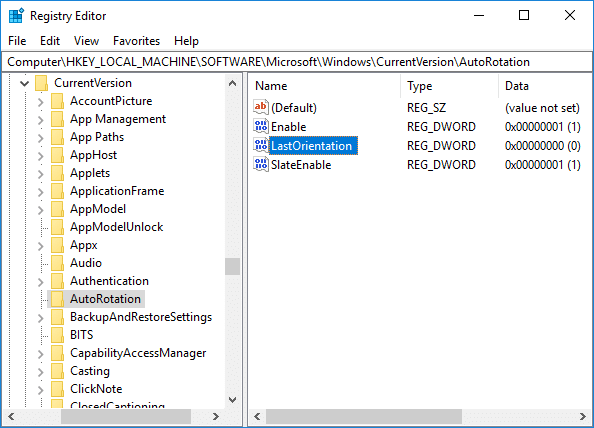
3。 必ず select AutoRotation 次に、右側のウィンドウペインで、 Last Orientation DWORD.
4.ここで入力します 0 under Value data field [OK]をクリックします。
5. ある場合 SensorPresent DWORD, double-click on it and set its 値を1に設定します。
Method – 6: Check Sensor Monitoring Service
Sometimes services of your device can cause a rotation lock problem. Therefore, we can get it sorted with Windows Monitoring services feature.
1. Windows + R を押して次のように入力します。 services.mscと Enterキーを押します。

2. Once the services window opens, find the Sensor Monitoring services option それをダブルクリックします。
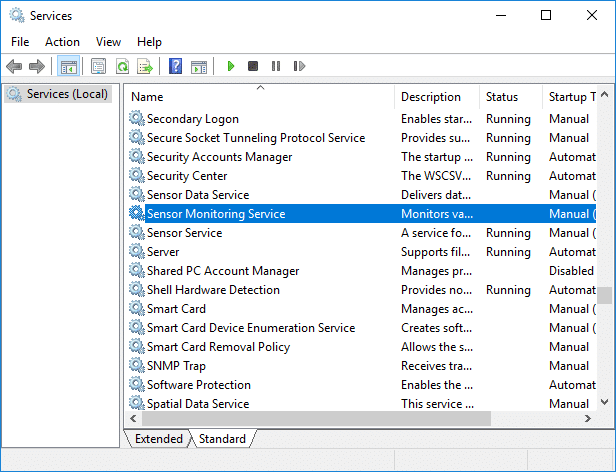
3. Now, from the Startup type drop-down select オートマチック 、次にをクリックしてください スタートボタン サービスを開始する。
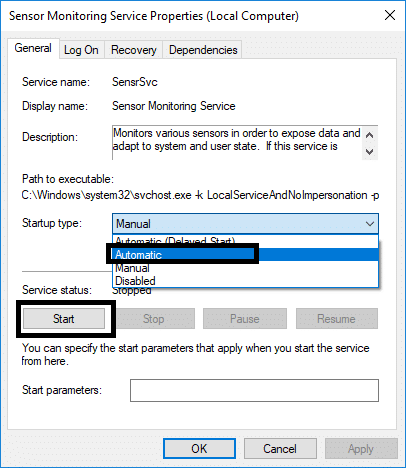
4. Finally, click Apply followed by OK to save the settings, and you can reboot the system to apply the changes.
Method – 7: Disable YMC service
If you are using a Lenovo Yoga device and experiencing this problem, you can fix rotation lock grayed out in the Windows 10 issue by disabling YMC service.
1. Windows + R type services.mscと Enterキーを押します。
2.検索 YMC services それをダブルクリックします。
3. スタートアップの種類を次のように設定します。 身体障がい者 and click Apply, followed by OK.
Method – 8: Update Display Drivers
One reason for this problem could be the driver update. If your respective driver for the monitor is not updated, it can cause the Rotation Lock greyed out in Windows 10 Issue.
Manually Update Graphics Drivers using Device Manager
1. Windows キー + R を押して、次のように入力します。 devmgmt.msc Enter キーを押して開きます デバイスマネージャ。

2. 次に展開します ディスプレイアダプタ and right-click on your Graphics Card and select 有効にします。
![Nvidia グラフィック カードを右クリックし、[有効にする] を選択します。](https://lbsite.org/wp-content/uploads/2023/01/right-click-on-your-Nvidia-Graphic-Card-and-select-Enable.png)
3. Once you have done this again right-click on your graphics card and select “ドライバの更新"

4。 」を選択します更新されたドライバソフトウェアを自動的に検索する」と言ってプロセスを終了させます。

5. If the above steps helped fix the issue then very good, if not then continue.
6. Again right-click on your graphics card and select “ドライバの更新」と表示されますが、今度は次の画面で「」を選択します。コンピュータを参照してドライバソフトウェアを探します。

7. ここで「」を選択します。私のコンピュータ上の利用可能なドライバのリストから選んでみましょうに設立された地域オフィスに加えて、さらにローカルカスタマーサポートを提供できるようになります。」

8。 最後に、 最新のドライバーを選択してください リストからクリックして 次へ。
9. Let the above process finish and restart your PC to save changes.
Follow the same steps for the integrated graphics card (Intel in this case) to update its drivers. See if you’re able to Fix Rotation Lock greyed out Issue, if not then continue with the next step.
Automatically Update Graphics Drivers from Manufacturer Website
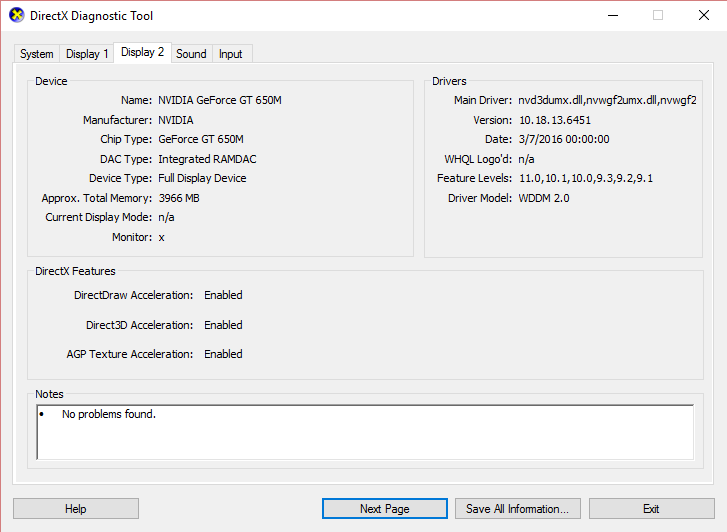
1. Press Windows Key + R and in the dialog box type “DXDIAG」と入力してEnterを押します。

2. After that search for the display tab (there will be two display tabs one for the integrated graphics card and another one will be of Nvidia’s) click on the Display tab and find out your graphics card.
3. Now go to the Nvidia driver ダウンロードサイト and enter the product details which we find out.
4. Search your drivers after inputting the information, click Agree and download the drivers.

5. After successful download, install the driver, and you have successfully updated your Nvidia drivers manually.
Method – 9: Remove Intel Virtual Buttons Driver
Some users reported that Intel Virtual button drivers cause rotation lock problem on your device. To solve this problem, you can uninstall the driver.
1. Open Device manager on your device by pressing Windows + R and type devmgmt.msc and hit Enter or press Windows X and choose デバイスマネージャ オプションリストから。
2. Once Device manager box is opened locate Intel virtual buttons driver.
3.それを右クリックして、 アンインストール。
推奨:
この記事がお役に立てば幸いです。今すぐ簡単に Fix Rotation Lock greyed out in Windows 10, but if you still have any questions regarding this tutorial then feel free to ask them in the comment’s section.
でClubhouseを使用する方法")
