Steam is a well-known name in the gaming community, being the largest PC game distribution platform. But even the king sees some bad days. It is not uncommon to face issues with Steam PC clients and a lot of users have complained about Steam running slow at times to the point it literally stops to respond. You may eventually observe that Steam is slow and you can’t find your way around your library anymore. But worry not. We have compiled a list of remedies that you can try when you experience Steam is slow problem in Windows 10. So lets see what those methods are.

How to Fix Steam is Slow in Windows 10
There may be numerous reasons behind Steam running slow issue. Some of them are listed below.
- Lack of enough CPU and memory resources causes a computer to overheat.
- Too much cache and cookies
- 古いデバイスドライバー
- Outdated Steam app
We have shown all the possible methods to fix Steam is slow issue in the below section. But, before trying the given methods you should boot your system in safe mode. Read our article to boot to safe mode in Windows 10
方法 1: Steam を管理者として実行する
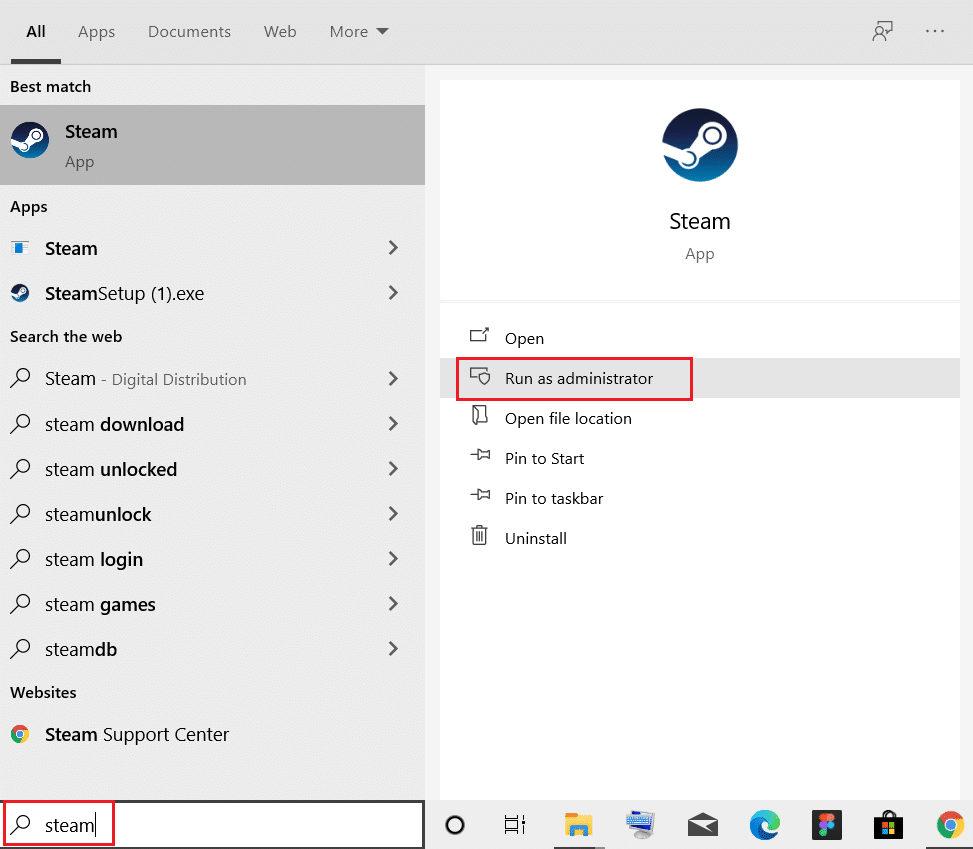
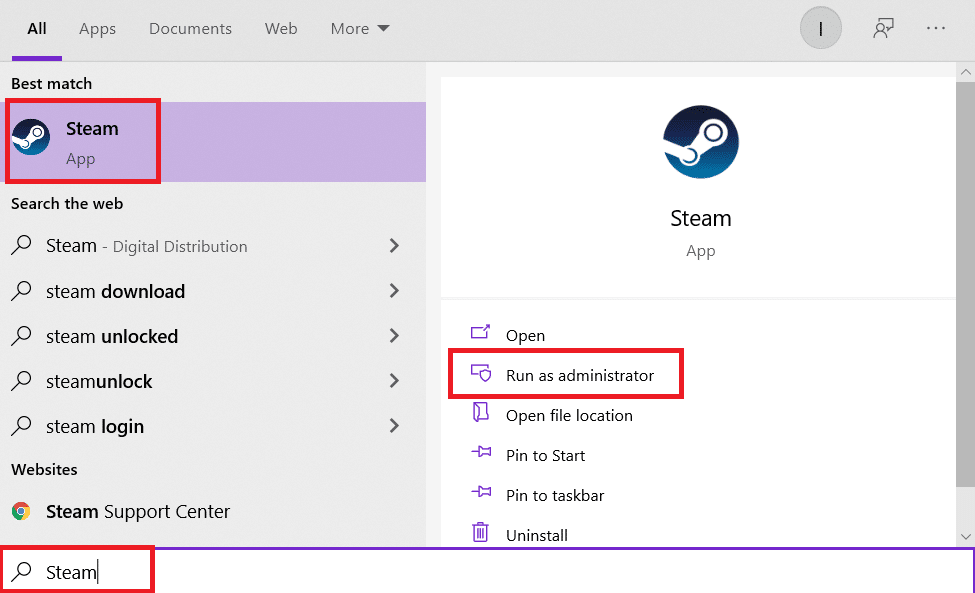
You must always run Steam as administrator as it will give administrative privileges to Steam to run all games. So, follow the given steps to run Steam as administrator.
1.ヒット ウィンドウズキー とタイプ Steam セクションに 検索バー.
2。 今すぐクリックして 管理者として実行.、図のように。
Method 2: Remove Background Processes
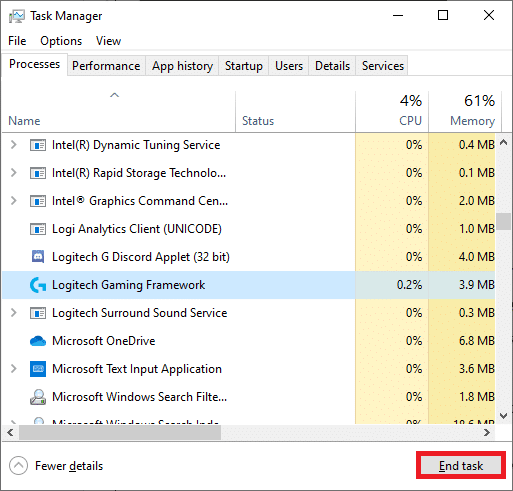
Unnecessary apps running in the background may result in high Memory usage. This can case Steam is slow issue in your system. So, follow these steps to remove background processes.
1。 打ち上げ Task Managerを押す CTRL + SHIFT + ESC キー 同時に。
2. を見つけて選択します。 不要な 背景 ラボレーション 高いものを使って メモリ.
3.次に、をクリックします 終了タスク、強調表示されているように。
また読む: Windows10でSteamが開かない問題を修正する方法
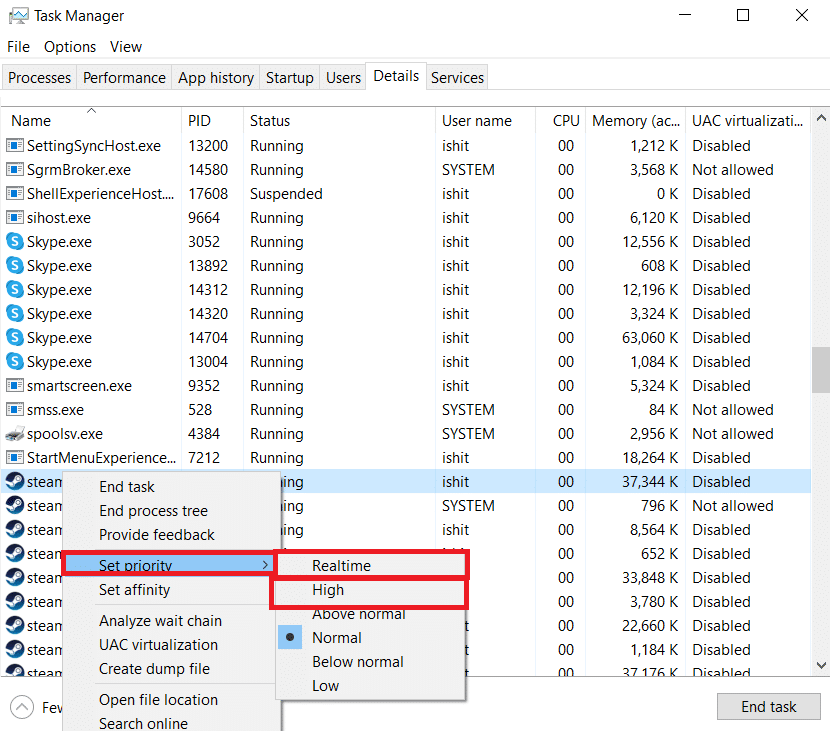
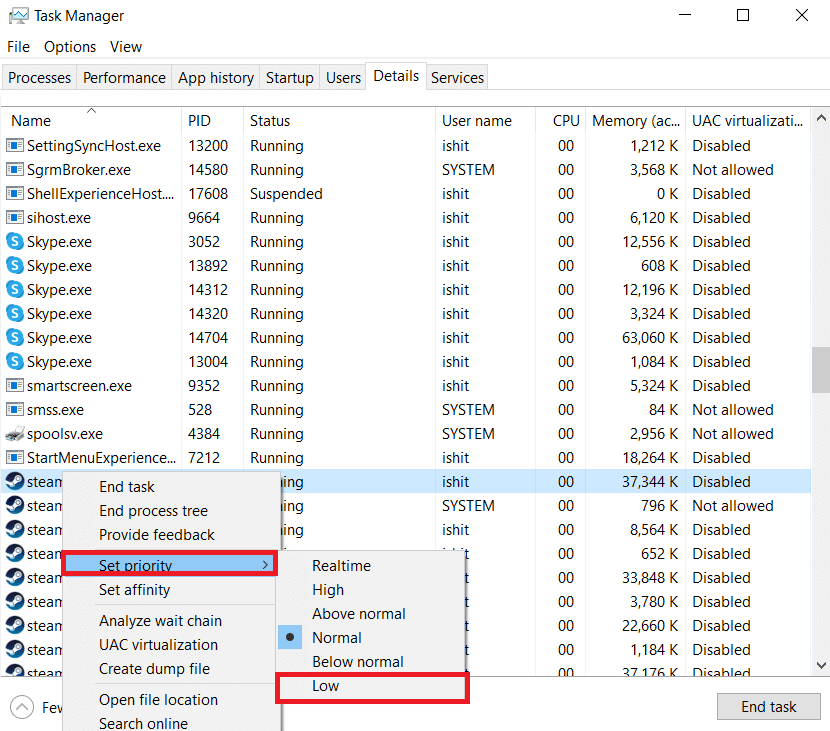
Method 3: Change Steam Process Priority
You can also set Steam priority to high from the Task Manager by following the given steps below.
1。 打ち上げ Task Manager そして、 詳細 タブには何も表示されないことに注意してください。
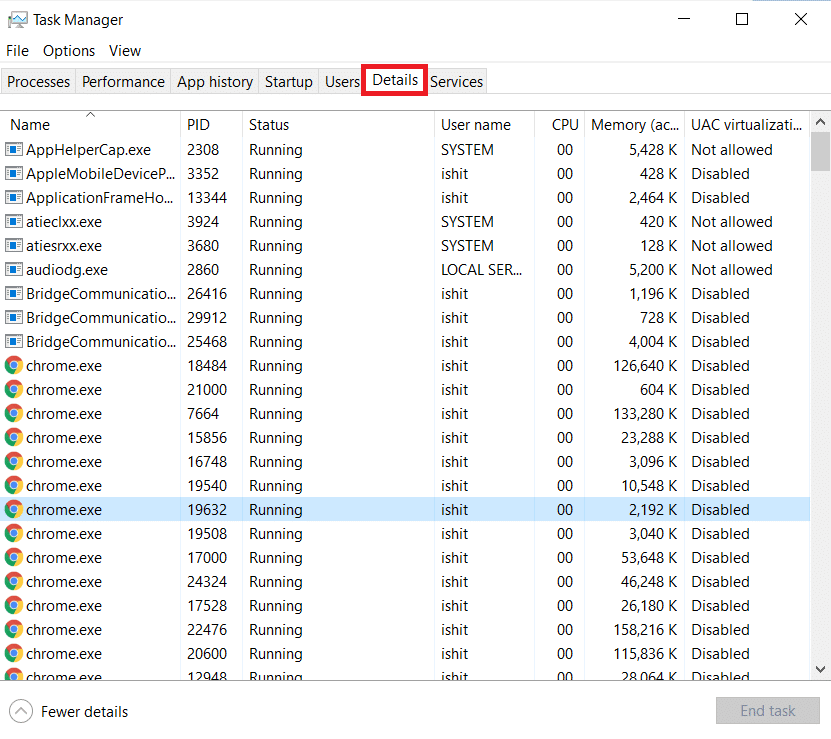
2. 下にスクロールして、 Steam.exe プロセス。
3.を右クリックします Steam process and hover to 優先順位を設定, then select any one of the below オプション.
注: You can also set the priority to Low if Steam uses high memory by following the above steps and selecting the ロー 内のオプション ステップ1.
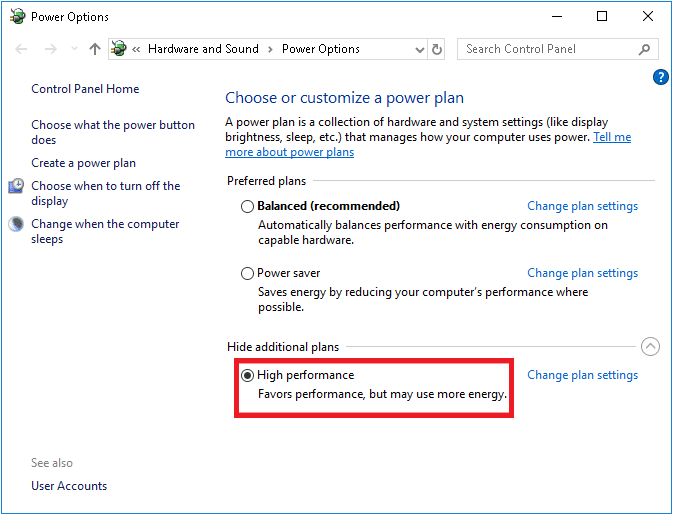
Method 4: Switch to High Performance Power Plan
If you are using a power-saving plan then, it may cause Steam is slow issue. Follow the given steps to switch to high performance power plan to fix Steam running slow issue.
1.を右クリックします バッテリーアイコン タスクバー をクリックして 電源オプション.
![]()
2.ここで、 高性能 option as highlighted in the pic below.
また読む: Windows 502のSteamエラーコードe3 l10を修正する
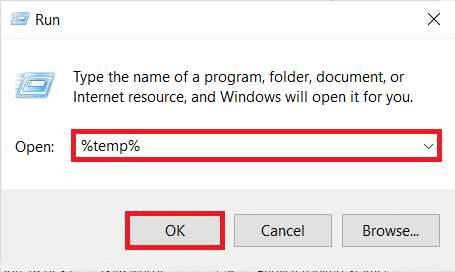
Method 5: Delete HTTP, HTML Cache & Temporary Files
Follow the given steps below to delete the temporary files and HTML cache file to fix Steam is slow issue.
1。 プレス Windows + Rキー を立ち上げるために一緒に ラン ダイアログボックス。
2。 タイプ の%temp% をクリックします。入力したコードが正しければ、MFAの設定は正常に完了します OK.
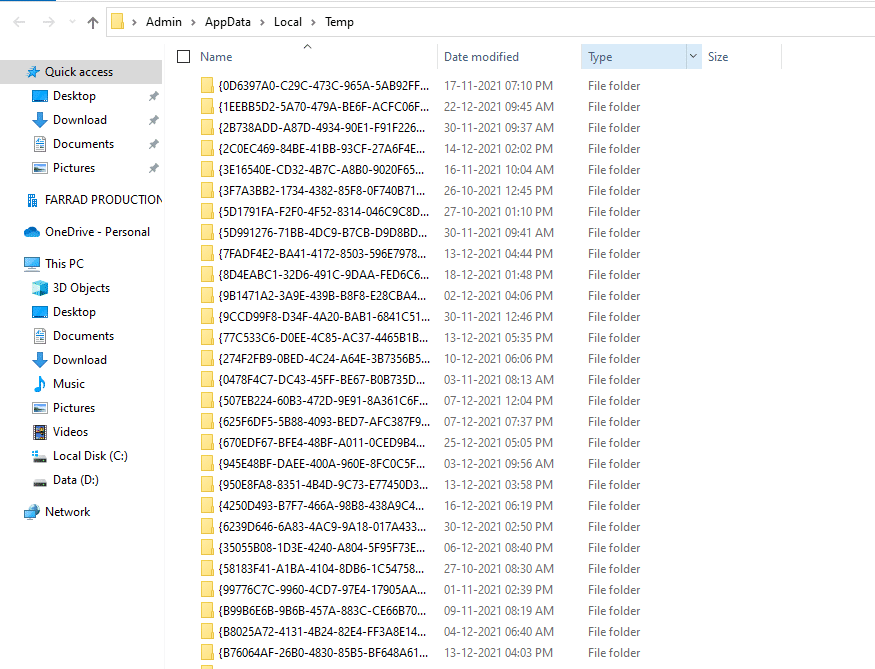
3。 押す Ctrl+Aキー together to select all the unrequired files and press the Shift + Del keys together to delete them permanently.
注: Some files cannot be deleted coz they are being used, so you can skip these.
4。 押す Windowsの+ E キー 一緒に開く ファイルエクスプローラ
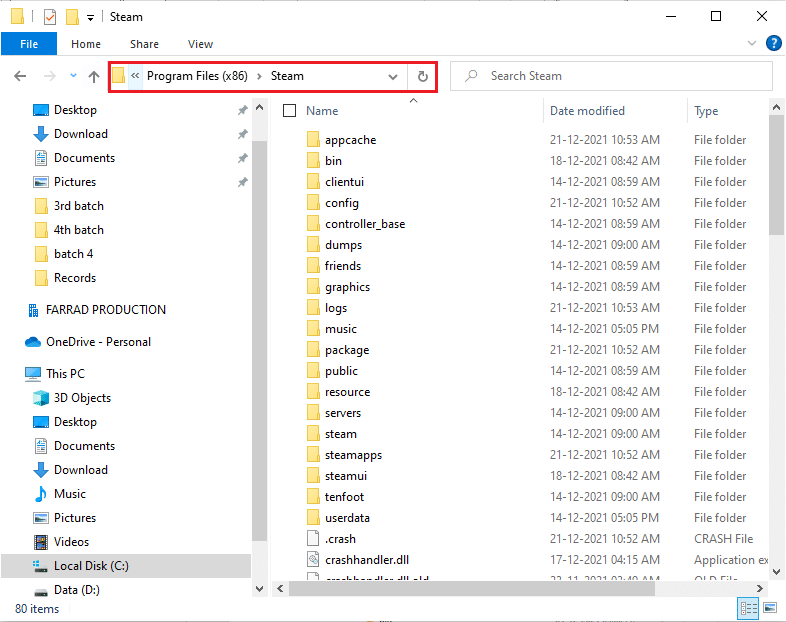
5. Navigate to the location where you installed Steam: C:プログラムファイル(x86)スチーム
注: If you are not sure, read our guide: Where are Steam Games installed? here.
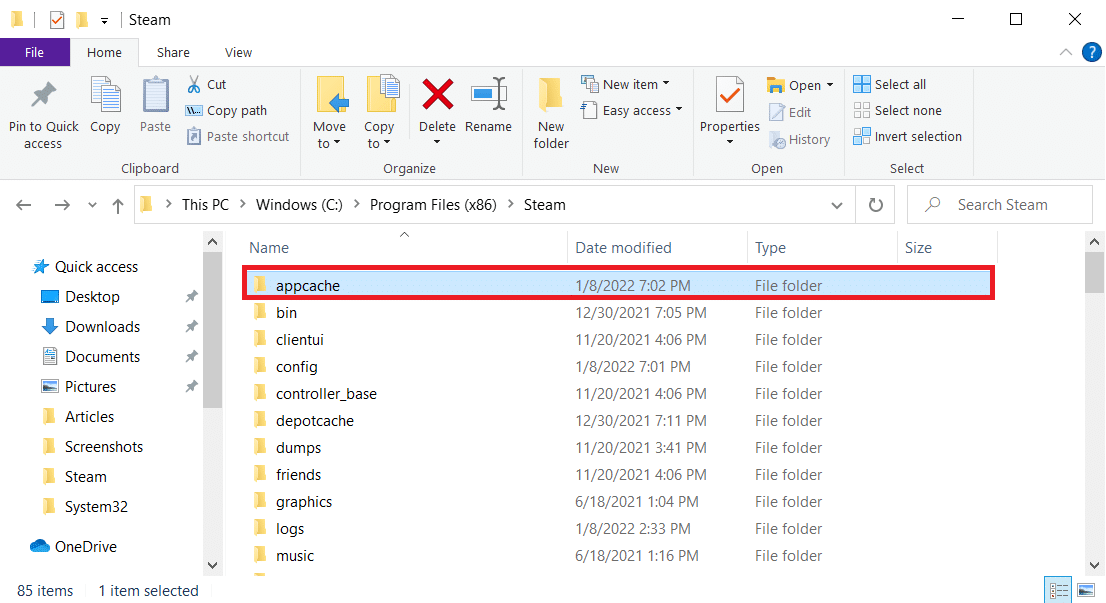
6.をダブルクリックします アプリキャッシュ フォルダにコピーします。
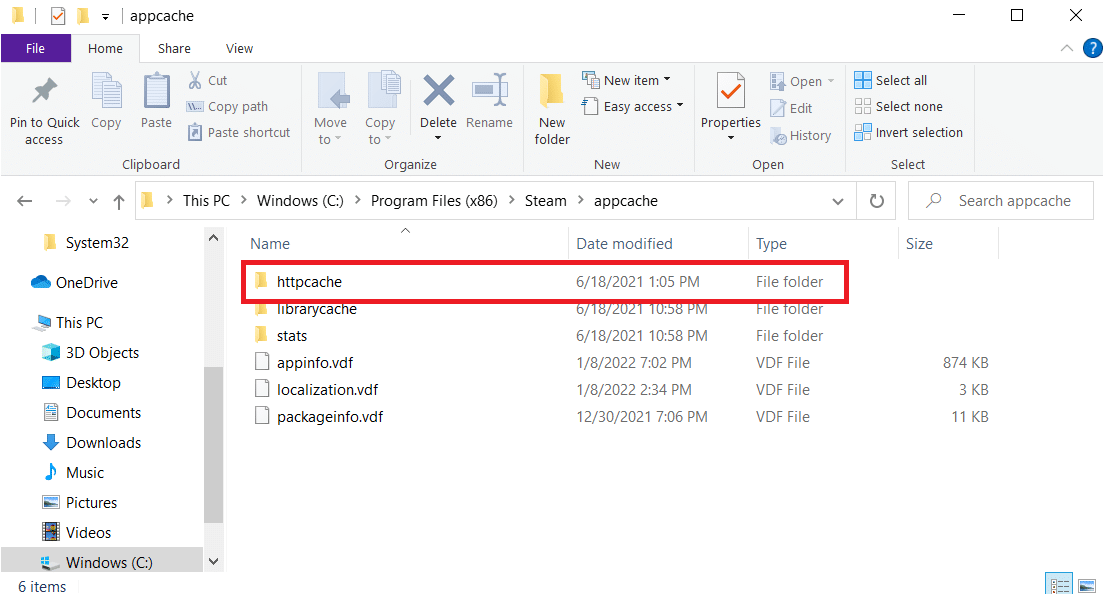
7. Here, delete the httpcache フォルダにコピーします。
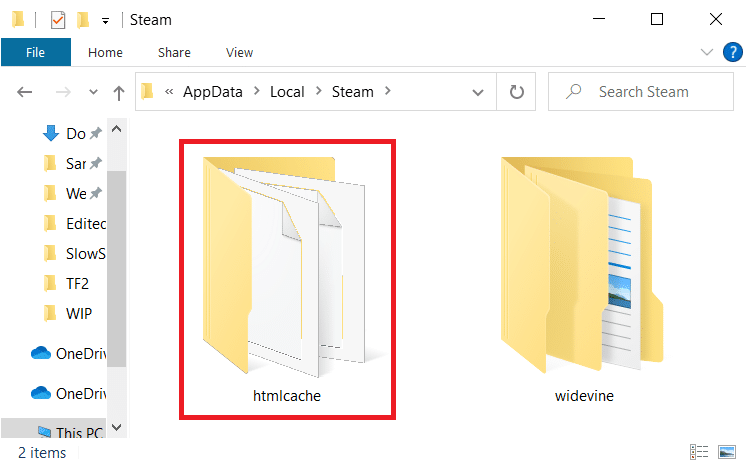
8. Then, go to the following path そして削除 htmlキャッシュ フォルダにコピーします。
C:Users<UserName>AppDataLocalSteam
9。 最後に、 PCを再起動する and check if the issue persists or not.
また読む: Fix Steam Stopping Downloads on Windows 10
Method 6: Clear Steam Browser Cache & Cookies
Here is how to fix Steam is slow issue by clearing Steam web browser cache and cookies.
1.ヒット ウィンドウズキー、タイプ Steam、をクリックします 管理者として実行..
2. In the upper left corner of the window, click on the Steam タブを選択 設定 ドロップダウンボックスから。
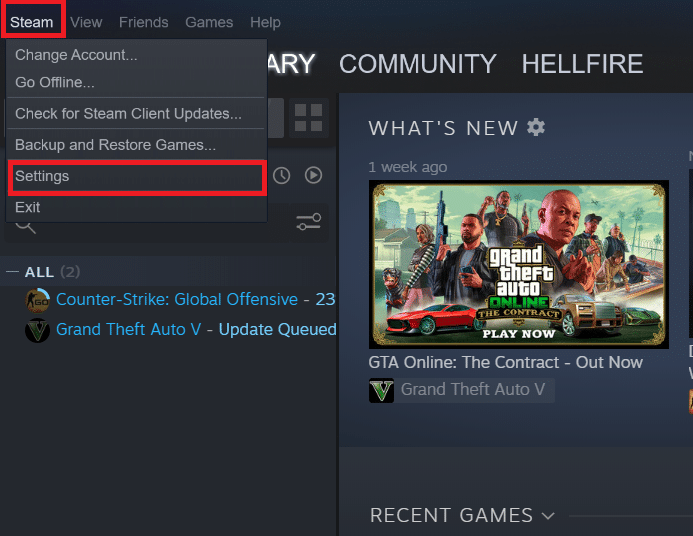
3. 次に、 ウェブブラウザ settings from the left pane.
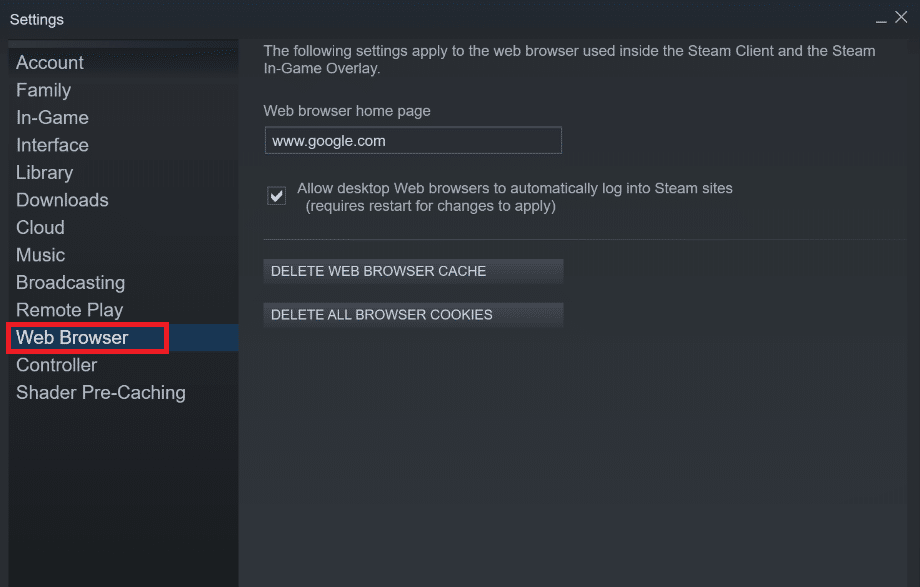
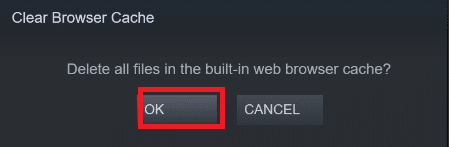
4. Click on both the given ボタン to delete web browser cache and cookies respectively.
- Webブラウザキャッシュを削除
- Delete Web Browser Cookies
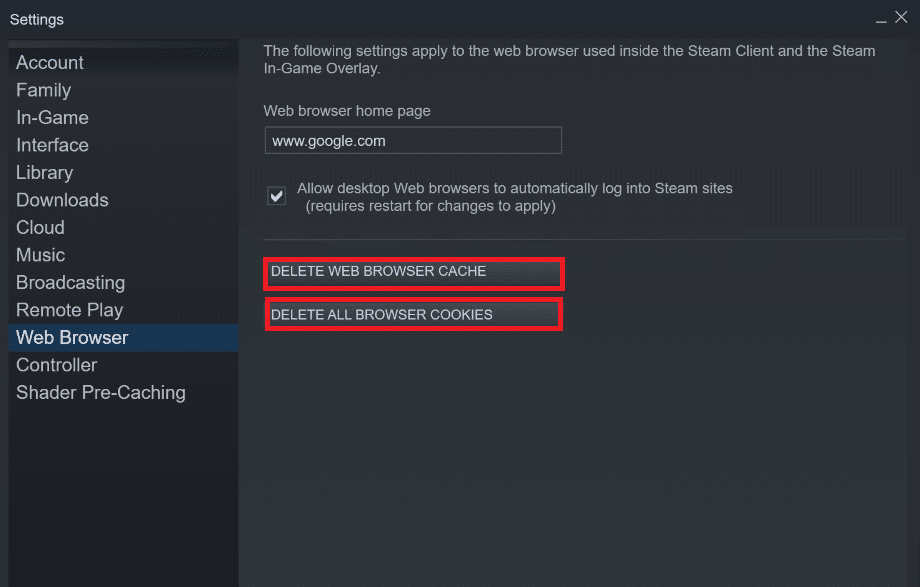
5。 クリック OK in the confirmation prompt of both options.
6。 最後に、 Steamを再起動します to check if Steam running slow issue is fixed or not.
また読む: Windows 10でSteamオーバーレイを無効にする方法
方法7: ダウンロードキャッシュをクリア
There may be download cache of the games in Steam which can result in Steam is slow issue. So, here are the steps to clear download cache.
1。 起動する Steam app as administrator.
2.さあ、 Steam タブを選択 設定 ドロップダウン メニューから。下の写真を参照してください。

3。 選択します ダウンロード 左側のペインの設定。
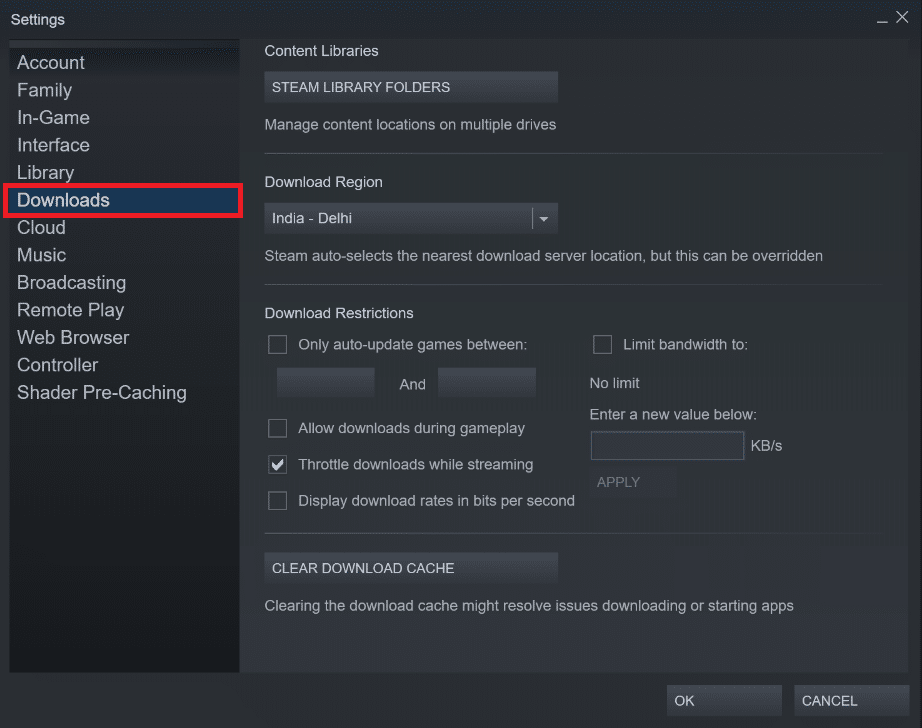
4. 一番下までスクロールし、 ダウンロードキャッシュをクリアする
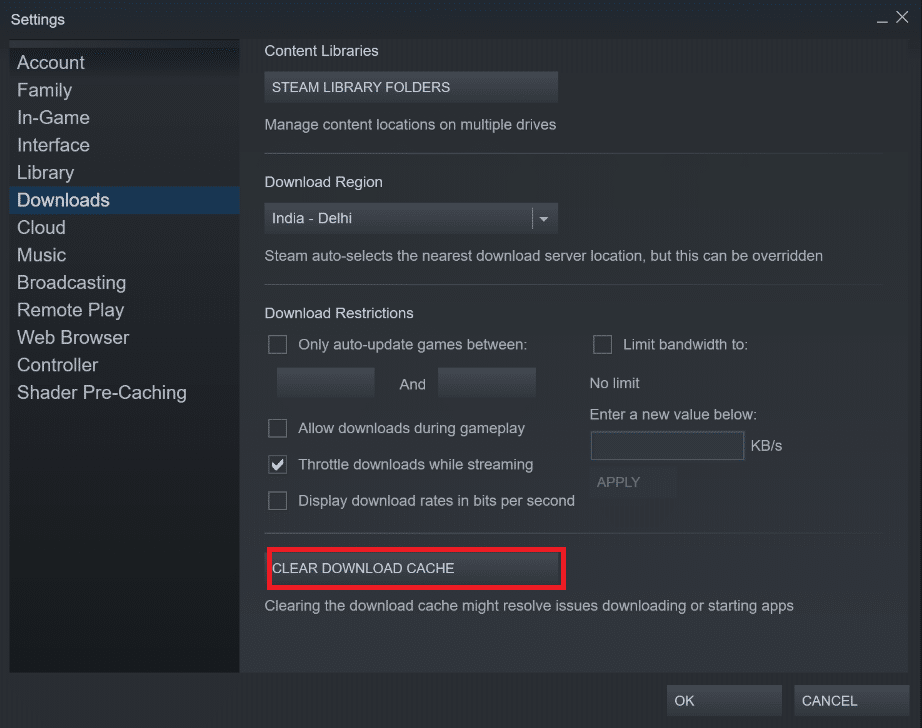
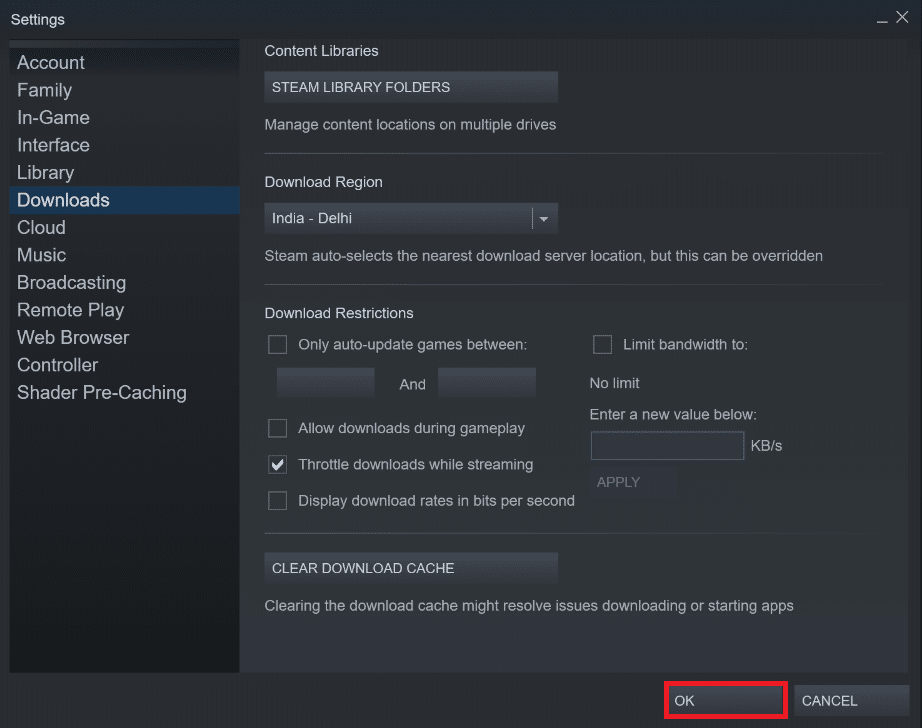
5。 クリック OK セクションに ダウンロードキャッシュをクリア 確認プロンプト。

6.最後に、をクリックします OK 変更を保存する。
方法 8: Steam を互換モードで実行する
You can also try running Steam in compatibility mode on different Windows versions to solve Steam is slow problem.
1.右クリックします Steam executable file 選択 プロパティ オプションを選択します。
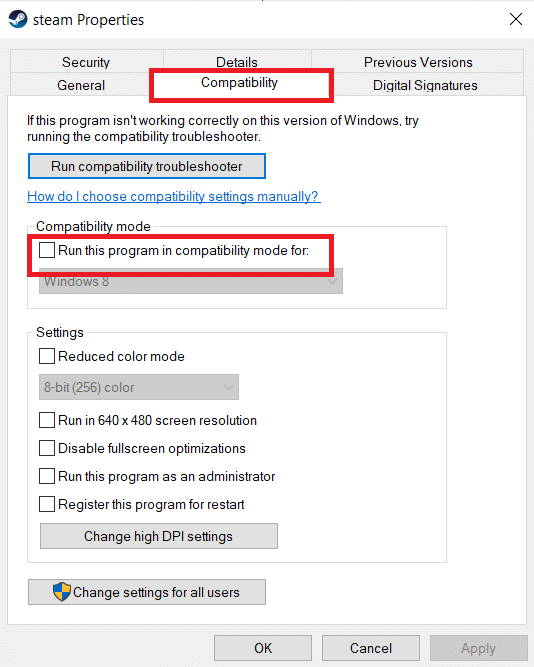
2。 に行く 互換性 タブの 蒸気特性 window and check the Run this Program in Compatibility Mode for オプションを選択します。
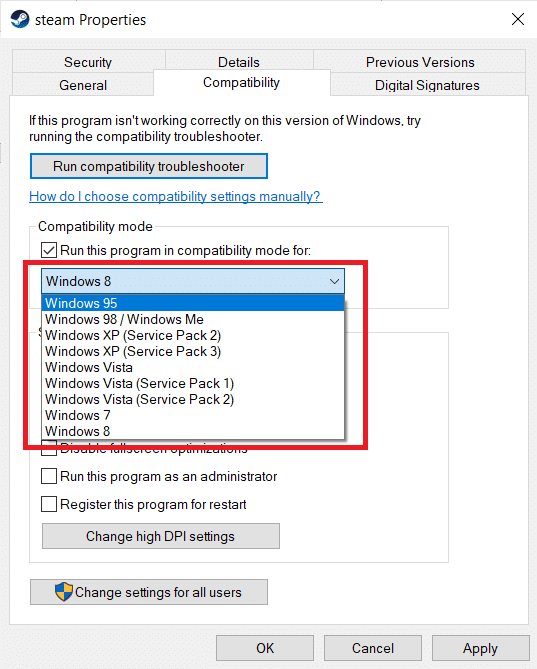
3。 選択します Windows版 ドロップダウンメニューから選択します。
4。 クリック 適用> OK to save changes and run Steam as administrator.
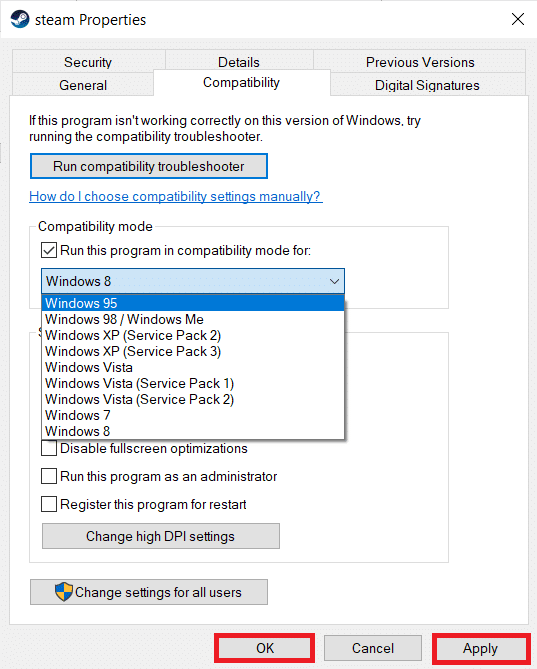
5. Check if the issue is fixed, else try running Steam in different Windows versions by repeating the above steps.
また読む: Steam イメージのアップロードに失敗した問題を修正
方法 9: ゲーム ファイルの整合性を確認する
If you experience Steam running slow problem while playing a particular game then, you should check the integrity of that game file on Steam. Read our easy-to-follow tutorial on How to Verify Integrity of Game Files on Steam.
Method 10: Modify Graphics Driver Settings
Follow these steps to modify graphics driver settings to fix Steam is slow issue.
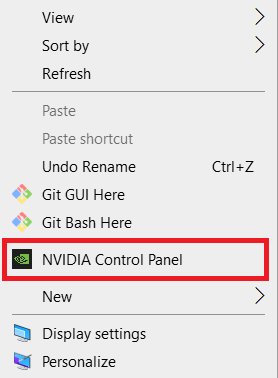
1.を右クリックします 空きスペース in the Desktop and select NVIDIAコントロールパネル.
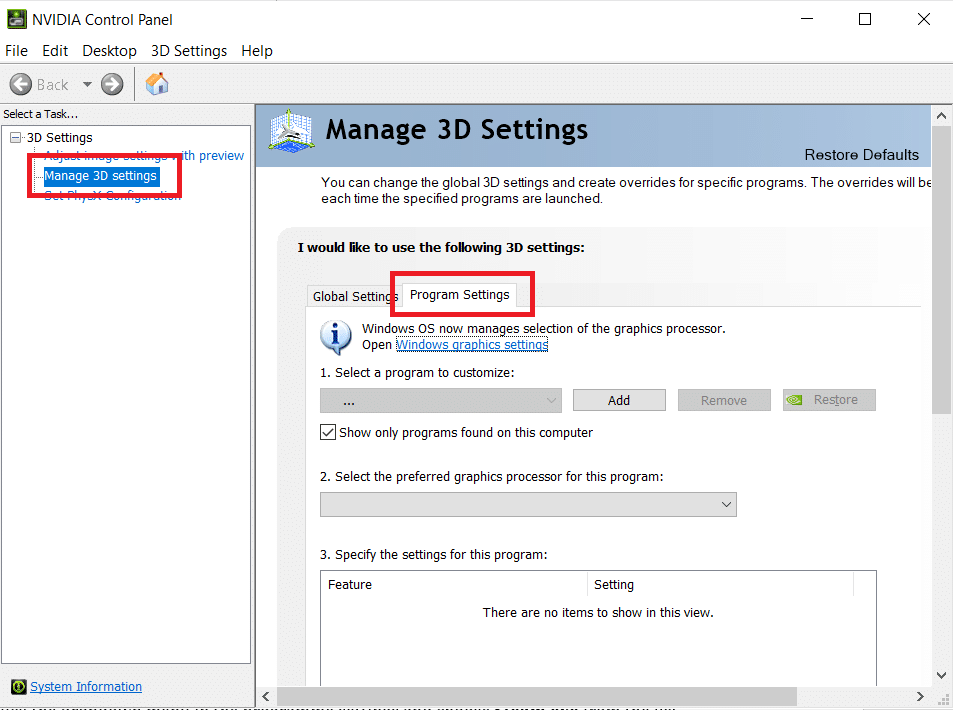
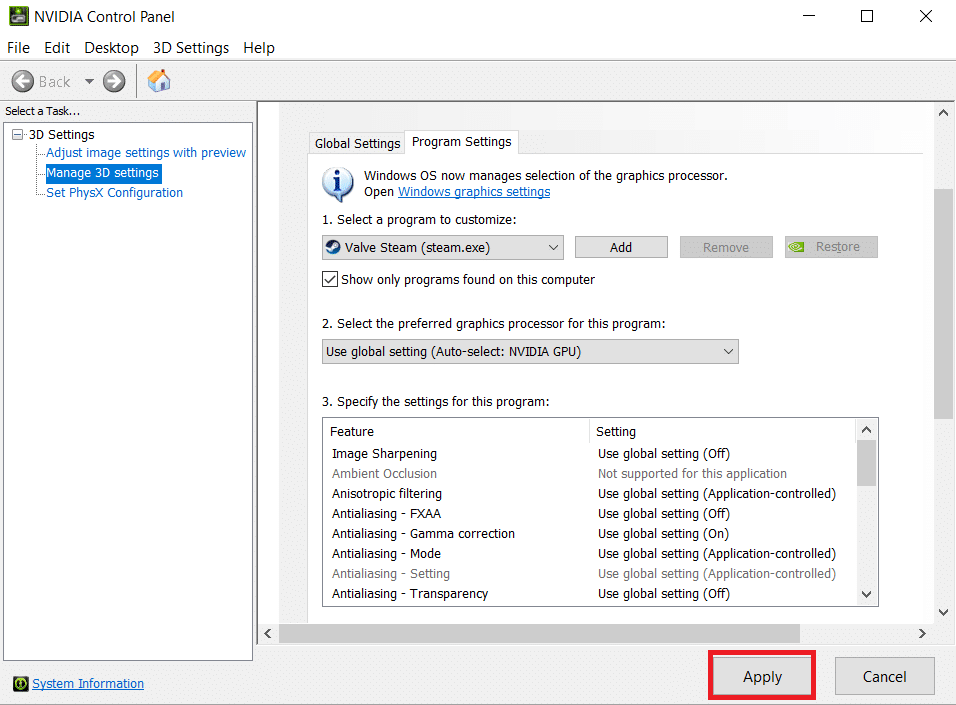
2。 クリックしてください 3D設定を管理する option in the left pane and go to the プログラムの設定 タブには何も表示されないことに注意してください。
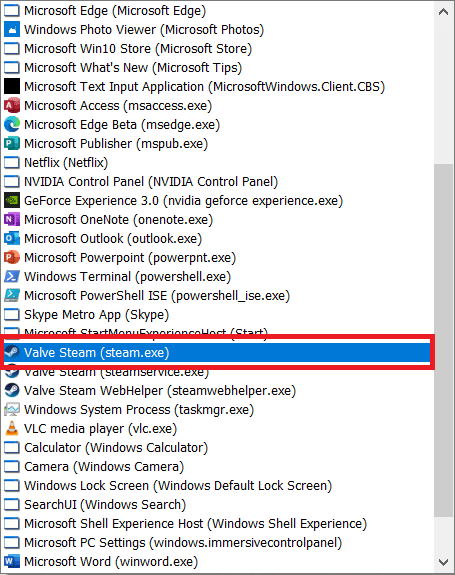
3。 選択する Steam カスタマイズするプログラムを選択 ドロップダウンリスト。
4 その後、 select the preferred graphics processor for this program. We recommend you select the 高性能NVIDIAプロセッサ.
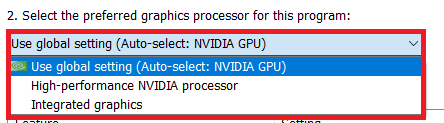
5.最後に、をクリックします 申し込む ボタンをクリックして変更を保存します。
Method 11: Modify LAN Settings
There may be network configuration issues which is resulting in Steam running slow problem. So, here are the steps to Modify LAN configuration settings.
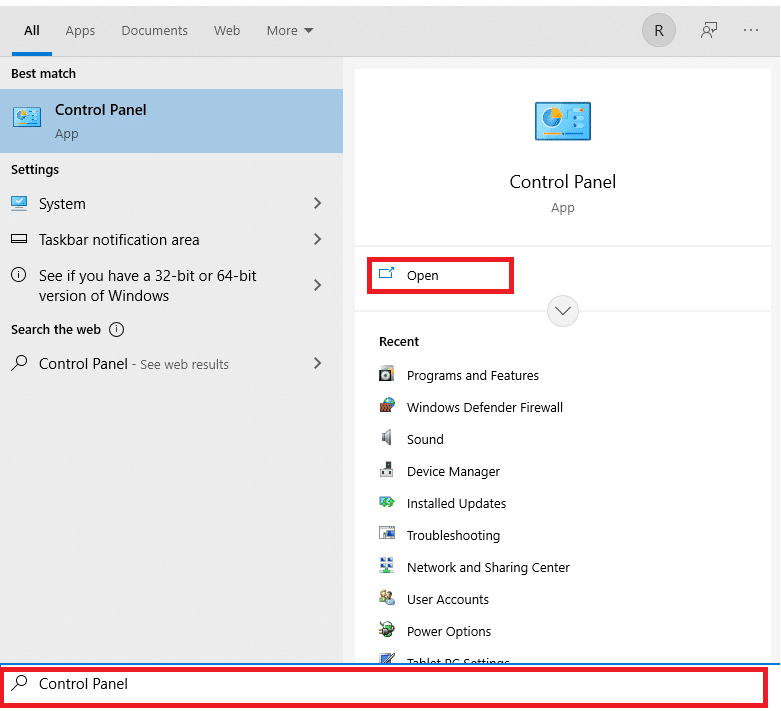
1。 プレス ウィンドウズキー、タイプ control panel、をクリックします Open.
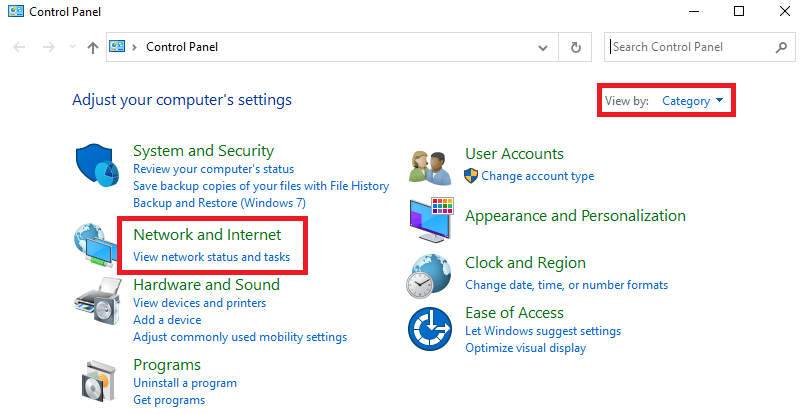
2. 次に、 で見る オプション カテゴリー 選択 ネットワークとインターネット 以下のようにリンクしてください。
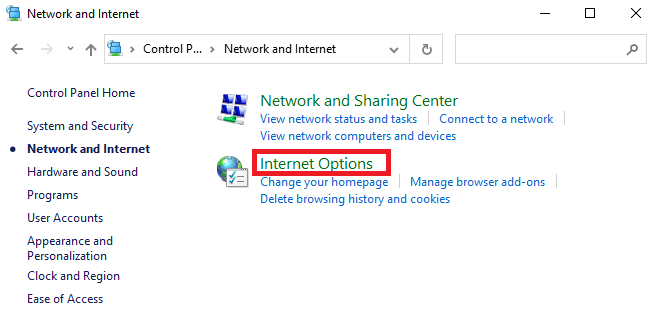
3.ここで、をクリックします [インターネットオプション] としてジョブステータス出力ログに記録されます。
4。 の中に インターネットのプロパティ ウィンドウ、に切り替えます Connections タブを選択 LAN設定 としてジョブステータス出力ログに記録されます。
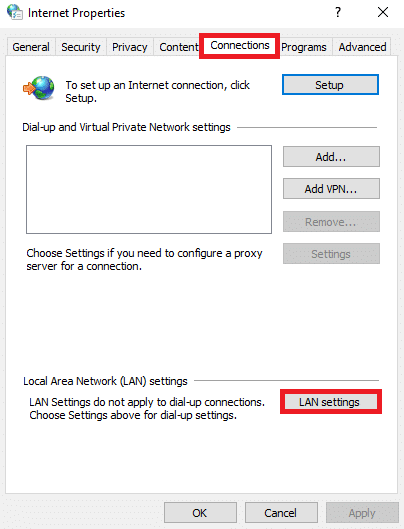
5. Now, in ローカルエリアネットワーク(LAN)の設定, check the box to 自動的に設定を検出する セクションに 自動設定 のセクションから無料でダウンロードできます。

6. Also, uncheck the checkbox for LANにプロキシサーバーを使用する.
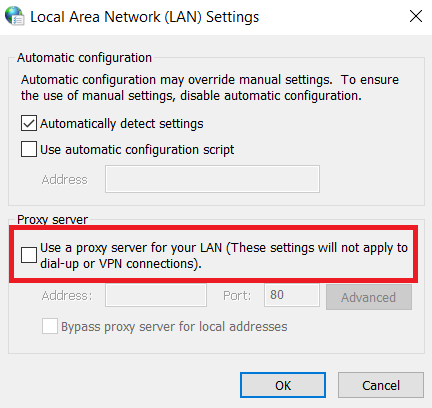
7.最後に、をクリックします OK 変更を保存し、 Steamを再起動する to observe any performance improvement.
また読む: Steam がクラッシュし続ける問題を修正
方法 12: デバイス ドライバーを更新する
Outdated drivers may also result in Steam running slow problem. So, following are the steps to update the device drivers.
1。 クリック 開始、タイプ デバイスマネージャ、およびヒット キーを入力してください.
![[スタート] メニューの検索バーに「デバイス マネージャー」と入力して起動します。](https://lbsite.org/wp-content/uploads/2023/02/in-the-start-menu-type-device-manager-in-the-sear-1.png)
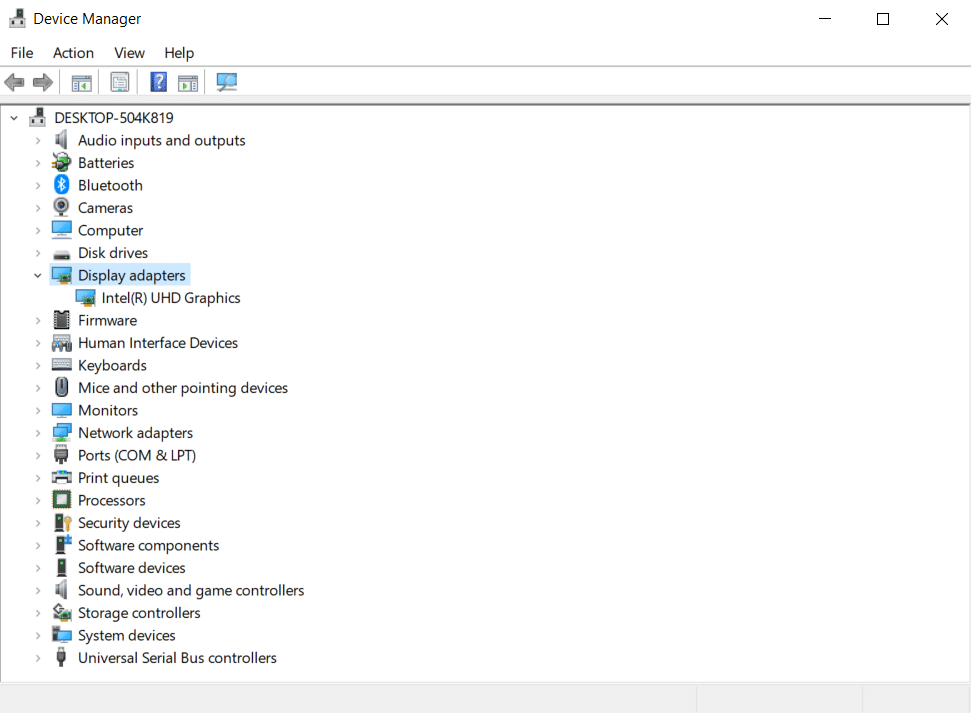
2.ダブルクリックします ディスプレイアダプタ それを拡大する。
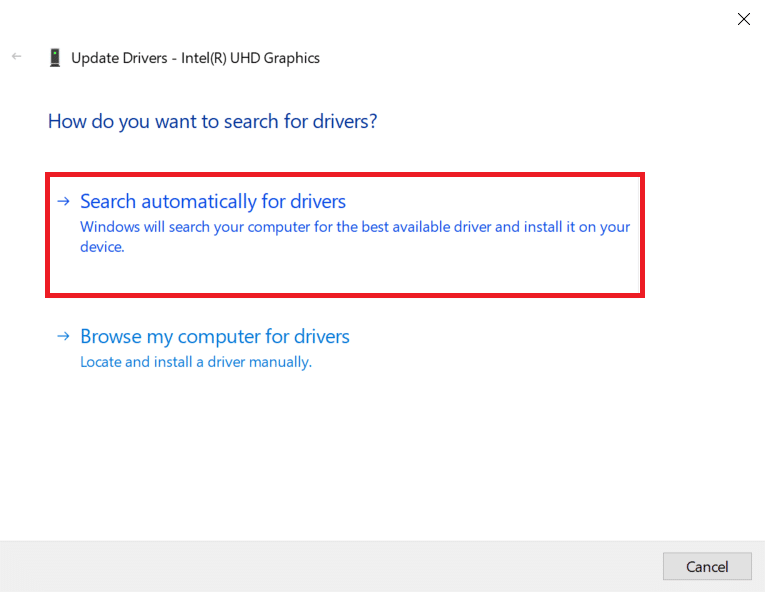
3.を右クリックします ビデオドライバ (例えば Intel (R) UHD Graphics)と選択 ドライバの更新 以下に示すように。
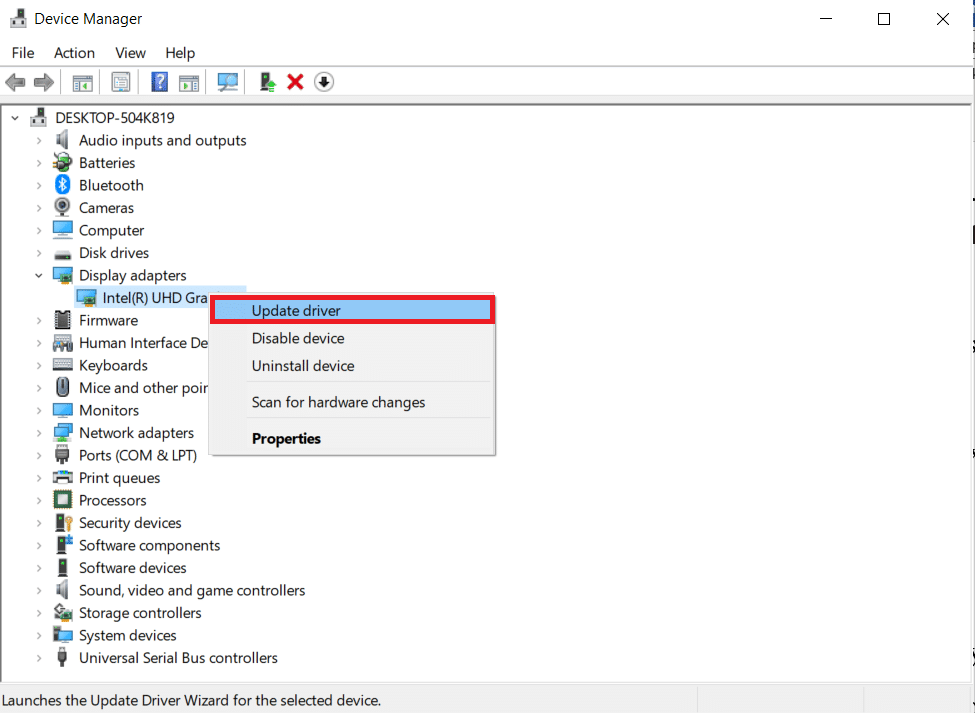
4.次に、をクリックします ドライバーを自動的に検索 示されるように。
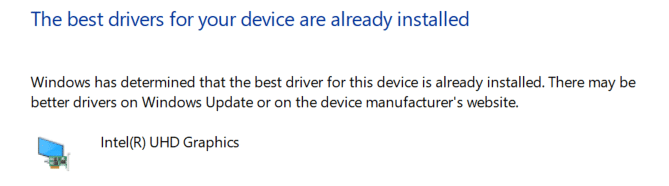
5A. If the drivers have been updated already, it shows デバイスに最適なドライバーがすでにインストールされています.
5B. If the drivers are outdated, then they will get 自動的に更新.
6. Finally, update all the outdated drivers by following the above steps and PCを再起動する.
方法 13: Steam を更新する
Here are the steps to update Steam to fix the bugs and errors causing Steam is slow issue.
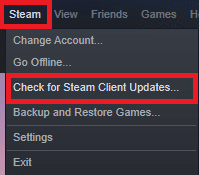
1。 打ち上げ Steam に移動します メニュー バー。
2。 今すぐクリックして Steam 続い Steam クライアントのアップデートを確認してください…
3A。 Steam - セルフアップデーター will download updates automatically, if available. Click スチームを再起動する to apply the update.

3B. If you have no updates, Your Steam client is already up-to-date message will be displayed, as follows.

また読む: Steam ゲームを外付けハードドライブにダウンロードする方法
方法 14: Steam を修復する
Follow these steps to repair Steam app to fix Steam is slow problem.
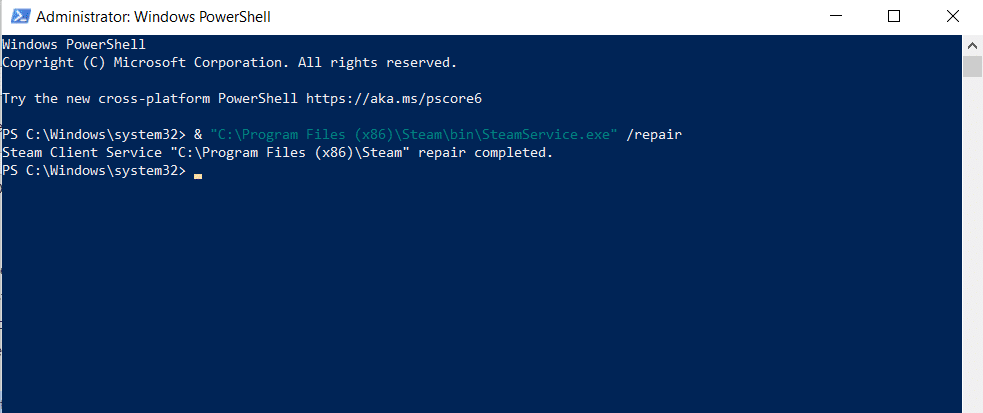
1。 プレス ウィンドウズキー、タイプ WindowsPowerShell をクリックします。入力したコードが正しければ、MFAの設定は正常に完了します 管理者として実行..

2。 クリック 有り セクションに ユーザーアカウント制御 プロンプト。
3. 次のように入力します。 command ヒット キーを入力してください.
「C:Program Files (x86)SteambinSteamService.exe」/repair
注: If your Steam file is placed in another location, you need to enter that directory instead. Read our guide: Where are Steam Games installed? here.
4.一度 修理完了 message is displayed, 再起動 あなたのPC.
また読む: Steam ゲームをアンインストールする方法
方法 15: Steam を再インストールする
If none of the above methods works for you, then reinstalling Steam is the last option to fix Steam is slow problem. Follow the given steps to reinstall Steam.
1. まず、 Steam フォルダを右クリックして、 SteamApps フォルダを選択し、 コピー オプションを選択します。
2 その後、 フォルダーを貼り付けます 他の場所で バックアップを作成する インストールされているゲームの。
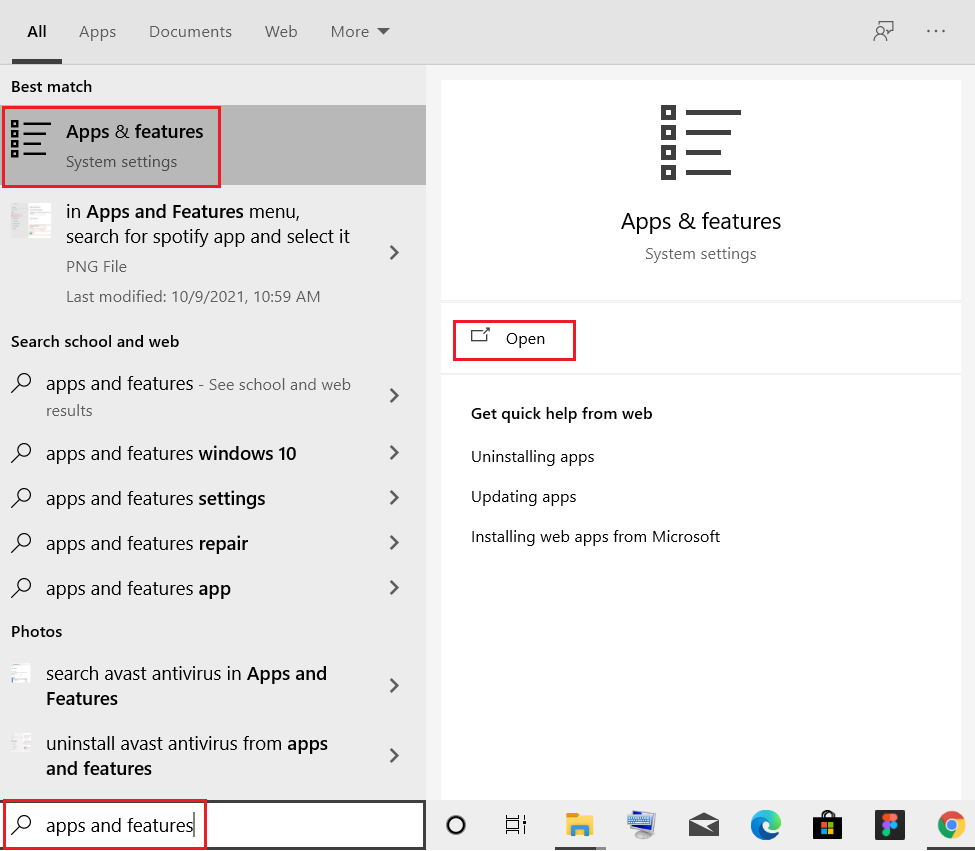
3. ここで、 ウィンドウズキー、タイプ アプリと機能、をクリックします Open.
4。 選択 Steam とをクリックしてください アンインストールする ボタンが強調表示されます。
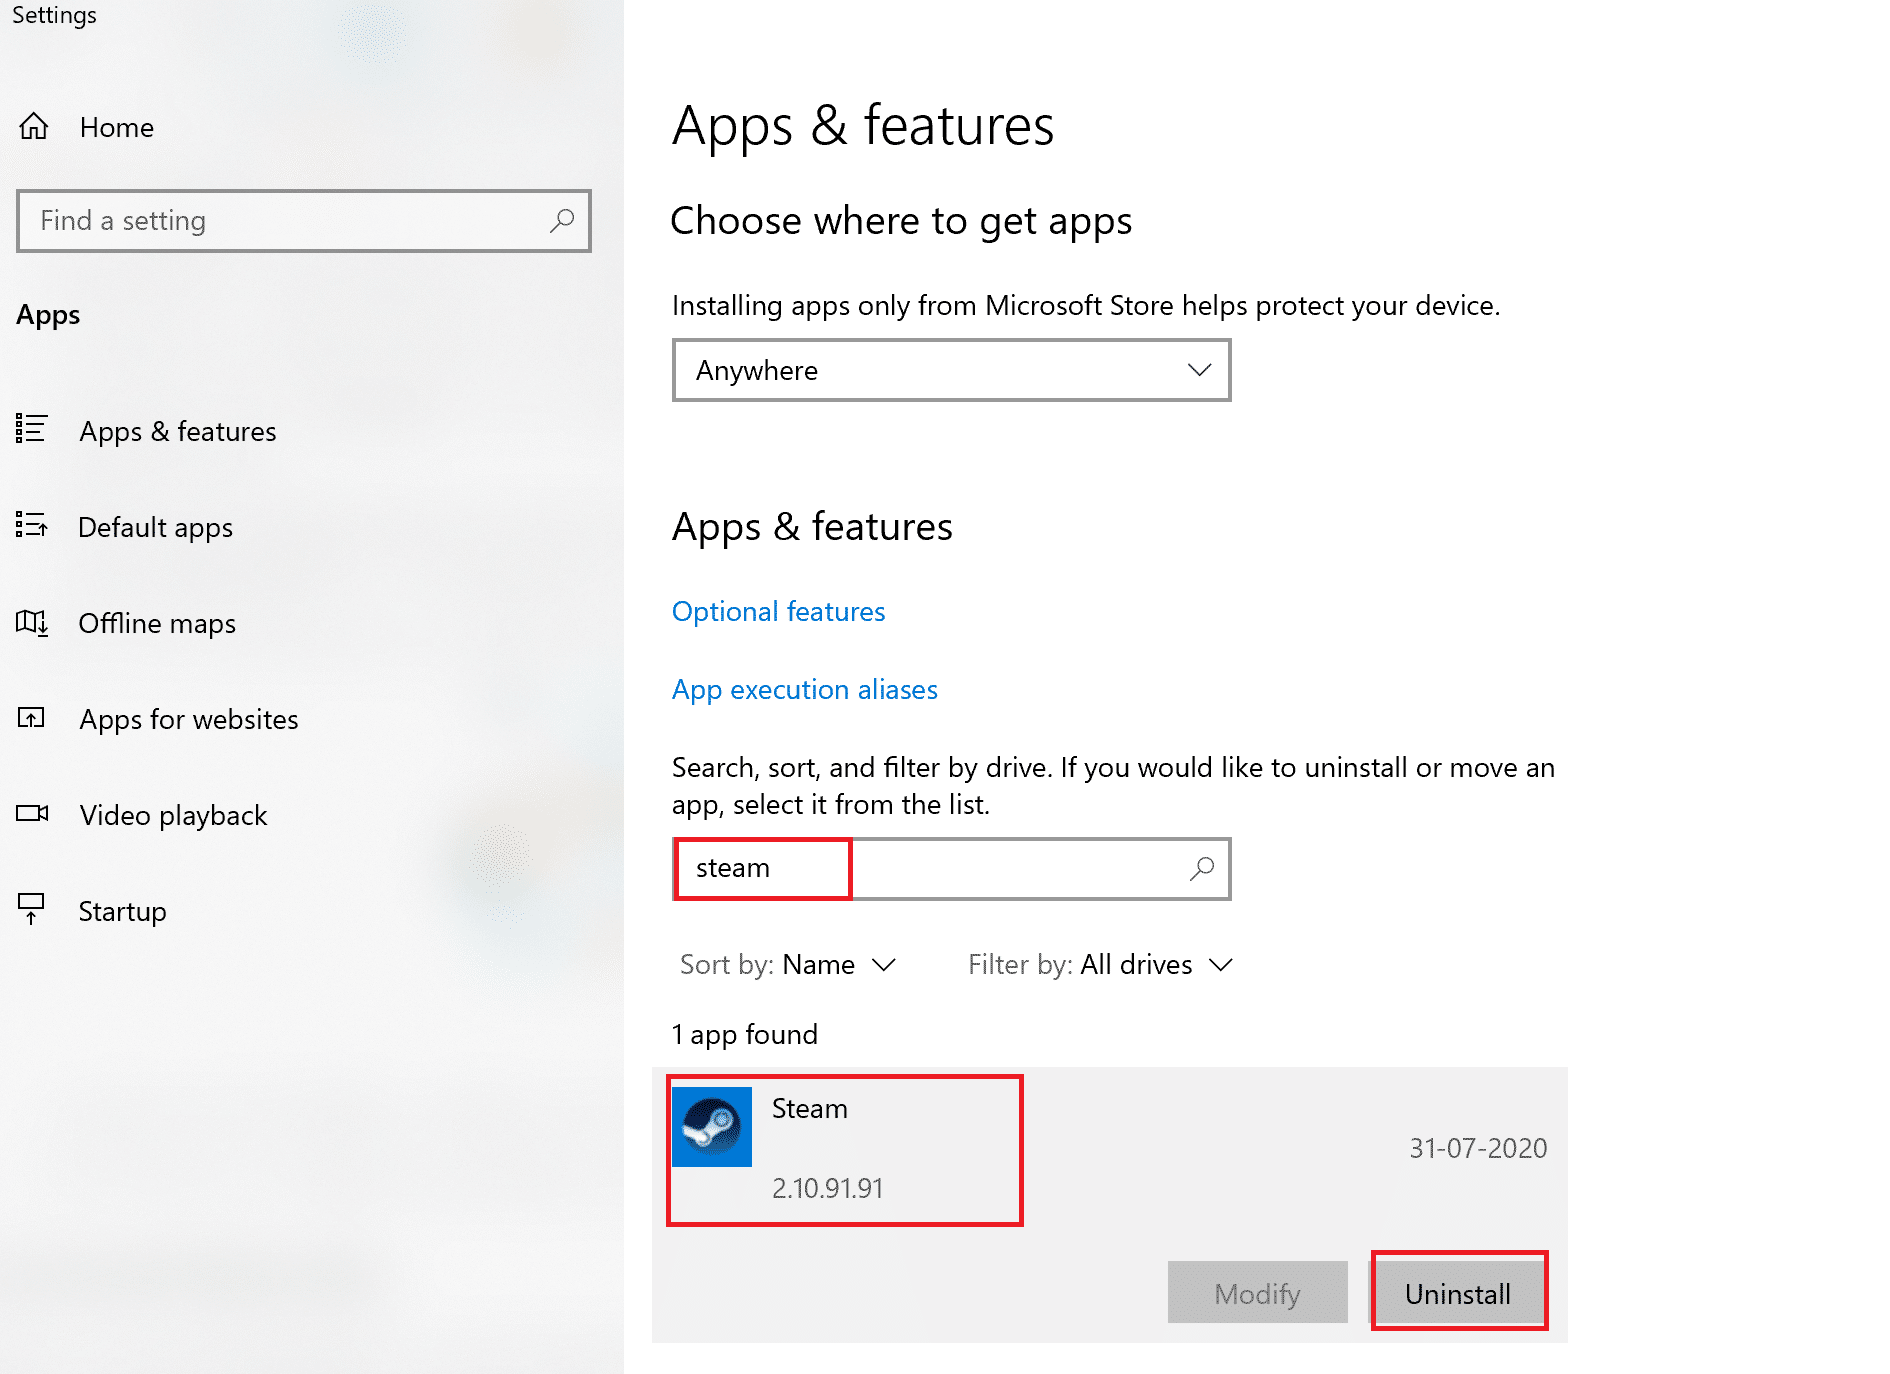
5. もう一度クリックします。 アンインストールする 確認します。
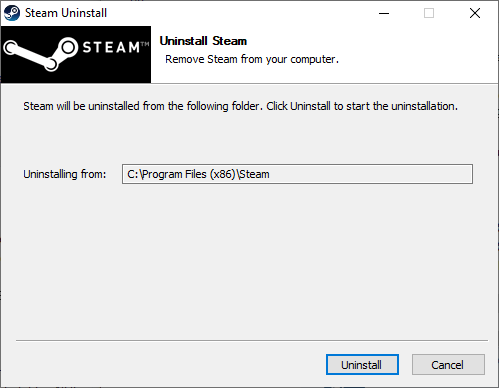
6。 の中に Steamのアンインストール ウィンドウをクリック アンインストールする スチームを削除します。
7 その後、 再起動 Windows PC。
8。 ダウンロード 最新バージョン of Steam 図に示すように、Web ブラウザから。
9. ダウンロード後、ダウンロードしたファイルを実行します。 SteamSetup.exe ファイルをダブルクリックしてください。
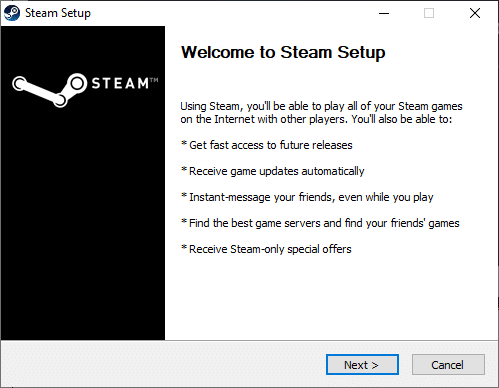
10。 の中に スチームセットアップ ウィザードで、 Next
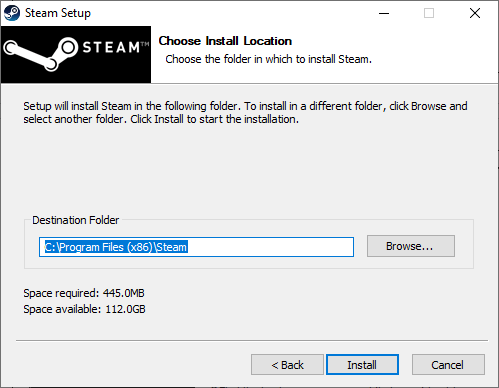
11。 選択する 移動先フォルダ 使用して、 ブラウズ… オプションを選択するか、そのままにします デフォルトオプション。 次に、をクリックします インストールを開始する、以下に示すように。
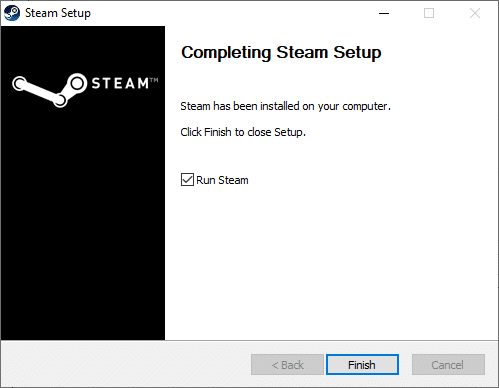
12. インストールが完了するまで待って、 をクリックします。 終了、図のように。
13. Steamをインストールしたら、 SteamApps インストールされている Steam フォルダーに以前に作成したバックアップフォルダーを作成します。
14。 最後に、 PCを再起動する.
推奨:
この情報がお役に立ち、問題を解決できれば幸いです Steam is slow issue. Please let us know which best method worked best for you. If you have any questions or comments, please leave them in the comments area.

