How to fix Printer not activated Error Code 20: If you’re facing the error message “Printer not activated – Error Code 20” then you’re at the right place as today we are going to see how to fix the issue. The issue is generally seen in systems in which user have upgraded from earlier version of Windows or using the QuickBooks software. In anyway case, let’s see how to fix Printer not activated Error Code 20 with the help of the below-listed guide.
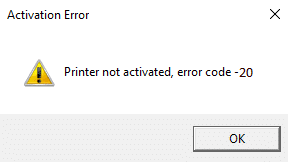
How to fix Printer not activated Error Code 20
何か問題が発生した場合に備えて、必ず復元ポイントを作成してください。
Method 1: Set the Default Printer
1.Type control in Windows Search then click on コントロールパネル。

2.Click ハードウェアとサウンド 次に選択します デバイスとプリンター。

3.Right-click on your printer and select Set as a default printer.
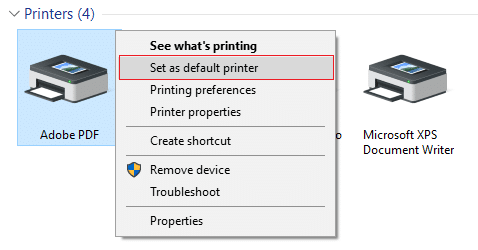
4. PC を再起動して変更を保存します。
Method 2: Re-install the USB Composite Device from Device Manager
1.Windows キー + R を押してから、次のように入力します。 devmgmt.msc Enterキーを押します。

2.展開する Universal Serial Bus Controllers.
3.右クリック USB複合デバイス をクリックして アンインストール。
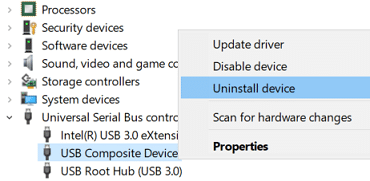
4.If asks for confirmation select Yes/OK.
5.Disconnect the Printer USB from the PC and then reconnect it.
6.Follow the instructions in the Found New Hardware wizard ドライバーをインストールします。
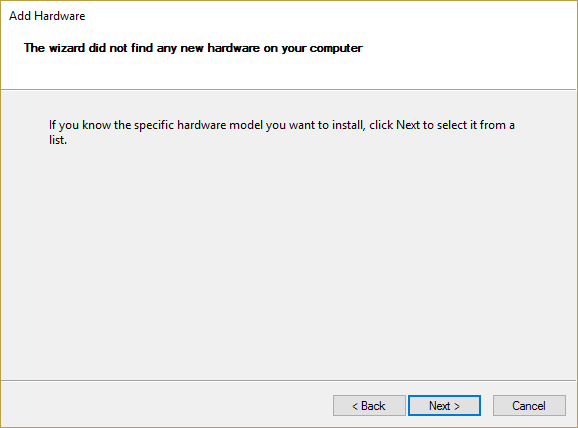
7.Right-click the printer icon, and then click テストページを印刷する to print a Windows self-test page.
8. PC を再起動して変更を保存します。
Method 3: Run Printer Troubleshooter
1.type “troubleshooting” in Windows Search bar and click on トラブルシューティング。

6.次に、左側のウィンドウペインから選択します すべて表示。
7.次に、「コンピューターの問題のトラブルシューティング」リストから、「コンピューターの問題のトラブルシューティング」を選択します。 プリンター。
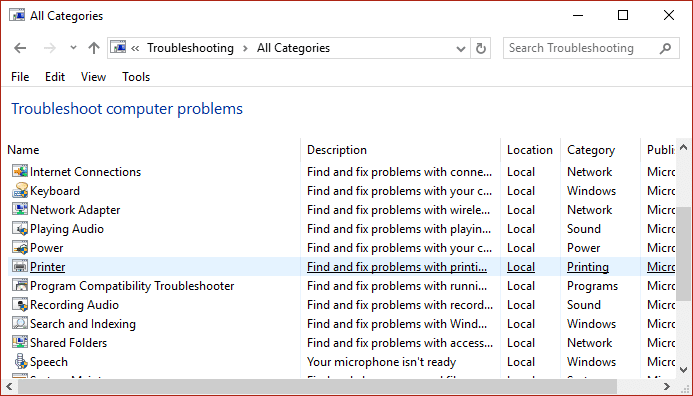
8.Follow on-screen instruction and let the Printer Troubleshooter run.
9.Restart your PC and you may be able to Fix Printer not activated Error Code 20.
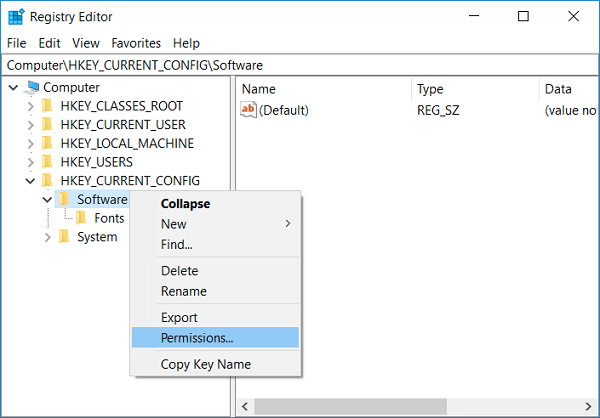
方法 4: レジストリを修正する
1.Windows キー + R を押してから、次のように入力します。 regeditを Enter キーを押してレジストリ エディターを開きます。

2.次のレジストリ キーに移動します。
HKEY_CURRENT_CONFIGソフトウェア
3.Right-click on Software folder then select 許可。
4.Now in the permission window, ensure that Administrator and users 持ってる フルコントロール checked, if not then checkmark them.
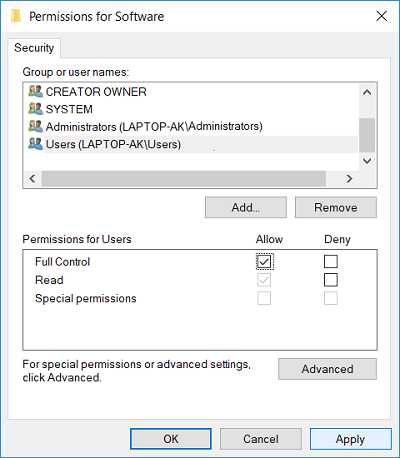
5.[適用]、[OK] の順にクリックします。
6.Restart your PC to save changes and see if you’re able to fix the issue.
Method 5: Grant Permission using PowerShell
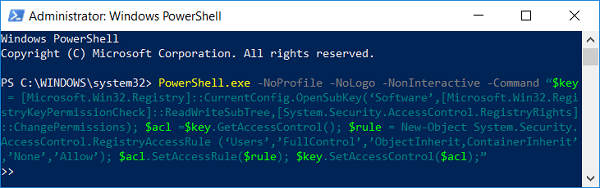
1.Type PowerShellの Windows サーチで右クリックします。 PowerShellの をクリックして 管理者として実行。
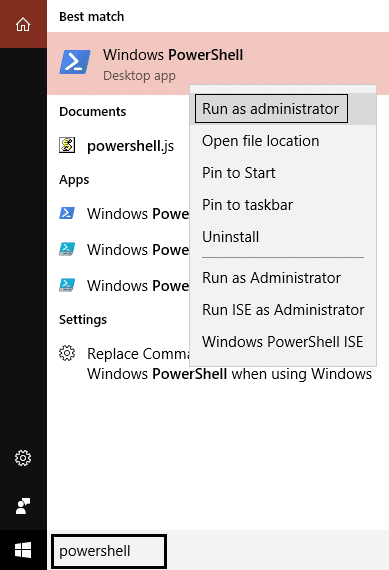
2.Now type the following command in PowerShell and hit Enter:
PowerShell.exe -NoProfile -NoLogo -NonInteractive -Command “$key = [Microsoft.Win32.Registry]::CurrentConfig.OpenSubKey(‘Software’,[Microsoft.Win32.RegistryKeyPermissionCheck]::ReadWriteSubTree,[System.Security.AccessControl.RegistryRights]::ChangePermissions); $acl =$key.GetAccessControl(); $rule = New-Object System.Security.AccessControl.RegistryAccessRule (‘Users’,’FullControl’,’ObjectInherit,ContainerInherit’,’None’,’Allow’); $acl.SetAccessRule($rule); $key.SetAccessControl($acl);”
3. PC を再起動して変更を保存します。
Method 6: Reinstall QuickBook
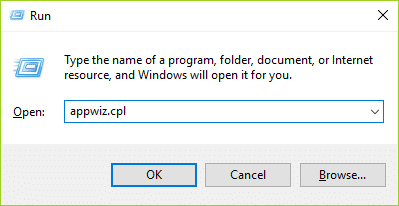
1.Windows キー + R を押してから、次のように入力します。 appwiz.cplと Enterキーを押します。
2.Find QuickBook from the list and uninstall it.
3.次に、 download QuickBooks from here.
4.Run the installer and follow on-screen instructions to install QuickBook.
5.PCを再起動します。
推奨:
これで成功です Fix Printer not activated Error Code 20 ただし、この投稿に関してまだご質問がある場合は、コメント欄でお気軽にお問い合わせください。

