If you have recently updated your Windows 10 or have just upgraded to Windows 10, you may experience that the time is slightly incorrect and you need to configure the date & time in Windows 10. But don’t worry, there are many ways to Change Date and Time in Windows 10 easily. You can configure the date and time via Control Panel or in Windows 10 Settings, but you must be signed in as Administrator to configure these settings. So without wasting any time, let’s see How to Change Date and Time in Windows 10 using the below-listed tutorial.

4 Ways to Change Date and Time in Windows 10
დარწმუნდით, რომ შექმენით აღდგენის წერტილი, თუ რამე არასწორედ მოხდება.
Method 1: How to Change Date and Time in Windows 10 using Control Panel
1. ტიპი კონტროლი in Windows 10 Search then clicks on პანელი ძებნის შედეგიდან.

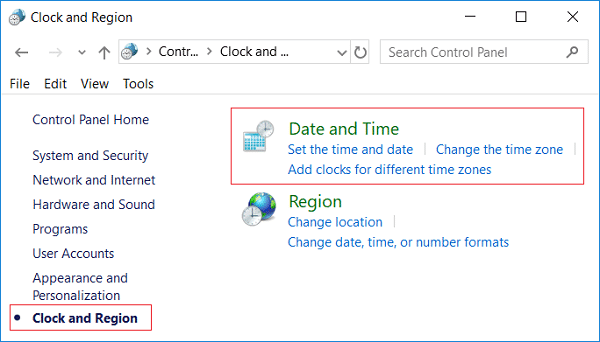
2. ახლა დააჭირეთ ღილაკს ”საათი და რეგიონი”შემდეგ დააჭირეთ”თარიღი და დრო".
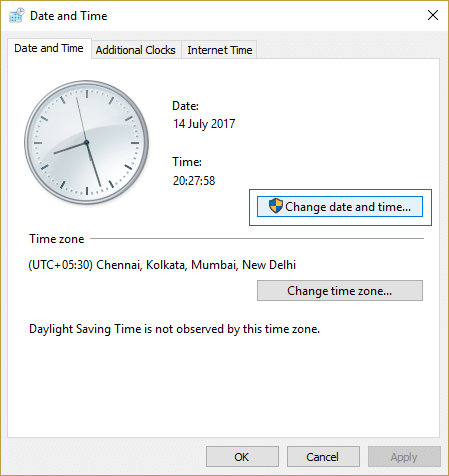
3. Under Date and Time window, click “შეცვალეთ თარიღი და დრო".
4. This will open the Date and Time Settings window, so configure the date and time accordingly and click OK.
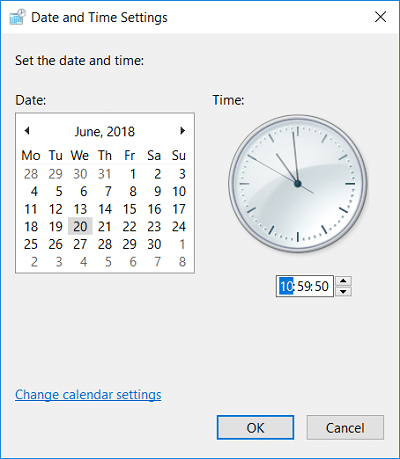
შენიშვნა: You could change the current hour, minute, seconds and AM/PM for time settings. And as far as the date is considered you could change the month, year, and current date.
5. Click Apply, followed by OK.
Method 2: How to Change Date and Time in Windows 10 Settings
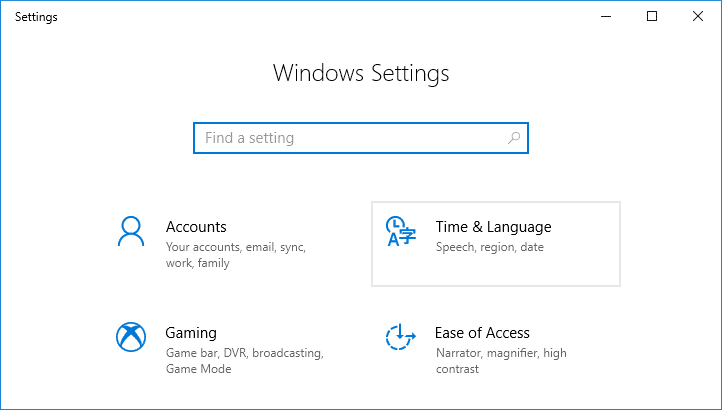
1. გასახსნელად დააჭირეთ Windows Key + I პარამეტრები შემდეგ დააჭირეთ დრო და ენა.
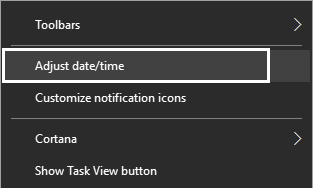
შენიშვნა: Or you could right-click on თარიღი და დრო on the taskbar then select დაარეგულირეთ თარიღი/დრო.
2. დარწმუნდით, რომ select Date & time მარცხენა მენიუში.
3. Now to change date & time, გამორთეთ toggle which says “ავტომატურად დააყენე დრო".
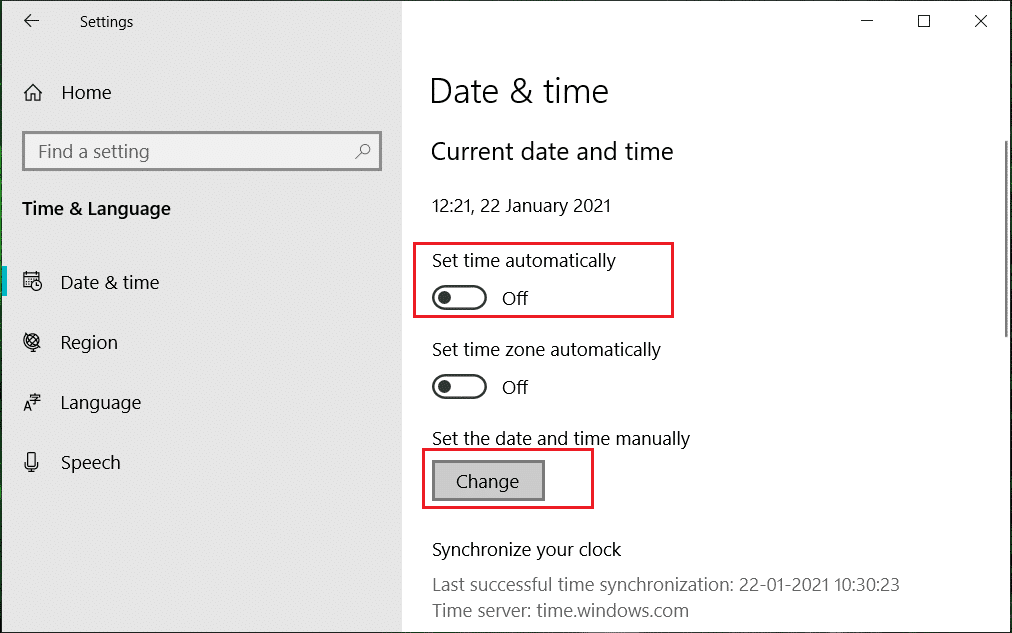
4. Then click on “შეცვლა”ქვეშ შეცვალეთ თარიღი და დრო.
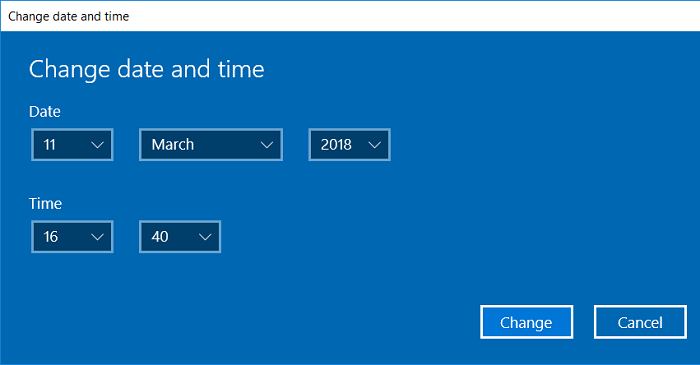
5. შემდეგი, change the date, month, and year to correct number. Similarly set the time to the correct, current hour, minute, and AM/PM then click ცვლილება.
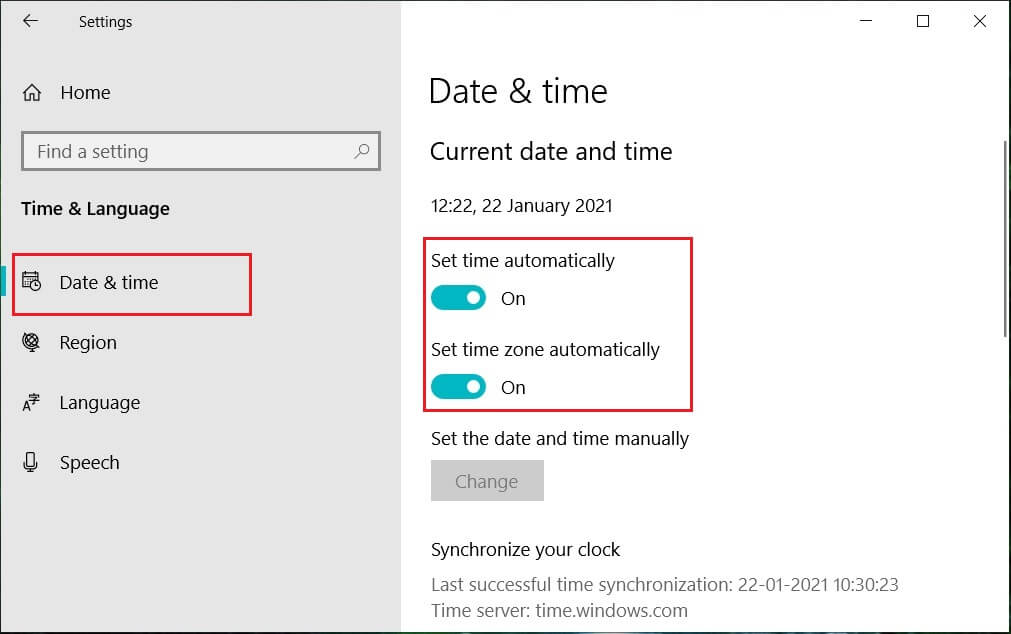
6. If you like Windows to automatically synchronize the system clock time with internet time servers, then again turn ON the “ავტომატურად დააყენე დრო”გადართვა.
Method 3: How to Change Date and Time in Windows 10 using Command Prompt
1. გახსენით Command Prompt. მომხმარებელს შეუძლია შეასრულოს ეს ნაბიჯი ძიებით "სმდ" შემდეგ დააჭირეთ Enter- ს.

2. ჩაწერეთ შემდეგი ბრძანება cmd-ში და დააჭირეთ Enter:
To see the current date: date /t
To Change the current date: date MM/DD/YYYY
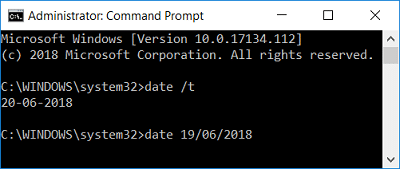
შენიშვნა: MM is the month of the year, DD is the day of the month, and YYYY is the year. So if you want to change the date to 15th March 2018, then you need to enter: date 03/15/2018
3. ჩაწერეთ შემდეგი ბრძანება cmd-ში და დააჭირეთ Enter:
To see the current time: time /t
To Change the current date: time HH:MM
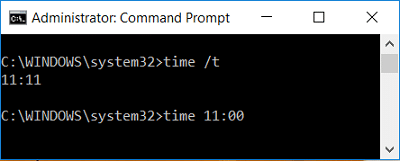
შენიშვნა: HH are the hours, and MM are the minutes. So if you want to change the time to 10:15 AM then you need to use the command: time 10:15, similarly if you want to change the time to 11:00 PM then enter: time 23:00
4. Close Command Prompt and reboot your PC to save changes.
Method 4: How to Change Date and Time in Windows 10 using PowerShell
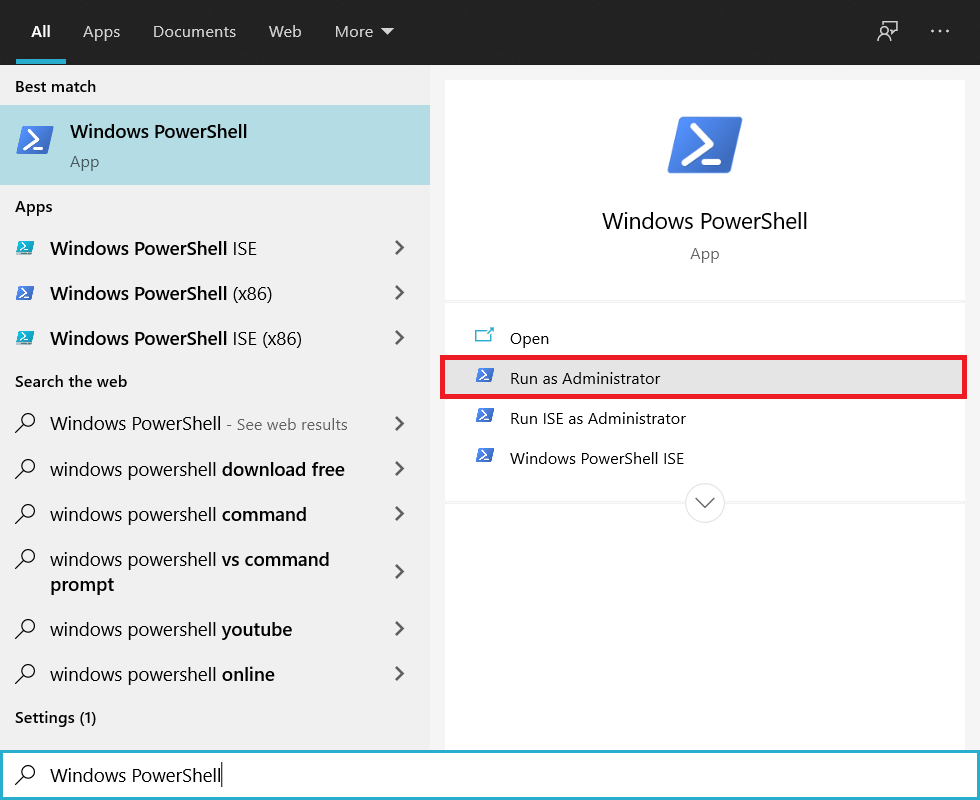
1. ტიპი PowerShell in Windows Search then right-click on PowerShell from the search result and select Ადმინისტრატორის სახელით გაშვება.
2. Now type the following command and hit Enter:
To Change date and time using the 24-hour format: Set-Date -Date “MM/DD/YYYY HH:MM
To Change date and time in AM: Set-Date -Date “MM/DD/YYYY HH:MM AM
To Change date and time in PM: Set-Date -Date “MM/DD/YYYY HH:MM PM
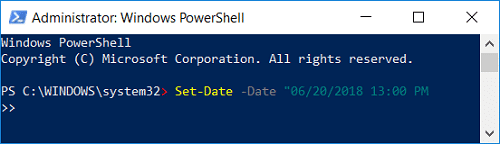
შენიშვნა: Replace MM with the actual month of the year, DD with the day of the month, and YYYY with the year. Similarly, replace HH with the hours and MM with the minutes. Let’s see an example of each one of the above command:
To Change date and time using the 24-hour format: Set-Date -Date “03/15/2018 21:00
To Change date and time in AM: Set-Date -Date “03/15/2018 06:31 AM
To Change date and time in PM: Set-Date -Date “03/15/2018 11:05 PM
3. Close PowerShell when finished and reboot your PC to save changes.
რეკომენდებული:
ეს არის ის, რაც თქვენ წარმატებით ისწავლეთ How to Change Date and Time in Windows 10 მაგრამ თუ ჯერ კიდევ გაქვთ რაიმე შეკითხვები ამ გაკვეთილთან დაკავშირებით, მოგერიდებათ დაუსვათ ისინი კომენტარების განყოფილებაში.

