If you’re using Firefox or Google Chrome, then you may have face the error message “ffmpeg.exe has stopped working.” The problem occurs when the user tries to access the webpages with a lot of media content. Now FFmpeg is a free software project that produces libraries and programs for handling multimedia data. Few users also complain of high CPU and memory usage by ffmpeg.exe, but once the process is stopped, the issue is fixed.
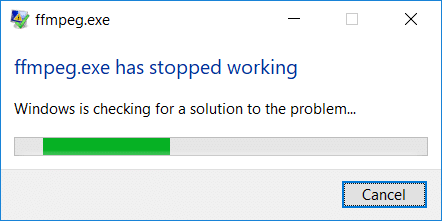
Now performing clean boot or a simple restart doesn’t seem to fix the issue for users, and whenever you open the website with a lot of media, then the same error message will pop up again. So without wasting any time let’s see how to actually Fix ffmpeg.exe has stopped working error with the help of below-listed troubleshooting guide.
Fix ffmpeg.exe has stopped working error
დარწმუნდით, რომ შექმენით აღდგენის წერტილი, თუ რამე არასწორედ მოხდება.
Method 1: Remove ffmpeg.exe from your PC
1. ტიპი ffmpeg in Windows Search then right-click on it and select the ფაილის გახსნის ადგილმდებარეობა.
2. You will find the ffmpg.exe file, but the problem is you won’t be able to delete it, so instead move the file by dragging it somewhere else.
3. გადატვირთეთ კომპიუტერი ცვლილებების შესანახად.
Method 2: Run SFC and DISM Tool
1. ღია სარდლობის სწრაფი. მომხმარებელს შეუძლია შეასრულოს ეს ნაბიჯი ძიებით ‘cmd’ and then press Enter.

2. ახლა ჩაწერეთ შემდეგი cmd-ში და დააჭირეთ enter:
Sfc /scannow sfc /scannow /offbootdir=c: /offwindir=c:windows (თუ ზემოთ ვერ მოხერხდა, სცადეთ ეს)

3. დაელოდეთ ზემოაღნიშნული პროცესის დასრულებას და დასრულების შემდეგ გადატვირთეთ კომპიუტერი.
4. ისევ გახსენით cmd და აკრიფეთ შემდეგი ბრძანება და თითოეულის შემდეგ დააჭირეთ enter:
Dism /ონლაინ /Cleanup-Image /CheckHealth Dism /ონლაინ /Cleanup-Image /ScanHealth Dism /ონლაინ /Cleanup-Image /RestoreHealth

5. გაუშვით DISM ბრძანება და დაელოდეთ მის დასრულებას.
6. თუ ზემოაღნიშნული ბრძანება არ მუშაობს, მაშინ სცადეთ შემდეგი:
Dism /Image:C:offline /Cleanup-Image /RestoreHealth /Source:c:testmountwindows Dism /ონლაინ /Cleanup-Image /RestoreHealth /წყარო:c:testmountwindows /LimitAccess
შენიშვნა: შეცვალეთ C:RepairSourceWindows თქვენი სარემონტო წყაროთი (Windows ინსტალაცია ან აღდგენის დისკი).
7. გადატვირთეთ კომპიუტერი, რომ შეინახოთ ცვლილებები და ნახოთ, შეძლებთ თუ არა Fix ffmpeg.exe has stopped working error.
Method 3: Reset Firefox
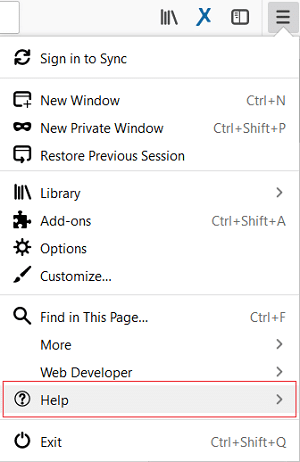
1. Open Mozilla Firefox then click on the სამი ხაზი ზედა მარჯვენა კუთხეში.
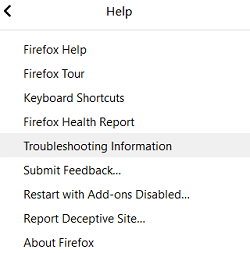
2. შემდეგ დააჭირეთ ღილაკს დახმარება და აირჩიე ინფორმაციის მოგვარების პრობლემები.
3. First, try უსაფრთხო რეჟიმი and for that click on Restart with Add-ons disabled.
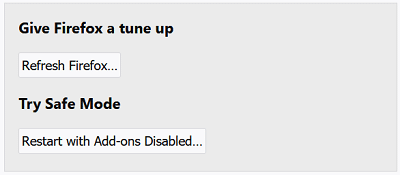
4. See if the issue is resolved, if not then click განაახლეთ Firefox ქვეშ "Give Firefox a tune-up".
5. გადატვირთეთ კომპიუტერი ცვლილებების შესანახად.
Method 4: Re-install Firefox
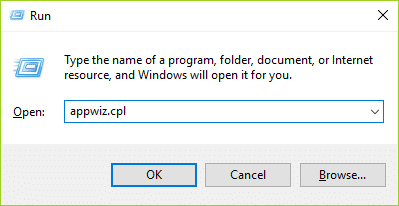
1. დააჭირეთ Windows Key + R და შემდეგ აკრიფეთ appwiz.cpl და დააჭირეთ Enter.
2. Find Mozilla Firefox in the list and click on დეინსტალაცია.

3. Confirm the uninstallation of Firefox and then reboot your PC after the process is complete.
4. Open another browser, then copy and paste this link.
5. click ჩამოტვირთეთ არის to download the latest version of Firefox.

6. ორჯერ დააწკაპუნეთ FirefoxInstaller.exe to run the setup.
7. Follow the on-screen instruction to complete the setup.
8. Reboot your PC.
რეკომენდებული:
ეს არის ის, რაც თქვენ წარმატებით გაქვთ Fix ffmpeg.exe has stopped working error მაგრამ თუ თქვენ ჯერ კიდევ გაქვთ რაიმე შეკითხვა ამ პოსტთან დაკავშირებით, მოგერიდებათ ჰკითხოთ მათ კომენტარების განყოფილებაში.

