Front audio jacks are the front microphones/headphones that are present on a personal computer. Single audio ports are usually present in laptops either at the sides or at the front. The reason why your front audio jack not working is either related to your drivers or it is due to the connection between the motherboard and the computer casing. This issue is usually fixed by simple methods as discussed in this article and it does not require major troubleshooting in most cases. When you face this problem, you cannot employ your headphone or microphone on the front jacks. Don’t get annoyed, here are some methods to fix the front panel audio jack not working პრობლემა.
How to Fix Front Audio Jack Not Working in Windows 10
Here, we have gathered a collection of 13 troubleshooting ideas that will help you handle and prevent the front panel audio jack not working issue in Windows 10. But before going through the solution, let us know the possible reasons behind this issue.
- Connectivity issues between motherboard and audio jack.
- Your audio drivers may be outdated and are present on your computer.
- The port is not authenticated with adequate settings.
- Your audio device is not set as default on your computer.
- Front audio jack ports are not recognized.
If you face the front audio jack not working Windows 10 PC here are some of the methods to fix it. To fix the issue, do as instructed below.
წინასწარი შემოწმებები
1. Use Another Device to Test Headphones: If the computer has any front panel audio jack not working issue, ensure that your headphones are not physically damaged. This will help you understand whether the problem is with your headphones or audio settings.
- Plug in your headphones on another computer to check whether the headphones are functionally effective. You can also plug in your headphone on your mobile phone to check it.
- If you can hear audio with your headphone from other devices then your headphone does not have any issues. You can try the below-mentioned methods to fix the discussed issue.
2. Check Connection Between Motherboard and Audio Jack: If the above-mentioned method did not help you fix the front panel audio jack not working issue, you have to make sure that your motherboard and audio jack are properly connected. The connection may not be proper in many cases. If the connection is not proper, it will appear on the computer that there is no front jack at all. You can check the connection between the motherboard and the audio jack by following these steps.
- Locate the connection between the motherboard and the front audio jack by opening the casing of your computer.
- If your computer has USB capability at the front, you will see a USB wire and an audio wire, ensure that both the wires are connected properly.
- In some cases, users reported that this problem can be solved by reversing the face of the jacks and then inserting them inside the motherboard. Always ensure that the connecting wires are plugged in properly.
მეთოდი 1: გაუშვით აუდიო პრობლემების მოგვარება
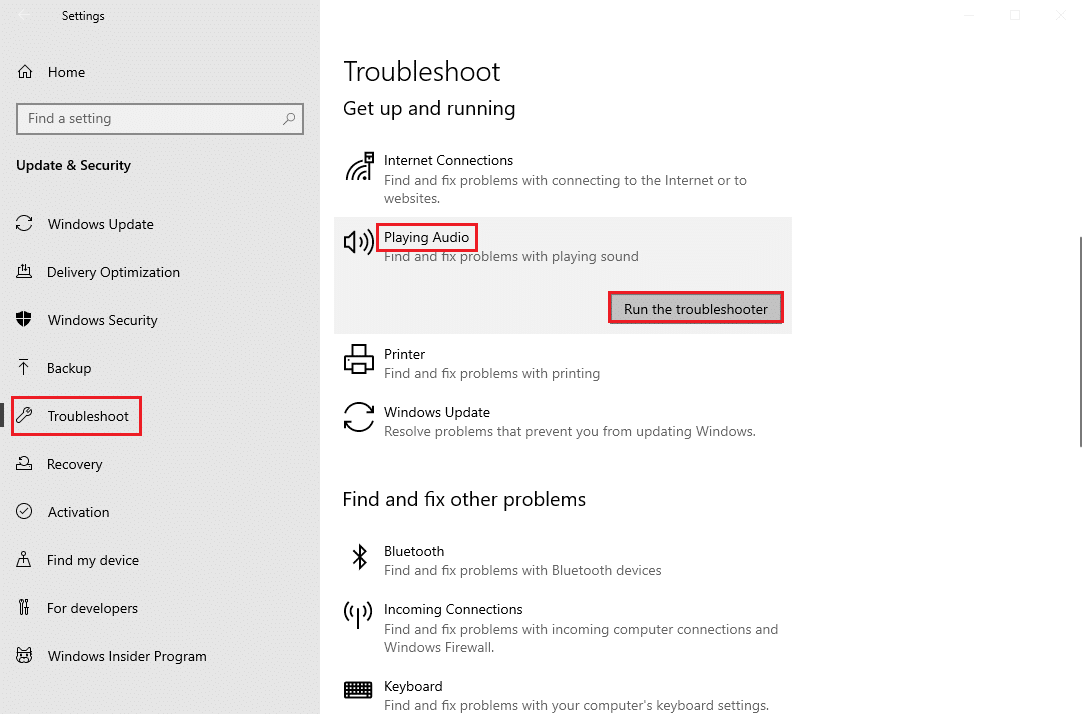
The in-built troubleshooting tool in Windows 10 PC will help you resolve any hardware issues and bugs automatically. All the audio devices connected to your computer will be scanned for any hardware issues and the problems will be resolved at ease. Follow our guide on How to Run Hardware and Devices Troubleshooter to fix issues to fix all the audio-related hardware issues in your PC. Also, you can run the Audio troubleshooter individually as instructed in our guide How to Run Windows Update Troubleshooter, but make sure you select the აუდიო დაკვრა option as depicted.
Method 2: Select Default Device
You must make sure whether the front audio jack is set as a default device to avoid any conflicts like the front audio jack not working. You have to set your audio device as the default device as instructed below to fix the discussed error.
1. მარჯვენა ღილაკით დააჭირეთ ღილაკს დინამიკები icon at the bottom right corner of the screen and select the ხმები ვარიანტი.
![]()
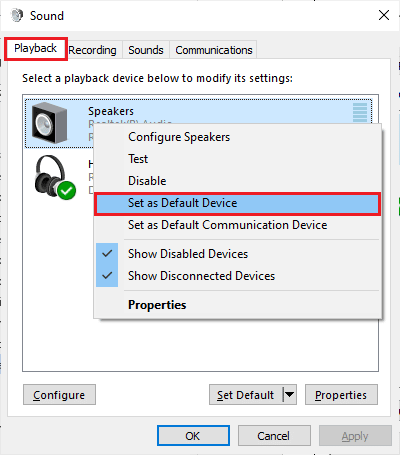
2. შემდეგ გადართეთ აღწარმოება tab and right-click on the audio jack you would like to set as the default one.
3. ახლა აირჩიეთ ნაგულისხმევ მოწყობილობად დაყენება option as highlighted and click on მიმართვა მდე OK ცვლილებების შენახვა.
ასევე წაიკითხე: როგორ გავასწოროთ აუდიო სერვისი არ მუშაობს Windows 10
Method 3: Turn Off Front Panel Jack Detection (For Realtek Sound Card)
If you are using a Realtek sound card, please follow this method, else please skip to the next method. Here are the steps to fix the front panel audio jack not working issue by turning off the front panel jack.
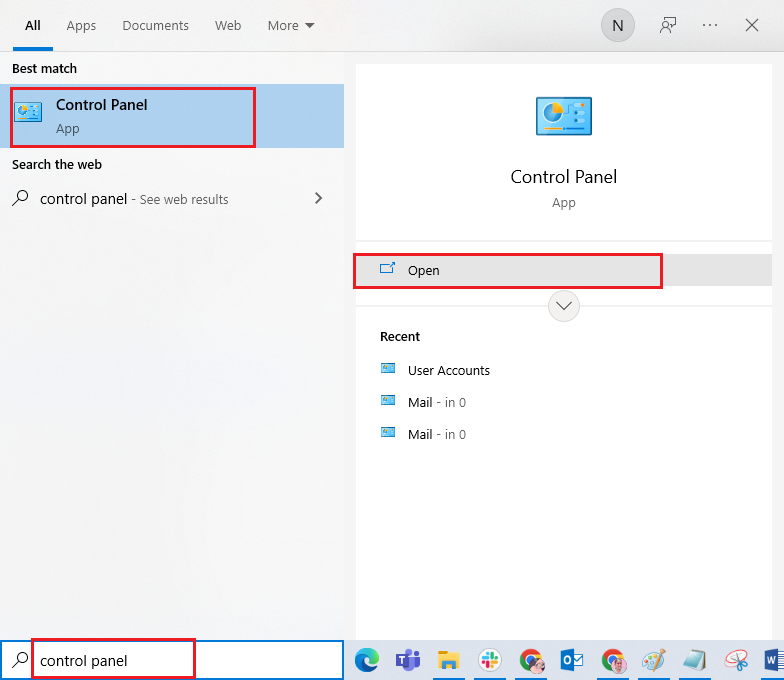
1. დააჭირეთ Windows გასაღებიტიპი პანელი და დააჭირეთ ღიაა.
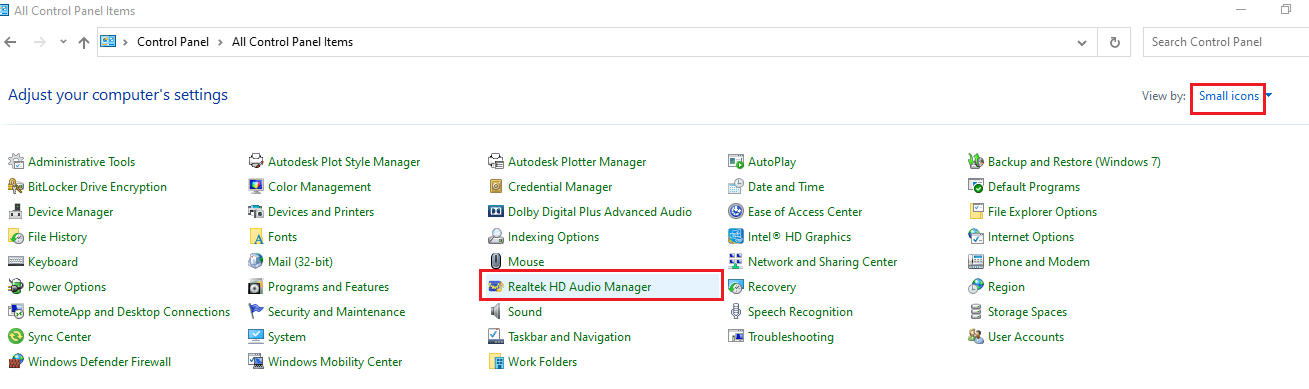
2. უცნობია View by > Small icons, then click on the Realtek HD აუდიო მენეჯერი.
3. დაწკაპეთ საქაღალდის ხატი ეკრანის ზედა მარჯვენა კუთხეში.
4. კონექტორის პარამეტრები prompt pops up on the screen, check the box which is next to the გამორთეთ წინა პანელის ჯეკის გამოვლენა.
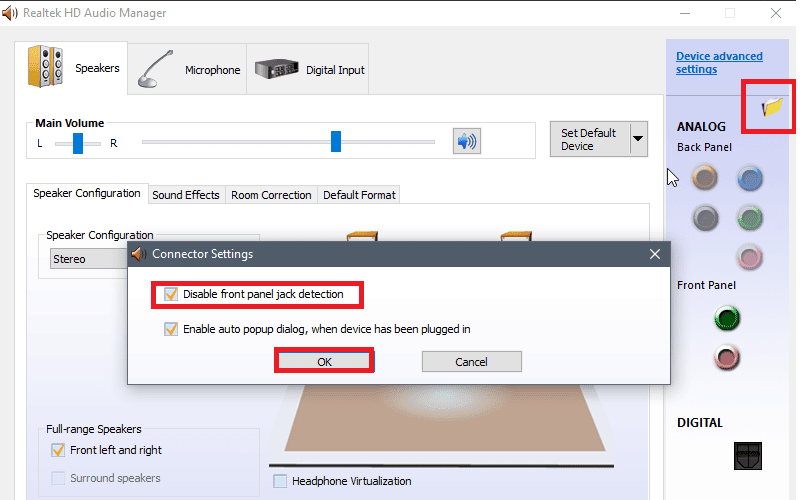
5. click OK ცვლილებების შენახვა.
If you can’t open Realtek HD audio manager on your computer, you have an alternative option to disable its front panel jack detection with Registry editor also. Here are the steps to do it.
1. გახსნა გასაშვებად დიალოგური ფანჯარა დააჭირეთ ღილაკს Windows + R გასაღებები ერთად.
2. ტიპი regedit და დაწკაპეთ OK.
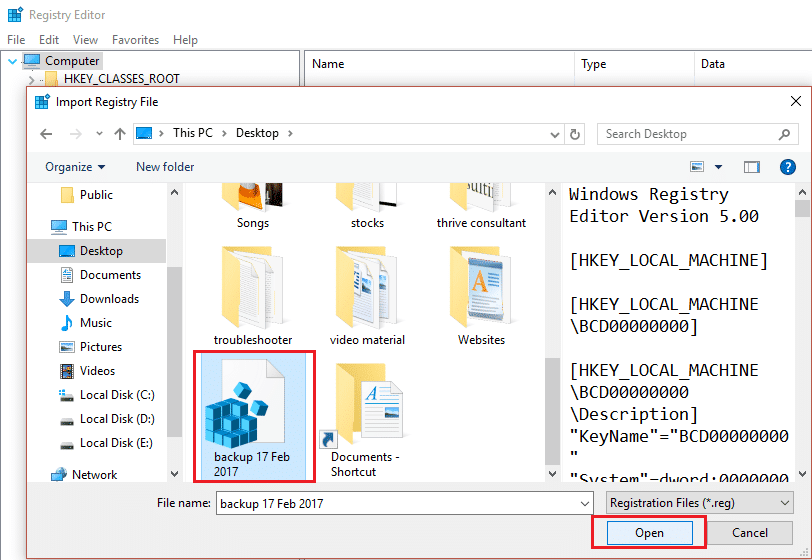
3. დაწკაპეთ ფაილი> ექსპორტი before changing anything to create a Registry backup first, if any unwanted results appear, you can do ფაილი> იმპორტი to reverse the changes.
შენიშვნა: If you do not know how to back up your registry, use our guide How to Backup and Restore the Registry on Windows and implement the steps as discussed.
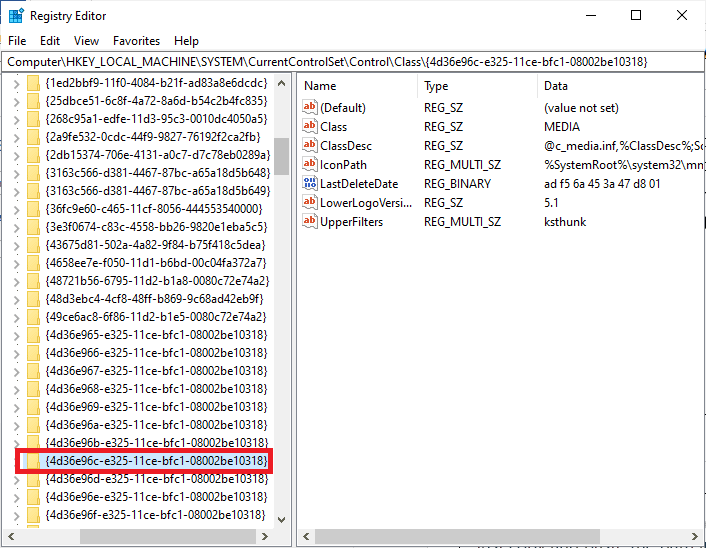
4. After taking a backup, go to the following გზა იმ რეესტრის რედაქტორი.
HKEY_LOCAL_MACHINESYSTEMCurrentControlSetControlClass{4d36e96c-e325-11ce-bfc1-08002be10318}

5. Expand all the folders that begin with 000.
6. After expanding all the folders with the name starting as 000 if you find the პარამეტრები folder open that too.
7. როცა გახსნით პარამეტრები folder, you will find a folder with a name starting with Drv8186_DevType. Now, expand it and click on the პარამეტრები folder once again.
შენიშვნა: თუ ვერ იპოვით პარამეტრები საქაღალდეში Drv8186_DevType folder, skip to the next method.
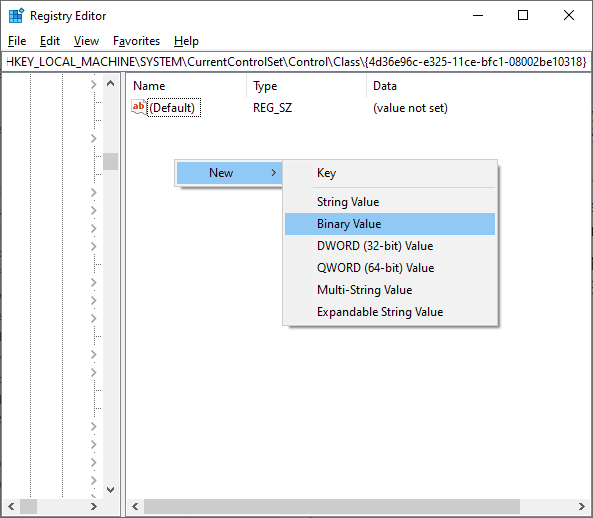
8. ფარგლებში პარამეტრები folder, go to the right pane and right-click on the screen. Then, click on ახალი მოჰყვა ორობითი მნიშვნელობა როგორც გამოსახულია.
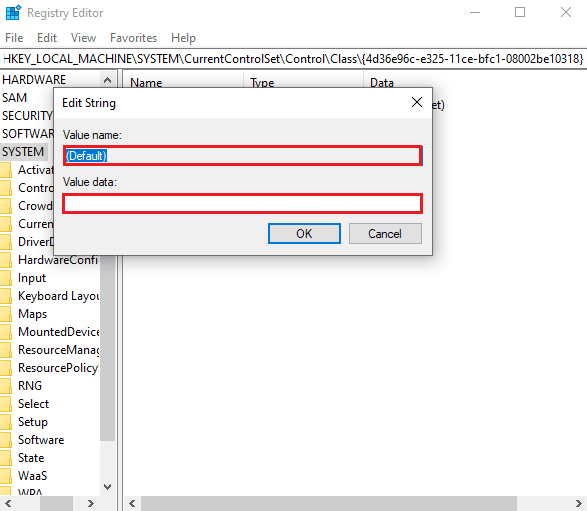
9. დაასახელეთ ორობითი მნიშვნელობა as JackCtrl და დააყენეთ ღირებულების მონაცემები as FF 82 40 00.
10. Close the editor and გადატვირთეთ კომპიუტერი.
Check if you have fixed the front audio jack not working issue. Some computers do not have exact registry keys listed in the above method. In this case, check if the following steps are applicable.
1. გაიმეორეთ ნაბიჯები 1 - 4 as instructed above.
2. Now, expand all the folders that start with 000 * and check within which folder the DriverDesc registry is placed.
3. If you have found the key, DriverDesc ერთად ღირებულების მონაცემები of რეალტეკის აუდიო, you have to make changes to the corresponding folder that has DriverDesc.
4. Expand the respective folder and select GlobalSettings.
5. Then, locate EnableDynamicDevices in the right pane and double-click on it.
შენიშვნა: თუ ვერ იპოვნეთ the EnableDynamicDevices key, go to the right pane, and right-click on the screen. Then, click on ახალი მოჰყვა ორობითი მნიშვნელობა with the name of EnableDynamicDevices როგორც გამოსახულია.

6. Now, set the ღირებულების მონაცემები to 00 00 00 00.
7. Close the Registry Editor and გადატვირთეთ კომპიუტერი.
ასევე წაიკითხე: შეასწორეთ Windows 10, რომ აუდიო მოწყობილობები არ არის დაინსტალირებული
Method 4: Restore Default Audio Settings
If the above method doesn’t work for you try restoring the settings of audio enhancements to their default settings. This will help you fix the front panel audio jack not working issue.
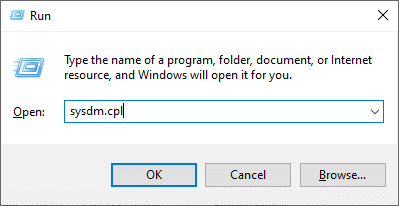
1. პრესა Windows + R გასაღებები ერთად გავხსნათ გასაშვებად დიალოგური ფანჯარა.
2. ტიპი sysdm.cpl და მოხვდა შეიყვანეთ გასაღები დაიწყოს სისტემის თვისებები.
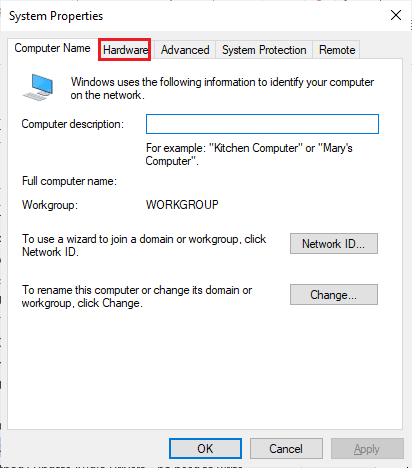
3. In the pop-up window go to the აპარატურა Tab.
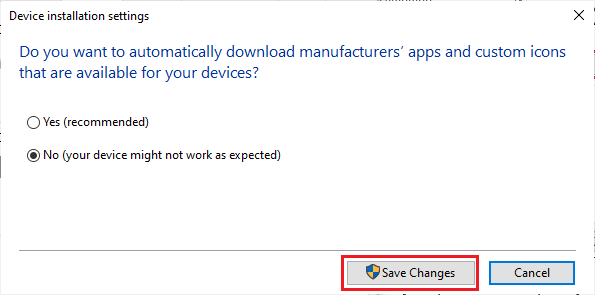
4. დაწკაპეთ მოწყობილობის ინსტალაციის პარამეტრები.

5. Then, click on the option No (your device might not work as მოსალოდნელია).
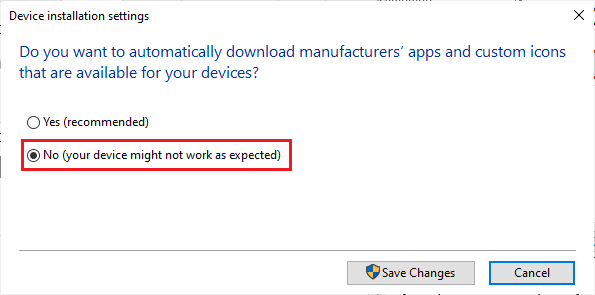
6. ახლა, დააჭირეთ ღილაკს ცვლილებების შენახვა.
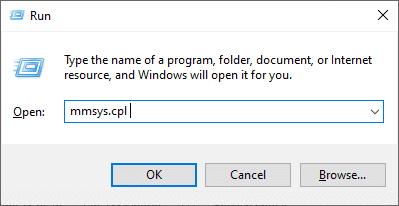
7. გახსნა გასაშვებად dialog box again and type mmsys.cpl და მოხვდა შეიყვანეთ გასაღები დაიწყოს გასწავლოთ window.
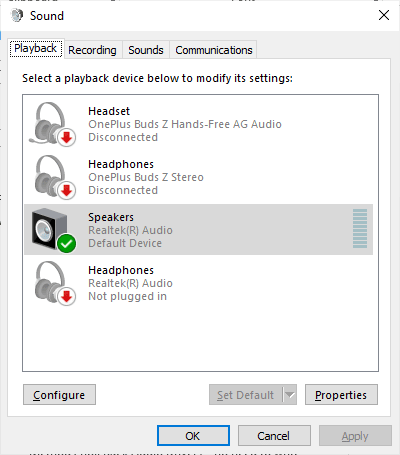
8. In აღწარმოება tab, double-click on the device which you are trying to use. This opens the განცხადებები window.
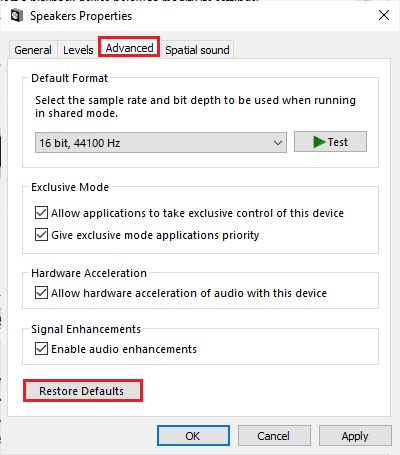
9. ახლა გადართეთ მოწინავე tab და დააჭირეთ ნაგულისხმევი პარამეტრების აღდგენა to restore the default settings.
10. შემდეგ გადართეთ სივრცითი ხმა Tab.
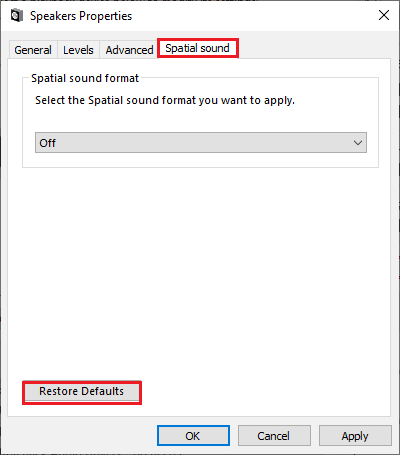
11. დაწკაპეთ ნაგულისხმევი პარამეტრების აღდგენა and everything will be restored to the default.
12. ბოლოს დააწკაპუნეთ მიმართვა და შემდეგ დააჭირეთ OK.
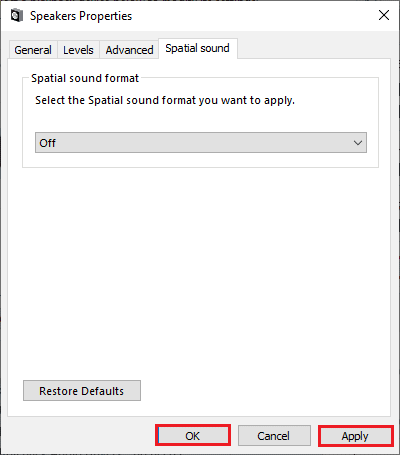
13. Now, check if you have fixed the front audio jack sound issue.
მეთოდი 5: Windows-ის განახლება
If any new Microsoft updates are pending to be installed on your PC, a few bugs and the front audio jack not working Windows 10 issue cannot be resolved on your computer. As suggested by many users, updating Windows 10 computers will help you resolve the front audio jack issue. Follow our guide on How to Download and Install Windows 10 Latest Update to update your Windows 10 computer.
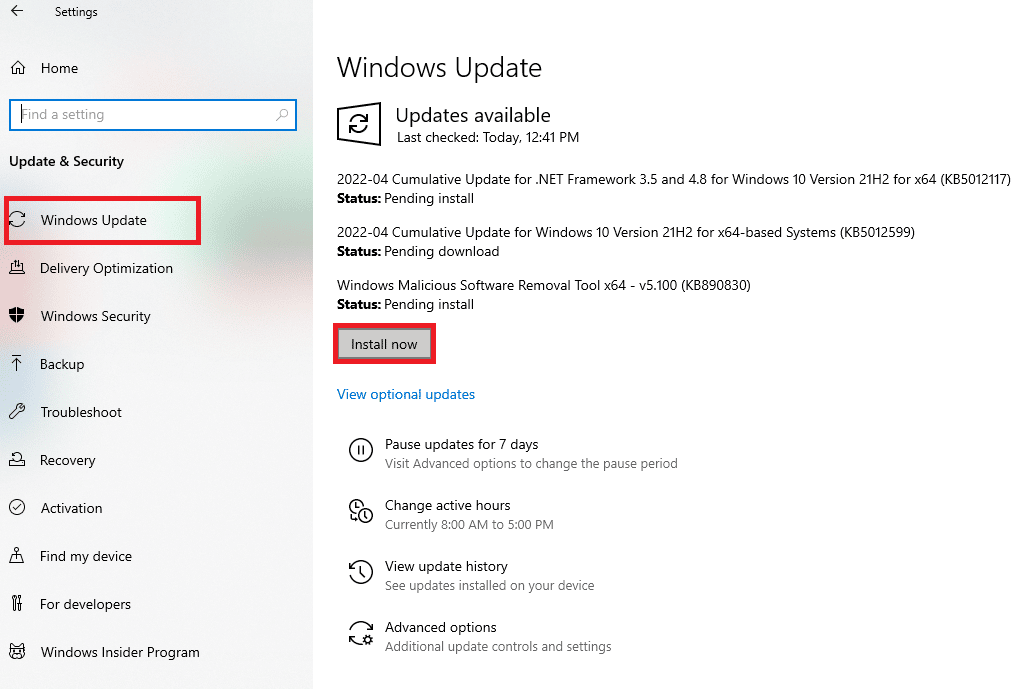
After updating your Windows Operating System, check whether you can access audio from the front audio jack.
ასევე წაიკითხე: How to Fix Audio Stuttering in Windows 10
მეთოდი 6: აუდიო დრაივერების განახლება
Any incompatible audio driver versions in your computer will always result in the front audio jack not working problem. Always ensure you use an updated version of audio drivers and if your computer lacks the latest drivers, you are advised to update them as instructed in our guide How to Update Realtek HD Audio Drivers in Windows 10.
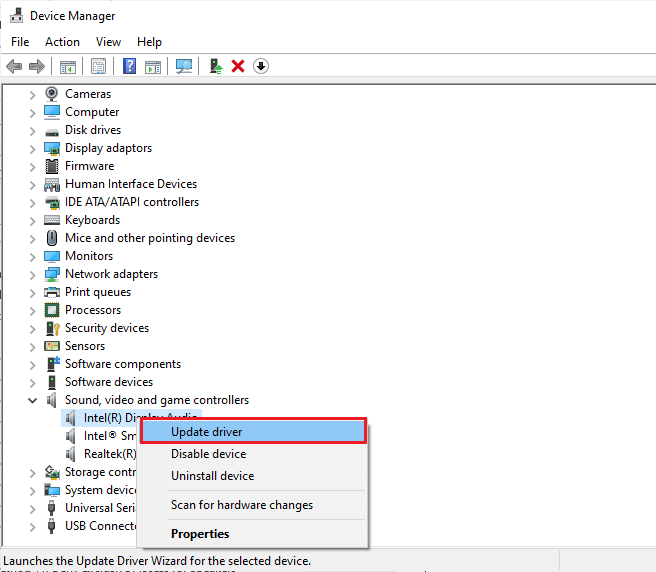
Once you have updated your audio drivers to the latest version, check if you have fixed the front audio jack not working Windows 10 issue.
Method 7: Reinstall Audio Drivers
You are advised to reinstall device drivers only if you cannot attain any fix by updating them. Steps to reinstall drivers are very easy and you can do so by using a third-party application or by implementing the steps manually as instructed in our guide How to Uninstall and Reinstall Drivers on Windows 10.
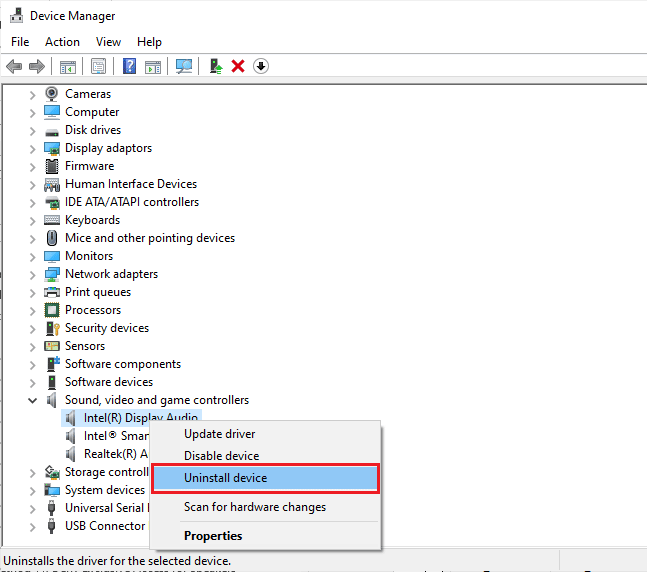
After reinstalling audio drivers, check if you can fix the discussed problem.
ასევე წაიკითხე: Fix Zoom Audio Not Working Windows 10
Method 8: Roll Back Audio Driver Updates
Sometimes, the current version of audio drivers may cause any audio conflicts and, in this case, you have to restore previous versions of installed drivers to fix the front panel audio jack not working issue. This process is called მძღოლების უკან დაბრუნება და თქვენ შეგიძლიათ მარტივად დააბრუნოთ თქვენი კომპიუტერის დრაივერები წინა მდგომარეობაში, თუ მიჰყევით ჩვენს სახელმძღვანელოს, თუ როგორ უნდა დააბრუნოთ დრაივერები Windows 10-ზე.
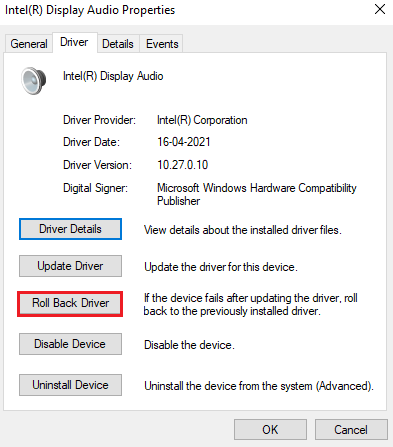
Wait until the previous versions of drivers are installed on your Windows 10 PC. Once done, check if you have fixed the front audio jack issue
Pro Tip: Use Audio Jack at the Back
If all the methods which are mentioned above do not work for you, you can try plugging your audio jack which is present at the back of your device. Each computer has a front audio jack but it also has audio jacks that are directly connected to the motherboard. You may also have hardware issues in your front audio jacks. If so, try checking the audio jacks on your motherboard to check whether the audio issue is occurring only in the front jack. You may need the computer manufacturer to fix it or take your device to an authorized service center. Find the audio jack which is in მწვანე color for a ყურსასმენების მდე ვარდისფერი ა მიკროფონი and try plugging your device in there. They will be connected and you can use headphones or earphones without any problems.
რეკომენდებული:
Now, you would have fixed the front audio jack not working issue. If you are stuck in the middle process of troubleshooting the problem, please let us know about them in the comments section. Feel free to contact us for more queries.

