The main cause of this error is still unknown, but there are various reasons why this problem occurs. Few of them are Windows Firewall might be disabled, malware infection, Incorrect date & time configuration, corrupted application package etc. Now Windows Store is an important component of Windows as it enables you to download different kinds of application required for personal or professional use.
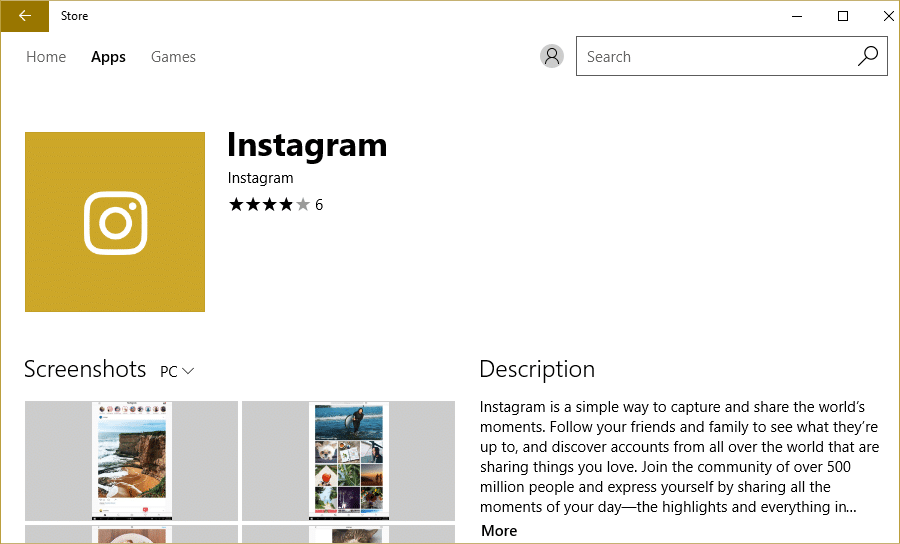
Imagine not being able to download any Windows store application, that’s exactly what happens in this case. But don’t worry troubleshooter is here to fix this issue, follow the below-listed methods one by one and by the end of this guide, Windows Store would be back to normal.
There are few things which you should make sure of before continuing with the below-listed troubleshooting steps:
- Sometimes Family Saftey Settings blocks some apps due to which you may not be able to access the particular app on the Store. Check if the problem occurs on all the other apps or some particular apps. If this issue occurs only on selected apps, then turn off the Family Saftey Settings.
- If you recently made some changes on the system but forgot to restart your PC, you might not access Windows Store. Make sure to restart your system after Windows Update and see if the problem is resolved or not.
დააფიქსირეთ No Install ღილაკი Windows Store-ში
დარწმუნდით, რომ შექმენით აღდგენის წერტილი, თუ რამე არასწორედ მოხდება.
Method 1: Turn ON the Windows Firewall
Windows Store doesn’t let you access the apps until you make sure that the Windows Firewall is enabled.
1. დააჭირეთ Windows Key + I და შემდეგ აირჩიეთ Მართვის პანელი.

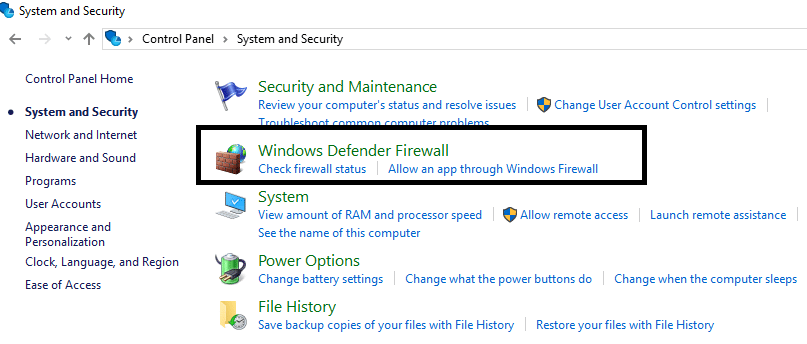
2. შემდეგი, დააწკაპუნეთ Სისტემა და უსაფრთხოება.
3. შემდეგ დააწკაპუნეთ Windows Firewall.
4.Now from the left window pane click on ჩართეთ ან გამორთეთ Windows Firewall.
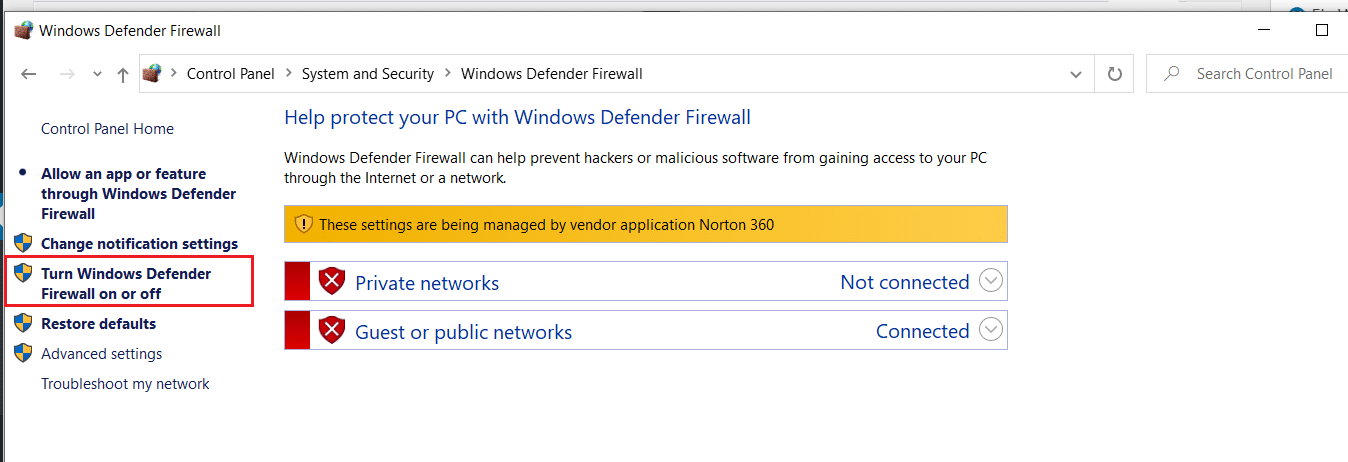
5. აირჩიეთ Turn On Windows Firewall for both private and public network settings and then restart your PC
After you are done, try to install the app again on the Windows Store and this time it should work out fine.
Method 2: Make sure your PC Date and time is correct
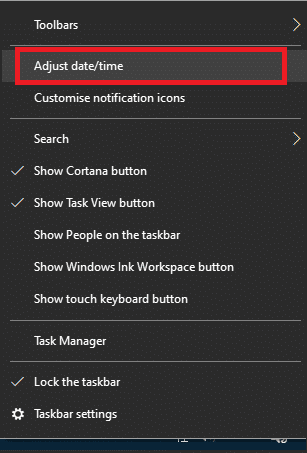
1. მარჯვენა ღილაკის on დრო ნაჩვენებია თქვენი ეკრანის ქვედა მარჯვენა კუთხეში. შემდეგ დააწკაპუნეთ დაარეგულირეთ თარიღი/დრო.
2. Make sure that both options labelled დააყენეთ დრო ავტომატურად მდე ავტომატურად დააყენეთ დროის ზონა არ ყოფილა ინვალიდები. დაწკაპეთ შეცვლა.
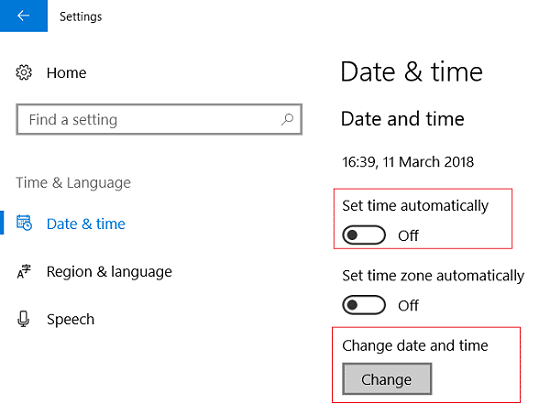
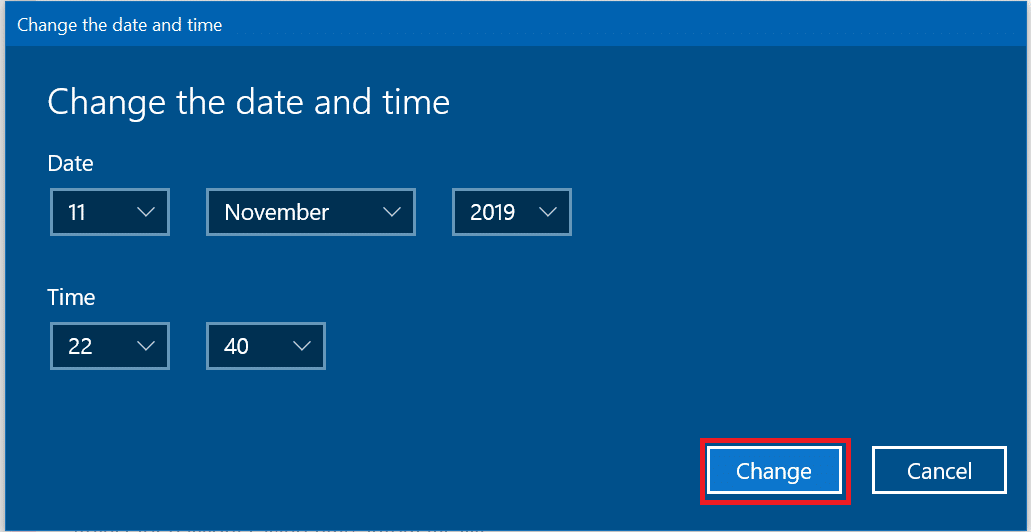
3. შეიყვანეთ la სწორი თარიღი და დრო და შემდეგ დააჭირეთ შეცვლა ცვლილებების შეტანა.
4. ნახე, შეგიძლია თუ არა Fix Your Connection is Not Private Error In Chrome.
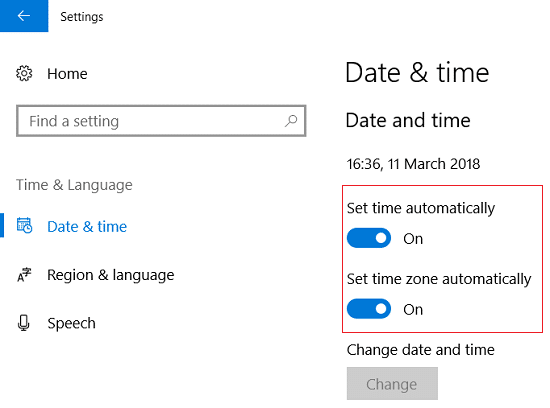
5. If this doesn’t help then ჩართვა ორივე დააყენეთ დროის ზონა ავტომატური მდე Set Date & Time Automatically options. If you have an active internet connection, your Date and Time settings will get updated automatically.
ასევე წაიკითხე: Windows 4-ში თარიღისა და დროის შეცვლის 10 გზა
მეთოდი 3: გაასუფთავეთ Windows Store ქეში
1. დააჭირეთ Windows Key + R და შემდეგ ჩაწერეთ „Wsreset.exe” და დააჭირეთ enter.
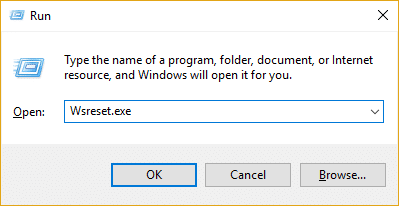
2. პროცესის დასრულების შემდეგ გადატვირთეთ თქვენი კომპიუტერი.
Method 4: Re-register Store app
1. ღია სარდლობის სწრაფი როგორც ადმინისტრატორი.

2. გაუშვით PowerShell ბრძანების ქვემოთ
PowerShell -ExecutionPolicy Unrestricted -Command “& {$manifest = (Get-AppxPackage Microsoft.WindowsStore).InstallLocation + ‘AppxManifest.xml’ ; Add-AppxPackage -DisableDevelopmentMode -Register $manifest}”
Or
Get-AppXPackage -AllUsers | Foreach {Add-AppxPackage -DisableDevelopmentMode -Register "$ ($ _. InstallLocation) AppXManifest.xml"}

3. დასრულების შემდეგ დახურეთ ბრძანების სტრიქონი და გადატვირთეთ კომპიუტერი.
ამ ნაბიჯით ხელახლა დაარეგისტრირეთ Windows Store აპლიკაციები, რომლებიც ავტომატურად უნდა მოხდეს დააფიქსირეთ No Install ღილაკი Windows Store-ში პრობლემა.
Method 5: Make sure Windows is Up to Date
1. დაჭერა Windows Key+ მე გავხსენი Settings და შემდეგ დააწკაპუნეთ განახლება და უსაფრთხოება.
![]()
2. მარცხენა მხრიდან მენიუ დააწკაპუნეთ Ვინდოუსის განახლება.
3. ახლა დააჭირეთ ღილაკს ”შეამოწმოთ განახლებები” ღილაკი ნებისმიერი ხელმისაწვდომი განახლების შესამოწმებლად.

4. თუ რაიმე განახლება ელოდება, შემდეგ დააწკაპუნეთ ჩამოტვირთეთ და დააინსტალირეთ განახლებები.

5. განახლებების ჩამოტვირთვის შემდეგ დააინსტალირეთ ისინი და თქვენი Windows განახლდება.
მეთოდი 6: გაუშვით CCleaner და Malwarebytes
1. ჩამოტვირთეთ და დააინსტალირეთ CCleaner & Malwarebytes.
2. გაუშვით Malwarebytes და მიეცით საშუალება დაასკანიროს თქვენი სისტემა მავნე ფაილებისთვის. თუ მავნე პროგრამა აღმოჩენილია, ის ავტომატურად წაშლის მათ.

3. ახლა გაუშვით CCleaner და აირჩიეთ მორგებული სუფთა.
4. Custom Clean-ში აირჩიეთ Windows ჩანართი და მონიშნეთ ნაგულისხმევი და დააწკაპუნეთ ანალიზი.

5. ანალიზის დასრულების შემდეგ, დარწმუნდით, რომ წაშალეთ წასაშლელი ფაილები.

6. დაბოლოს, დააჭირეთ ღილაკს გაუშვით სუფთა დააწკაპუნეთ და ნება მიეცით CCleaner-ს გაუშვას თავისი კურსი.
7. თქვენი სისტემის შემდგომი გასაწმენდად, აირჩიეთ რეესტრის ჩანართიდა დარწმუნდით, რომ შეამოწმეთ შემდეგი:

8. დაწკაპეთ პრობლემების სკანირება ღილაკზე და ნება მიეცით CCleaner-ს სკანირება, შემდეგ დააწკაპუნეთ შერჩეული საკითხების დაფიქსირება ღილაკს.

9. როდესაც CCleaner ითხოვს "გსურთ სარეზერვო ცვლილებები რეესტრში?" აირჩიეთ დიახ.
10. თქვენი სარეზერვო ასლის შექმნის შემდეგ დააწკაპუნეთ შეასწორეთ ყველა შერჩეული პრობლემა ღილაკს.
11. გადატვირთეთ კომპიუტერი ცვლილებების შესანახად.
Method 7: Perform Clean Boot in Windows
Sometimes 3rd party software can conflict with Windows Store and therefore, you should not install any apps from the Windows apps store. In order Fix No Install Button in Windows Store problem, you need to perform a clean boot in your PC and diagnose the issue step by step.
მეთოდი 8: გაუშვით Windows Update და Windows Store Apps troubleshooter
1.Type troubleshooting in the Windows Search bar and click on Დიაგნოსტიკა.
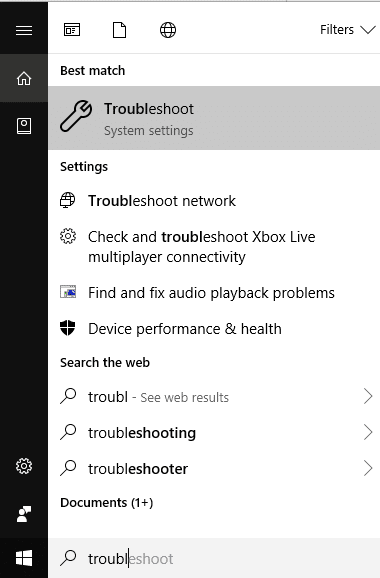
2.შემდეგი, მარცხენა ფანჯრის ფანჯრიდან აირჩიეთ Ყველას ნახვა.
3. შემდეგ Troubleshoot კომპიუტერის პრობლემების სიიდან აირჩიეთ Ვინდოუსის განახლება.
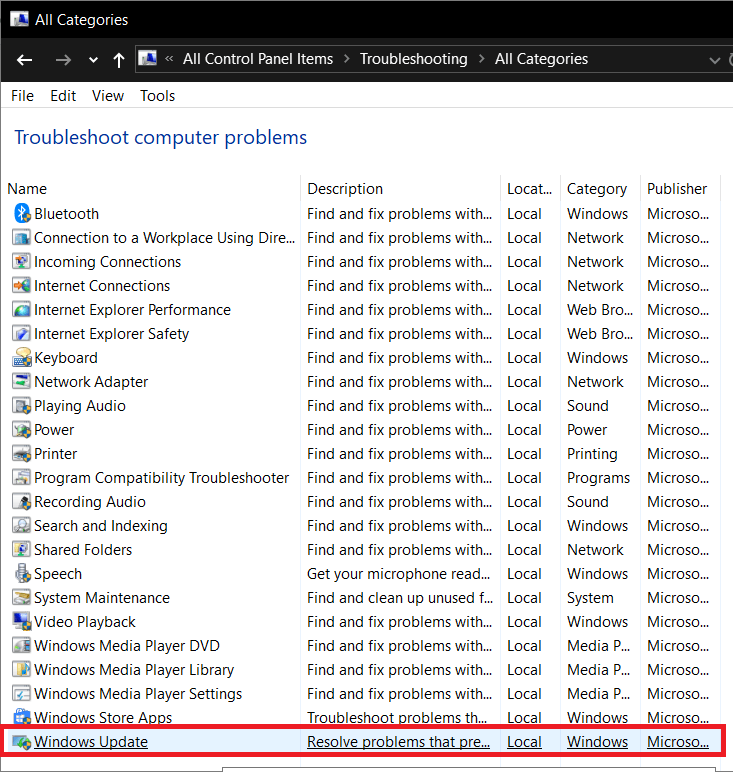
4. მიჰყევით ეკრანზე ინსტრუქციას და დაუშვით Windows Update Troubleshoot run.

5. Now again go back to the View all window but this time select Windows Store Apps. Run the troubleshooter and follow on-screen instructions.
6. გადატვირთეთ კომპიუტერი და კვლავ სცადეთ აპების დაყენება Windows Store-დან.
რეკომენდებული:
ეს არის ის, რაც თქვენ წარმატებით გაქვთ დააფიქსირეთ No Install ღილაკი Windows Store-ში მაგრამ თუ ჯერ კიდევ გაქვთ რაიმე შეკითხვა ამ პოსტთან დაკავშირებით, მოგერიდებათ ჰკითხოთ მათ კომენტარების განყოფილებაში.

