Windows is known to get slower over time. So, it came as a surprise when some users raised concerns about Windows 11 slowing down already. There could be a long list of causes that could be behind this but thankfully, in each scenario, a handful of simple tweaks can significantly enhance system speed. A slow computer is less efficient. However, contrary to popular belief, Windows computers are not designed to slow down with time. If you notice your system is underperforming or apps are taking longer to launch, this could be due to a lack of system storage or an excessive number of background apps, or services. Today, we will guide you on how to speed up Windows 11 PCs. So, let us begin!

Windows 11 компьютерін қалай жылдамдатуға болады
Many factors may affect the performance of your Windows 11 system. Hence, checking its performance through Performance Monitor is the first step to diagnosing the issue.
Diagnose Your System Through Performance Monitor
Performance monitor comes as an inbuilt tool in Windows OS. The tool monitors and identifies apps and processes that are slowing your computer down. Follow the given steps to run the Performance monitor:
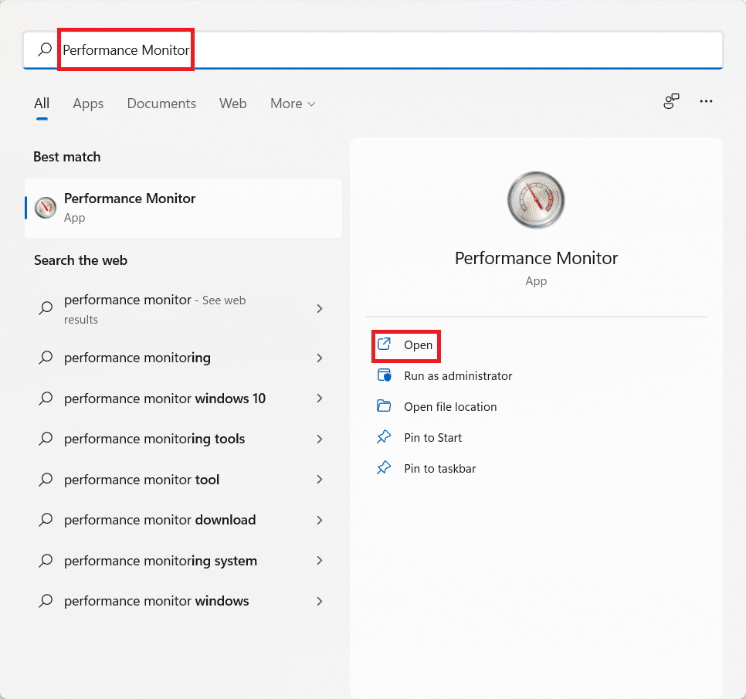
1. Басыңыз Іздеу белгішесі және түрі Өнімділік мониторы. Басыңыз ашық, көрсетілгендей.
2. Сол жақ аумақта түймесін басыңыз Data Collector Sets.
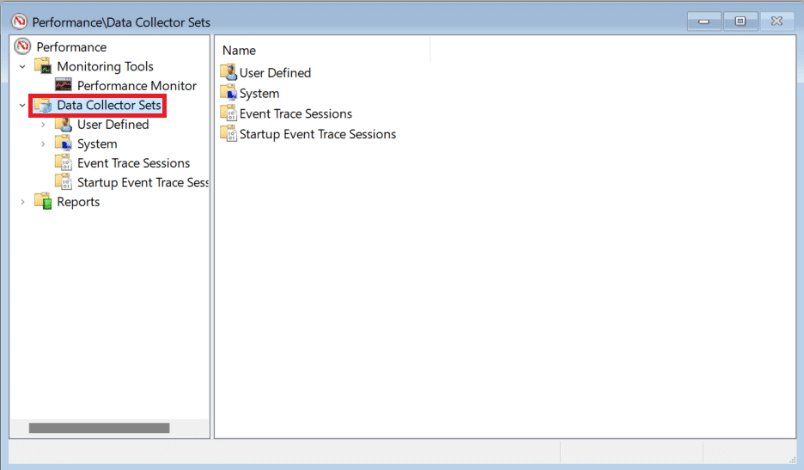
3. Then, double click on жүйе орнатыңыз.
4. Тінтуірдің оң жағын басыңыз Жүйенің өнімділігі тармағын таңдаңыз және бастау from the context menu, as depicted.
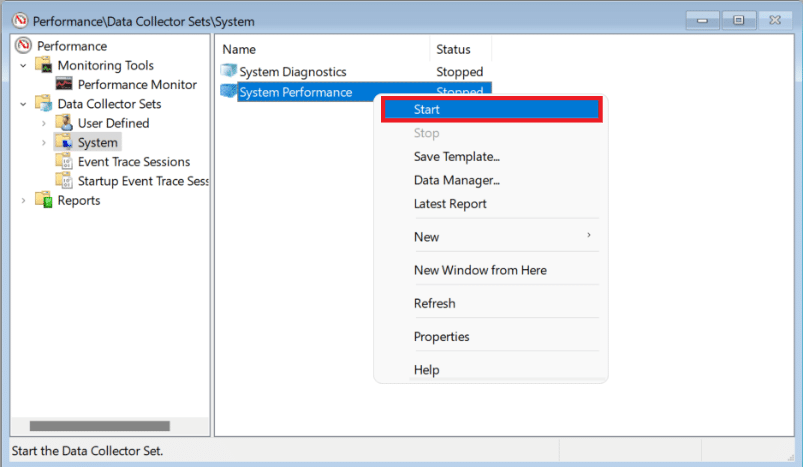
The scan would run and collect data for 60 seconds.
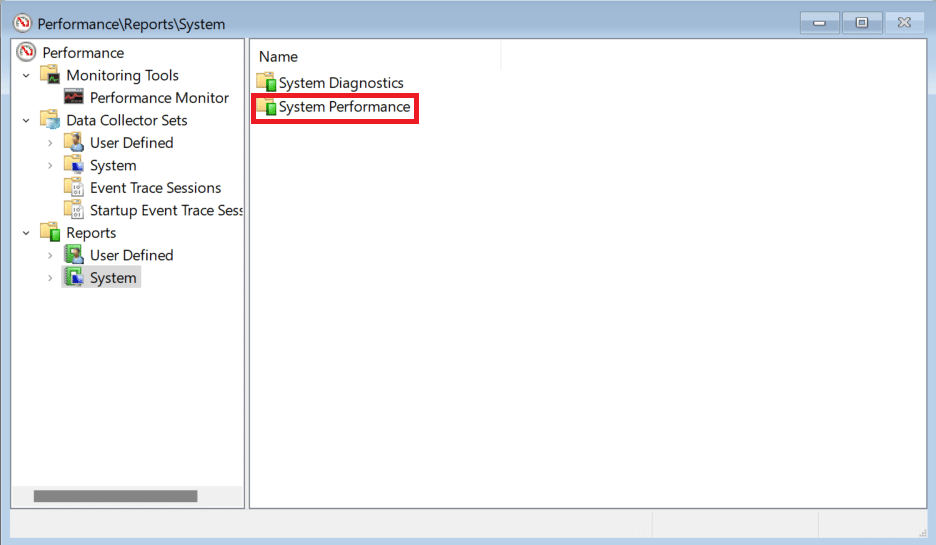
5. After the test is completed, click on Есептер in the left pane. Then, click on жүйе in the right pane, as shown.
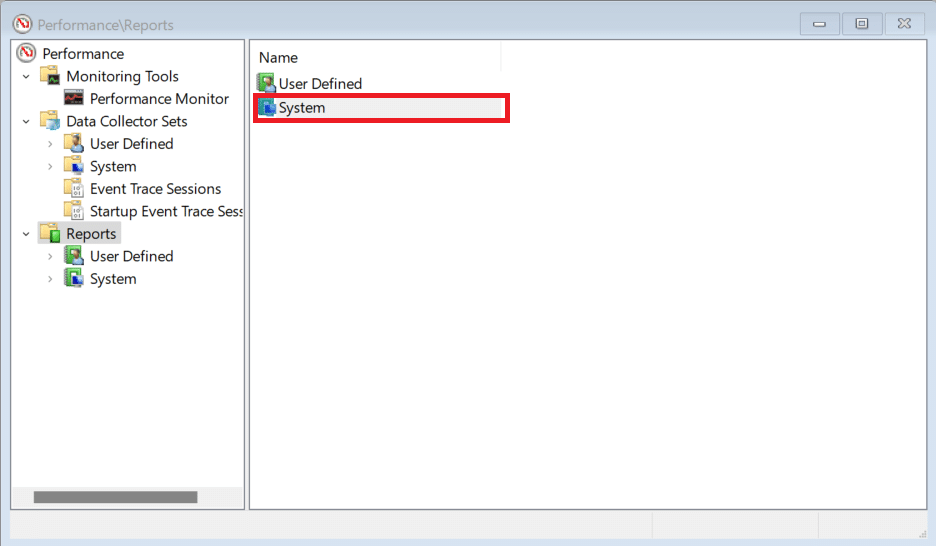
6. Енді, басыңыз жүйе орындау.
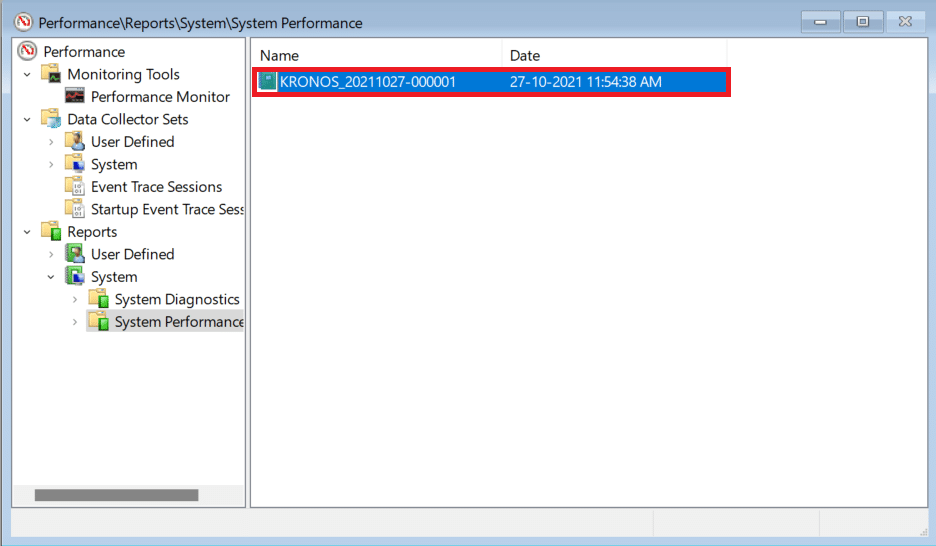
7. Among the list of reports, find the most соңғы есеп of the test you ran earlier.
8. Ішінде қысқаша мазмұндама section, you can find the processes which are hogging system resources labeled as Top Process Group.
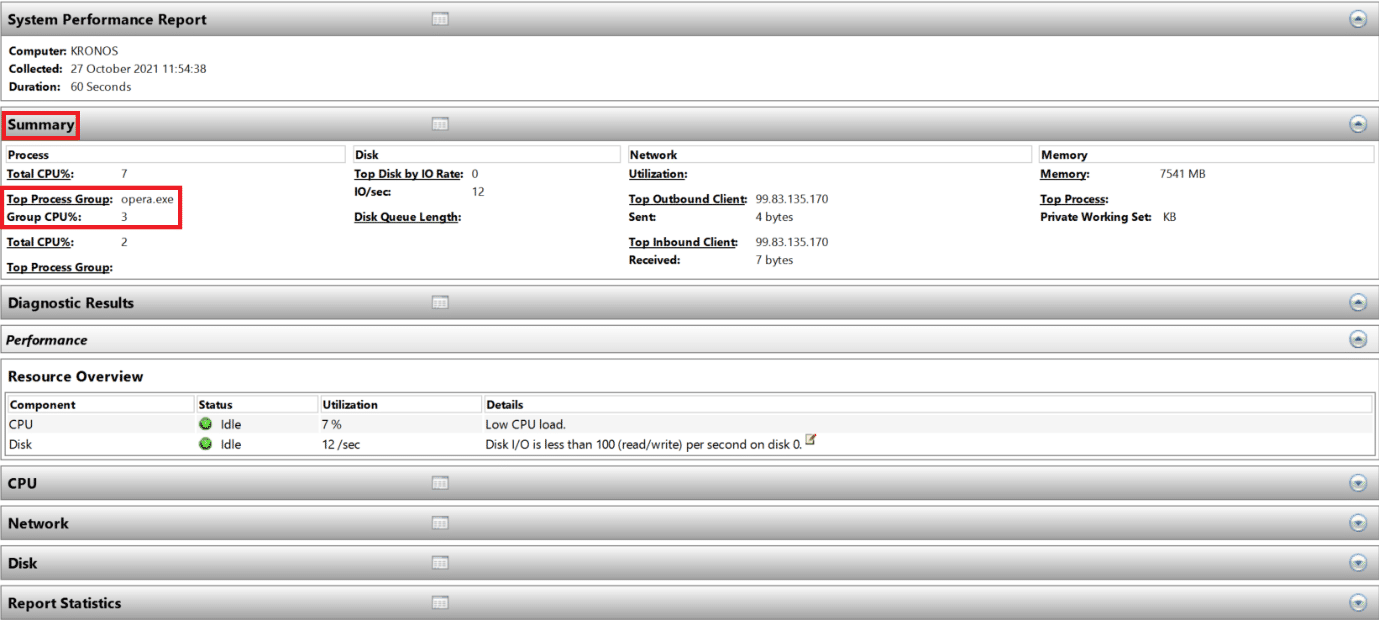
Ескерту: You can read through other sections of the report to understand the performance of your computer comprehensively.
Method 1: Restart Your PC
Restarting the PC may seem like a simple thing to do but it acts as a band-aid solution to the problem. It will come in handy to reduce sluggish performance. as your computer performance improves drastically once it is rebooted.
Сондай-ақ оқыңыз: Fix Critical Process Died Error in Windows 11
Method 2: End Unwanted Processes
Task manager is your go-to utility tool to monitor and control memory consumption.
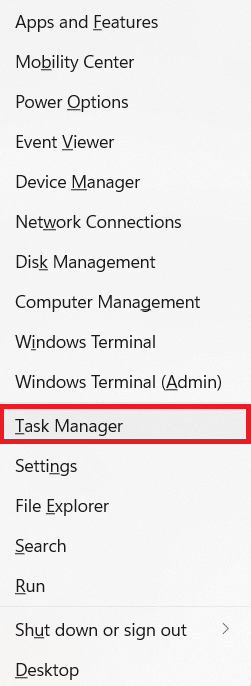
1. Басыңыз Windows + X пернелері ашу үшін бірге Жылдам сілтеме мәзірі.
2. Таңдаңыз тапсырма басқарушы тізімнен.
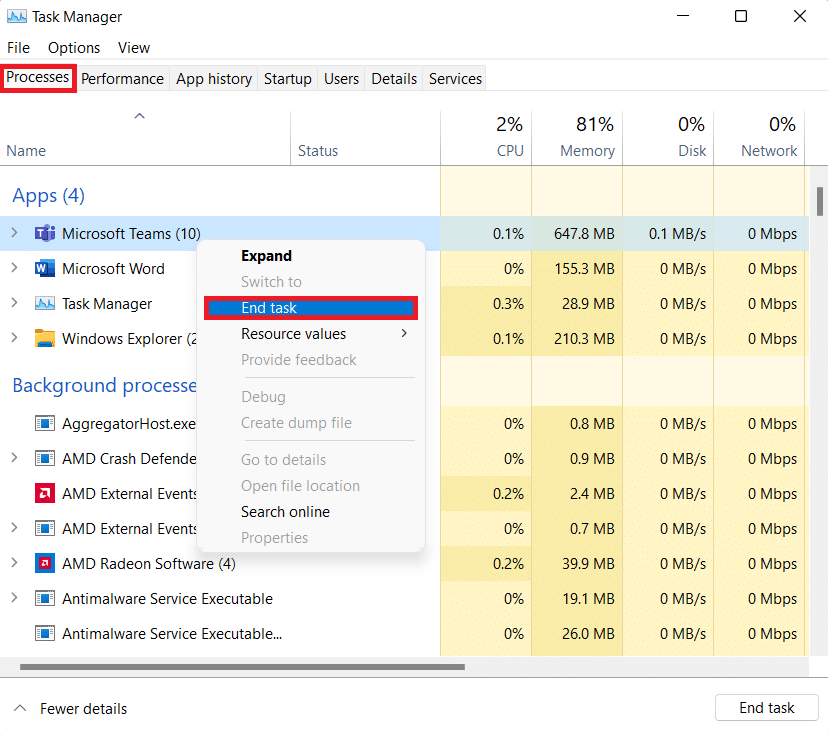
3. Ішінде Процестер tab, you can see the applications and processes that are consuming a lot of memory resources.
4. тінтуірдің оң жағын басыңыз өтініш беру процесі (мысалы Microsoft командалары) that you do not need right now.
5. Басыңыз Соңы тапсырма from the right-click menu, as illustrated below.
Method 3: Disable Startup Applications
Too many applications starting at the time of boot can hog up RAM and can cause Windows OS to slow down. Disabling them will speed up Windows 11. Read our exclusive guide on How to Disable Startup Programs in Windows 11 here.
Method 4: Change Power Plan
Power options may not be that essential in a desktop setup but they could make a ton of difference when set properly on a laptop. To change Power settings, follow these steps:
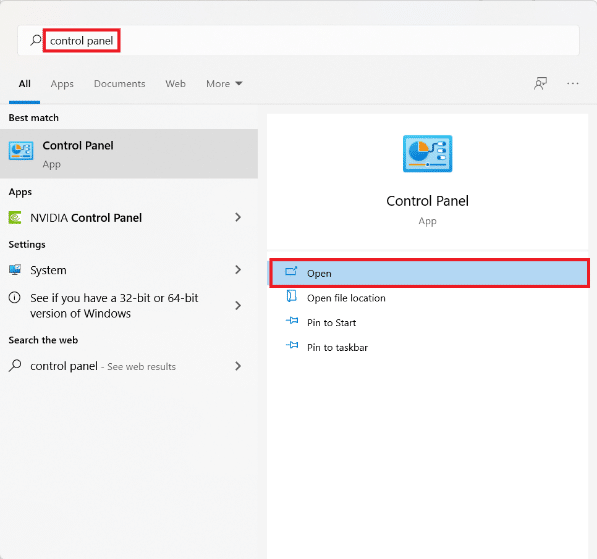
1. Басыңыз Іздеу белгішесі және түрі бақылау панелі. басыңыз Ашық.
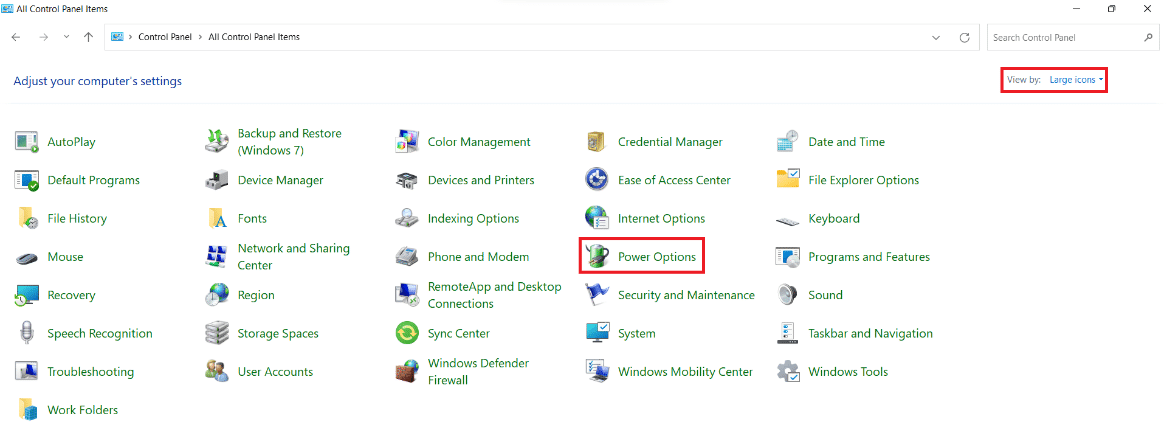
2. Басыңыз күш Опциялар.
Ескерту: Орнатыңыз көрініс by > Үлкен белгішелер from the top right-hand corner, if you can’t see this option.
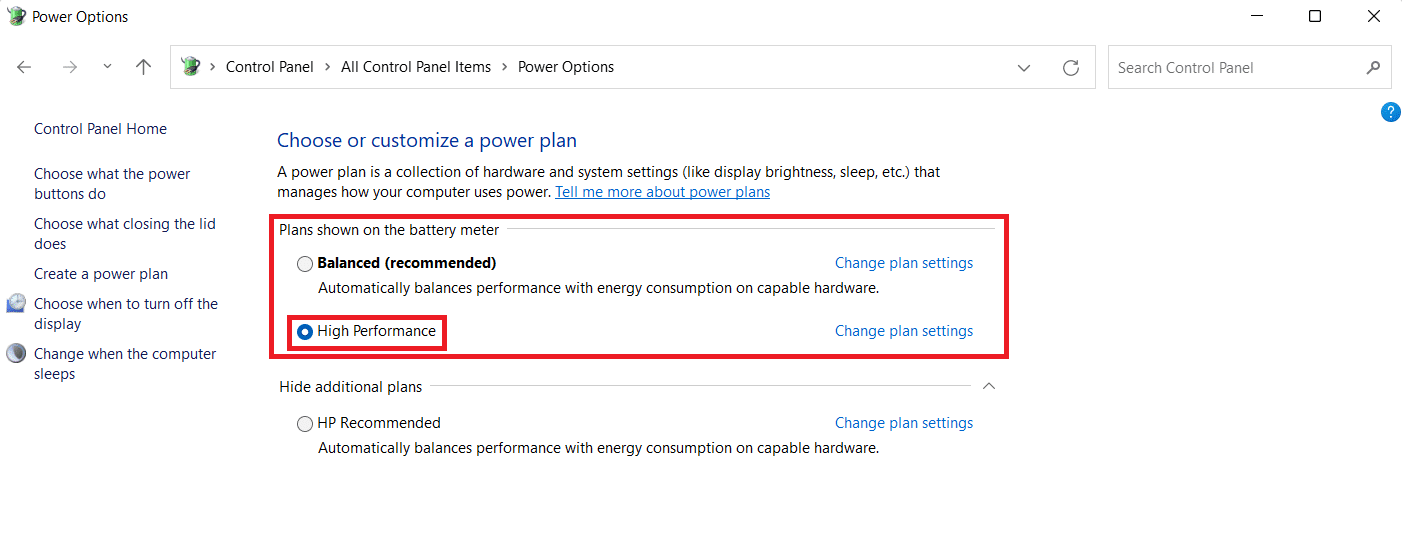
3. You will see three default power plans offered by Windows:
- күш Saver: This option gives you the longest battery life from your laptop at the sacrifice of performance. This is an option that should never be selected by desktop users because it would just impair performance while saving very little power.
- Теңгерімді: When a laptop is not plugged into a power source, this is the best alternative. As the name implies, it offers a decent mix between performance and battery life.
- биік орындау: When connected to a power source, you require high performance to accomplish CPU-intensive tasks, this should be the first choice.
4. Таңдаңыз биік орындау power plan, as shown.
Method 5: Delete Temporary files
Lack of space on your Hard drive can also hinder the performance of your computer. To clean up junk files:
1. Басыңыз Windows + I пернелері ашу үшін бірге Параметрлер Қолданба.
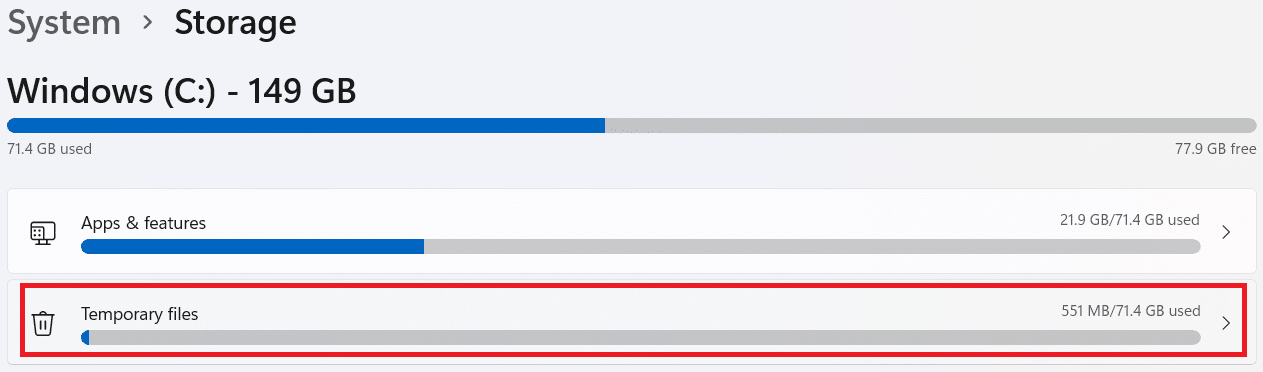
2. Ішінде жүйе қойындысын нұқыңыз сақтау, көрсетілгендей.

3. Wait for Windows to scan your drives to identify temporary files & junk files. Then, click on уақытша файлдар.
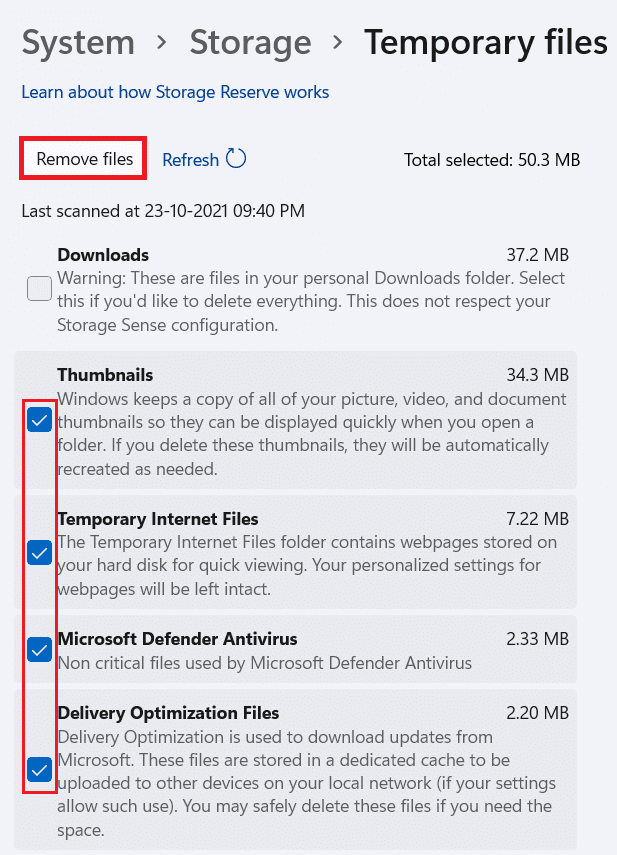
4. Mark the checkbox for types of files and data that you no longer need e.g. Thumbnails, Temporary Internet Files, Microsoft Defender Antivirus & Delivery Optimization Files.
Ескерту: Make sure you read the description of each file type to avoid deleting important data.
5. Енді, басыңыз кетіру файлдар бөлектеліп көрсетілген.
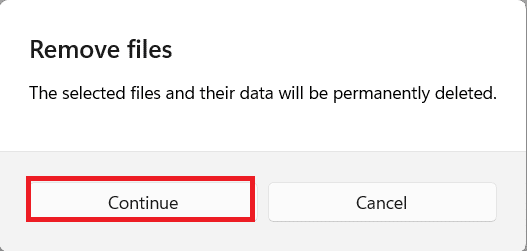
6. Соңында түймесін басыңыз жалғастыру ішінде Файлдарды жойыңыз растау сұрауы.
Сондай-ақ оқыңыз: Fix Apps Can’t Open in Windows 11
Method 6: Uninstall Unused Programs
Unused apps can hog up RAM resources in the background. It is recommended to uninstall the application that is not used anymore to free up both storage and memory resources.
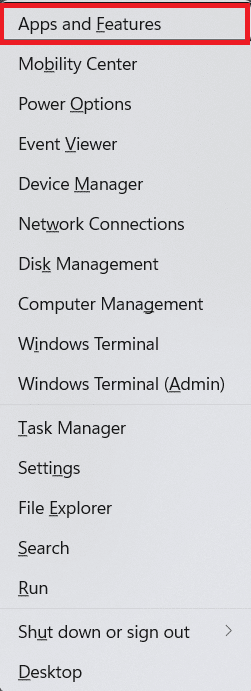
1. Басыңыз Windows + X пернелері ашу үшін бір уақытта Жылдам сілтеме мәзірі.
2. Басыңыз Қолданбалар мен мүмкіндіктер тізімнен.
3. Scroll through the list of installed apps and click on the үш нүкте for the app that you want to uninstall. e.g. Translucent TB.
4. Басыңыз Uninstall.

5. Басыңыз Uninstall in the prompt to confirm.
6. Repeat the process for all unwanted apps.
Method 7: Disable Visual Effects
Disabling visual effects can serve you in the long run while cutting down on RAM consumptions. This will also help speed up Windows 11 PC.
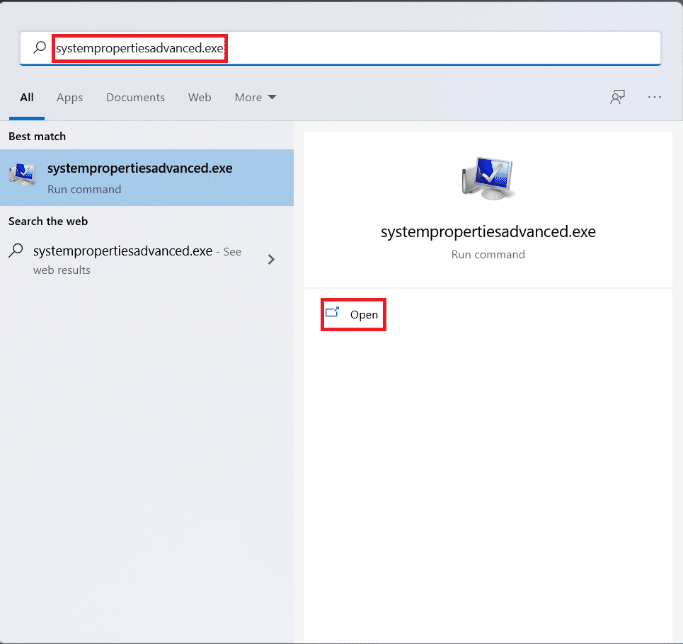
1. Басыңыз Іздеу белгішесі және түрі systempropertiesadvanced.exe.
2. Содан кейін түймесін басыңыз ашық, көрсетілгендей.
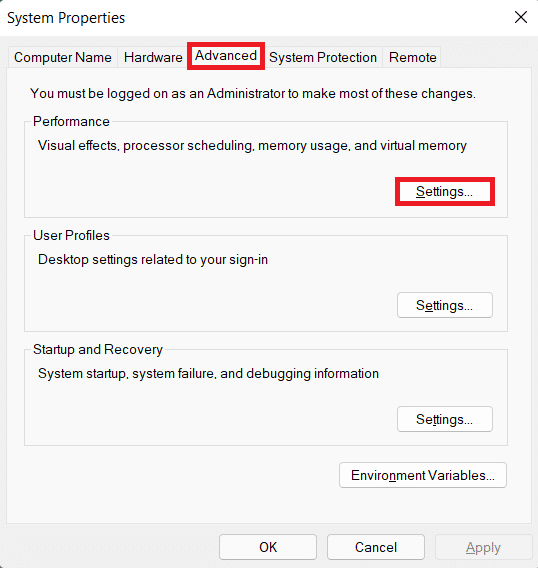
3. Төменде озат қойындысын нұқыңыз Параметрлер ішінде орындау бөлім.
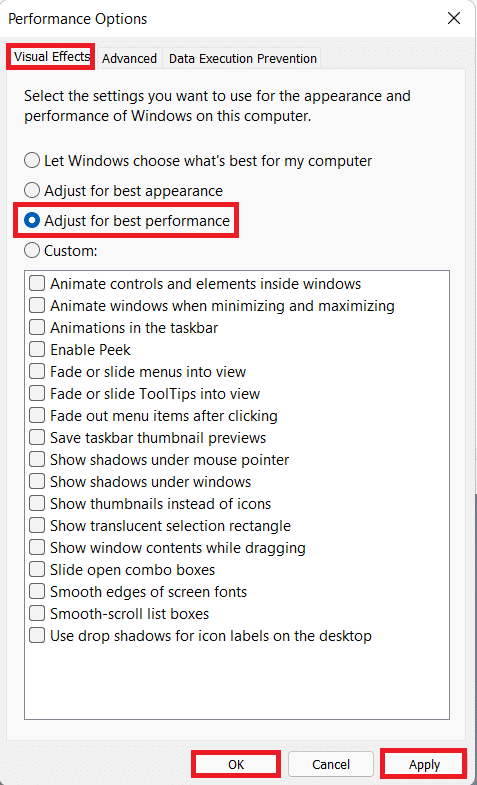
4. Ішінде Көрнекі әсерлер қойындысын нұқыңыз Ең жақсы өнімділік үшін реттеу.
5. Содан кейін таңдаңыз Қолдану> OK өзгерістерді сақтау.
Сондай-ақ оқыңыз: How to Fix Microsoft Store Not Opening on Windows 11
Method 8: Increase Virtual Memory
Virtual memory allows data in RAM to be offloaded to disc storage, accounting for the lack of physical memory in your system. It is a practical solution to the problem of high memory usage. This will certainly speed up Windows 11.
1. Іске қосу Жүйелік сипаттар window as you did in the previous method.
2. түймешігін басыңыз озат қойындысын таңдаңыз Параметрлер астында орындау бөлім.
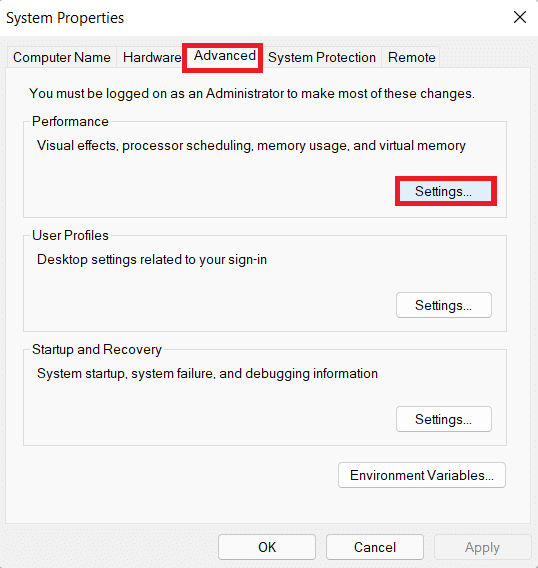
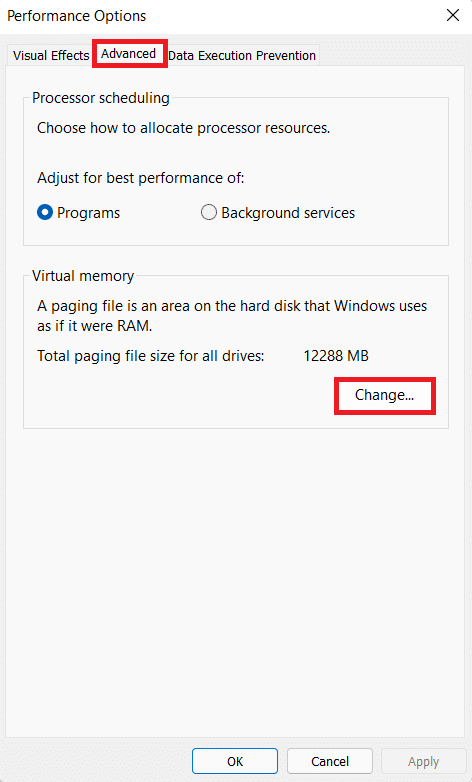
3. Ішінде Өнімділік параметрлері терезесібасыңыз озат қойындысы.
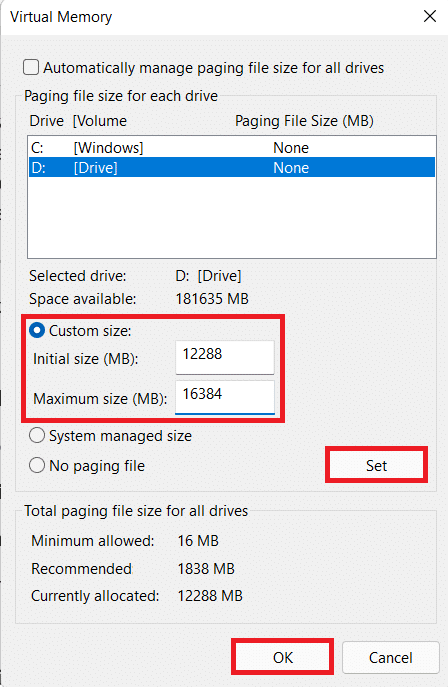
4. Содан кейін түймесін басыңыз Өзгерту ... астында Виртуалды жад бөлім.
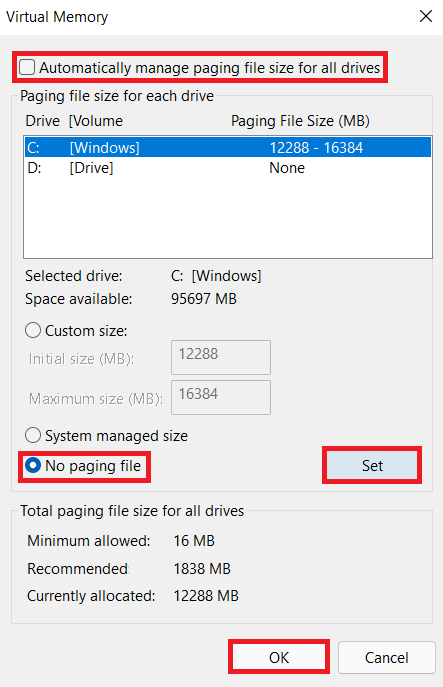
5. Uncheck the box marked Барлық дискілердің пейджингтік файл өлшемін автоматты түрде басқарады.
6. өзіңізді таңдаңыз primary drive (мысалы C:) from the list and click on Пейджинг файлы жоқ. Содан кейін, басыңыз жиынтық.
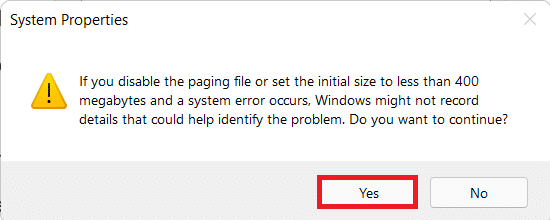
7. Басыңыз иә пайда болатын растау сұрауында.
8. Содан кейін түймесін басыңыз non-primary volume (мысалы D:) in the list of drives and select Өзгертпелі өлшем.
10. енгізіңіз Paging size in MegaBytes (MB).
1 Ескертпе: Enter the same value for both Бастапқы өлшем және Максималды мөлшері.
2 Ескертпе: The paging size is ideally Екі рет the size of your physical memory (RAM).
11. Басыңыз жиынтық > OK.
12. Қайтадан қосу your computer for changes to take effect.
Method 9: Run Virus & Malware scan
Your computer slowing down can be a symptom of a malware attack so it is advised to run an in-depth malware scan. Windows Defender is an inbuilt antivirus to protect Windows system from malware. To run a malware scan, follow the given steps:
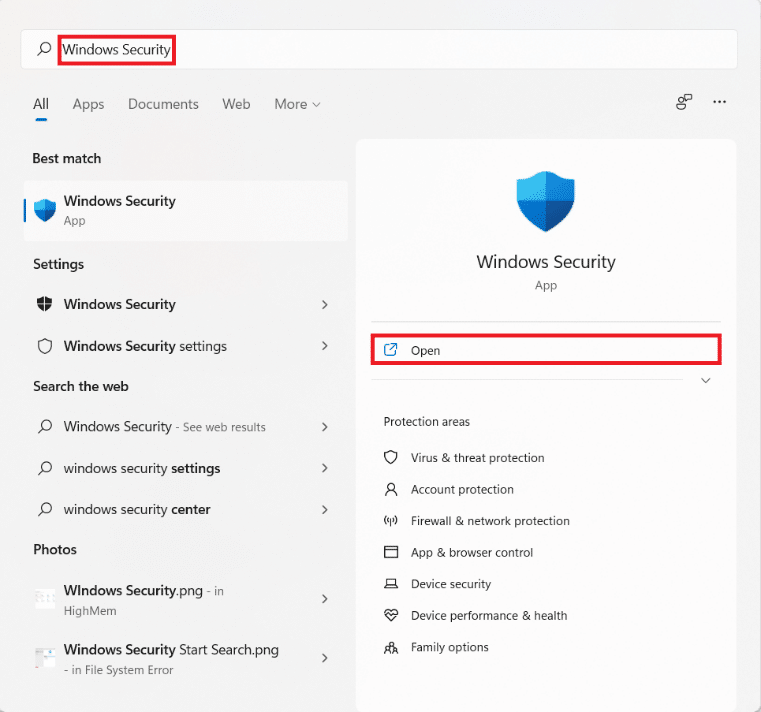
1. Басыңыз Іздеу белгішесі және түрі Windows қауіпсіздік. Содан кейін, басыңыз ашық.
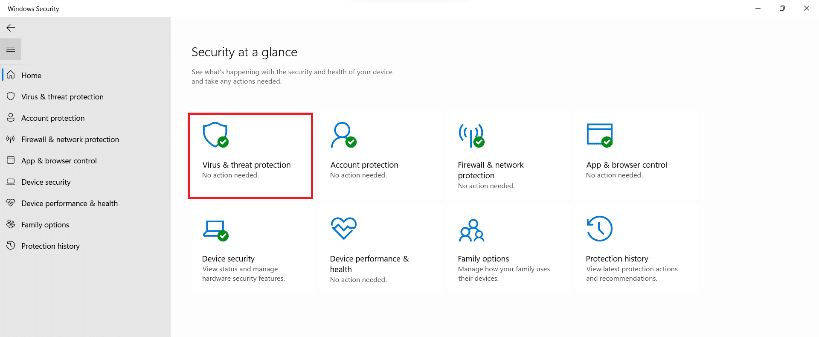
2. Басыңыз Вирус пен қауіптен қорғау.
3. Басыңыз Сканерлеу параметрлері.
4. Таңдаңыз Толық сканерлеу батырмасын басыңыз және Қазір сканерлеңіз.
5. Let the scan be completed to get the report. Click on Әрекеттерді бастаңыз, if threats are found.
Method 10: Defragment Storage Drive
When data blocks or fragments that make up a file are spread across the hard disc, is is known as fragmentation. This occurs over time and causes the system to slow down. Defragmentation is the act of bringing these pieces together on the physical space of the hard disc, allowing Windows to access files more quickly. Alternately, to save space you can transfer more data to an external drive and retrieve it when needed. Read our List of Best External Hard Drive for PC Gaming here.
While Windows defragments your hard drive regularly, you can do it manually as well. Furthermore, new SSDs (Solid State Drives) do not require defragmentation, albeit you should do so on HDDs (Hard Disk Drive). Follow the given steps to speed up Windows 11 by defragmenting your drives:
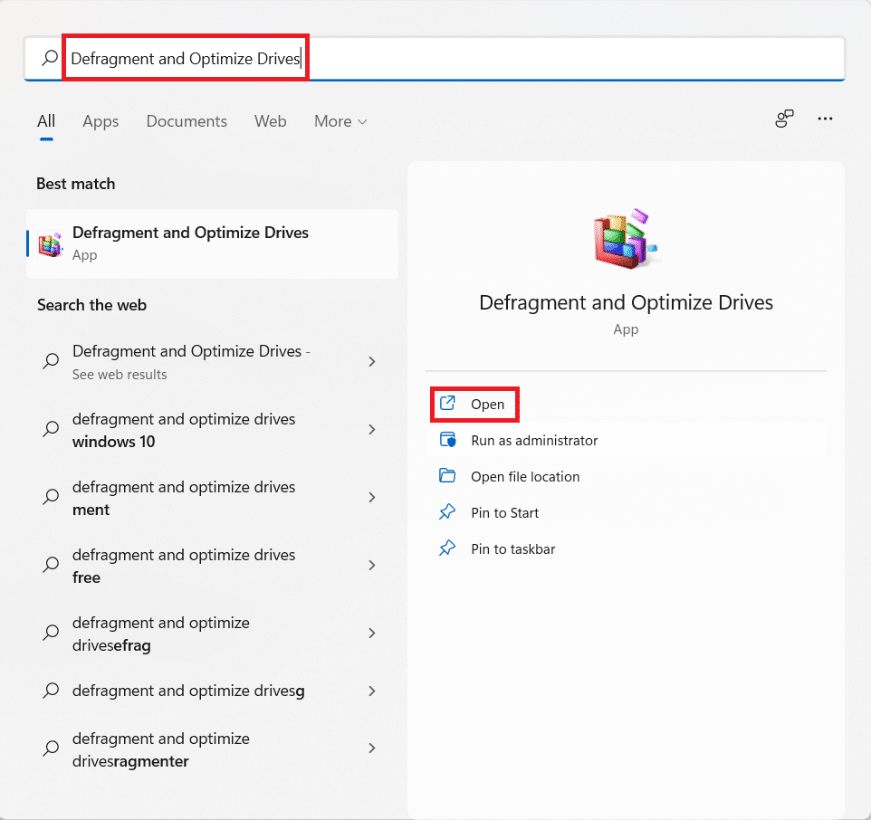
1. Басыңыз Іздеу белгішесі және түрі Дефрагментация and Optimize Drives. Содан кейін, басыңыз Ашық.
2. Таңдаңыз диск you want to defragment from the list of drives connected to your computer. e.g. Drive (D:)
3. Содан кейін түймесін басыңыз оңтайландыру, көрсетілгендей.

Сондай-ақ оқыңыз: How to Partition Hard Disk Drive in Windows 11
11-әдіс: Windows жүйесін жаңарту
Windows needs to be regularly updated to work flawlessly. Hence, to speed up Windows 11, update your Windows OS as follows:
1. Іске қосу Параметрлер & басыңыз Windows жаңарту орталығы сол жақ бөлікте.
2. Содан кейін түймесін басыңыз Жаңартуларды тексеру.
3. If there is any update available, click on Жүктеу және орнату.
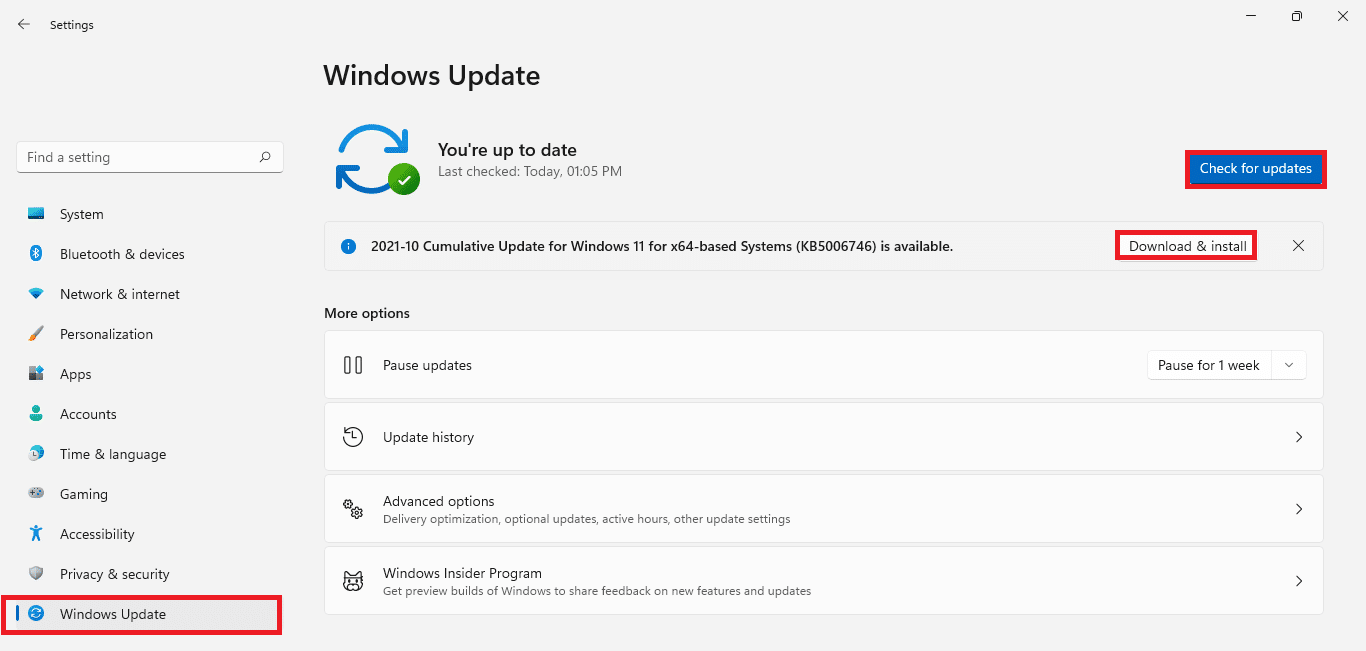
4. Let the install be downloaded and installed. Click on Қазір қайта іске қосыңыз to implement the update.
12-әдіс: ескірген драйверлерді жаңарту
Outdated drivers can also present themselves as obstructions and may slow down your computer. Hence, to speed up Windows 11, update all system drivers by any of the following methods.
Method 12A: Through Device Manager Window
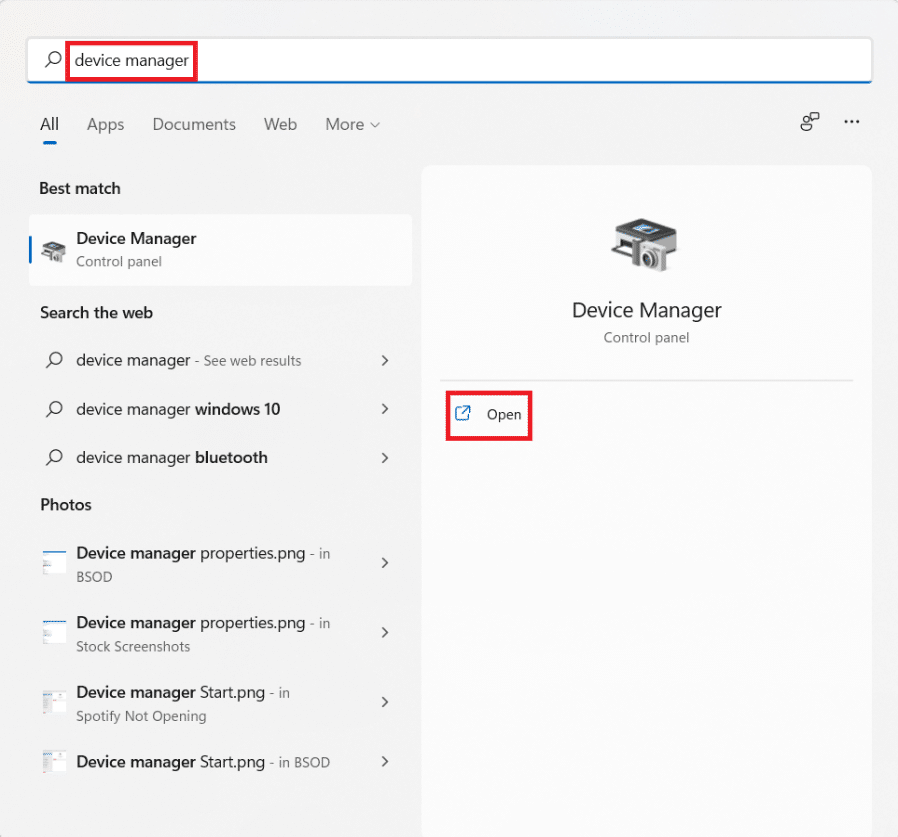
1. Type, search & launch Құрылғы менеджері from search bar, as shown.
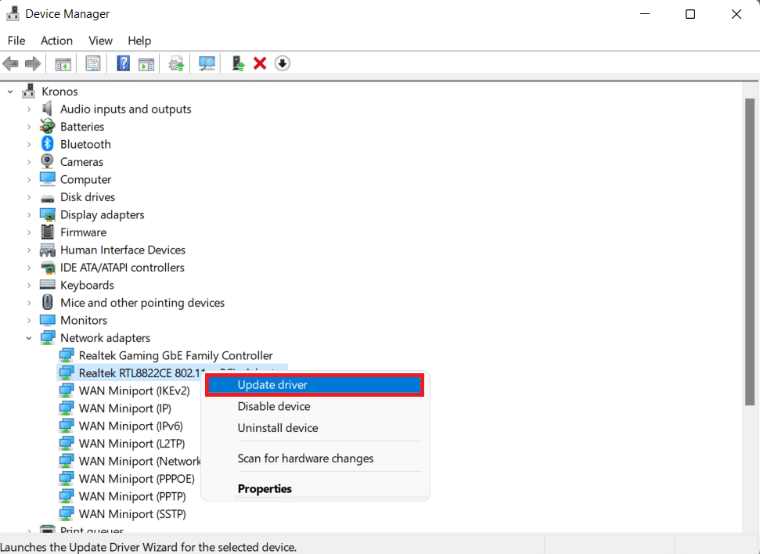
2. түймесін екі рет шертіңіз жүргізушілер мысалы Желілік адаптерлер that are outdated.
3. тінтуірдің оң жағын басыңыз ескірген драйвер (мысалы Realtek RTL8822CE 802.11 ac PCIe адаптер).
4. Содан кейін түймесін басыңыз Драйверді жаңартыңыз from the context menu, as shown.
5. Басыңыз Драйверді автоматты түрде іздеу.
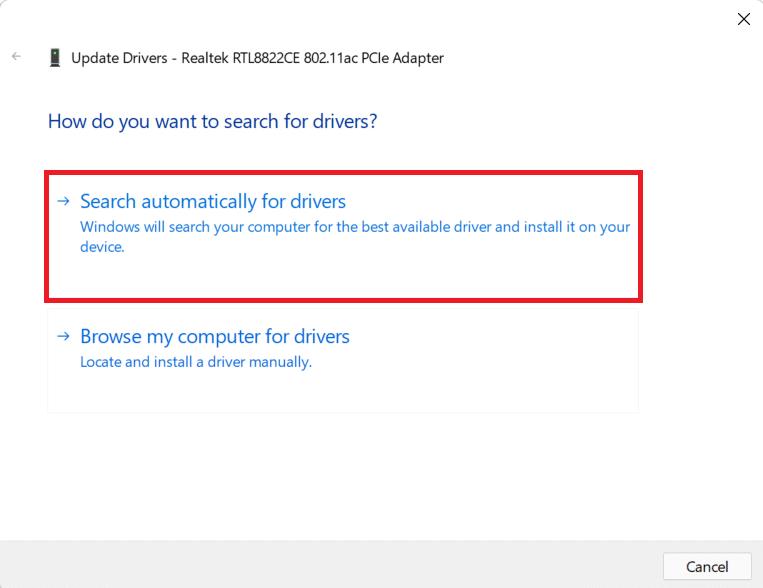
Let the scan run and find the соңғы драйвер құрылғыңызға арналған.
6A. If updates are available, the system will install them automatically.
6B. If not, you will be notified about the same via The best drivers for your device are already installed хабар.
7. After updating, click on жақын.
8. Repeat the above steps to update all outdated drivers to speed up Windows 11.
Method 12B: Through Windows Update Feature
1. Басыңыз Windows + I пернелері ашу үшін бір уақытта Параметрлер Қолданба.
2. Басыңыз Windows жаңарту орталығы сол жақ бөлікте.
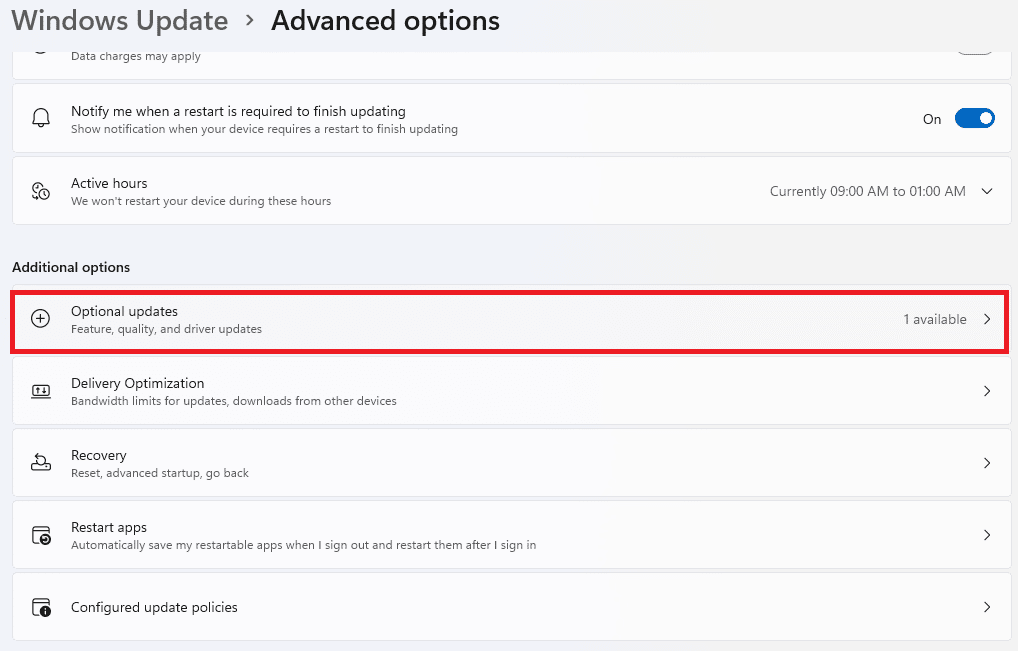
3. Содан кейін түймесін басыңыз Кеңейтілген опциялар, shown highlighted.

4. Басыңыз Қосымша жаңартулар астында Қосымша опциялар.
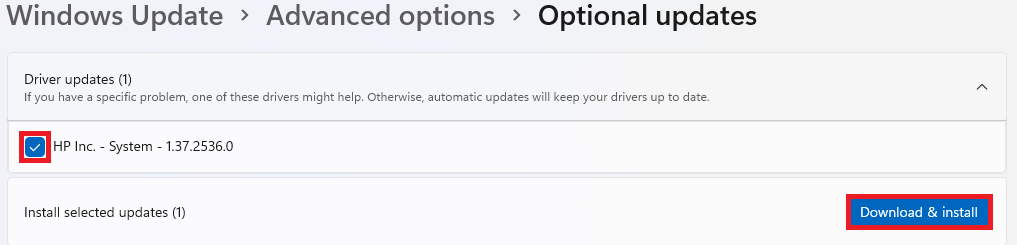
5. Таңдаңыз Драйвер жаңартулары опция.
6. Check the boxes for available driver updates and click on Жүктеу және орнату түймесін басыңыз.
7. Қайтадан қосу your Windows 11 PC for installation to take place successfully.
Сондай-ақ оқыңыз: How to Rollback Driver Updates on Windows 11
Pro Tip: Automate Storage Maintenance using Storage Sense
Automating your storage maintenance will manage your temporary files on your behalf without user intervention. To enable Storage Sense, do as follows:
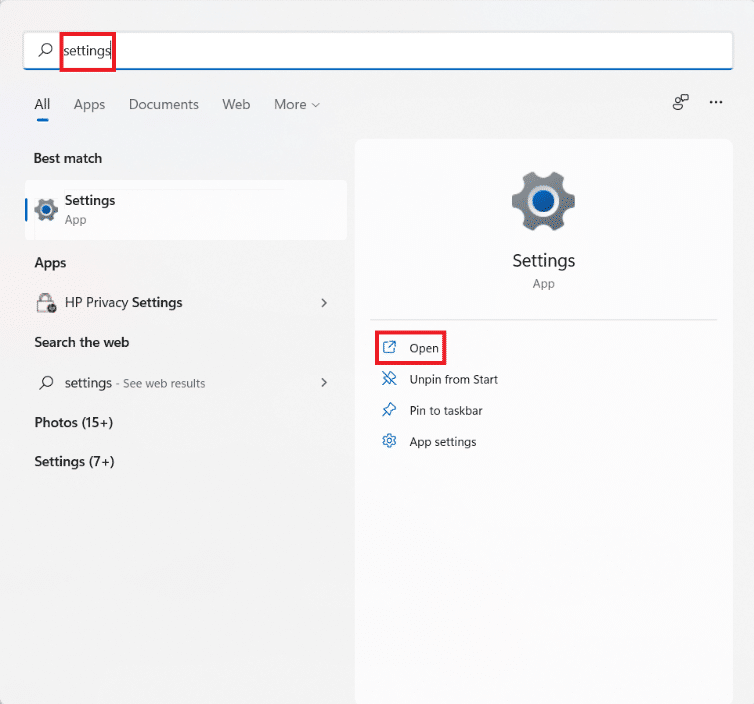
1. Басыңыз Іздеу белгішесі және түрі Параметрлер. басыңыз Ашық.
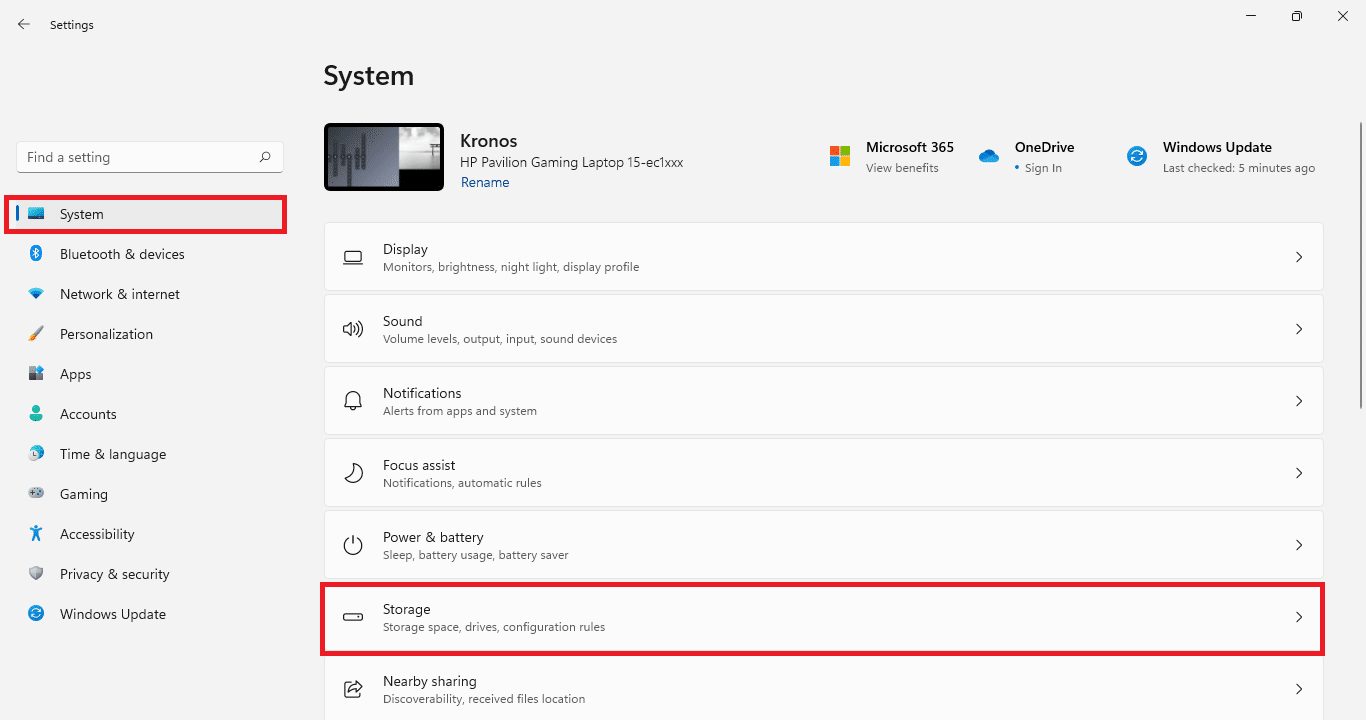
2. Ішінде жүйе қойындысын нұқыңыз сақтау.
3. Click on the switch ауысу үшін Сақтау сезімі оны қосу үшін.
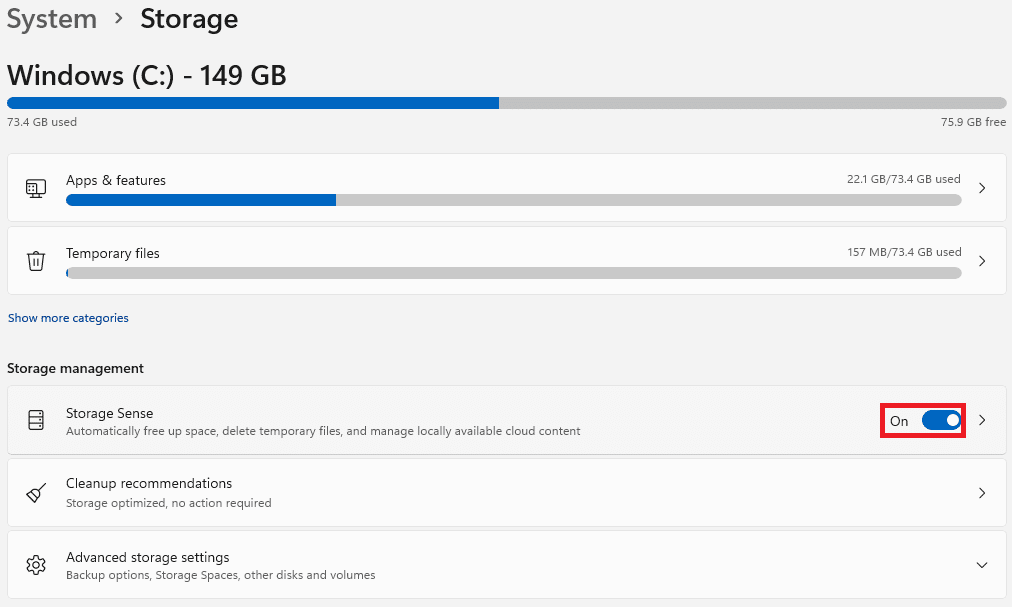
4. Содан кейін түймесін басыңыз оңға бағытталған көрсеткі ішінде Сақтау сезімі тақтайшасы.

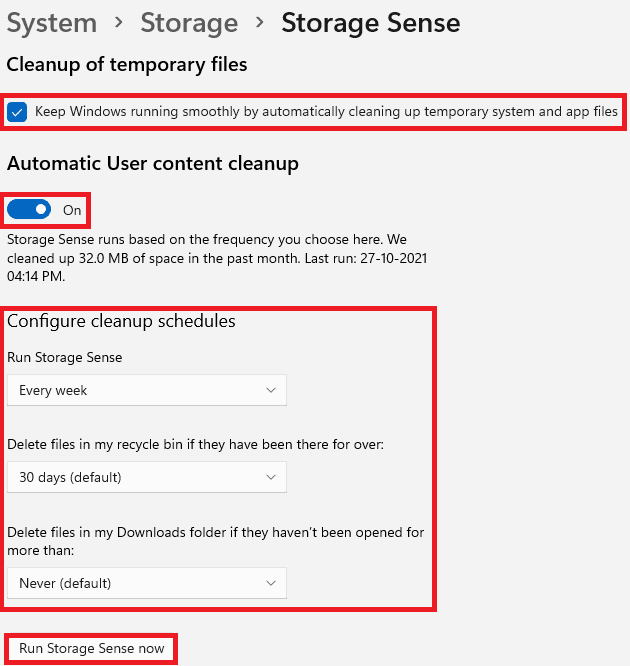
5. Here, check the box marked Keep Windows running smoothly by automatically cleaning up temporary system and app files.
6. Tun on the toggle under Пайдаланушы мазмұнын автоматты түрде тазалау.
7. Configure settings according to your choice like
- Storage Sense іске қосыңыз жиілік
- Delete files in my recycle bin if they have been there for Ұзақтық.
- Delete files in my Downloads folders if they haven’t been opened for Ұзақтық.
8. Соңында түймесін басыңыз Storage Sense қолданбасын қазір іске қосыңыз түймесі бөлектелген.
Ұсынылған:
We hope you learnt about different ways to speed up Windows 11. You can send your suggestions and queries in the comment section below. We would love to hear from you.

