Windows 10 offers various customizable sleep setting options, so your PC sleeps exactly the way you want. For example, you can set your PC to sleep after a predefined time period has elapsed. You can even make your PC fall asleep when you close your laptop’s lid.
In this guide, we’ll take a look at some of the Windows 10 sleep settings that you can tweak on your PC.
Choose the Idle Duration After Which Your PC Sleeps
When you configure sleep settings for your PC, the first option to define is how long your PC should be in idle mode to enter sleep mode. You can choose different options for both when your machine is plugged into a power source and when your machine is running on battery.
- Ашыңыз Параметрлер app on your PC by pressing Windows + I сонымен қатар пернелер.
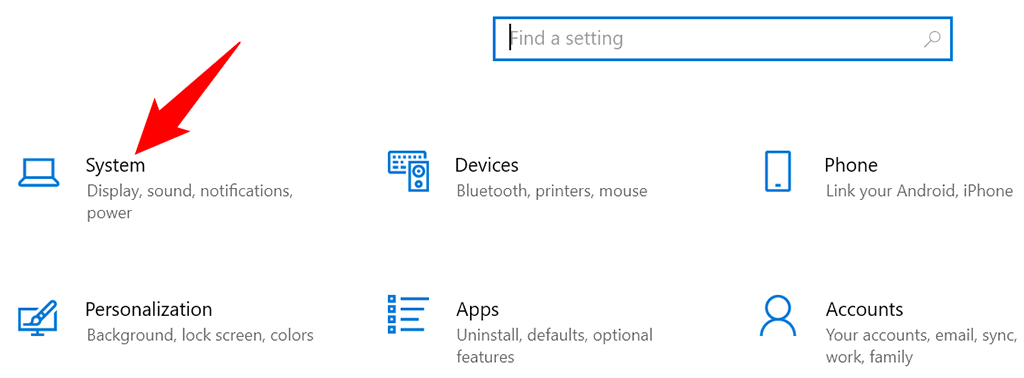
- таңдау жүйе Параметрлер экранында.
- таңдау Қуат және ұйқы сол жақтағы бүйірлік тақтадан.
- Define when your PC goes to sleep in the ұйықтау section on the right. Select an option from both drop-down menus depending on when your PC should enter sleep mode.
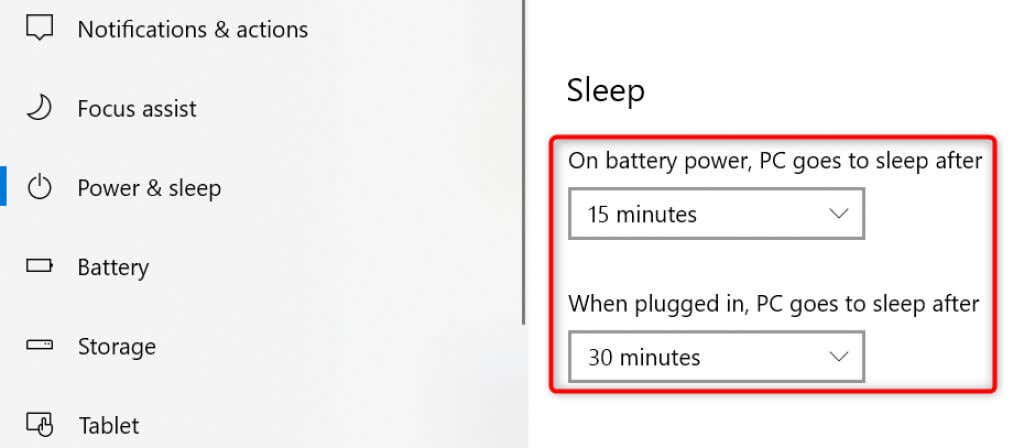
If you don’t want your PC to ever enter sleep mode, choose ешқашан да from both drop-down menus. This way, your PC never goes into sleep mode and always remains awake.
Put Your Laptop to Sleep When You Close the Lid
Windows 10 offers a sleep setting where you can put your laptop to sleep when you close the laptop’s lid. This is a handy and time-saving tip if you manually put your laptop to sleep mode while closing the lid.
- Ашыңыз Параметрлер app on your PC by pressing Windows + I.
- Басшы жүйе > Қуат және ұйқы Параметрлер қолданбасында.
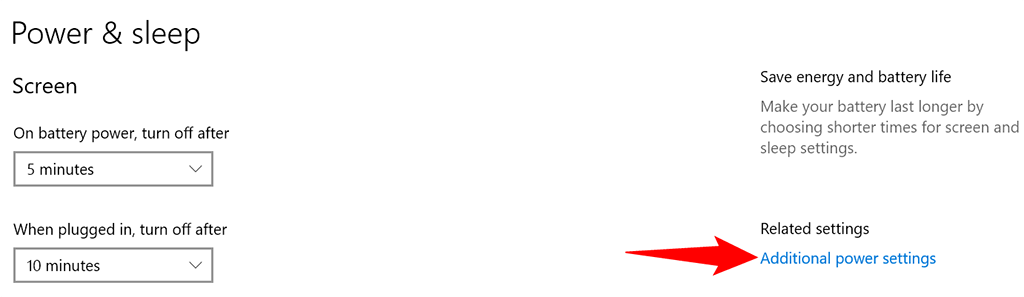
- таңдау Қосымша қуат параметрлері from the sidebar on the right.
- таңдау Қақпақтың не жабатындығын таңдаңыз сол жақ бүйірден.

- таңдау ұйықтау екеуінен Батареяда және Қосылған drop-down menus for the Қақпақты жапқан кезде опция.
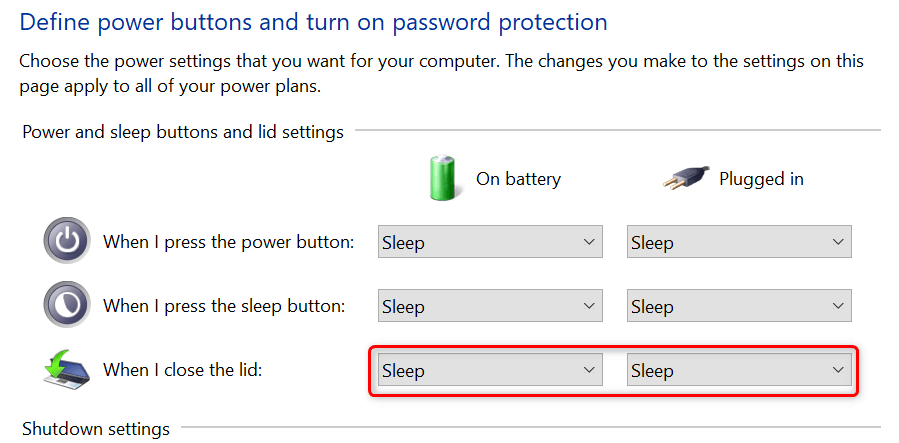
- таңдау Өзгерістерді сақтаңыз at the bottom of the window to save your settings.
Prevent Your Mouse From Waking Up Your PC From Sleep
By default, Windows 10 allows your mouse or trackpad’s movement to bring your PC out of sleep mode. If you don’t want this to happen, turn off an option for your mouse in your PC’s Device Manager tool.
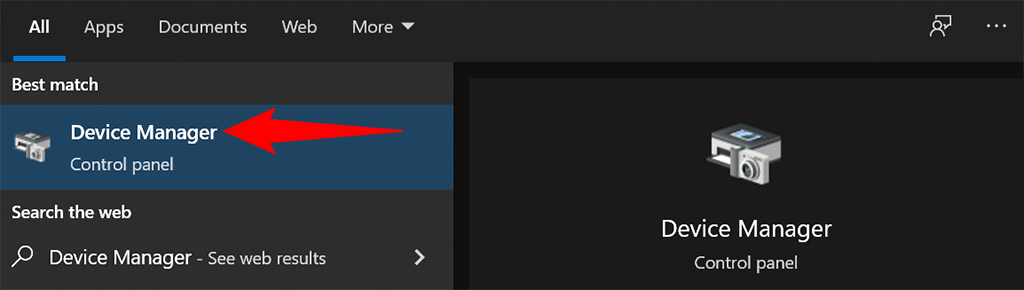
- Ашыңыз бастау мәзір, іздеу Құрылғы менеджерітаңдаңыз Құрылғы менеджері іздеу нәтижелерінде.
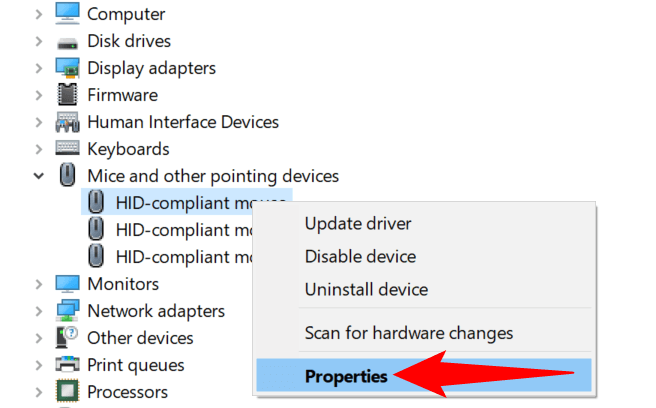
- кеңейту Тышқандар және басқа да меңзейтін құрылғылар section in Device Manager.
- Right-click your mouse in the device list and select Сипаттар мәзірден.
- Кіру Қуатты басқару Сипаттар терезесіндегі қойындысын.
- Өшіру Бұл құрылғыны компьютерді оятуға рұқсат беріңіз опция. Содан кейін таңдаңыз OK түбінде.
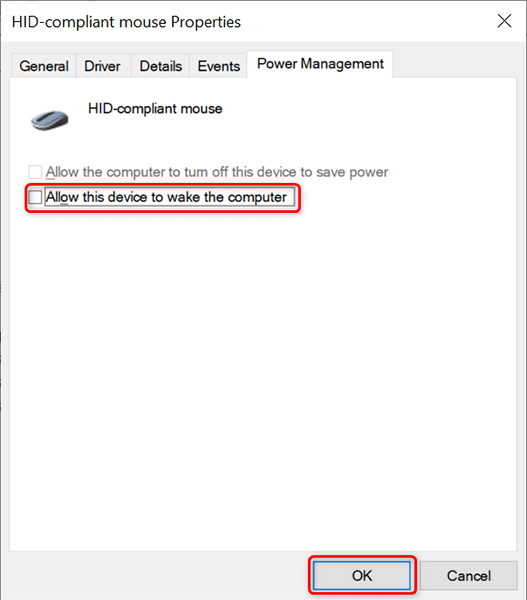
From now on, when your PC is in sleep mode and you move your cursor, your PC will remain in sleep and won’t come out of sleep mode.
Disable Hybrid Sleep Setting to Prevent Issues
Hybrid sleep in Windows 10 is the combination of sleep and hibernation modes. This combination sometimes creates various issues on your system. To prevent that from happening, it’s worth toggling off this option on your computer.
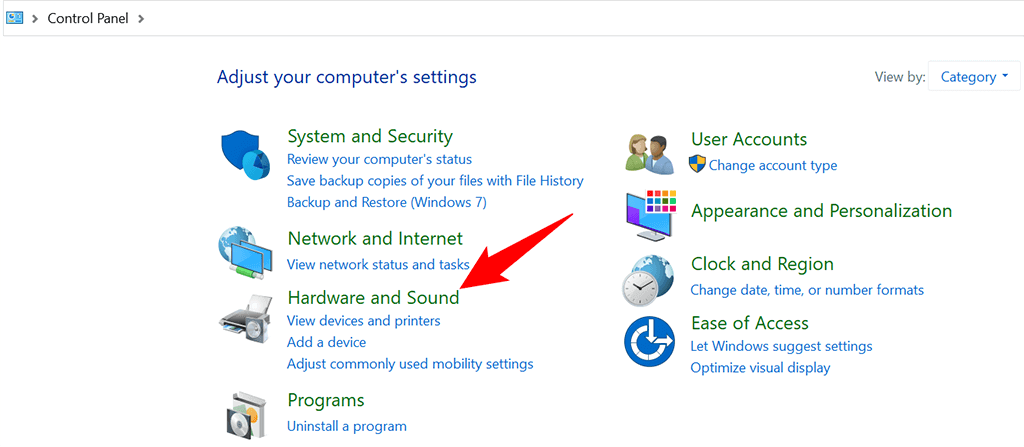
- Компьютерде Басқару тақтасын ашыңыз. The easiest way to do this is to open the бастау мәзір, іздеу Басқару панеліжәне іздеу нәтижелерінен сол опцияны таңдаңыз.
- таңдау Жабдық және дыбыс Басқару тақтасының терезесінде.
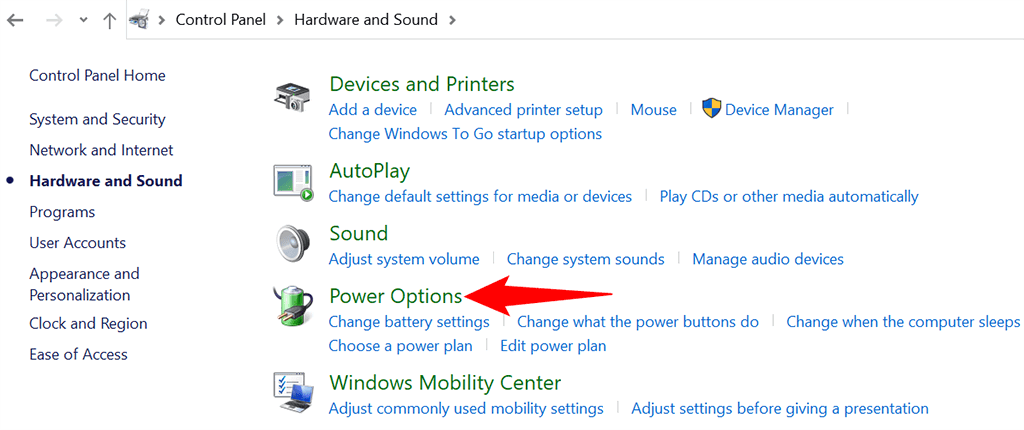
- таңдау Қуат параметрлері on the screen that follows.
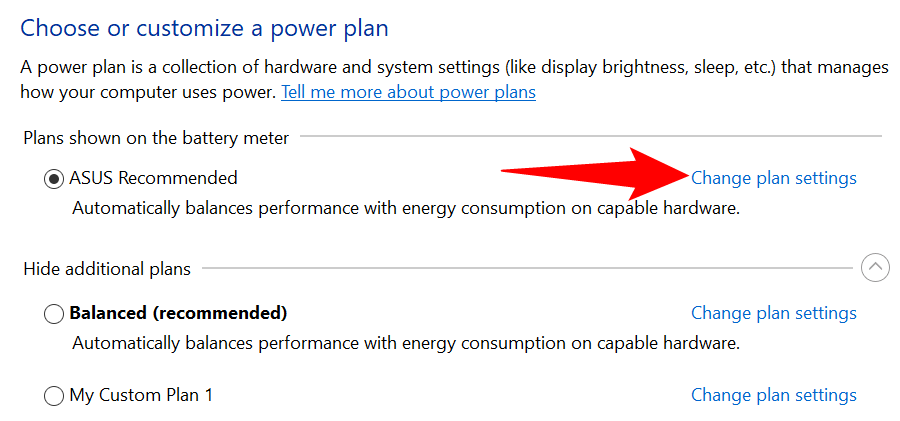
- Find your active power plan and select Жоспар параметрлерін өзгерту next to your plan.
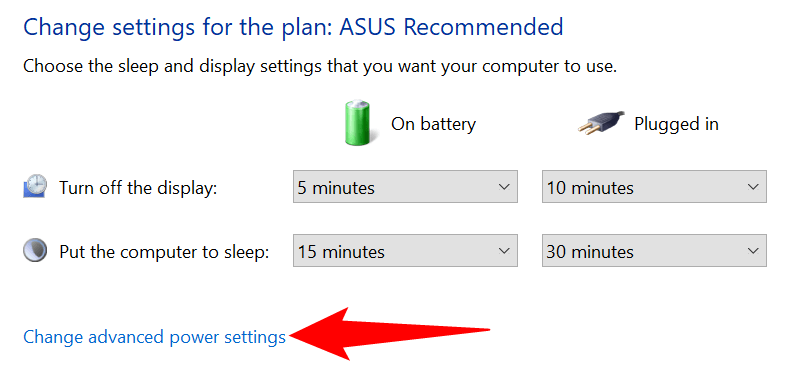
- таңдау Кеңейтілген қуат параметрлерін өзгерту.
- кеңейту ұйықтау параметрін таңдаңыз Қуат параметрлері терезе.
- кеңейту Гибридті ұйқыға рұқсат етіңіз және таңдаңыз ажыратылған екеуіне де Батареяда және Қосылған нұсқалары.
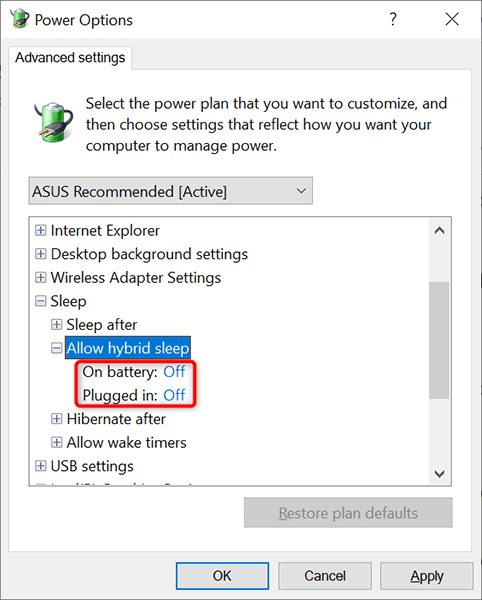
- таңдау Қолдану ілесуші OK терезенің төменгі жағында.
Change Your Power Plan to Apply Different Windows 10 Sleep Settings
Each power plan on your Windows 10 PC carries different sleep settings. If you want to quickly apply a specific set of power and sleep settings to your PC, change your power plan to the one that has the sleep settings you want.
Ол үшін:
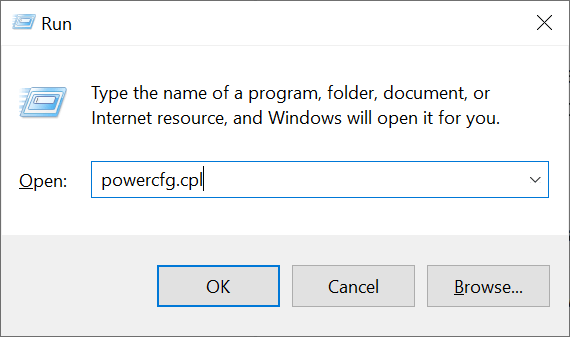
- баспасөз Windows + R пернелерді ашыңыз жүгіру қорапта.
- Келесіні теріңіз жүгіру қорапшасын және басыңыз кіру: powercfg.cpl
- You’ll see the power plans available on your PC. Select the radio button beside the plan that you’d like to activate.
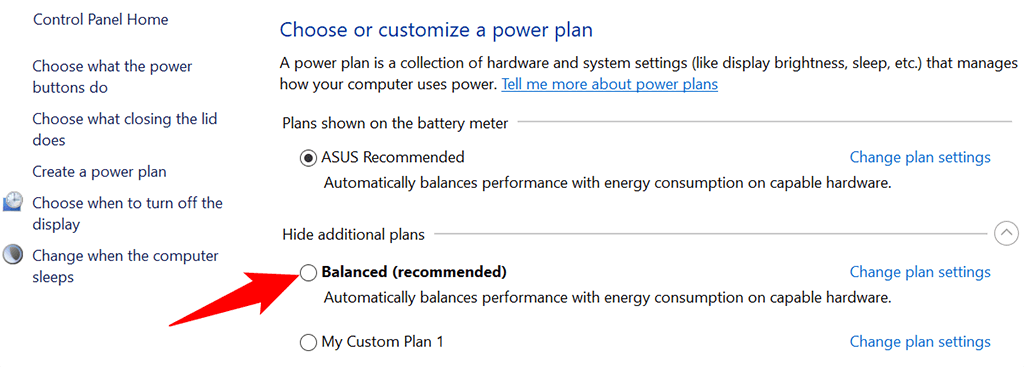
Your PC now uses both power and sleep settings from your selected power plan. If a plan doesn’t meet your needs, you can quickly and easily switch to another plan whenever you want.
Create a Power Plan With Custom Sleep Settings
If the Windows 10 sleep settings you need are not available in the default power plan, you can create your own custom power plan. You can copy the settings from an existing plan, tweak them to your requirements, and make a custom plan of yours.
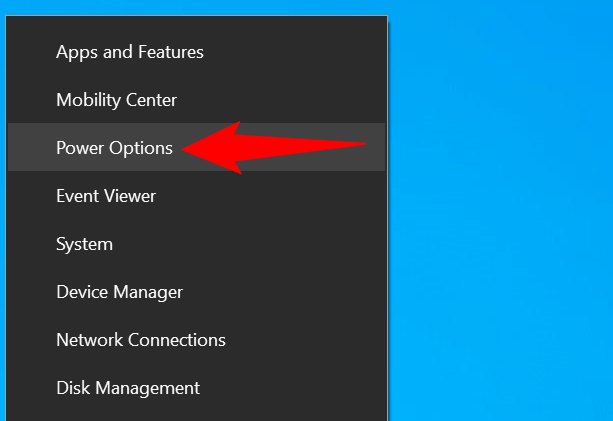
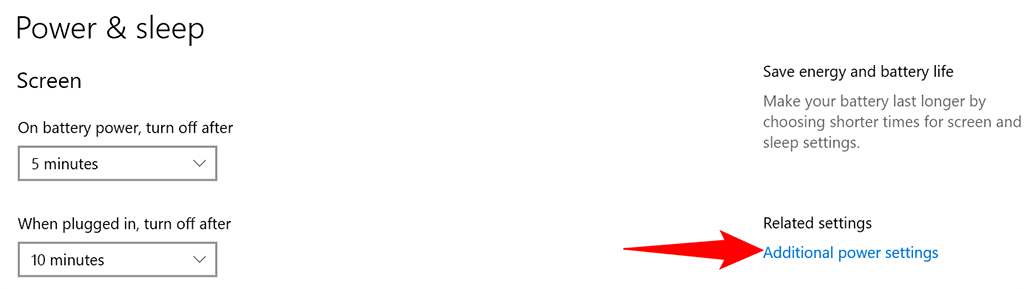
- Тінтуірдің оң жағын басыңыз бастау мәзірін таңдаңыз Қуат параметрлері.
- таңдау Қосымша қуат параметрлері оң жақ бүйірлік тақтадан.
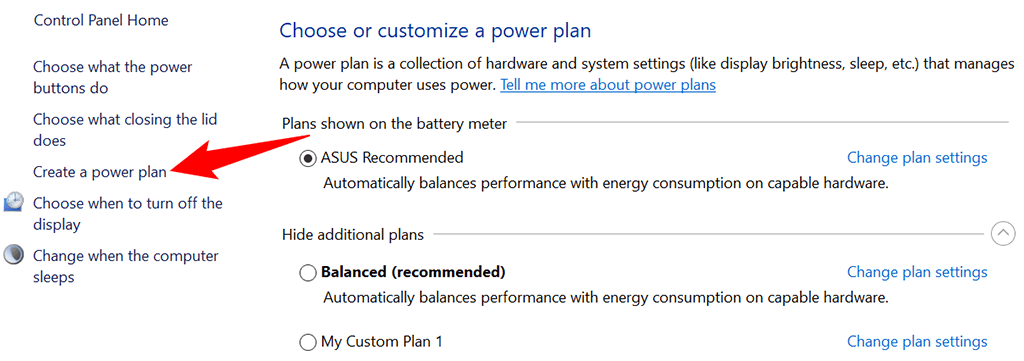
- таңдау Қуат жоспарын жасаңыз from the options in the left sidebar.
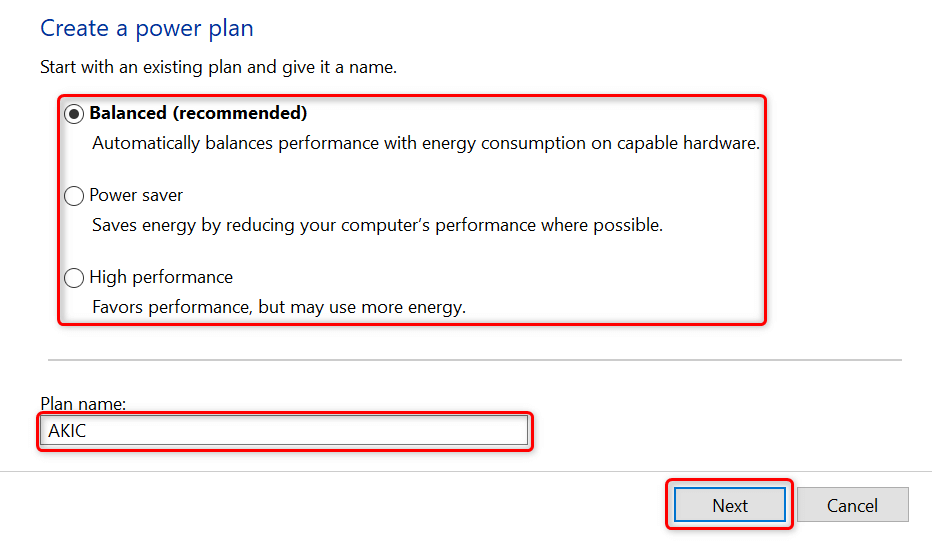
- Select an existing plan to copy settings from, type a name for your new power plan, and choose Келесі.
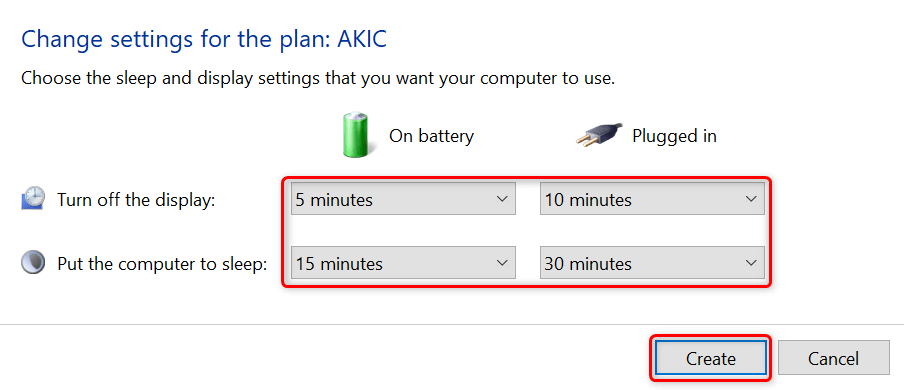
- Белгілеңіз көрсету өшірулі and sleep settings, and then select жасау.
- You’ll now see your newly created power plan on your screen. This plan is now in use and is the default power plan for your PC.
- To change your power plan’s advanced options, select Жоспар параметрлерін өзгерту > Кеңейтілген қуат параметрлерін өзгерту.
Customize Your Windows 10 PC’s Sleep Patterns to Your Liking
Windows 10 comes with appropriate sleep settings enabled, but these don’t always match a user’s requirements. Luckily, you can customize these sleep settings to your own specifications and make the sleep feature function exactly the way you want.
And, if your Windows 10 PC still won’t sleep, there are ways to fix that issue.

