The autofill feature is an important part of the Outlook program. AutoComplete allows you to enter an entire email while composing a message with just one email initial. This feature helps you save time and gives you quick access to emails. However, sometimes users may experience Outlook AutoComplete not working issue; this issue can be caused for various reasons, such as an outdated Office version or bugs with the Outlook program. In this guide, we will discuss methods to resolve Outlook Address AutoComplete not working issue on your Outlook.
How to Fix Outlook AutoComplete Not Working Correctly
There can be various reasons for Outlook Autofill email address not working on your Outlook account; some of the most common reasons are mentioned here.
- If you have disabled AutoComplete in Outlook, you won’t be able to use this feature.
- Bugs and glitches with the Outlook program can also cause this issue.
- Issues with a user profile can also cause AutoComplete feature not working issue.
- Corrupt Outlook Add-ins can also cause this issue.
- Corrupt Outlook data PST files can also cause this issue with Outlook.
- Outdated or corrupt Microsoft Office updates can also cause this issue.
- A corrupt RoamCache folder can also cause this issue with Outlook.
Following are the troubleshooting methods to solve this problem.
Method 1: Enable AutoComplete in Outlook
If you have not enabled the AutoComplete feature in Outlook, you will not be able to use this feature. You will have to manually enable AutoComplete to resolve this Outlook address AutoComplete not working issue. You can follow these simple steps to enable AutoComplete in Outlook.
1. ашық Outlook, және өтіңіз файл from the top-left side of the window.
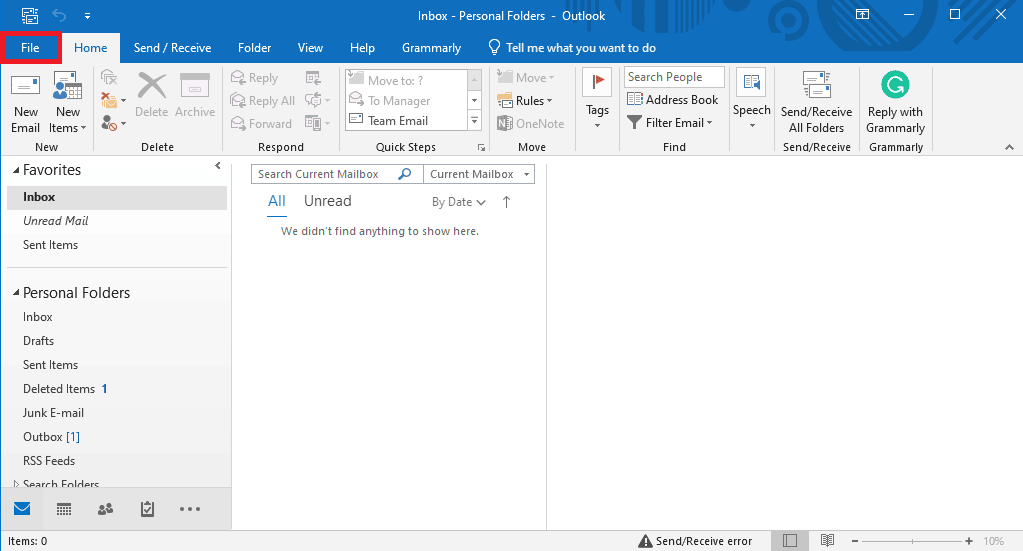
2. Here, from the left-side panel, click on Опциялар.

3. Кілтсөзге өтіңіз почта қойындысы.
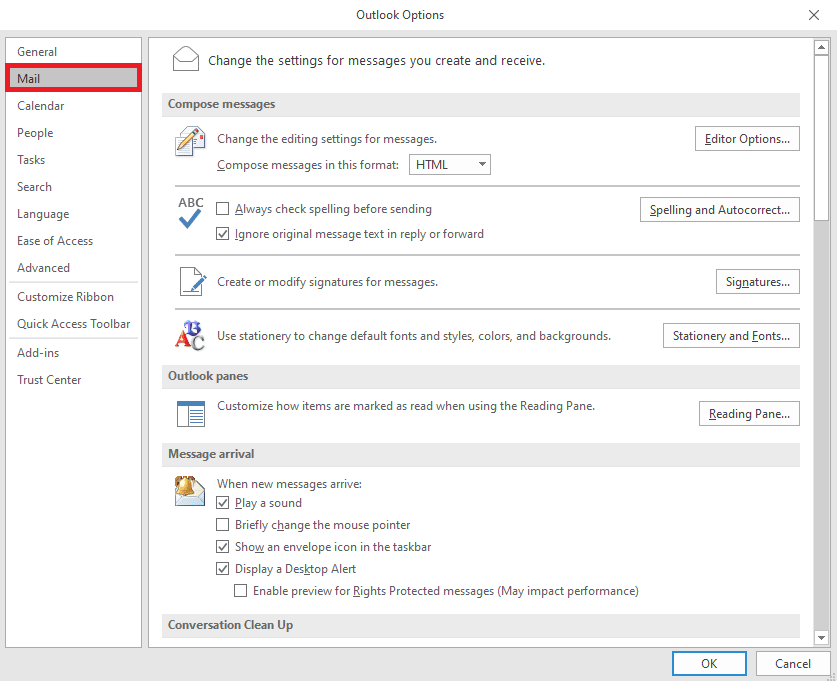
4. Scroll down here, and locate Хабарлар жіберу нұсқалары.
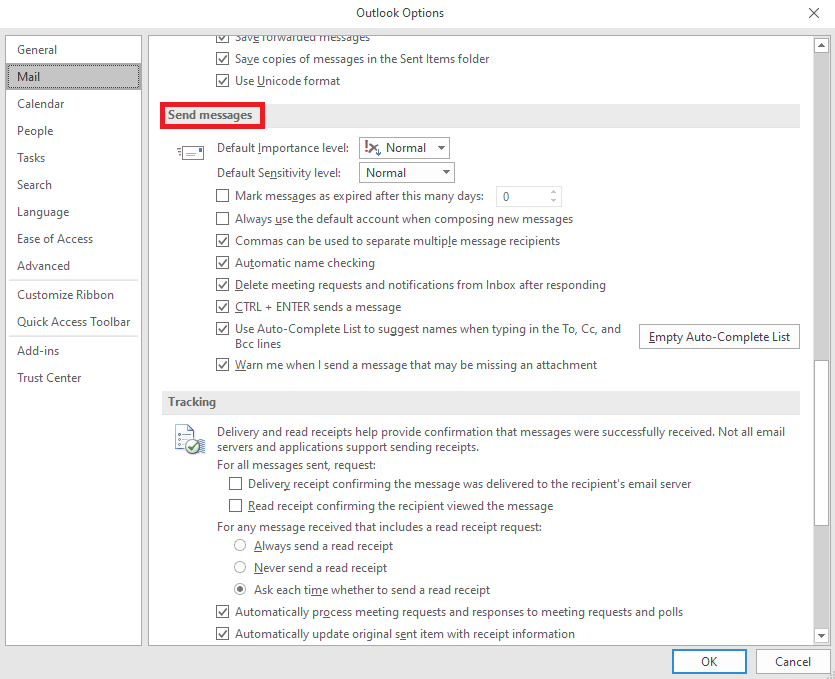
5. Here, check the Use Auto-Complete List to suggest names when typing in the To, Cc, and Bcc lines.
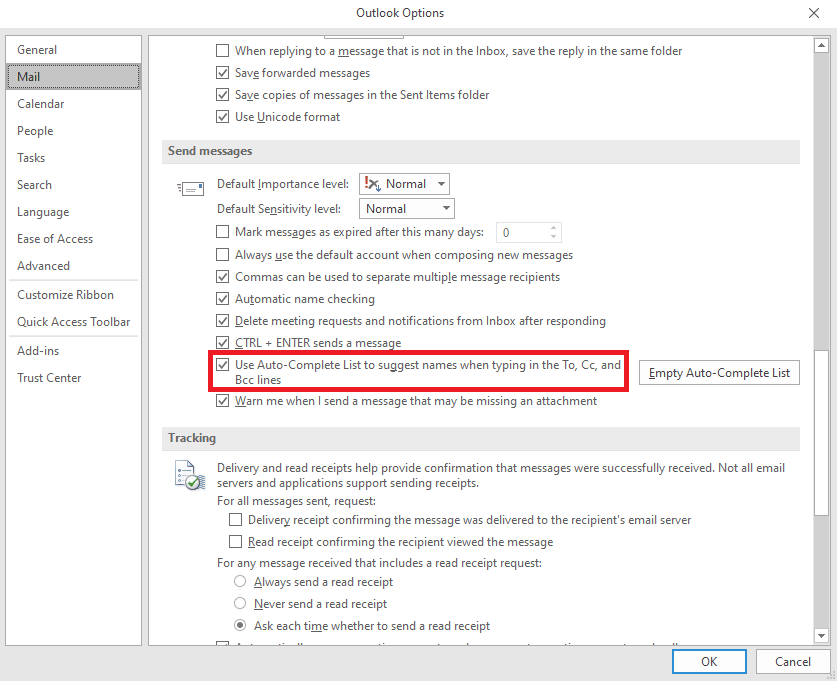
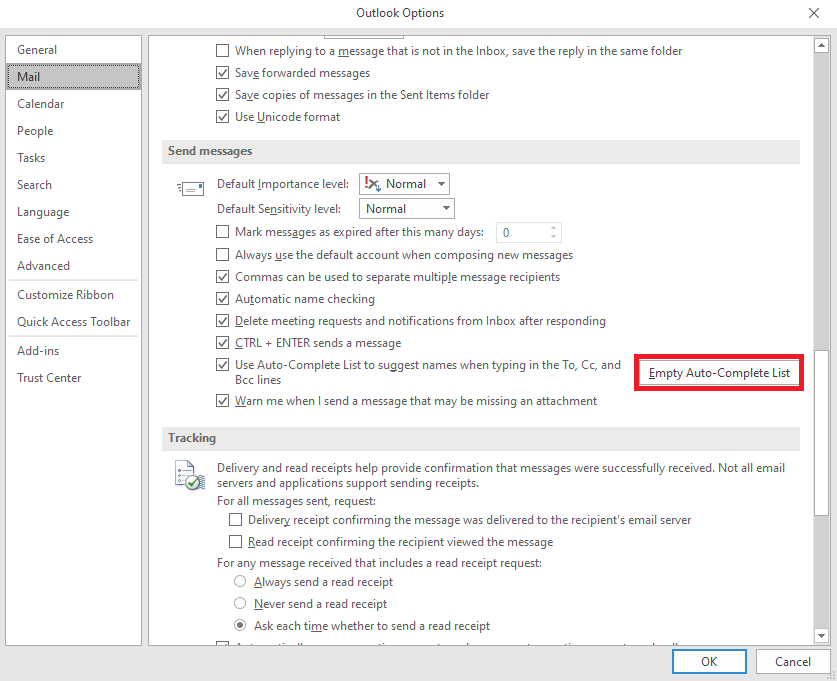
6. If you find this option already checked, click on the Бос автотолтыру тізімі.
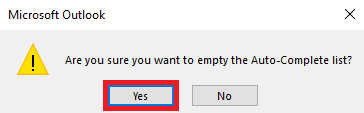
7. басыңыз иә әрекетті растау.
Method 2: Run Outlook in Safe Mode
Running programs in safe mode can help you avoid various issues. You can use safe mode to make the troubleshooting process easier and avoid hardware issues. You can follow these simple steps to run Outlook in safe mode to resolve Outlook autocomplete not working issue.
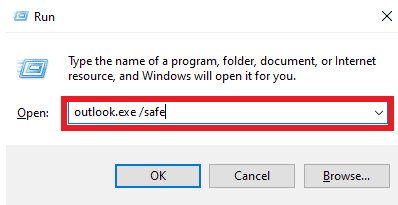
1. Басыңыз Windows + R keys ашу үшін Run dialog box.
2. In the Run dialog box, type Outlook.exe/safe түймесін басыңыз Енгізу кілті.
Сондай-ақ оқыңыз: Fix Outlook Trying to Connect to Server on Windows 10
Method 3: Run Outlook with Different Profile
Make sure the Outlook issue is happening only in your Outlook program and not on the entire system. You can try to log in to Outlook with a different profile. You can also add a different account on Outlook.
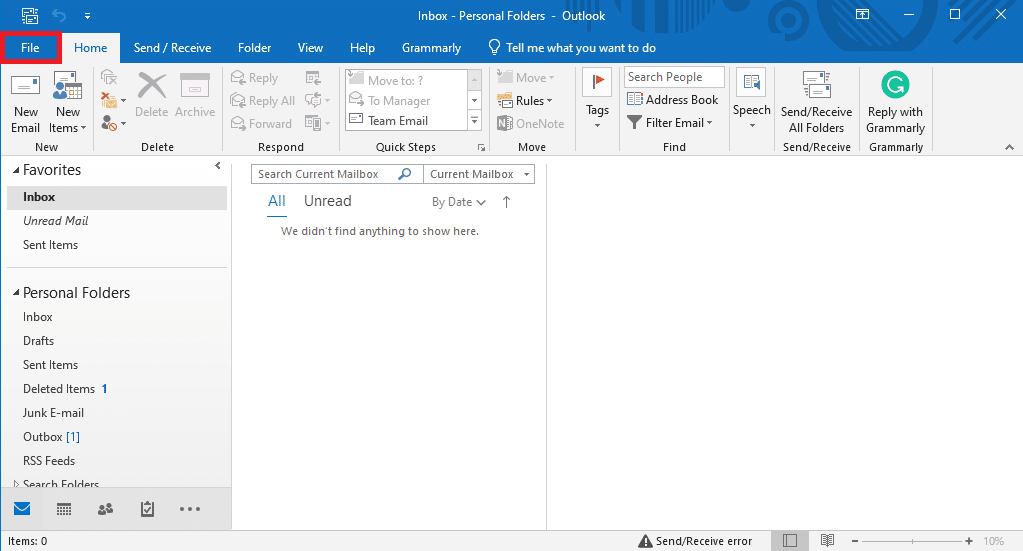
1. ашық көзқарас on your computer, and click on файл.
2. Ішінде Шот туралы ақпарат page, locate and click on Аккаунт қосу.
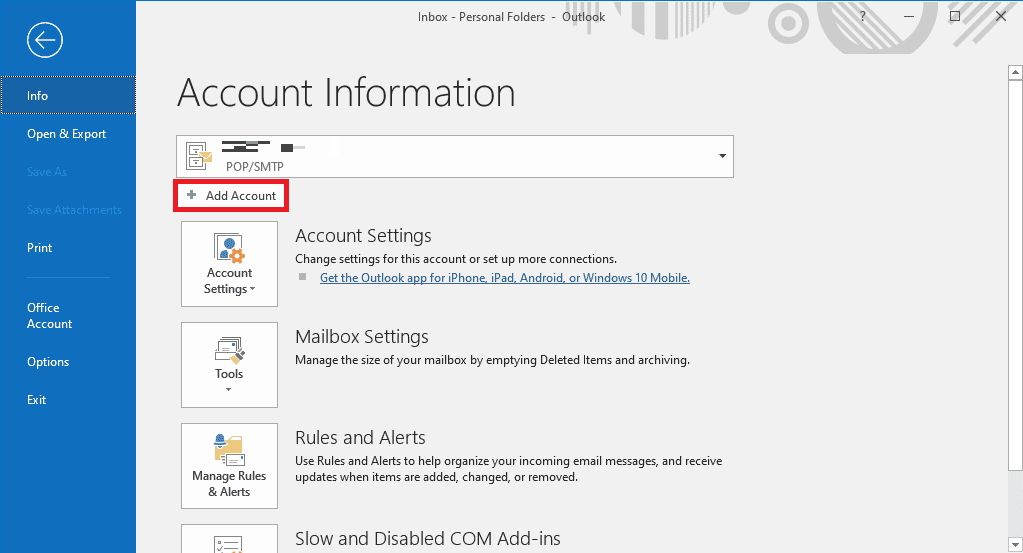
3. енгізіңіз кіру тіркелгі деректері for a different account.
Method 4: Disable Outlook Add-Ins
Sometimes, the issue can be caused by an Outlook Add-in. Ad-ins can be very useful and help you organize your Outlook application. However, if Outlook Add-ins get corrupt for some reason, you may experience various issues, such as AutoComplete not working on Outlook. To resolve these issues, you can try to disable Outlook Add-ins. You can follow these simple steps to disable Outlook Add-ins.
1. ашық көзқарас on your computer and navigate to файл.

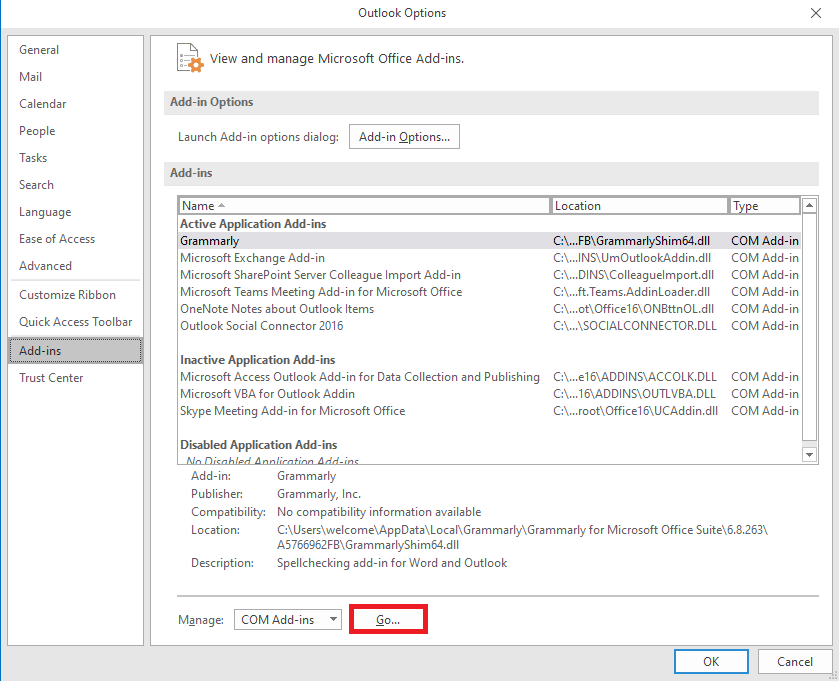
2. Here, from the left-side panel, click on Опциялар.
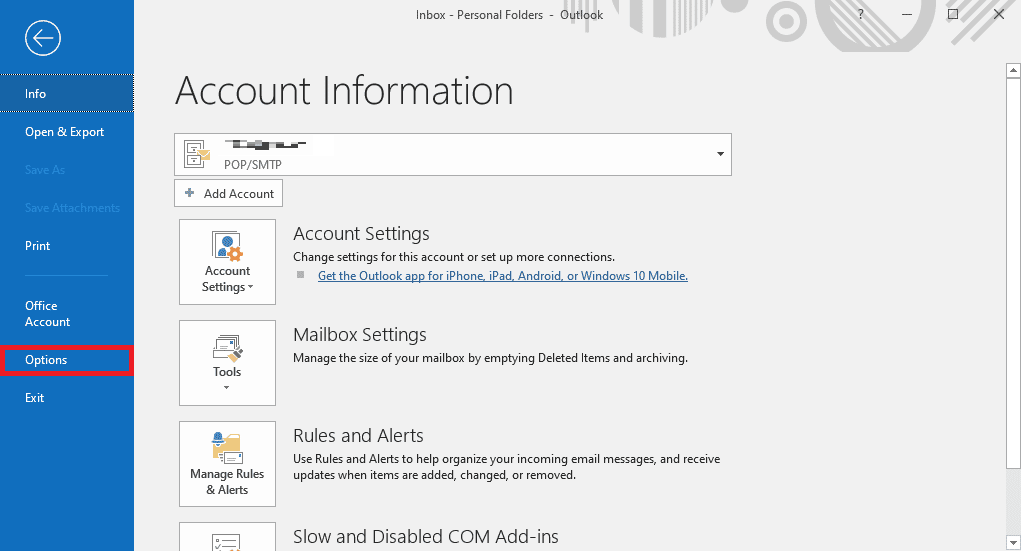
3. Now, locate and navigate to Қондырмалар.

4. Осы жерден табыңыз Басқарыңыз ашылмалы және таңдаңыз COM қондырмалары.
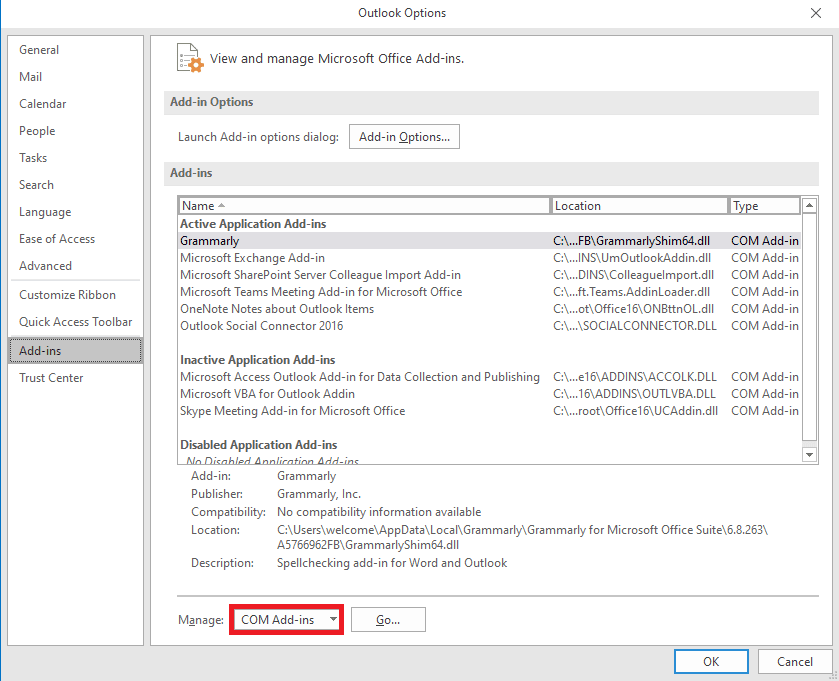
5. Енді түймесін басыңыз Go.
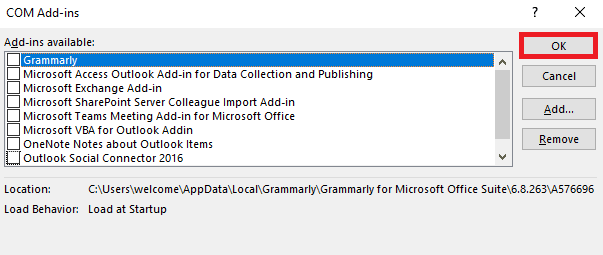
6. Мұнда, белгісін алып тастаңыз all the Add-ins and then click OK.
Method 5: Repair Outlook Data PST File
PST, or Personal Table Storage, files store Outlook emails; if this file is corrupt or causing issues, you may experience Outlook address AutoComplete not working error. You can use the Inbox repair tool to help you figure out a solution for this issue. Follow these simple steps to execute this method.
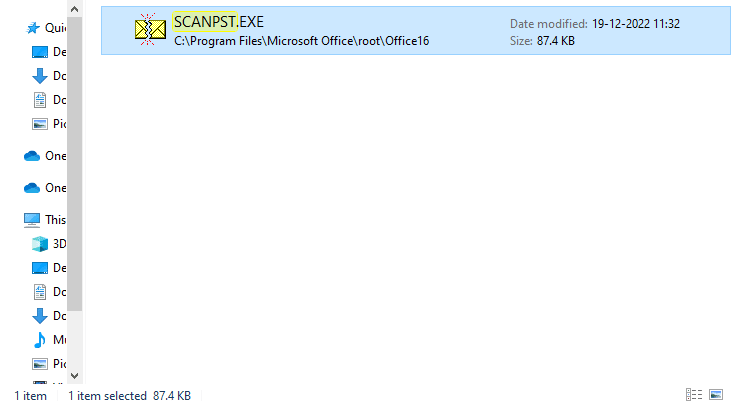
1. ашыңыз көзқарас қалта қосулы File Explorer бағдарламасы.
C: Бағдарлама файлдарыMicrosoft OfficerootOffice16
2. Басыңыз SCANPST.EXE файл.
3. Енді опциясын таңдаңыз Browse option to locate the file you wish to scan.
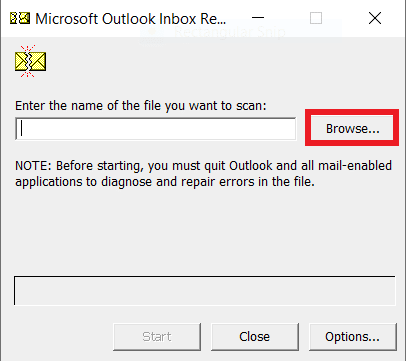
4. In the new dialog box, click on бастау.
5. Соңында түймесін басыңыз жөндеу to fix all the PST file issues.
If this method does not fix Outlook autocomplete not working issue, move on to the next method.
Сондай-ақ оқыңыз: How to Recover Deleted Draft in Outlook 365
6-әдіс: Microsoft Office бағдарламасын жаңарту
If the Microsoft Office program is experiencing bugs and glitches, updating it can help you fix the issues. An outdated Microsoft Office can make your Outlook vulnerable to bugs and other application issues. Therefore, manually updating Office is a great way to fix not just the AutoComplete issues but also other underlying issues with the Microsoft Office package. You can follow these simple steps to update Microsoft Office from the Microsoft Outlook program.
1. ашық көзқарас on your computer and navigate to Файлдар.

2. From the left-side panel, click on the Office тіркелгісі.
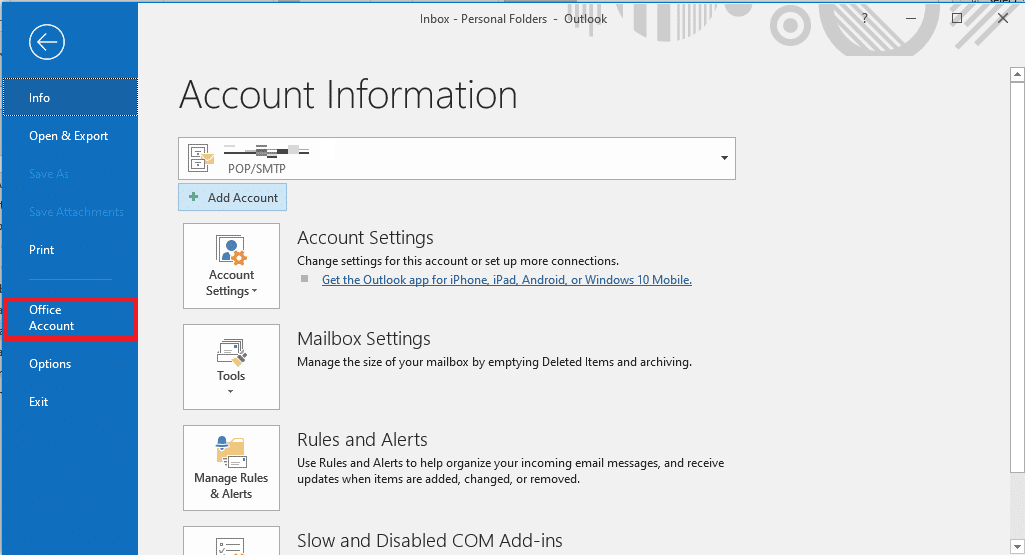
3. Here, locate кеңсе жаңартулар.
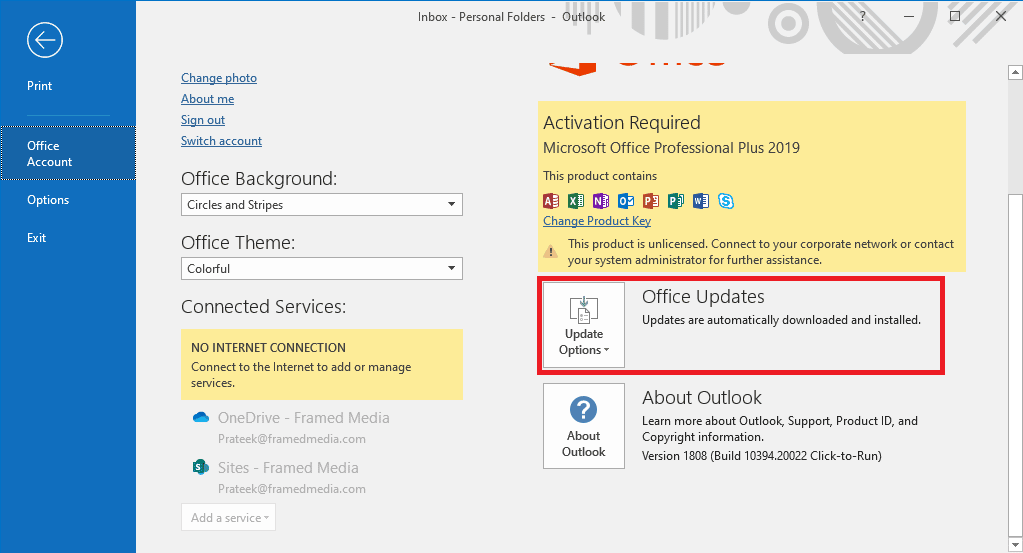
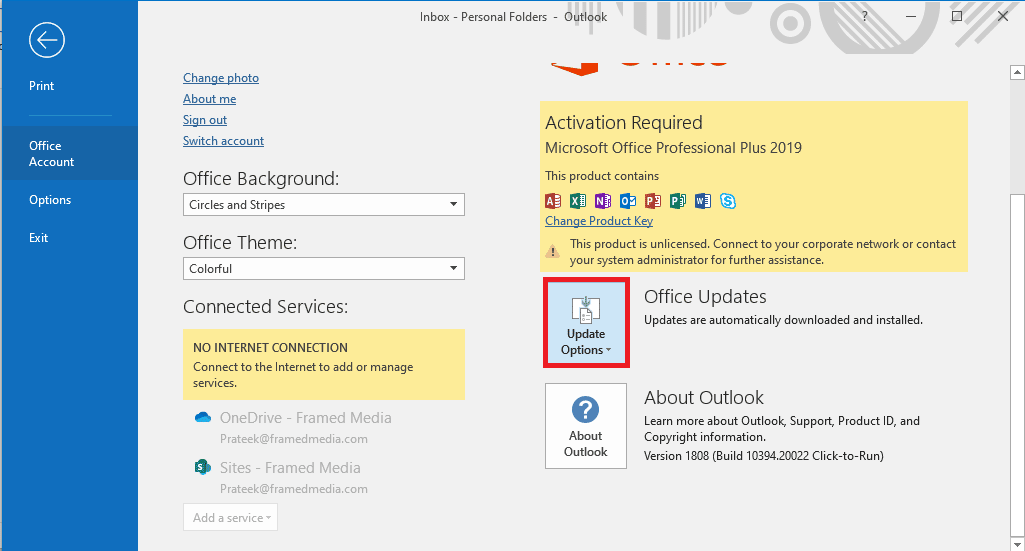
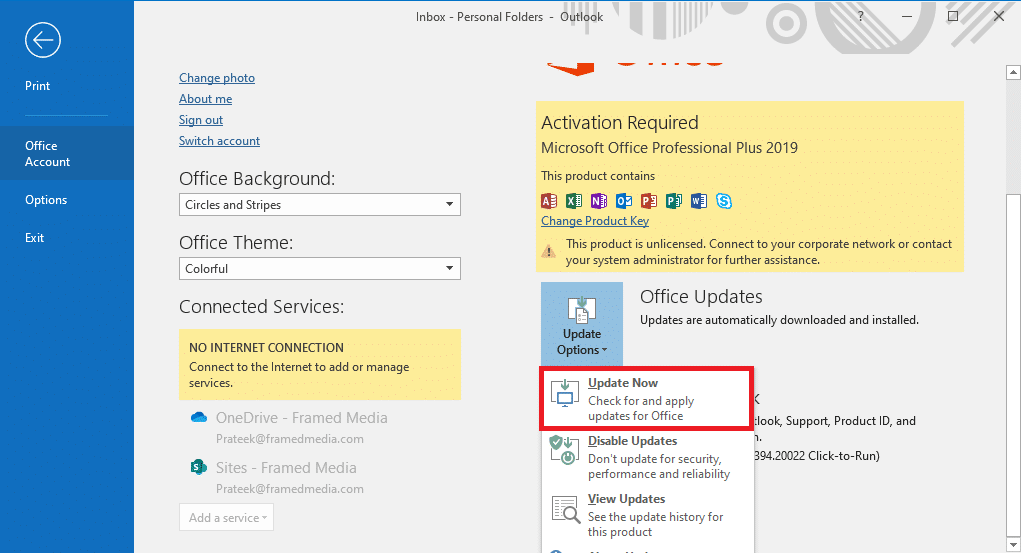
4. Енді түймесін басыңыз Жаңарту параметрлері түсіп қалу.
5. Соңында түймесін басыңыз Қазір жаңарту.
If this method does not fix Outlook Autofill email address not working issue, move on to the next method.
Method 7: Rename RoamCache Folder
If you have enabled the AutoComplete feature but still have the issue, it can be due to a corrupt RoamCache folder. You can fix this issue by resetting the AutoComplete folder. You will only need to rename the RoamCache folder in the directory. You can rename the RoamCache folder for both, a home email account and a Microsoft Exchange server account.
Option I: Rename RoamCache Folder for Home Email Account
You can follow these simple steps to rename the RoamCache folder in a home email account.
1. ашық көзқарас on your computer and navigate to файл.

2. Енді түймесін басыңыз Аккаунт баптаулары drop-down and then select Аккаунт баптаулары.

3. Here, select your Home Email Account.
4. жақын the Outlook program.
5. Басыңыз Windows + E keys ашу File Explorer бағдарламасы.
6. Келесі орынға өтіңіз жолы.
%LOCALAPPDATA%MicrosoftOutlook

7. Осы жерден табыңыз RoamCache қалта.

8. Rename this folder with a new name.
Сондай-ақ оқыңыз: Fix Your Microsoft Exchange Administrator Has Blocked This Version of Outlook
Option II: Rename RoamCache Folder for Microsoft Exchange Server Account
You can follow these simple steps to rename the RoamCache folder in a Microsoft Exchange server account to solve Outlook address AutoComplete not working issue.
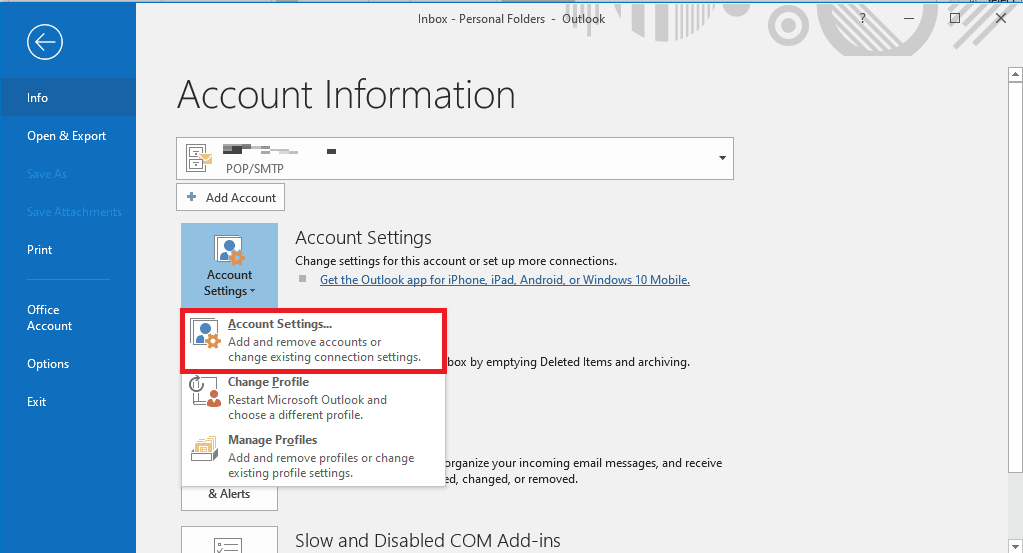
1. ашық көзқарас on your computer and navigate to файл.

2. Енді түймесін басыңыз Аккаунт баптаулары drop-down and then select Аккаунт баптаулары.
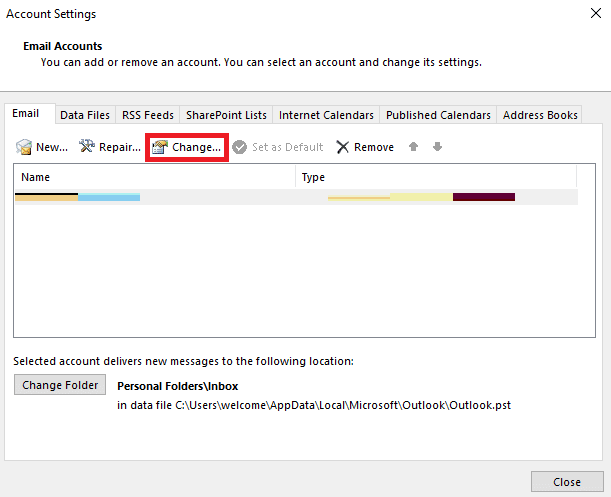
3. Here, select your Microsoft Exchange Server Account.
4. Енді, басыңыз Өзгерту.
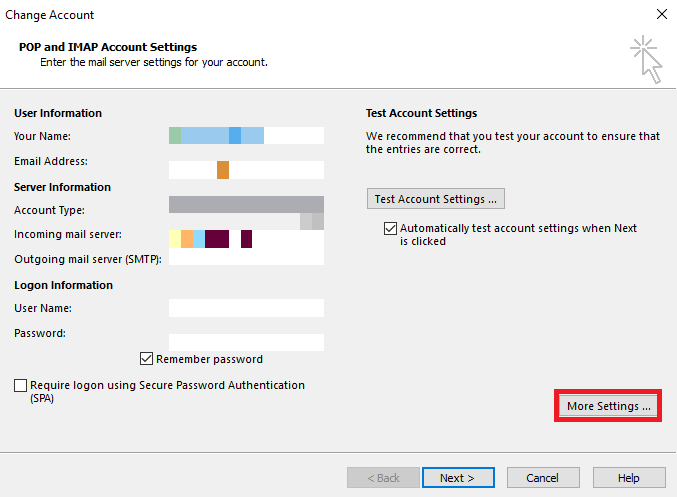
5. Мұнда түймесін басыңыз Қосымша параметрлер.
6. Кілтсөзге өтіңіз озат қойындысы.
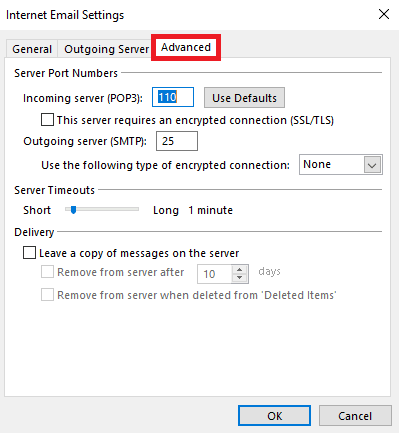
7. Unselect the Кэштелген алмасу режимін қолданыңыз жолағын таңдап, таңдаңыз Келесі.
8. Соңында түймесін басыңыз Аяқтау.
9. жабыңыз көзқарас бағдарламасы.
10. Басыңыз Windows + E keys бір уақытта ашу File Explorer бағдарламасы.
11. Ішінде File Explorer бағдарламасы, navigate to the following location жолы.
%LOCALAPPDATA%MicrosoftOutlook
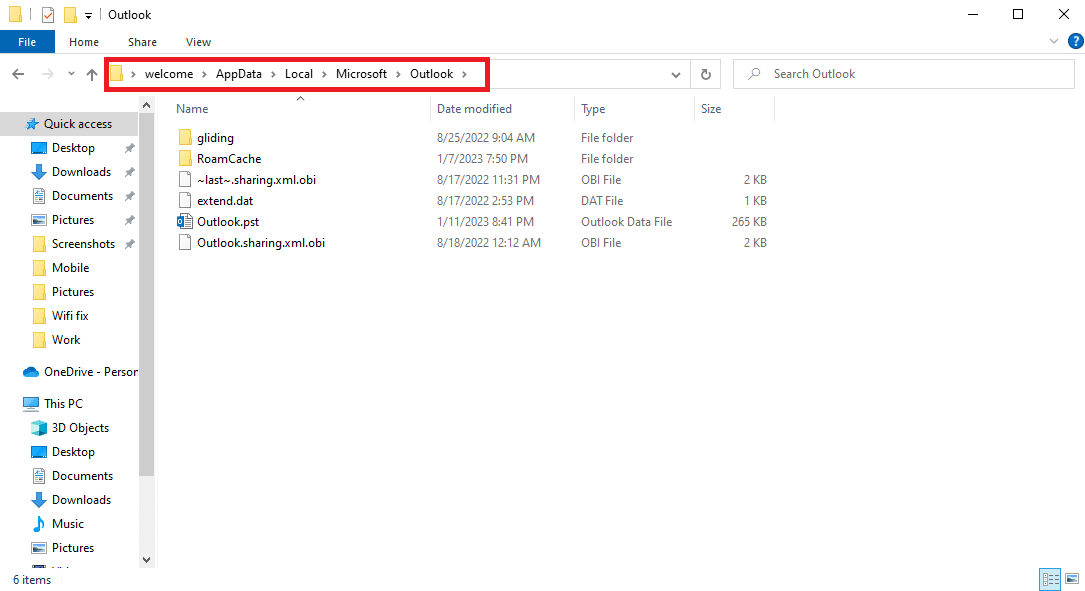
12. Осы жерден табыңыз RoamCache қалта.
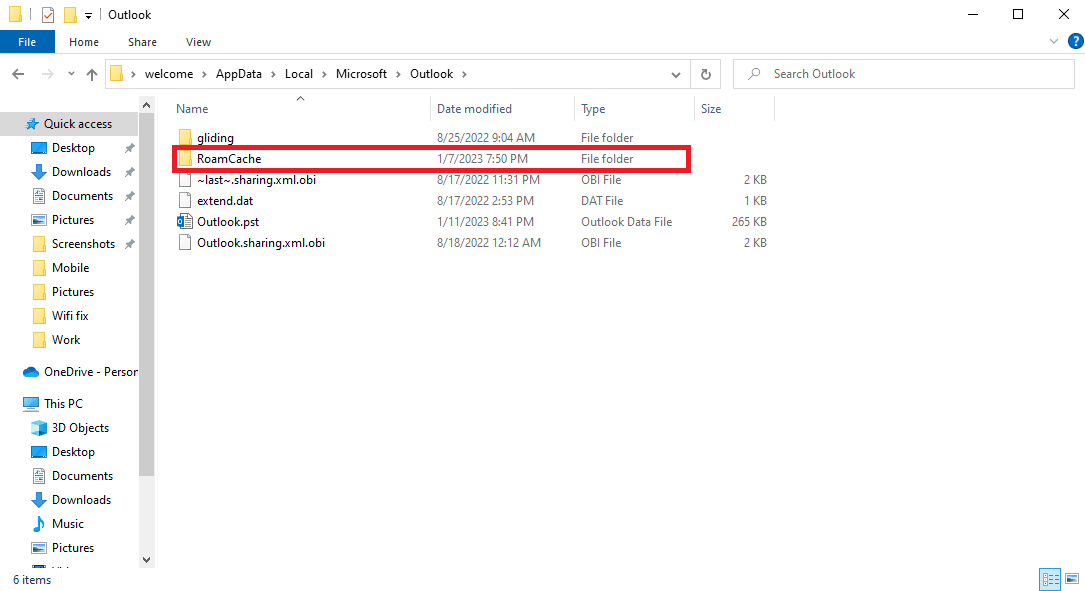
13. Rename this folder to old_RoamCache.
14. Енді, ашыңыз көзқарас program and follow the steps mentioned above to navigate to the Кэштелген алмасу режимін қолданыңыз опция.
15. Тексеріңіз Use Cached Exchange Mode.
16. Соңында, Outlook қолданбасын қайта іске қосыңыз.
Ұсынылған:
We hope this guide was helpful to you and you were able to fix Outlook AutoComplete not working issue. Let us know which method worked for you. If you have any suggestions or queries for us, please let us know in the comment section.

