If you don’t see Wireless Adapter under Network Connections neither there is a Network adapter tab under device manager then it seems like your Network Adapter is missing or not detected on your Windows 10 which is a serious issue because you won’t be able to access the Internet until the issue is resolved. In short, when you click on the Wireless icon on the system tray there won’t be any device listed in order to connect to the Internet and if you open Device Manager then you won’t see the Network Adapter tab.
These are the reasons behind the Network Adapter missing issue:
- Network adapter missing in Device manager
- No Network Adapters showing in Device Manager
- Network Adapter Not Detected
- Network Adapter Not Found Windows 10
- No Network Adapter In Device Manager
The main cause of this issue seems to be outdated, incompatible or corrupted Network Adapter drivers. If you have recently upgraded from previous versions of Windows then it’s possible that the old drivers will not work with the new Windows and hence the issue. So without wasting any time let’s see how to actually Fix Network Adapter Missing in Windows 10 issue with the below-listed troubleshooting steps.
Note: Just make sure to uninstall any VPN software on your PC before continuing.
Fix Network Adapter Missing in Windows 10
Бірдеңе дұрыс болмаса, қалпына келтіру нүктесін жасауды ұмытпаңыз.
Method 1: Reboot your Computer
Most of us know about this very basic trick. Rebooting your computer can sometimes fix any software conflict by giving it a fresh start. So if you are someone who would rather put their computer on sleep, restarting your computer is a good idea.
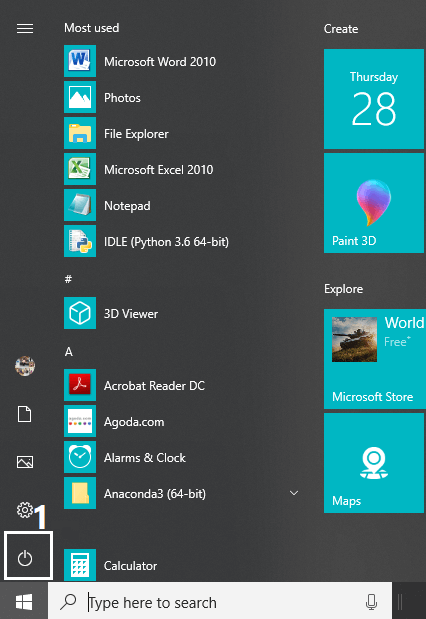
1. Басыңыз Бастау мәзірі содан кейін түймесін басыңыз Қуат түймесі төменгі сол жақ бұрышта қол жетімді.
2. Содан кейін түймесін басыңыз Қайтадан қосу опциясын таңдасаңыз, компьютеріңіз қайта іске қосылады.
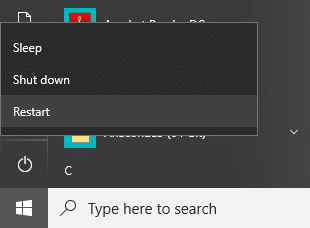
Компьютер қайта іске қосылғаннан кейін мәселеңіздің шешілген-шешілмегенін тексеріңіз.
Method 2: Flush DNS and Reset Winsock Components
1. Open elevated Command Prompt.
2. Now type the following command and press Enter after each one:
ipconfig / босату
ipconfig / flushdns
ipconfig / renew

3. Again open Command Prompt and type the following command one by one and hit enter after each one:
ipconfig /flushdns
nbtstat –r
netsh int ip reset
netsh winsock reset
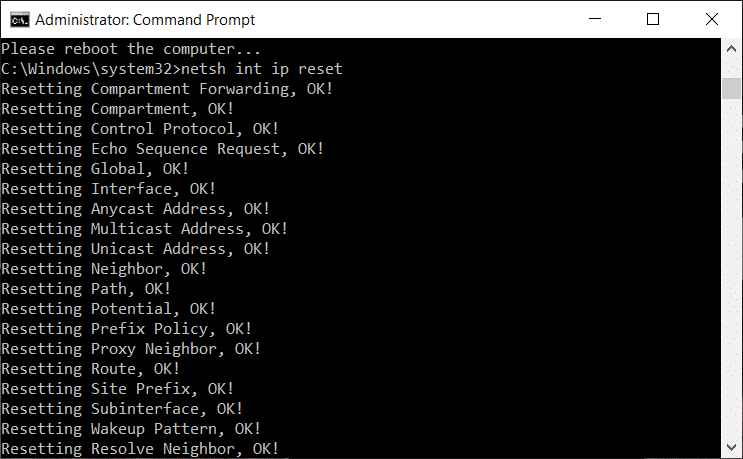
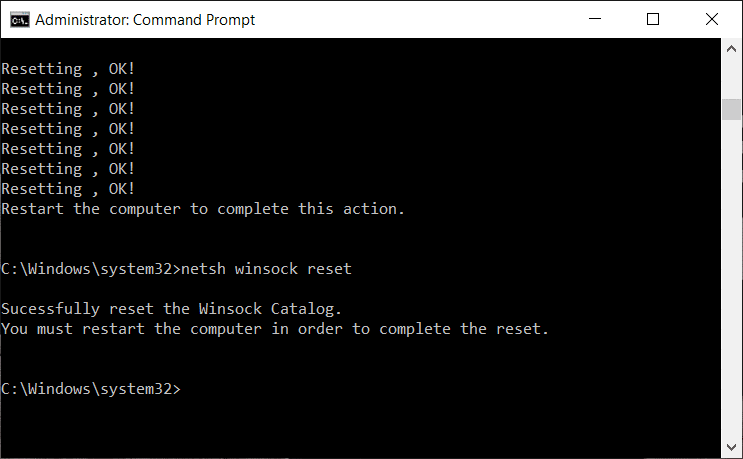
4. Reboot to apply changes. Flushing DNS seems to Fix Network Adapter Driver Issues on Windows 10.
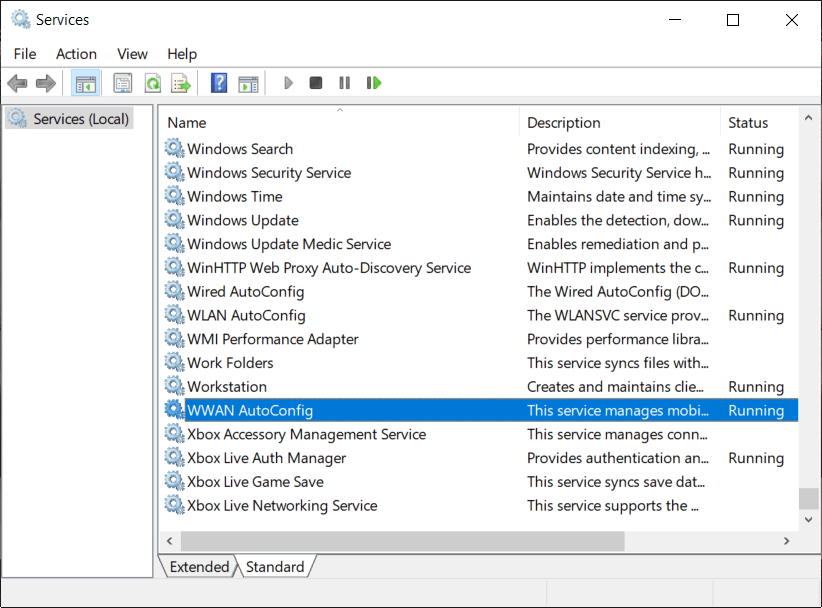
Method 3: Run WWAN AutoConfig Service
1. Windows пернесі + R пернелерін басып, теріңіз services.msc Enter енгізіңіз.

2. Табыңыз WWAN AutoConfig Service in the list (press W to reach to the end of the list quickly).
3. түймесін екі рет шертіңіз WWAN AutoConfig Service.
4. If the service is already running then click on Stop, then from the Startup type drop-down select Автоматты.
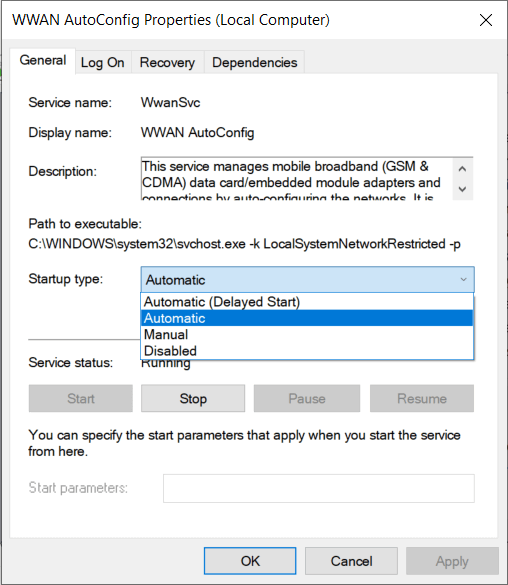
5. Click Apply followed by OK.
6. тінтуірдің оң жағын басыңыз WWAN AutoConfig Service тармағын таңдаңыз және Бастау.
Method 4: Update Network Adapter Drivers
1. Press Windows key + R and type “devmgmt.msc” in Run dialogue box to open құрылғы менеджері.

2. Кеңейту Желілік адаптерлер, содан кейін тінтуірдің оң жақ түймешігімен басыңыз Wi-Fi контроллері (мысалы, Broadcom немесе Intel) және таңдаңыз Драйвер бағдарламалық жасақтамасын жаңартыңыз.

3. Енді «Жаңартылған драйвер бағдарламалық құралын автоматты түрде іздеңіз«.
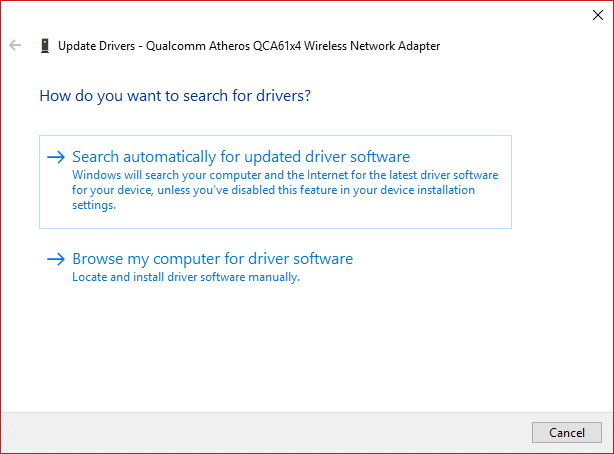
4. Қазір Windows will automatically search for the Network driver update and if new update is found, it will automatically download and install it.
5. Once finished, close everything and reboot your PC.
6. If you’re still facing the Network Adapter Missing in Windows 10 issue, then again right-click on your WiFi controller and select Драйверді жаңартыңыз Құрылғы менеджерінде.
7. Now, in the Update Driver Software Windows, select “Драйвер бағдарламалық жасақтамасы үшін компьютерімді шолыңыз.«

8. Енді «Менің компьютерімдегі қолжетімді драйверлер тізімінен таңдауға рұқсат етіңіз.«

9. Тырысыңыз update drivers from the listed versions (make sure to checkmark compatible hardware).
10. If the above didn’t work then go to the manufacturer’s website драйверлерді жаңарту үшін.

11. Download and install the latest driver from the manufacturer’s website then restart your PC.
Method 5: Uninstall Network Adapter Drivers
1. Windows пернесі + R пернелерін басып, «devmgmt.msc” және Құрылғы менеджерін ашу үшін Enter пернесін басыңыз.
2. Желілік адаптерлерді кеңейтіп, табыңыз желі адаптерінің атауы.
3. Көз жеткізіңіз адаптердің атын жазып алыңыз Егер бірдеңе дұрыс болмаса.
4. Right-click on your network adapter and uninstall it.

5. It will ask for confirmation Иә таңдаңыз.
6. Restart your PC and Windows will automatically install the network adapter drivers again.
7. If the drivers are not installed automatically then again open the Device Manager.
8. From the Device Manager menu, click on Action содан кейін «басыңызАппараттық өзгерістерді сканерлеу«.

6-әдіс: Windows жүйесінің жаңартылғанын тексеріңіз
1. Басыңыз Windows пернесі + Мен Параметрлерді ашамын, содан кейін түймесін басыңыз Жаңарту және қауіпсіздік.
![]()
2. From the left-hand side, menu click on Windows жаңарту орталығы.
3. Енді «Жаңартуларды тексерукез келген қолжетімді жаңартуларды тексеру үшін ” түймесін басыңыз.

4. If any updates are pending then click on Жаңартуларды жүктеп алыңыз және орнатыңыз.

5. Once the updates are downloaded, install them and your Windows will become up-to-date.
6. After the updates are installed reboot your PC to save changes.
7-әдіс: Желілік адаптер ақауларын жою құралын іске қосыңыз
1. Параметрлерді ашу үшін Windows пернесі + I пернелерін басыңыз, содан кейін түймесін басыңыз Жаңарту және қауіпсіздік.
![]()
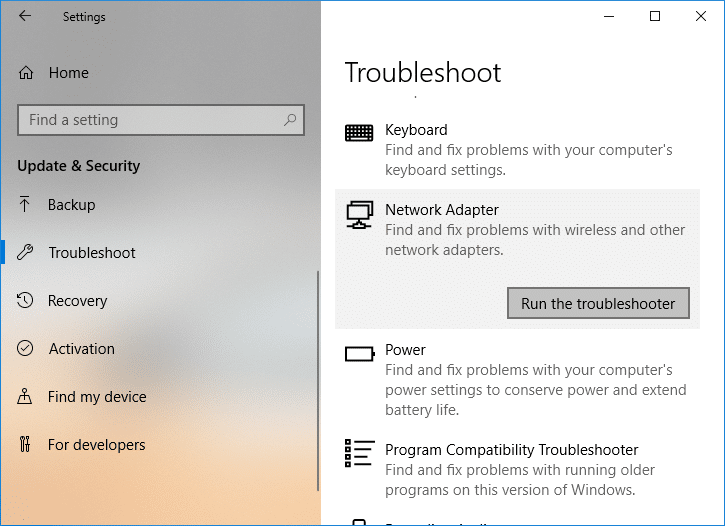
2. From the left-hand menu select Ақауларды жою.
3. Under Troubleshoot click on Интернет қосылымдары сосын нұқыңыз Ақаулықтарды жою құралын іске қосыңыз.

4. Ақаулықтарды жою құралын іске қосу үшін экрандағы қосымша нұсқауларды орындаңыз.
5. If the above didn’t fix the issue then from the Troubleshoot window, click on Желілік адаптер содан кейін нұқыңыз Ақаулықтарды жою құралын іске қосыңыз.
5. Өзгерістерді сақтау және мүмкіндігіңіз бар-жоғын білу үшін компьютерді қайта жүктеңіз fix the Network Adapter Missing issue.
Method 8: Install Intel PROSet/Wireless Software
Sometimes the problem is caused due to outdated Intel PROSet Software, hence updating it seems to fix Network Adapter Missing in Windows 10 issue. Сондықтан, осында барыңыз and download the latest version of PROSet/Wireless Software and install it. This is a third party software which manages your WiFi connection instead of Windows and if PROset/Wireless Software is outdated is can cause drivers issue in Wireless Network Adapter. Hence, read How to Update Network Adapter Drivers on Windows 10.
9-әдіс: Желі қосылымын қалпына келтіру
1. Параметрлерді ашу үшін Windows пернесі + I пернелерін басыңыз, содан кейін түймесін басыңыз Желі және Интернет.

2. From the left-hand menu select Күй
3. Now scroll down and click on Желіні қалпына келтіру түбінде.

4. «тағы» басыңызҚазір қалпына келтіру” under Network reset section.

5. This will successfully reset your network adapter and once it is complete the system will be restarted.
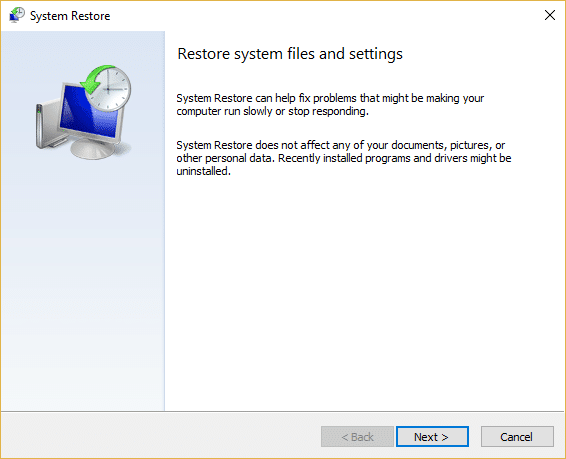
10-әдіс: Жүйені қалпына келтіруді орындаңыз
Жүйені қалпына келтіру әрқашан қатені шешуде жұмыс істейді, сондықтан Жүйені қалпына келтіру бұл қатені түзетуге міндетті түрде көмектеседі. Сондықтан уақытты жоғалтпай жүйені қалпына келтіруді іске қосыңыз resolve Network Adapter Missing issue.
Method 11: Using elevated Command Prompt
1. Windows пернесі + X пернелерін басып, таңдаңыз Командалық шақыру (әкімші).

2. cmd ішіне келесі пәрменді теріп, Enter пернесін басыңыз:
netcfg –s n
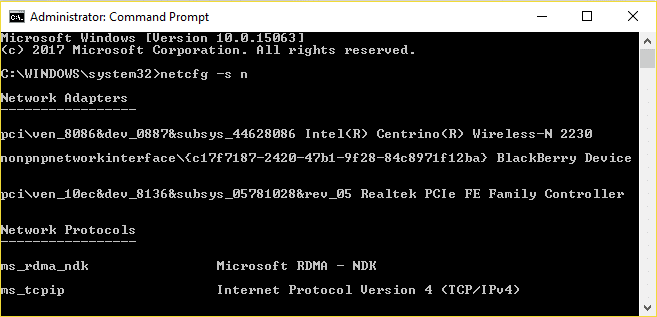
3. This will display a list of networking protocols and in that list find DNI_DNE.
4. If DNI_DNE is listed then type the following command into cmd:
reg жою HKCRCLSID {988248f3-a1ad-49bf-9170-676cbbc36ba3} / va / f
netcfg -v -u күн_күні
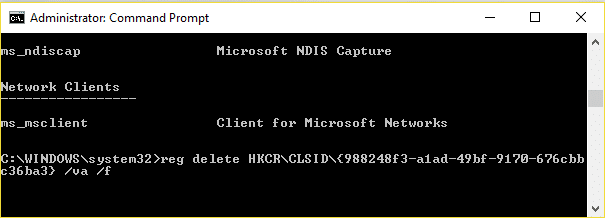
5. If you don’t see DNI_DNE listed then only run the command netcfg -v -u dni_dne.
6. Now if you receive the error 0x80004002 after trying to run the above command then you need to delete the above key manually.
7. Windows пернесі + R пернелерін басып, теріңіз regedit Enter енгізіңіз.

8. Navigate to the following Registry Key:
HKEY_CLASSES_ROOTCLSID{988248f3-a1ad-49bf-9170-676cbbc36ba3}
9. Delete this key and then again type netcfg -v -u күн_күні command in cmd.
10. Өзгерістерді сақтау үшін компьютерді қайта жүктеңіз.
Сізге ұсынылады:
Міне, сіз сәтті болдыңыз Fix Network Adapter Missing in Windows 10 бірақ егер сізде осы постқа қатысты сұрақтарыңыз болса, оларды түсініктеме бөлімінде қоюға болады.

