4 Ways to Run Disk Error Checking in Windows 10: Once in a while running Disk Error checking ensures that your drive doesn’t have performance issues or drive errors which are caused by bad sectors, improper shutdowns, corrupt or damaged hard disk etc. Disk error checking is nothing but Check Disk (Chkdsk) which checks for any errors in the hard drive. Now there are different ways for running Disk Check in Windows 10 and today in this tutorial we are going to see what are the 4 Ways to Run Disk Error Checking in Windows 10.
Windows 4에서 디스크 오류 검사를 실행하는 10가지 방법
혹시라도 문제가 생길 경우를 대비해 복원 지점을 만들어 두시기 바랍니다.
Method 1: Run Disk Error Checking in Windows 10 using Drive Tools
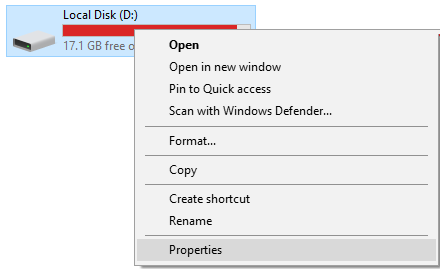
1.Press Windows Key + E to open File Explorer then navigate to “이 PC".
2.Right-click on the drive which you want to run the error checking 선택 속성.
3.전환 도구 탭 그런 다음 "체크” button under Error checking.
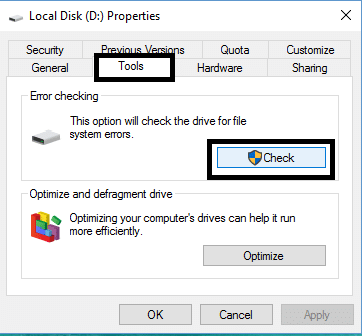
4.Now you can Scan drive or Repair drive (if errors are found).
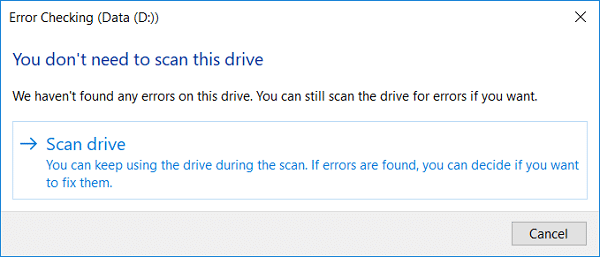
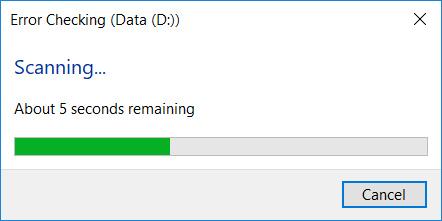
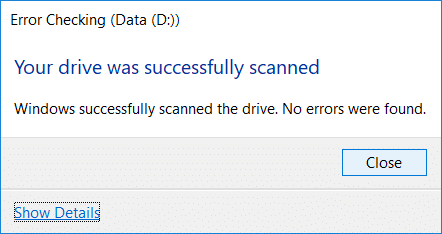
5.After you click 스캔 드라이브, it will take some time to scan the drive for errors.

참고 : While the Disk Error Checking is running, it best to leave the PC idle.
5.Once the scan is finished you can click on “세부 정보” link to see the Chkdsk scan results in Event Viewer.
6.Click Close once you’re finished and close Event Viewer.
Method 2: Run Disk Error Checking in Windows 10 using Command Prompt
1. Windows 키 + X를 누른 다음 선택 명령 프롬프트 (Admin).

2. cmd에 다음 명령을 입력하고 Enter 키를 누릅니다.
chkdsk C : / f / r / x

참고 : Replace C: with the drive letter on which you want to run Check Disk. Also, in the above command C: is the drive on which we want to run check disk, /f stands for a flag which chkdsk the permission to fix any errors associated with the drive, /r let chkdsk search for bad sectors and perform recovery and /x instructs the check disk to dismount the drive before beginning the process.
3. You can also substitute the Switches which are /f or /r etc. To know more about switches type the following command into cmd and hit Enter:
CHKDSK /?
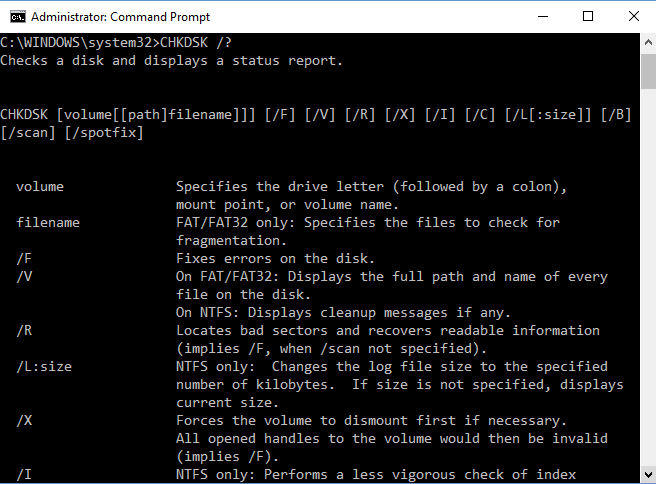
4.Wait for the command to finish checking the disk for errors then restart your PC.
Method 3: Run Disk Error Checking in Windows 10 using Security and Maintenance
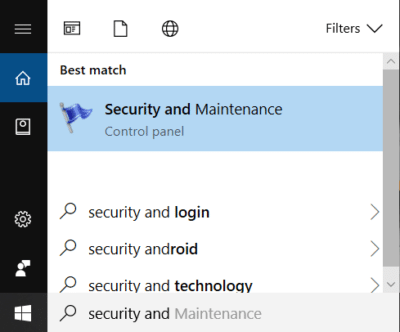
1.Type 보안 in Windows Search then click on 보안 및 유지 관리 from the Search result.
2.Expand Maintenance then under Drive status see the current health of your drives.
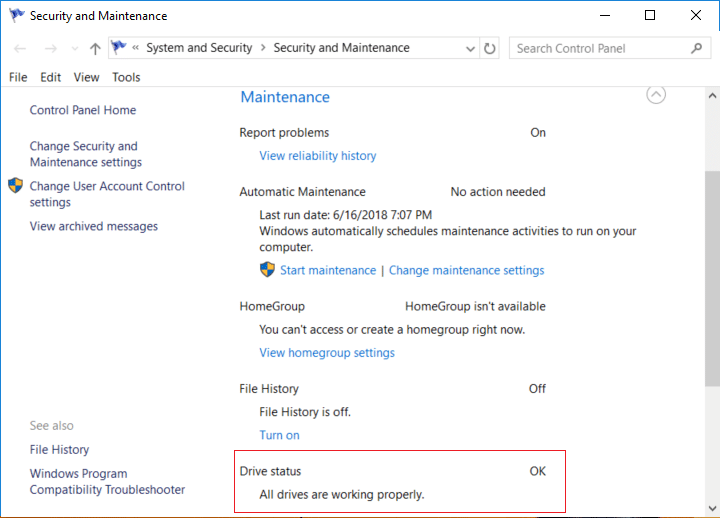
3.If any issues are found with your hard disk drives then you will see an option to scan the drive.
4.Just click on Scan to run disk error checking and let it run until the scan is complete.
5. PC를 다시 시작하여 변경 사항을 저장합니다.
Method 4: Run Disk Error Checking in Windows 10 using PowerShell
1.Type PowerShell을 Windows 검색에서 마우스 오른쪽 버튼을 클릭하세요. PowerShell을 검색 결과에서 선택하고 관리자 권한으로 실행을 클릭합니다.
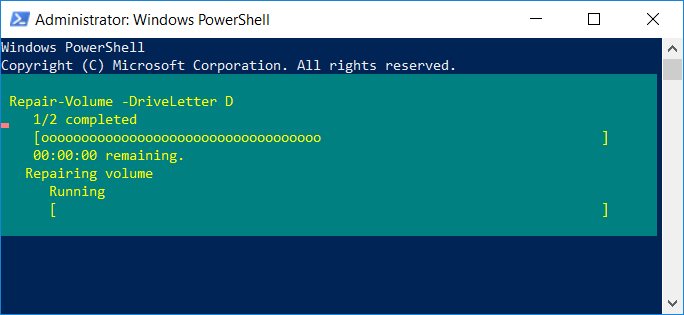
2.Now type one of the following command into PowerShell and hit Enter:
To scan and repair the drive (equivalent to chkdsk): Repair-Volume -DriveLetter drive_letter
To scan the volume offline and fix any errors found (equivalent to chkdsk /f): Repair-Volume -DriveLetter drive_letter -OfflineScanAndFix
To scan the volume without attempting to repair it (equivalent to chkdsk /scan): Repair-Volume -DriveLetter drive_letter -Scan
To take the volume briefly offline and then fixes only issues that are logged in the $corrupt file (equivalent to chkdsk /spotfix): Repair-Volume -DriveLetter drive_letter -SpotFix
참고 : Substitute “드라이브_레터” in the above command with the actual drive letter you want.
3.Close PowerShell restart your PC to save changes.
권장 사항 :
그것이 당신이 성공적으로 배운 것입니다. How to Run Disk Error Checking in Windows 10 그러나 이 게시물과 관련하여 여전히 질문이 있는 경우 댓글 섹션에서 자유롭게 질문하세요.

