Hardware Accelerated GPU Scheduling is a technology that allows the Operating System to control the scheduling of graphics processing units (GPUs) in order to maximize performance. GPUs are special types of processors that are able to process large amounts of data in parallel, making them ideal for graphics-intensive applications. By taking advantage of this parallel processing power, it can improve the performance of applications by allowing them to use the GPU more efficiently. It also allows the operating system to manage the resources allocated to each task, meaning that tasks can be allocated the exact amount of resources they need in order to be completed efficiently. Recently several users have reported AMD hardware accelerated GPU scheduling not showing issues on their PC. This guide will explain the reasons contributing to the error and the issues to troubleshoot it.
How to Fix Hardware Accelerated GPU Scheduling Not Showing
Here, we have explained the troubleshooting methods to fix the said issue.
Why Do I Not See Hardware Accelerated GPU Scheduling?
To know why this feature is not showing continue reading.
- 가장 일반적인 원인은 outdated graphics card.
- Some graphics cards may simply not be capable of running GPU scheduling, so even if you have the latest driver installed, it may still not show up. The only step you need to do is to reinstall the drivers.
- Any corrupt system files can also be a cause of hardware accelerated GPU scheduling not showing error showing up.
Ways to Fix Hardware Accelerated GPU Scheduling Not Showing in Windows 10
The scheduling process is responsible for the optimal use of the GPU, ensuring that it’s used efficiently and that it runs at its best. Unfortunately, hardware accelerated GPU scheduling can sometimes go wrong and cause issues. When this happens, it’s important to know how to fix the problem. Follow these methods to fix the problem.
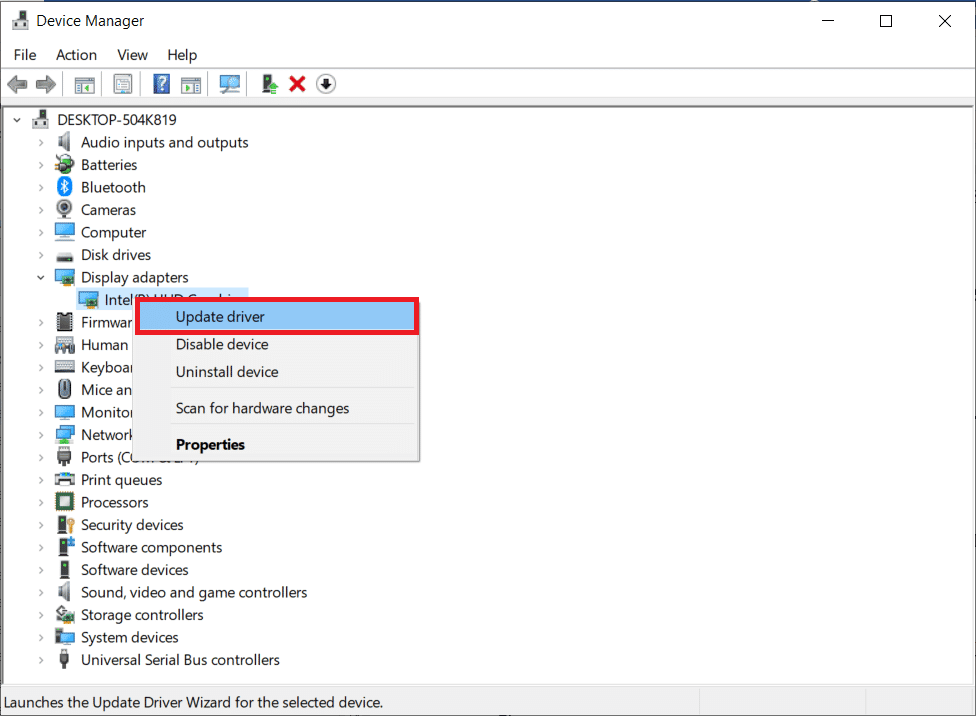
Method 1: Update Graphics Card Driver
Updating your graphics card driver is necessary to fix AMD hardware accelerated GPU scheduling. The GPU scheduling works by allowing the graphics card to take control over certain processes, allowing them to run more efficiently and with less strain on the rest of the computer. AMD’s hardware accelerated GPU scheduling is particularly effective, and updating the driver is the best way to ensure that it is running at its maximum potential. Additionally, new drivers often contain improvements and bug fixes which can help improve the overall stability of your system. Read and implement the steps instructed in our guide 4 Ways to Update Graphics Drivers in Windows 10 to do so.
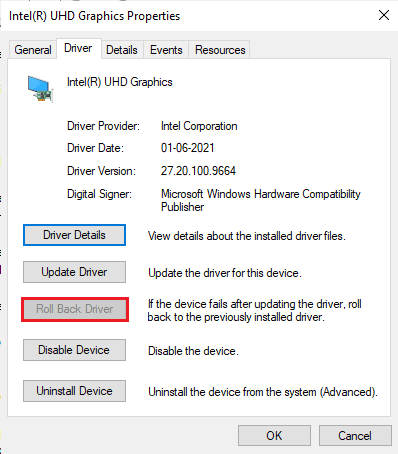
방법 2: 그래픽 드라이버 업데이트 롤백
When hardware accelerated GPU scheduling is enabled, the driver attempts to give the graphics card more control over how the GPU is used. This is done to improve performance in certain applications and games. Unfortunately, this feature can sometimes cause conflicts with other applications or hardware, leading to instability or poor performance. In these cases, it may be necessary to roll back the graphics card driver in order to resolve the issue. You can easily roll back your computer drivers to their previous state by following our guide How to Rollback Drivers on Windows 10.
또한 읽기 : Windows에서 전용 그래픽을 사용하도록 강제하는 방법
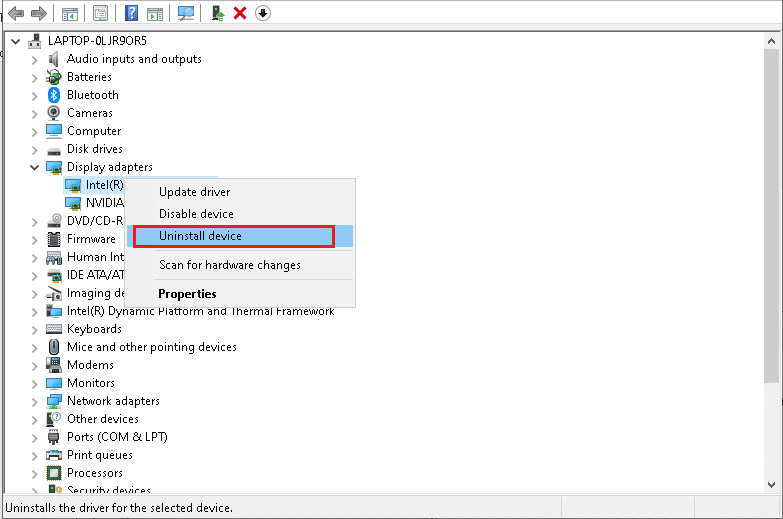
Method 3: Reinstall Graphics Card Driver
Reinstalling the graphics card driver is an important step in fixing hardware accelerated GPU scheduling not showing issues. By ensuring that the driver is up to date and properly configured, the hardware can communicate properly with the system and take full advantage of the graphics processor. This can help to improve the performance of the system and ensure a smooth experience while running applications or playing games. You can easily reinstall Graphical drivers as instructed in our guide How to Uninstall and Reinstall Drivers on Windows 10.
In some cases, reinstalling the graphics card driver can be a straightforward process. You can go to the website of the manufacturer of the graphics card and download the latest version of the driver. Once the driver is installed, you can restart the system and the hardware should be able to communicate properly with the system. Finally, check if the issue is resolved now or not.
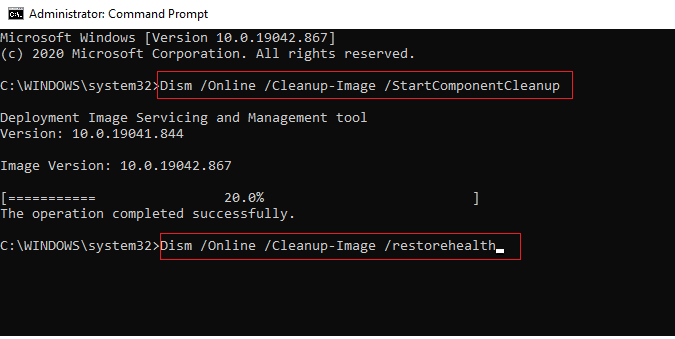
방법 4: 손상된 시스템 파일 복구
System files are the backbone of your computer’s operating system. They contain the instructions that allow your system to run properly and efficiently. When these files become corrupt, your system may experience performance issues or even complete breakdowns. This is why it is important to repair corrupt system files as soon as possible in order to avoid further issues. Read our guide on How to Repair System Files on Windows 10 and follow the steps as instructed to repair all your corrupt files.
Method 5: Change Graphics Settings
Sometimes the hardware accelerated GPU scheduling feature can be disabled in the Settings of your system, resulting in Hardware Accelerated GPU scheduling not showing issue. If you’re experiencing this issue, don’t worry, it’s relatively easy to fix. To enable hardware accelerated GPU scheduling, you’ll need to access the Settings of your system as instructed below.
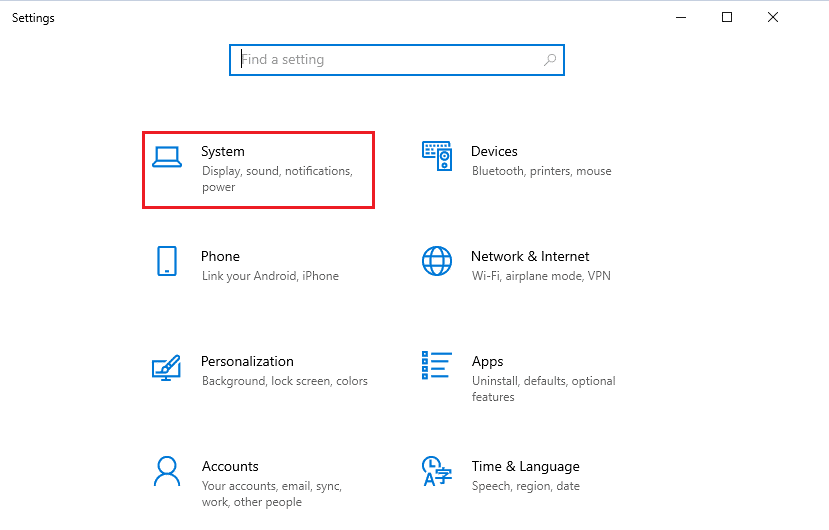
1. 이동 Windows 설정 그리고 클릭 .
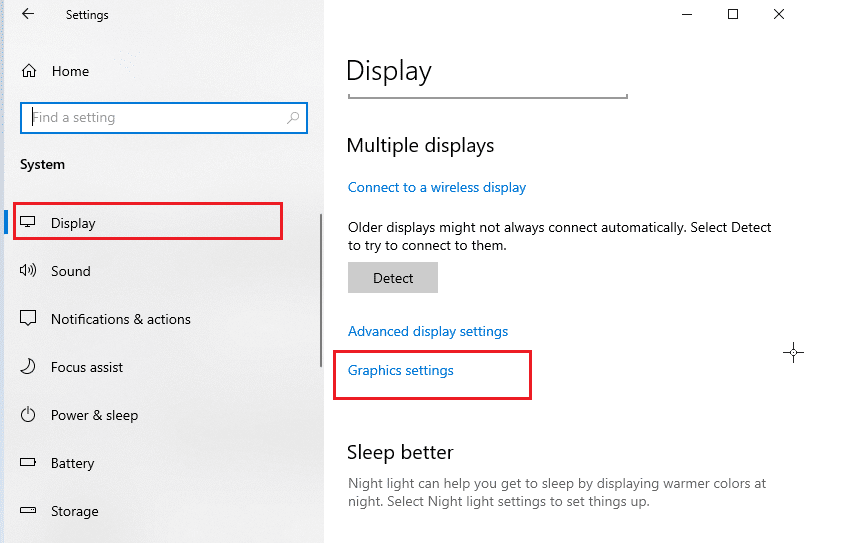
2. 이제 디스플레이 왼쪽 메뉴에서 설정을 하세요.
3. 그런 다음 오른쪽 메뉴에서 아래로 스크롤하여 다중 디스플레이 메뉴를 클릭하십시오 그래픽 설정.
4. Now, turn on Hardware-accelerated GPU scheduling setting and restart your PC. Then, check if hardware accelerated GPU scheduling AMD issue is fixed.
또한 읽기 : NVIDIA 설치 프로그램이 계속할 수 없는 그래픽 드라이버를 수정할 수 없습니다. 호환되는 그래픽 하드웨어 오류를 찾을 수 없습니다.
Method 6: Modify Registry Keys
Additionally, enabling hardware accelerated GPU scheduling via the registry is important for users who are running multiple monitors. Since multiple monitors require more graphics power, enabling hardware accelerated GPU scheduling will help ensure that the graphics card can keep up with the multiple monitors that helps fixing why do I not see hardware accelerated GPU scheduling issue. This will result in better performance and less choppiness while gaming. Follow the below mentioned steps to enable hardware accelerated scheduling using the registry editor.
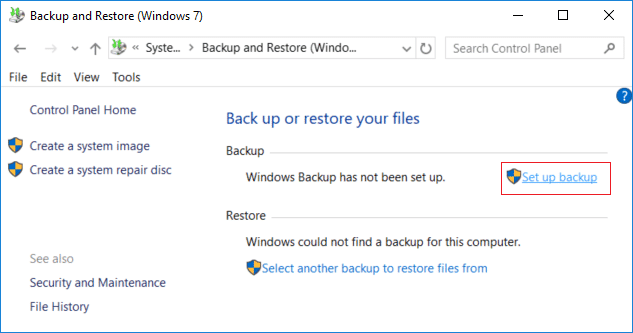
주의 사항: Make a backup of registry keys to restore to previous settings in case of manual errors during modification.
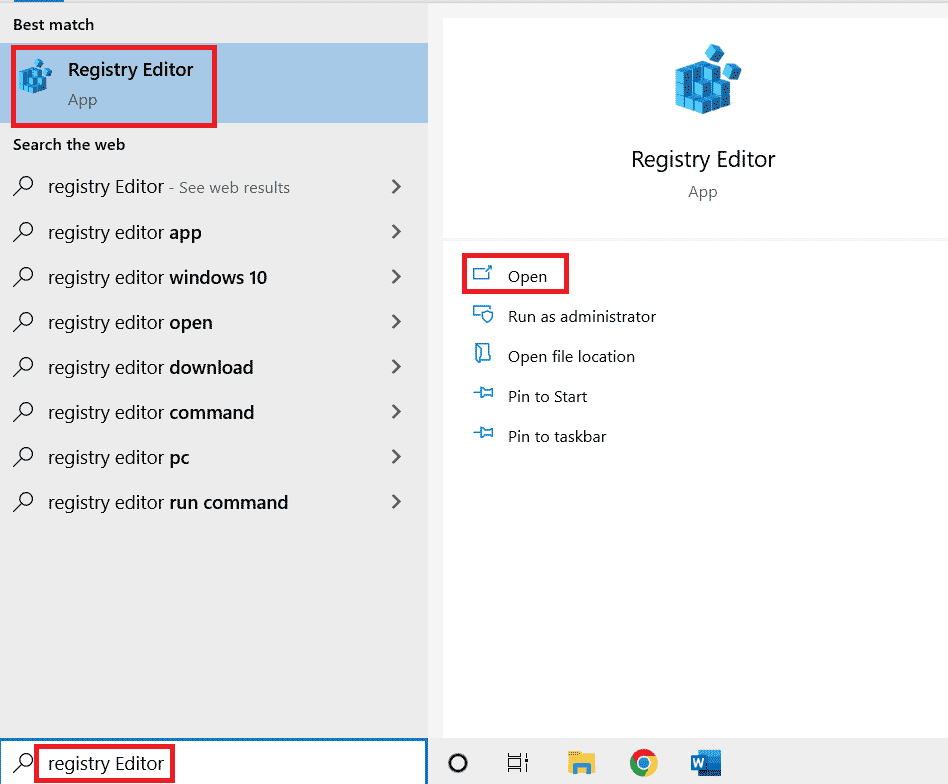
1. 히트 Windows 키 및 유형 레지스트리 편집기, 다음을 클릭하십시오. 엽니다.
2. 이제 다음으로 이동하십시오. 통로 FBI 증오 범죄 보고서 레지스트리 편집기.
HKEY_LOCAL_MACHINESYSTEMC 현재 제어 설정 제어 그래픽 드라이버
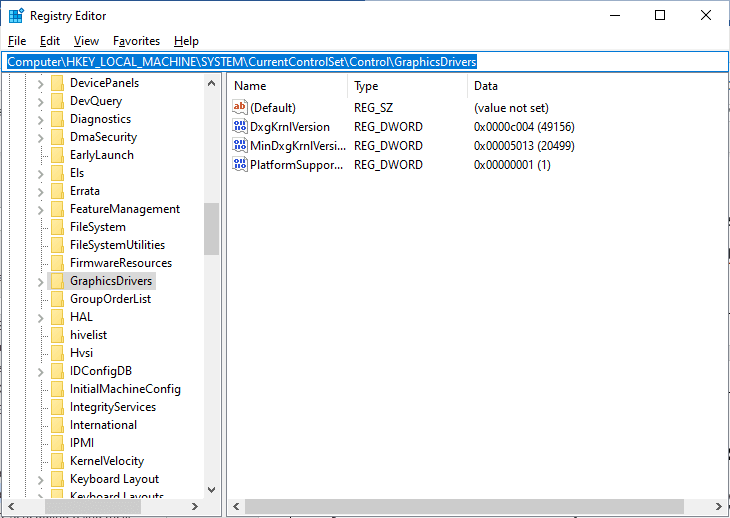
4. 오른쪽 화면에서 다음을 찾아 두 번 클릭합니다. HwSchMode key and ensure the Base field is set to Hexadecimal and Value data is set to 2 as depicted.

5. 을 클릭 OK 변경 사항을 저장하고 PC를 다시 시작합니다.
또한 읽기 : 관리자 오류로 인해 레지스트리 편집이 비활성화되었습니다 수정
Method 7: Upgrade to Compatible Graphics Card
When it comes to hardware accelerated GPU scheduling, the right graphics card can make all the difference. When shopping for a new graphics card, there are a few key things to look for. First, make sure the graphics card is compatible with your computer’s system. You’ll also want to make sure the graphics card is powerful enough to handle the task of hardware-accelerated GPU scheduling. Look for a card that has at least 4GB of onboard memory. Once you’ve found the right graphics card, it’s time to install it. Before you begin, make sure to back up any important data on your computer. Finally, follow the instructions included with your graphics card’s installation kit to properly install it.
Once you’ve installed the graphics card, you can check to see if it’s properly working by running a benchmark test. This will tell you how well the graphics card is performing, and if it’s able to handle the task. If all goes well, you should be able to enjoy a smoother and more efficient performance from your computer.
권장 사항 :
We hope that this guide was helpful and you have learned how do I fix hardware accelerated GPU scheduling not showing issue on your Windows PC. Let us know what you want to learn about next. Also, if you have any queries/suggestions regarding this article, then feel free to drop them in the comments section.

