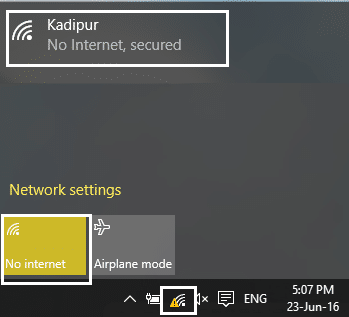
If a WiFi network has the ‘limited connectivity’ sign next to it, it means that you’re connected to the network but do not have access to the internet. The main reason for this issue is that the DHCP server is not responding. And when the DHCP server doesn’t respond the computer automatically assigns an IP address to itself because the DHCP server was unable to assign the IP address. Hence the ‘Limited or No connectivity’ error.
제한된 액세스 또는 연결 없음 WiFi 문제 수정
Method 1: Run Network troubleshooter
1. 마우스 오른쪽 버튼으로 네트워크 아이콘 at the taskbar and click on 문제를 해결합니다.
![]()
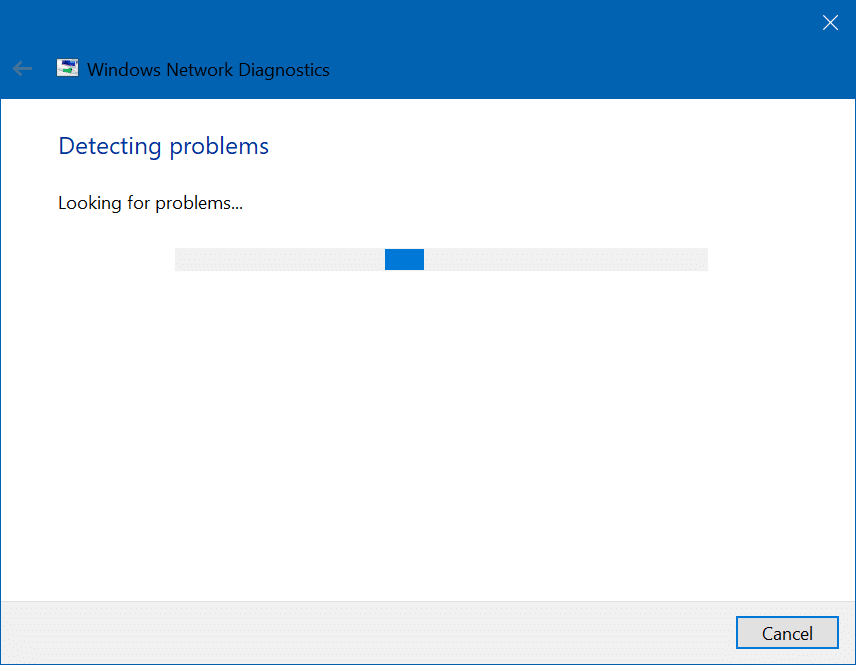
2. The Network Diagnostics window will open. Follow the on-screen instructions to run the Troubleshooter.
방법 2 : TCP / IP 재설정
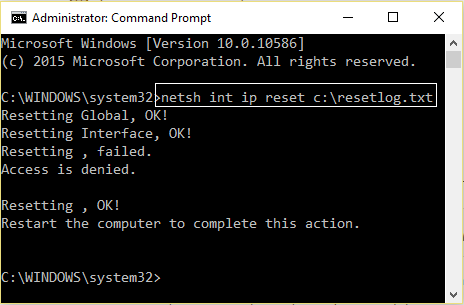
1. Right-click on the Windows button and select “Command Prompt(Admin).”

2. 다음 명령을 입력합니다. netsh int ip reset c:resetlog.txt
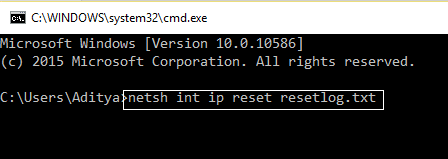
3. If you don’t want to specify the directory path then use this command: netsh int ip reset resetlog.txt
4. PC를 재부팅합니다.
방법 3: Bitdefender 방화벽 설정 변경(또는 바이러스 백신 방화벽)
1. Open Settings of Bitdefender Internet Security and choose 방화벽.
2.“고급 설정"버튼을 누릅니다.
3. “인터넷 연결 공유 활성화"가 체크되어 있습니다.
알림: If you don’t have the above setting then disable “Block Internet Connection Sharing” instead of above.
4. Click the OK button to save changes.
5. And if it doesn’t work try disabling your Antivirus Firewall and enabling Windows Firewall.
For maximum people changing firewall settings fixes the limited access or no connectivity WiFi problem, but if it didn’t work for you don’t lose hope we still have a long way to go, so follow the next method.
Method 4: Change adapter settings
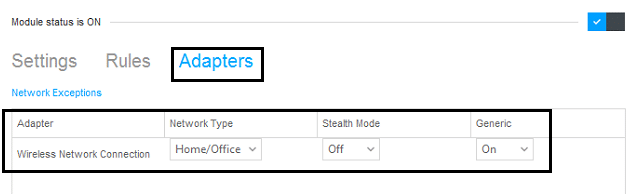
1. Open the Bitdefender, then select 보호 모듈 그리고 클릭 Firewall feature.
2. Make sure the Firewall is turned ON and then go to the Adapters tab and perform the following changes:
Set Network type to "Home/Office"
Set Stealth Mode to "Off"
Set Generic to "On"
3. Restart your PC to apply these changes.
Method 5: Wake up your Wi-Fi Adapter
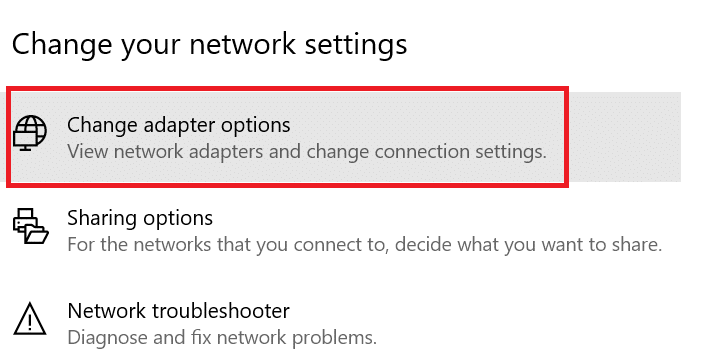
1. 마우스 오른쪽 단추로 클릭 on the network icon in the notification area and select 엽니다 Network & Internet Settings.

2. 아래에 네트워크 설정 변경, 클릭 어댑터 옵션을 변경합니다.
3. 클릭 WiFi 네트워크 선택 속성.
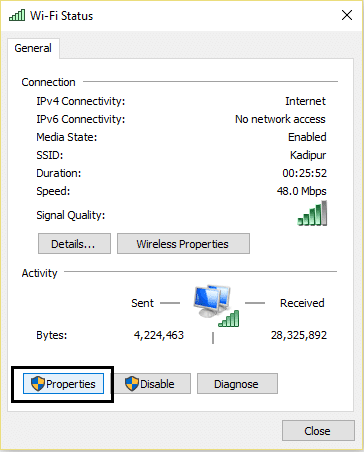
4. Now in WiFi 속성 클릭 구성하십시오.
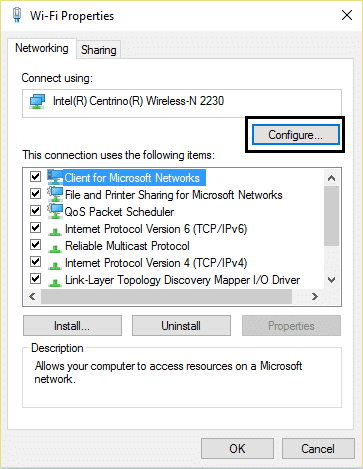
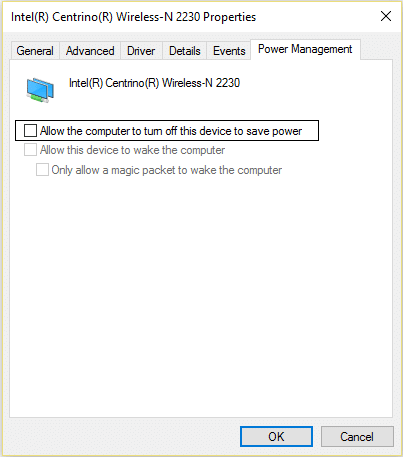
5. Go to the Power Management tab and uncheck “전원을 절약하기 위해 컴퓨터가 이 장치를 끌 수 있도록 허용하십시오."
6. PC를 재부팅하십시오.
방법 6: Google DNS 사용
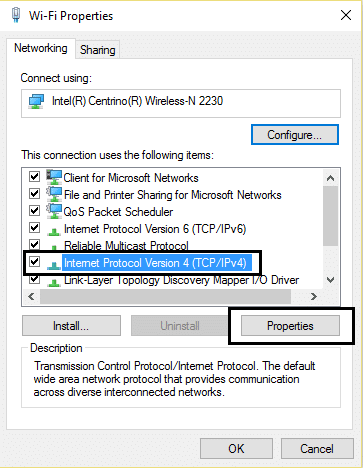
1. Again go to your Wi-Fi properties.
2. 이제 선택 4 인터넷 프로토콜 버전 (TCP / IPv4) 클릭 속성.
3. Check the box saying “다음 DNS 서버 주소 사용” and enter the following:
기본 설정 DNS 서버 : 8.8.8.8
보조 DNS 서버 : 8.8.4.4
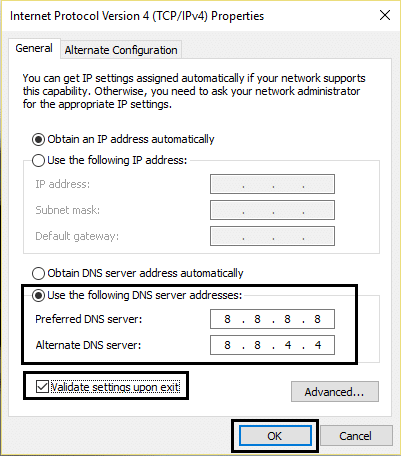
4. Click OK to save, then click close and 다시 시작 당신의 PC.
Method 7: Reset TCP/IP Auto-tuning
1. Right-click on the Windows key and select “명령 프롬프트(관리자)."
2. Type the following commands:
netsh int tcp set 경험적 접근 비활성화 netsh int tcp set global autotuninglevel=disabled netsh int tcp set global rss=enabled
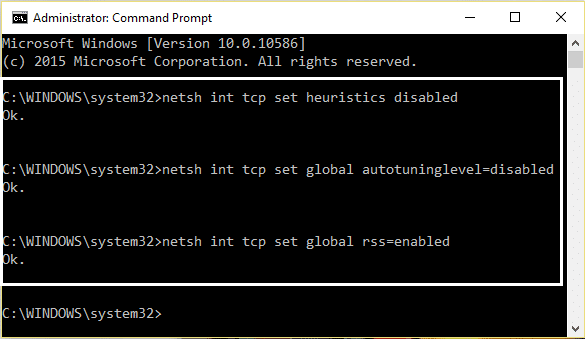
3. PC를 재부팅하십시오.
Method 8: Enable Download over metered connections
1. 클릭 Windows 키 선택 설정.
2. Now in settings click on 네트워크 및 인터넷.

3. Here you will see 고급 옵션, 클릭하십시오.
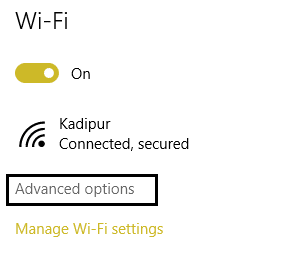
4. 귀하의 Metered connection is set to 의 위에.
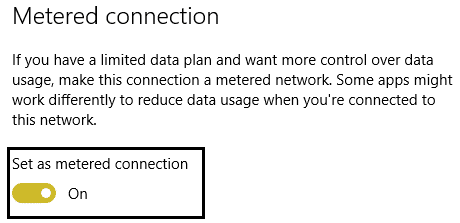
5. 재부팅 변경 사항을 적용합니다.
Yeah, I admit, this is a stupid step but hey for some people it worked out so why not try it and who knows your limited access or no connectivity WiFi issues may be fixed.
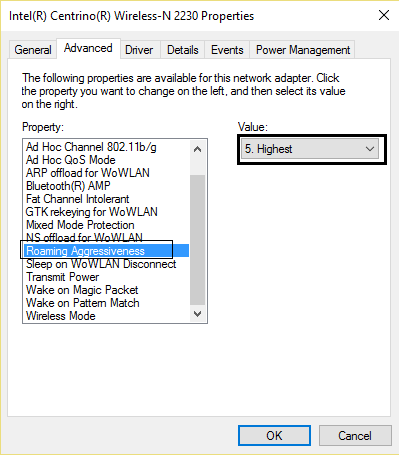
Method 9: Set Roaming Aggressiveness to Maximum
1. 마우스 오른쪽 단추로 클릭 on the network icon in the notification area and select 엽니다 Network & Internet Settings.
2. 아래에 네트워크 설정 변경, 클릭 어댑터 옵션을 변경합니다.
3. 이제 귀하의 Wi-Fi 인터넷 그리고 클릭 속성.
4. Inside Wi-Fi properties click on 구성하십시오.
5. 로 이동 the Advanced tab 찾아 로밍 공격성 환경.
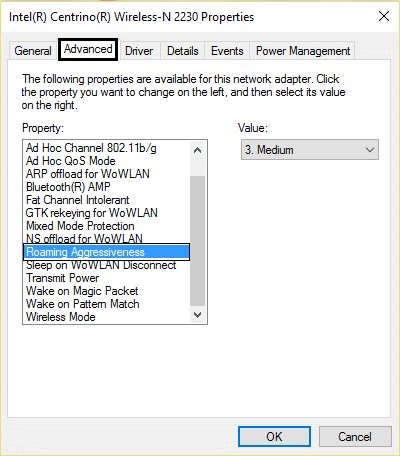
6. Change the value from Medium to Highest 확인을 클릭하십시오.
7. 재부팅 변경 사항을 적용합니다.
방법 10 : 드라이버 업데이트
1. Windows 키 + R을 누르고 “devmgmt.msc를” in Run dialogue box to open the 기기 관리자.

2. 확장 네트워크 어댑터을 클릭한 다음 와이파이 컨트롤러(예: Broadcom 또는 Intel)을 선택하고 드라이버를 업데이트합니다.

3. In the Update Driver Software Windows, select “내 컴퓨터에서 드라이버 소프트웨어 찾아보기."

4. 이제 '를 선택하세요.컴퓨터의 장치 드라이버 목록에서 선택하겠습니다."

5. 시도 나열된 버전에서 드라이버를 업데이트하십시오.
6. If the above didn’t work then go to the 제조업체 웹 사이트 to update drivers: https://downloadcenter.intel.com/
7. 재부팅 변경 사항을 적용합니다.
당신은 또한 같은 수 있습니다 :
I hope by now any one of the methods must have worked for you to fix limited access or no connectivity WiFi issues. If you still have any queries regarding this guide please feel free to ask them in the comments.
![[SOLVED] keyboard has stopped working on Windows 10](https://lbsite.org/wp-content/uploads/2023/01/Solved-keyboard-has-stopped-working-on-Windows-10.png "[SOLVED] keyboard has stopped working on Windows 10")
