If you have recently updated your Windows 10 or have just upgraded to Windows 10, you may experience that the time is slightly incorrect and you need to configure the date & time in Windows 10. But don’t worry, there are many ways to Change Date and Time in Windows 10 easily. You can configure the date and time via Control Panel or in Windows 10 Settings, but you must be signed in as Administrator to configure these settings. So without wasting any time, let’s see How to Change Date and Time in Windows 10 using the below-listed tutorial.

4 Ways to Change Date and Time in Windows 10
Pê bawer bin ku hûn xalek vegerandinê biafirînin tenê heke tiştek xelet derkeve.
Method 1: How to Change Date and Time in Windows 10 using Control Panel
1. Awa kontrol in Windows 10 Search then clicks on Control Panel ji encama lêgerînê.

2. Naha li ser "bikirtînin"Demjimêr û Herêm"paşê bikirtînin"Dîrok û Demjimêr".
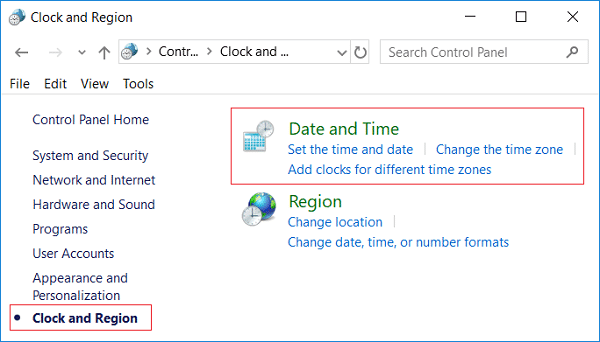
3. Under Date and Time window, click “Dîrok û demjimêr biguherînin".
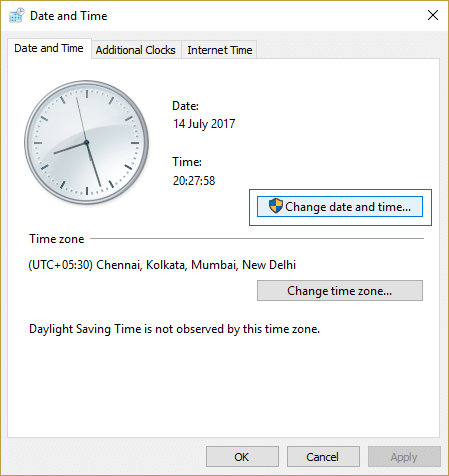
4. This will open the Date and Time Settings window, so configure the date and time accordingly and click OK.
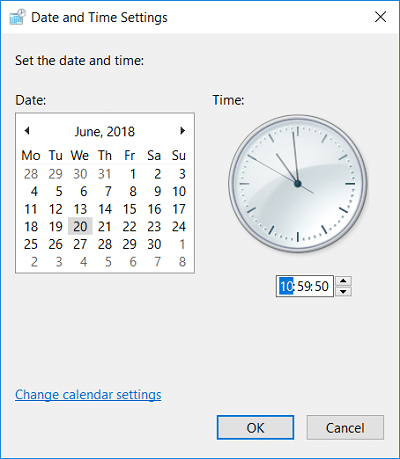
Not: You could change the current hour, minute, seconds and AM/PM for time settings. And as far as the date is considered you could change the month, year, and current date.
5. Click Apply, followed by OK.
Method 2: How to Change Date and Time in Windows 10 Settings
1. Ji bo vekirina Windows Key + I bitikîne Mîhengên piştre bitikîne Dem & Ziman.
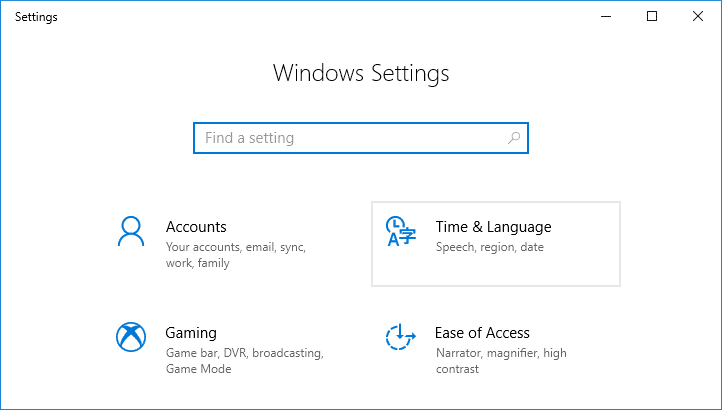
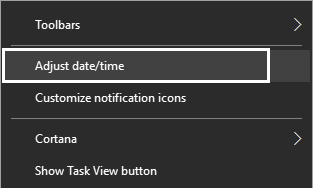
Not: Or you could right-click on Dîrok û Demjimêr on the taskbar then select Adjust date/time.
2. Bawer bikin select Date & time di menuê çepê de.
3. Now to change date & time, vemirînin toggle which says “Demê xwe bixweber bike".
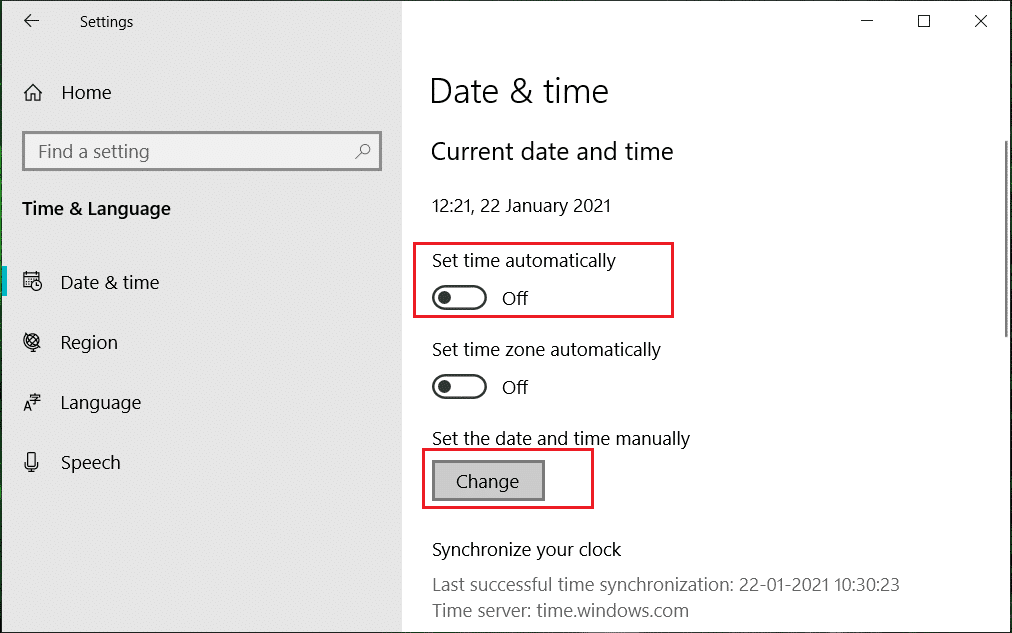
4. Then click on “Gûherrandinî”Bin Dîrok û demjimêr biguherînin.
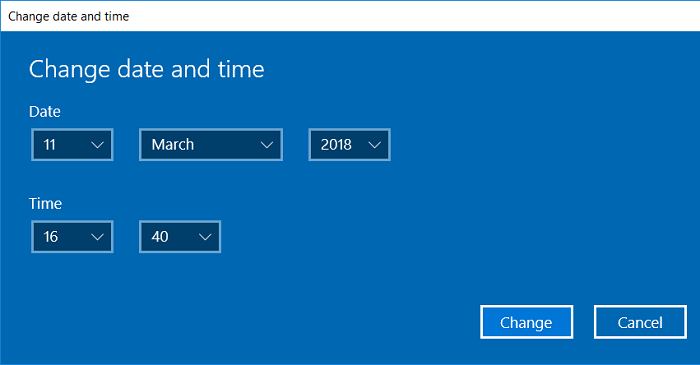
5. Dûv re, change the date, month, and year to correct number. Similarly set the time to the correct, current hour, minute, and AM/PM then click Gûherrandinî.
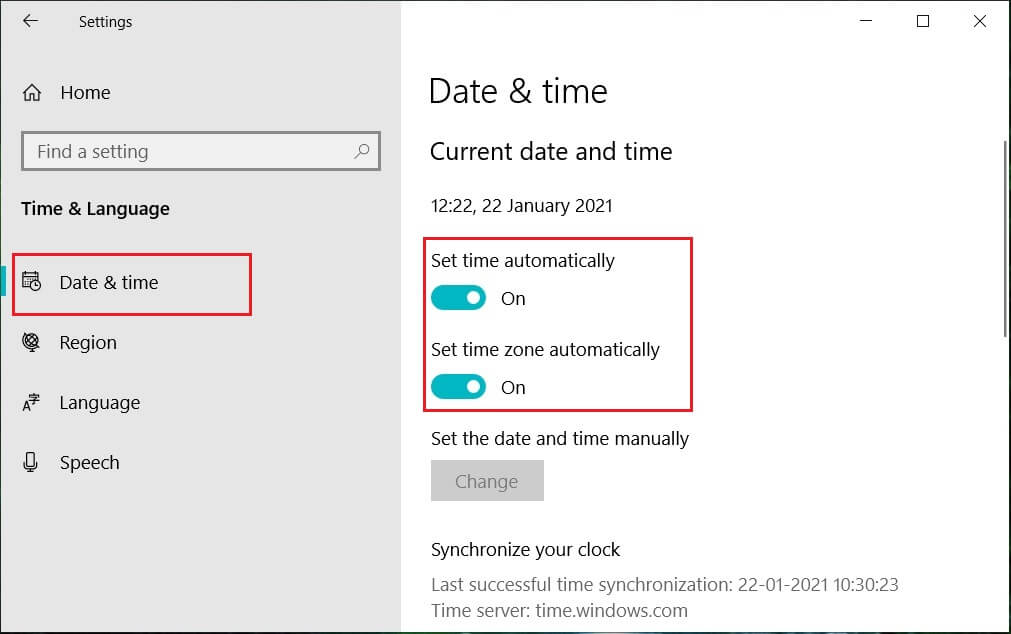
6. If you like Windows to automatically synchronize the system clock time with internet time servers, then again turn ON the “Demê xwe bixweber bike”Veguheztin.
Method 3: How to Change Date and Time in Windows 10 using Command Prompt
1. Serlêdana Fermanê vekin. Bikarhêner dikare bi lêgerîna vê gavê pêk bîne 'cmd' û piştre Enter Enter.

2. Fermana jêrîn di cmd de binivîsin û Enter bikirtînin:
To see the current date: date /t
To Change the current date: date MM/DD/YYYY
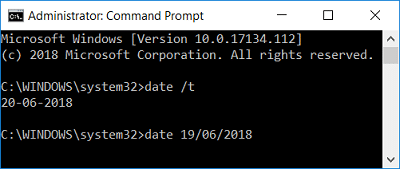
Not: MM is the month of the year, DD is the day of the month, and YYYY is the year. So if you want to change the date to 15th March 2018, then you need to enter: date 03/15/2018
3. Fermana jêrîn di cmd de binivîsin û Enter bikirtînin:
To see the current time: time /t
To Change the current date: time HH:MM
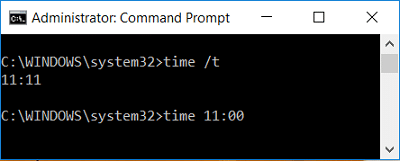
Not: HH are the hours, and MM are the minutes. So if you want to change the time to 10:15 AM then you need to use the command: time 10:15, similarly if you want to change the time to 11:00 PM then enter: time 23:00
4. Close Command Prompt and reboot your PC to save changes.
Method 4: How to Change Date and Time in Windows 10 using PowerShell
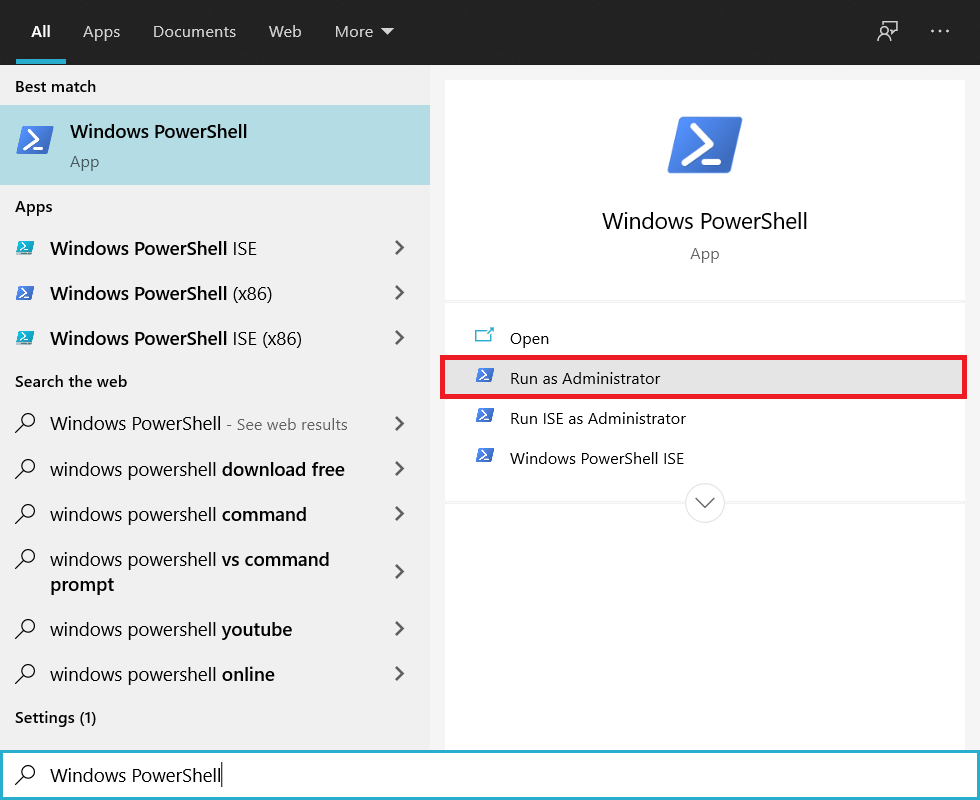
1. Awa PowerShell in Windows Search then right-click on PowerShell from the search result and select Wekî Administrator vegerin.
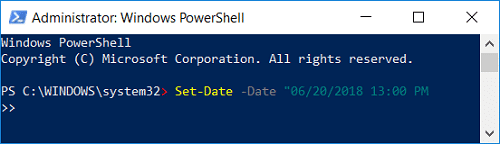
2. Now type the following command and hit Enter:
To Change date and time using the 24-hour format: Set-Date -Date “MM/DD/YYYY HH:MM
To Change date and time in AM: Set-Date -Date “MM/DD/YYYY HH:MM AM
To Change date and time in PM: Set-Date -Date “MM/DD/YYYY HH:MM PM
Not: Replace MM with the actual month of the year, DD with the day of the month, and YYYY with the year. Similarly, replace HH with the hours and MM with the minutes. Let’s see an example of each one of the above command:
To Change date and time using the 24-hour format: Set-Date -Date “03/15/2018 21:00
To Change date and time in AM: Set-Date -Date “03/15/2018 06:31 AM
To Change date and time in PM: Set-Date -Date “03/15/2018 11:05 PM
3. Close PowerShell when finished and reboot your PC to save changes.
Baştir e:
That’s it you have successfully learned How to Change Date and Time in Windows 10 but if you still have any questions regarding this tutorial then feel free to ask them in the comment’s section.

