The autofill feature is an important part of the Outlook program. AutoComplete allows you to enter an entire email while composing a message with just one email initial. This feature helps you save time and gives you quick access to emails. However, sometimes users may experience Outlook AutoComplete not working issue; this issue can be caused for various reasons, such as an outdated Office version or bugs with the Outlook program. In this guide, we will discuss methods to resolve Outlook Address AutoComplete not working issue on your Outlook.

How to Fix Outlook AutoComplete Not Working Correctly
There can be various reasons for Outlook Autofill email address not working on your Outlook account; some of the most common reasons are mentioned here.
- If you have disabled AutoComplete in Outlook, you won’t be able to use this feature.
- Bugs and glitches with the Outlook program can also cause this issue.
- Issues with a user profile can also cause AutoComplete feature not working issue.
- Corrupt Outlook Add-ins can also cause this issue.
- Corrupt Outlook data PST files can also cause this issue with Outlook.
- Outdated or corrupt Microsoft Office updates can also cause this issue.
- A corrupt RoamCache folder can also cause this issue with Outlook.
Following are the troubleshooting methods to solve this problem.
Method 1: Enable AutoComplete in Outlook
If you have not enabled the AutoComplete feature in Outlook, you will not be able to use this feature. You will have to manually enable AutoComplete to resolve this Outlook address AutoComplete not working issue. You can follow these simple steps to enable AutoComplete in Outlook.
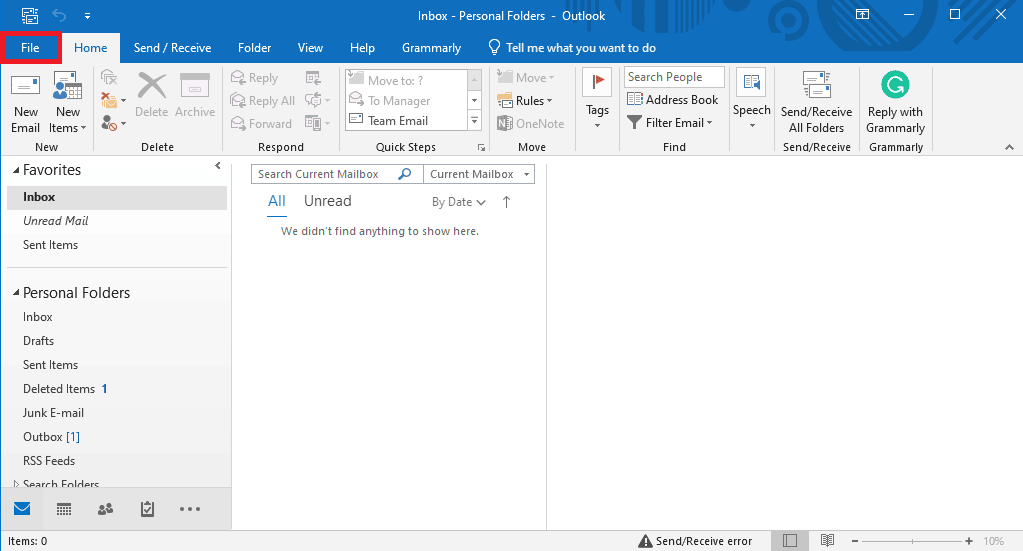
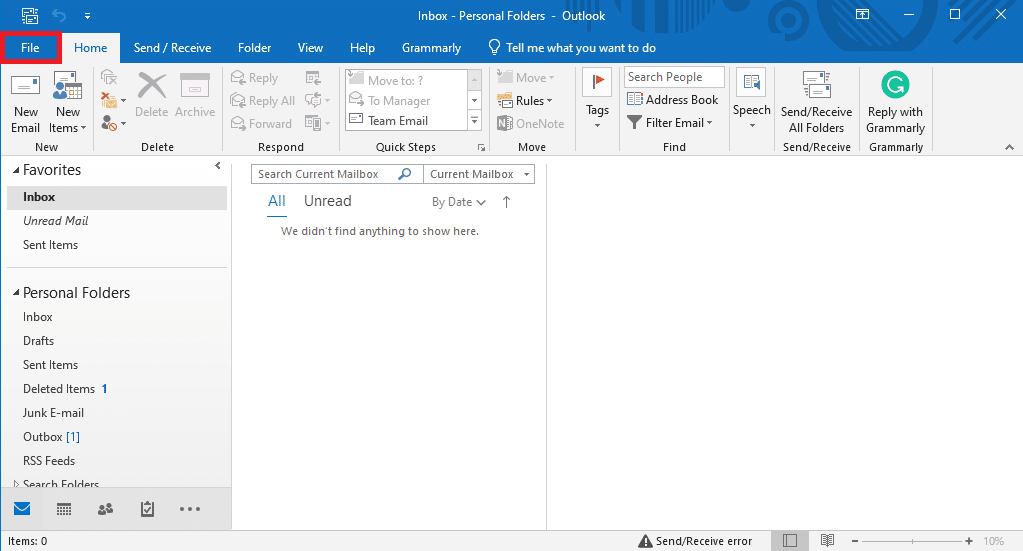
1. Vekirî Nîr, û navîgasyon Wêne from the top-left side of the window.
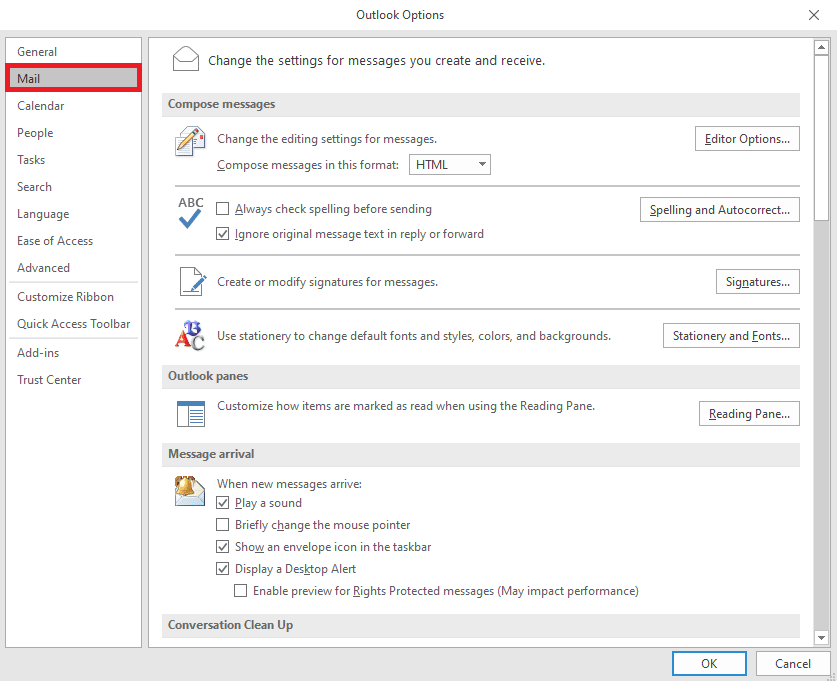
2. Here, from the left-side panel, click on Vebijêrkên.

3. Navîgasyonê bikin Poste tablo
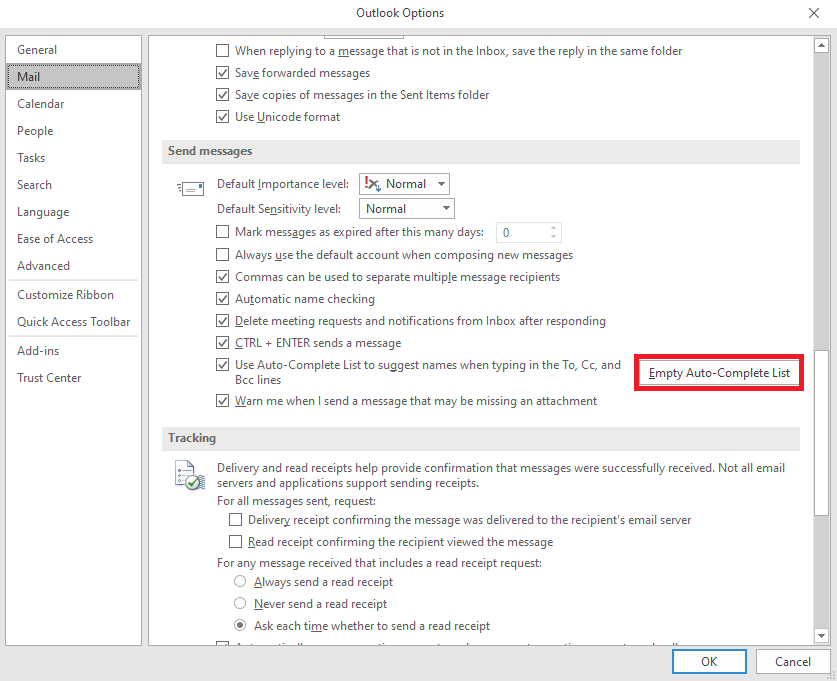
4. Scroll down here, and locate Peyam bişîne bijarte.
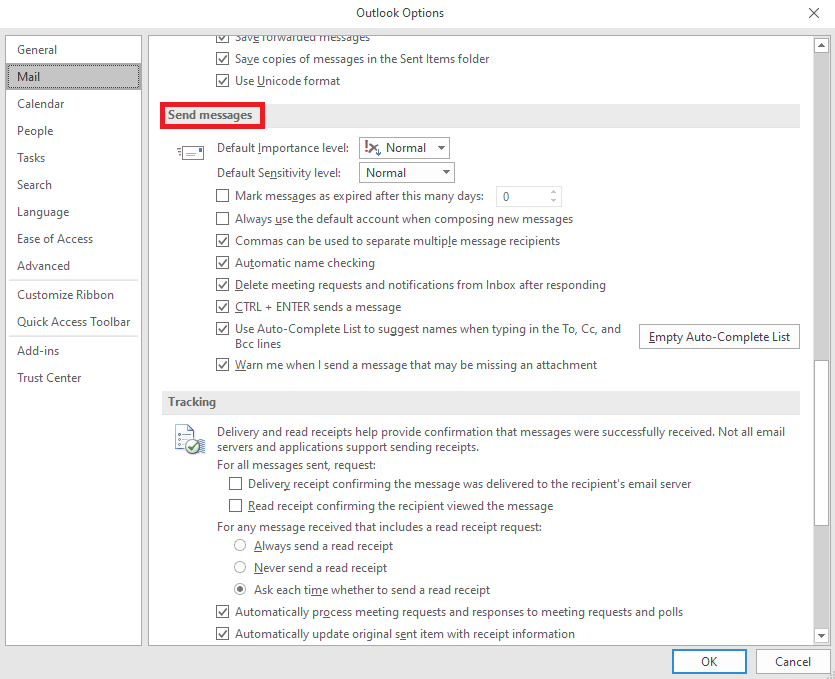
5. Here, check the Use Auto-Complete List to suggest names when typing in the To, Cc, and Bcc lines.
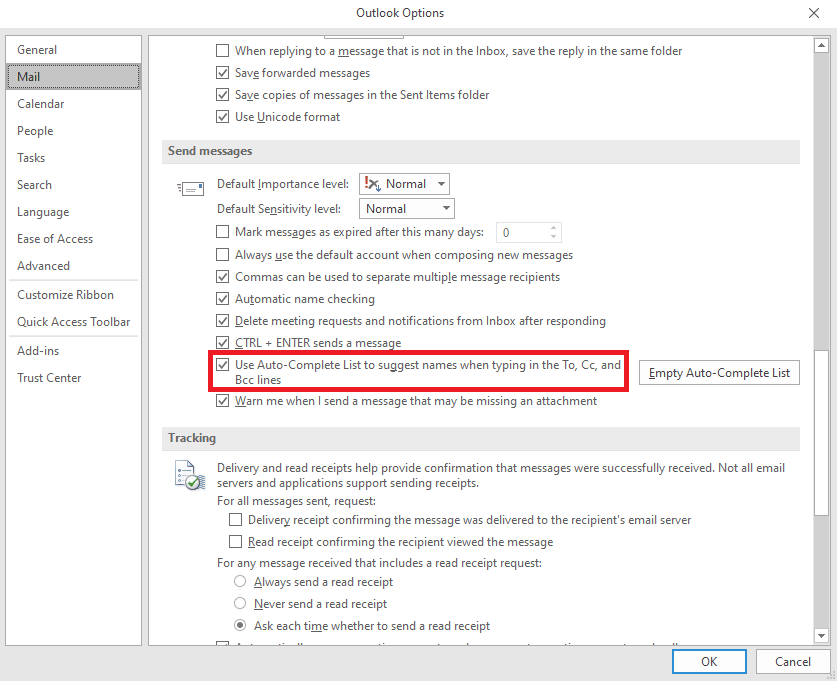
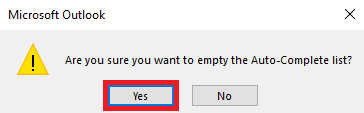
6. If you find this option already checked, click on the Lîsteya Xwe-Temamkirinê ya Vala.
7. klîk Erê da ku çalakiyê piştrast bike.
Method 2: Run Outlook in Safe Mode
Running programs in safe mode can help you avoid various issues. You can use safe mode to make the troubleshooting process easier and avoid hardware issues. You can follow these simple steps to run Outlook in safe mode to resolve Outlook autocomplete not working issue.
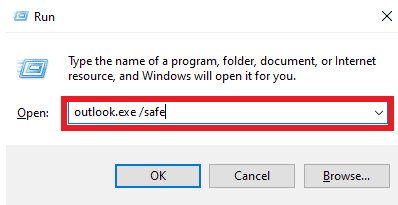
1. Rojnamevanî Bişkojkên Windows + R vekirî ye Run dialog box.
2. In the Run dialog box, type Outlook.exe/safe û çapemeniyê Mifte binivîse.
Her weha bixwîne: Di Windows 10-ê de hewldana girêdana bi serverê re Outlook rast bikin
Method 3: Run Outlook with Different Profile
Make sure the Outlook issue is happening only in your Outlook program and not on the entire system. You can try to log in to Outlook with a different profile. You can also add a different account on Outlook.
1. Vekirî Nîr on your computer, and click on Wêne.
2. Di Agahiya Hesabê page, locate and click on Hesab lê zêde bike.
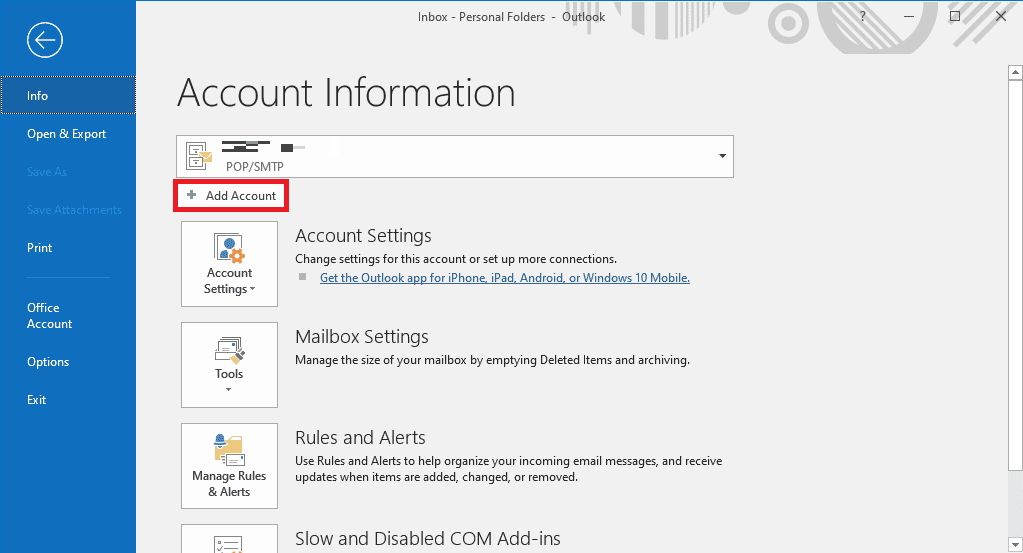
3. Têkevin nasnameyên têketinê for a different account.
Rêbaz 4: Pêvekên Outlook neçalak bike
Sometimes, the issue can be caused by an Outlook Add-in. Ad-ins can be very useful and help you organize your Outlook application. However, if Outlook Add-ins get corrupt for some reason, you may experience various issues, such as AutoComplete not working on Outlook. To resolve these issues, you can try to disable Outlook Add-ins. You can follow these simple steps to disable Outlook Add-ins.
1. Vekirî Nîr on your computer and navigate to Wêne.

2. Here, from the left-side panel, click on Vebijêrkên.
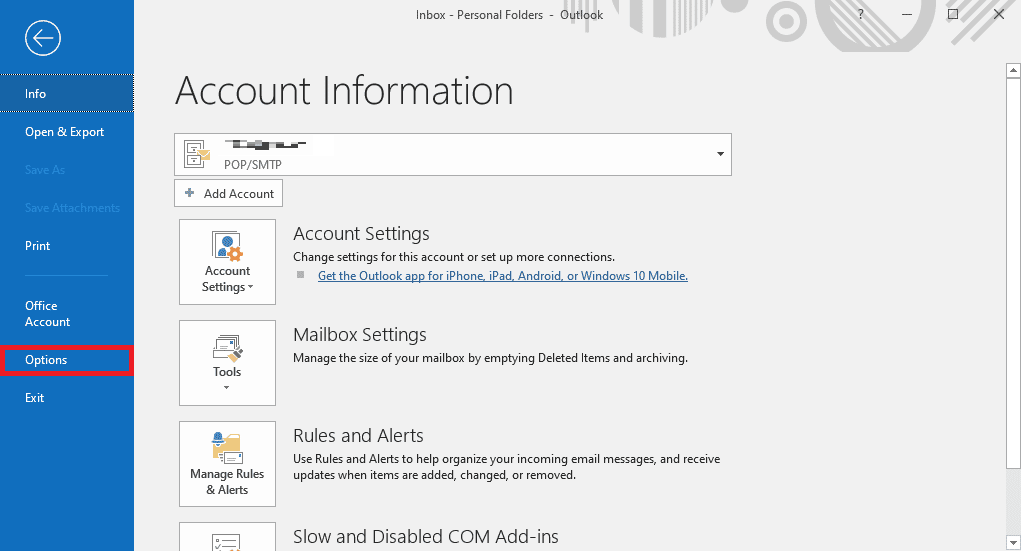
3. Now, locate and navigate to Add-ins.

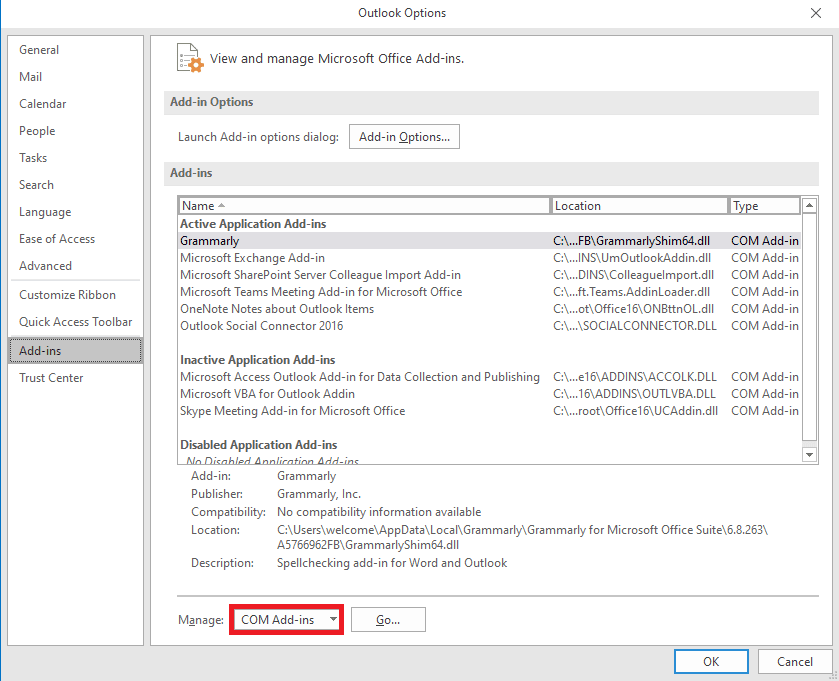
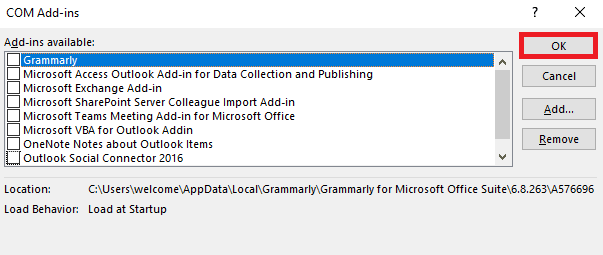
4. Here, locate the rêvebirin hilkişe û hilbijêrin Pêvekên COM-ê.
5. Niha, bitikîne Go.
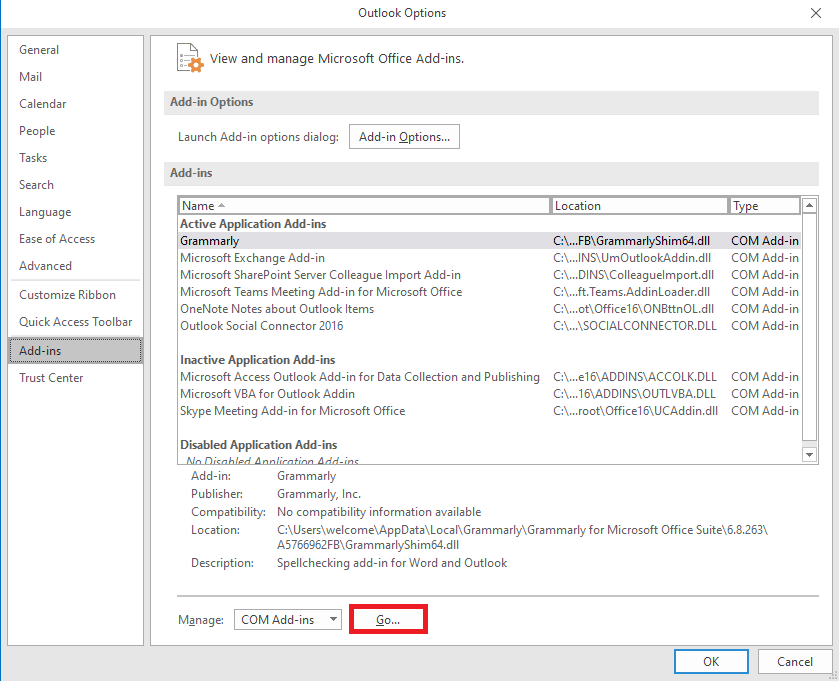
6. Li vir, hilbijêre all the Add-ins and then click OK.
Method 5: Repair Outlook Data PST File
PST, or Personal Table Storage, files store Outlook emails; if this file is corrupt or causing issues, you may experience Outlook address AutoComplete not working error. You can use the Inbox repair tool to help you figure out a solution for this issue. Follow these simple steps to execute this method.
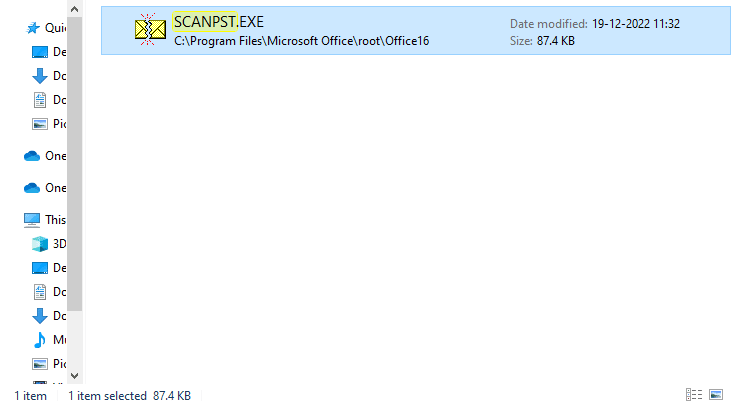
1. veke Nîr folder on Explorer Explorer.
C: Program FilesMicrosoft OfficerootOffice16
2. Li ser binêrin SCANPST.EXE dosî.
3. Niha, hilbijêre Browse option to locate the file you wish to scan.
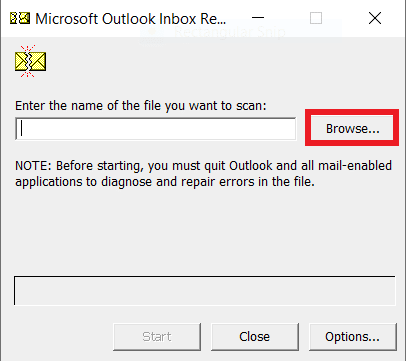
4. In the new dialog box, click on Destpêkirin.
5. Di dawiyê de, bitikîne Pîne to fix all the PST file issues.
If this method does not fix Outlook autocomplete not working issue, move on to the next method.
Her weha bixwîne: Meriv çawa di Outlook 365-ê de Pêşnûmeya jêbirkirî vegere
Method 6: Update Microsoft Office
If the Microsoft Office program is experiencing bugs and glitches, updating it can help you fix the issues. An outdated Microsoft Office can make your Outlook vulnerable to bugs and other application issues. Therefore, manually updating Office is a great way to fix not just the AutoComplete issues but also other underlying issues with the Microsoft Office package. You can follow these simple steps to update Microsoft Office from the Microsoft Outlook program.
1. Vekirî Nîr on your computer and navigate to files.

2. From the left-side panel, click on the Hesabê Office.
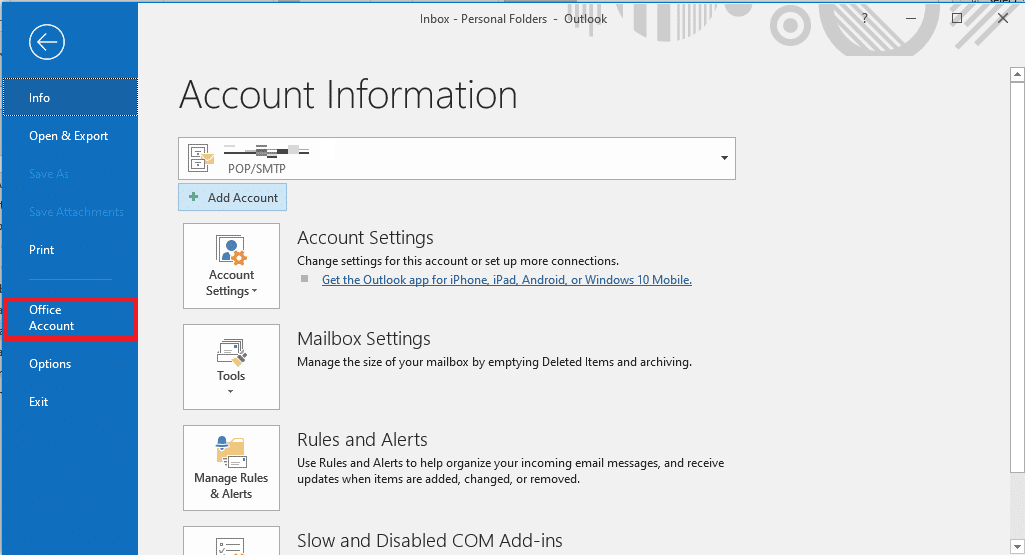
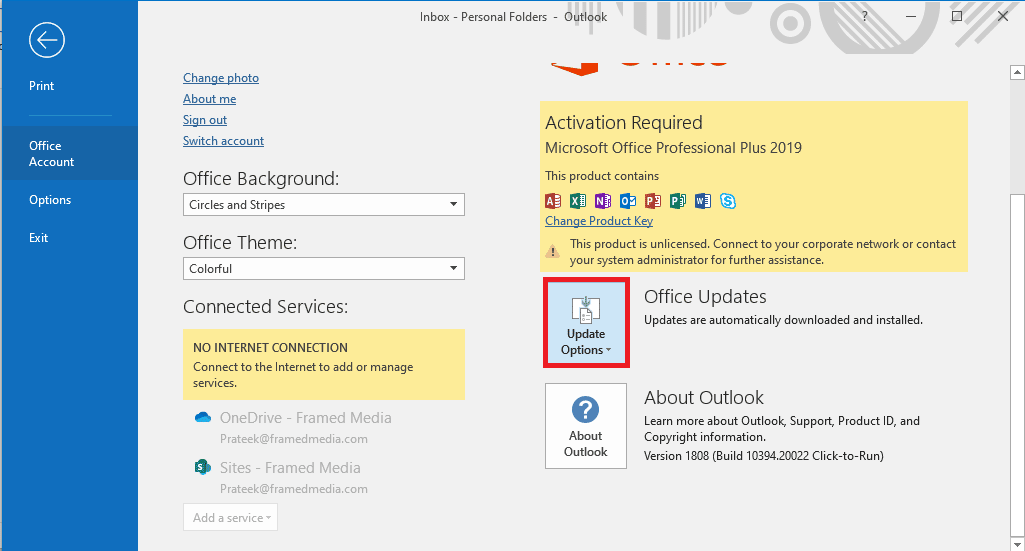
3. Here, locate Dayre updates.
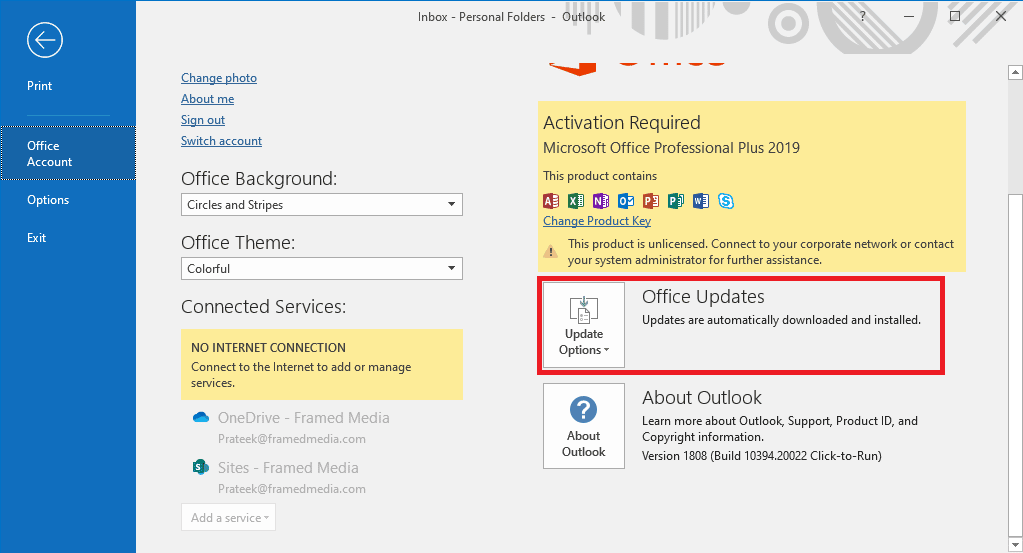
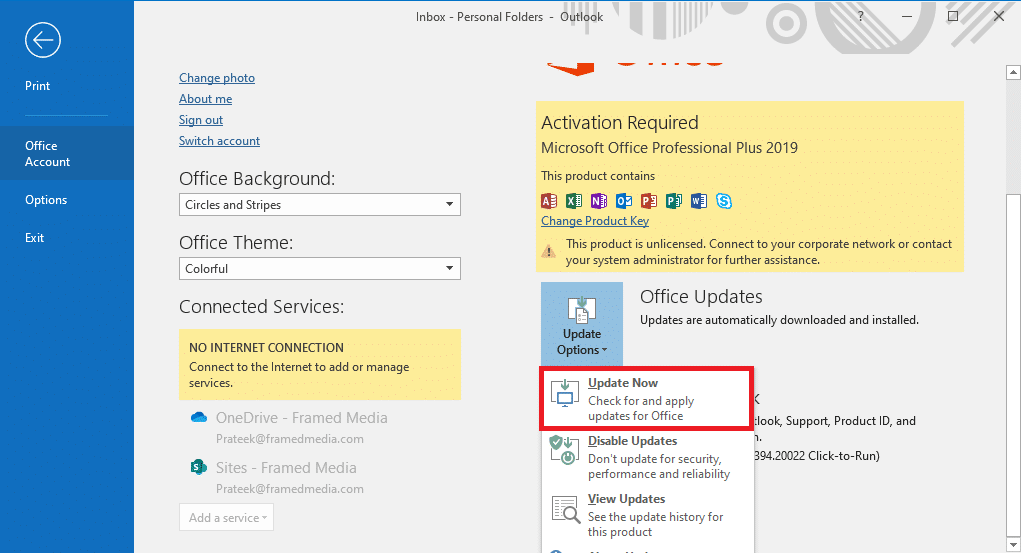
4. Niha, li ser bitikîne Vebijarkên Nûvekirinê dakêşin.
5. Di dawiyê de, li ser bitikîne Nûve bikin.
If this method does not fix Outlook Autofill email address not working issue, move on to the next method.
Method 7: Rename RoamCache Folder
If you have enabled the AutoComplete feature but still have the issue, it can be due to a corrupt RoamCache folder. You can fix this issue by resetting the AutoComplete folder. You will only need to rename the RoamCache folder in the directory. You can rename the RoamCache folder for both, a home email account and a Microsoft Exchange server account.
Option I: Rename RoamCache Folder for Home Email Account
You can follow these simple steps to rename the RoamCache folder in a home email account.
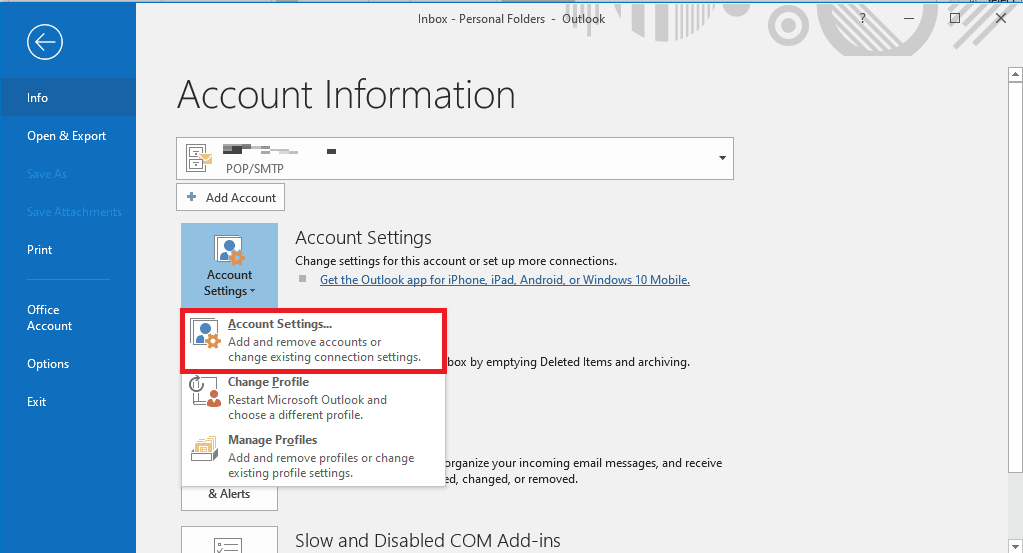
1. Vekirî Nîr on your computer and navigate to Wêne.

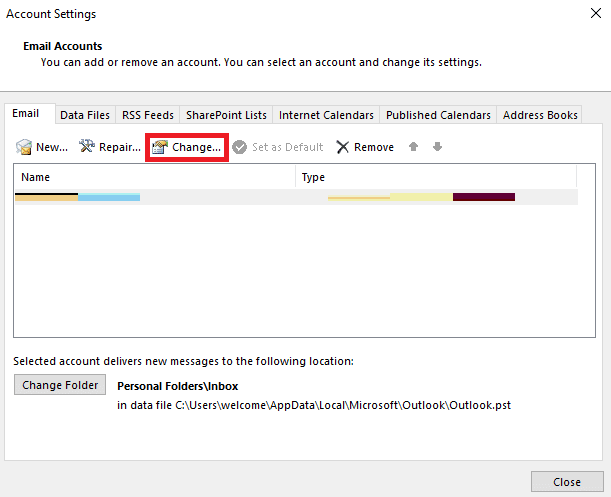
2. Niha, li ser bitikîne Settings account drop-down and then select Settings account.

3. Here, select your Home Email Account.
4. Nêzîkî the Outlook program.
5. Rojnamevanî Windows + E keys vekin Explorer Explorer.
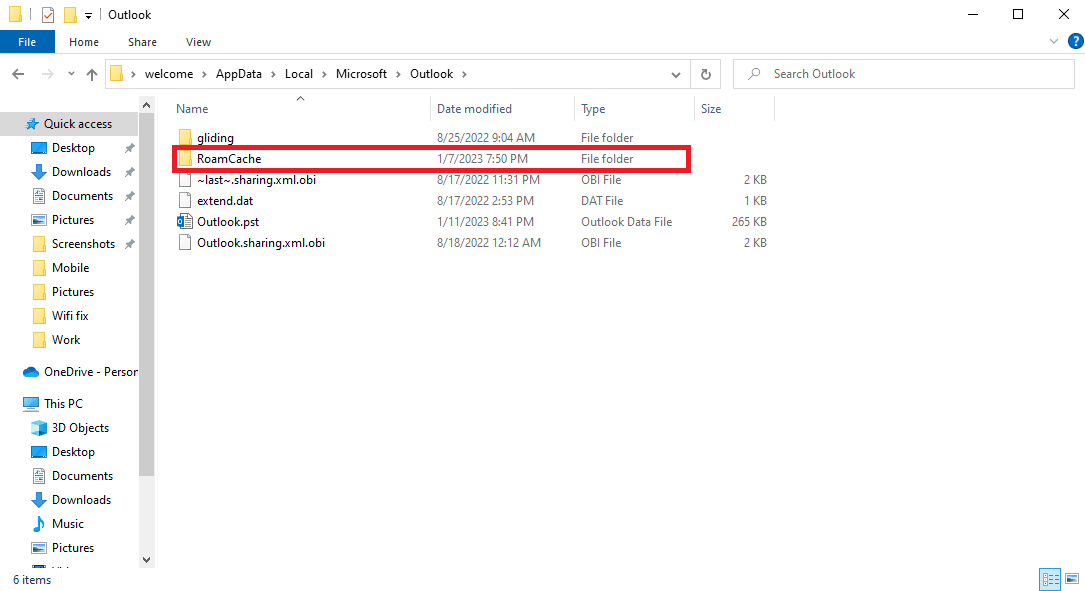
6. Biçe cîhê jêrîn şop.
%LOCALAPPDATA%MicrosoftOutlook

7. Here, locate the RoamCache pêçek.

8. Rename this folder with a new name.
Her weha bixwîne: Rêvebirê Microsoft Exchange-ya we ev Guhertoya Outlook Asteng kiriye
Option II: Rename RoamCache Folder for Microsoft Exchange Server Account
You can follow these simple steps to rename the RoamCache folder in a Exchange Exchange server account to solve Outlook address AutoComplete not working issue.
1. Vekirî Nîr on your computer and navigate to Wêne.

2. Niha, li ser bitikîne Settings account drop-down and then select Settings account.
3. Here, select your Microsoft Exchange Server Account.
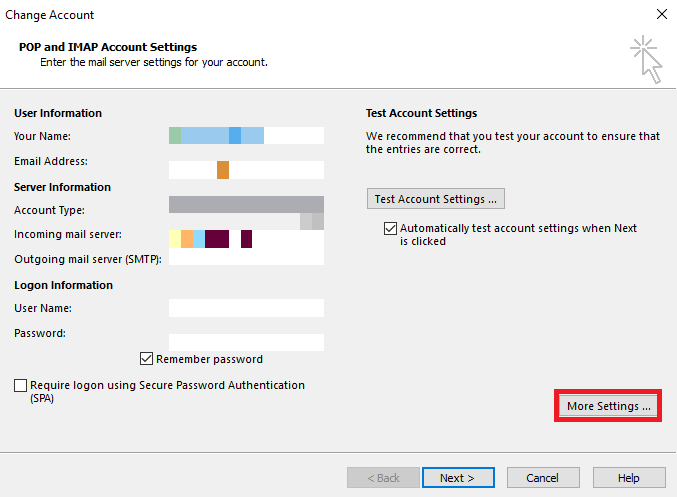
4. Naha, pê bikirtînin Gûherrandinî.
5. Li vir, li ser bitikîne More Settings.
6. Navîgasyonê bikin Pêşveçû tablo
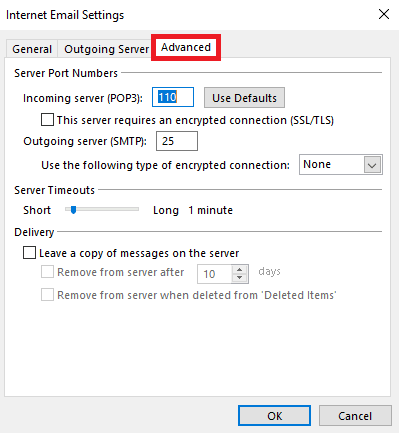
7. Unselect the Mode Exchange Cached bikar bînin qutiyê û hilbijêrin Piştî.
8. Di dawiyê de, bitikîne Qedandin.
9. Girtin Nîr Bernameya.
10. Rojnamevanî Windows + E keys di heman demê de vekin Explorer Explorer.
11. Di Explorer Explorer, navigate to the following location şop.
%LOCALAPPDATA%MicrosoftOutlook
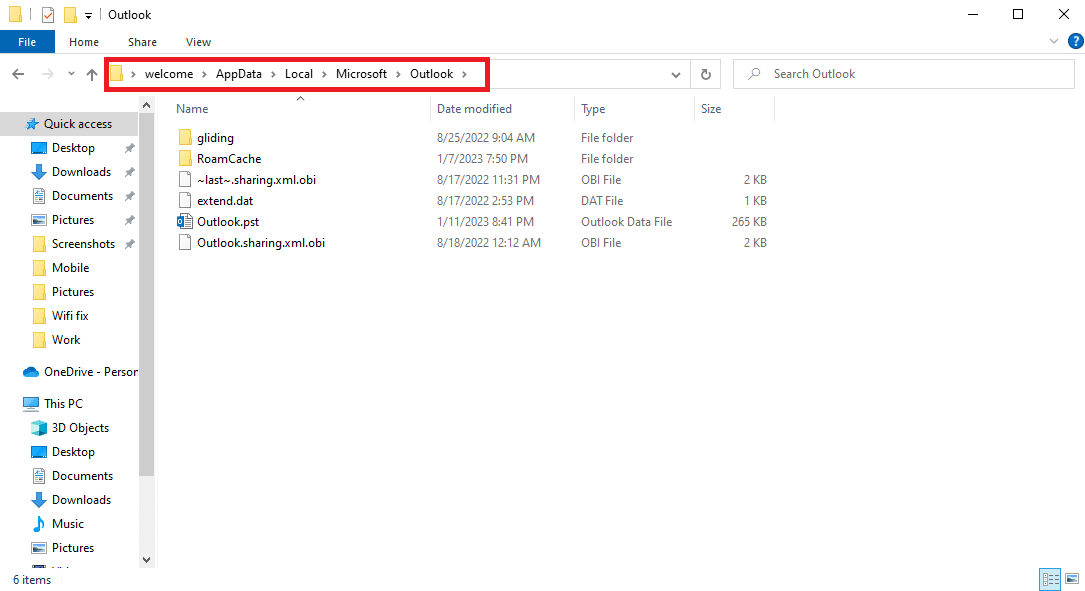
12. Here, locate the RoamCache pêçek.
13. Rename this folder to old_RoamCache.
14. Naha, vekin Nîr program and follow the steps mentioned above to navigate to the Mode Exchange Cached bikar bînin dibe.
15. Check Use Cached Exchange Mode.
16. Di dawiyê de, sepana Outlook ji nû ve bidin destpêkirin.
Baştir e:
Em hêvî dikin ku ev rêber ji we re arîkar bû û we karîbû rast bikin Outlook AutoComplete not working issue. Let us know which method worked for you. If you have any suggestions or queries for us, please let us know in the comment section.

