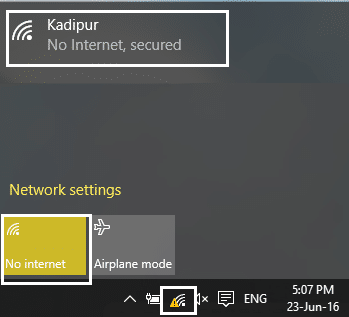
If a WiFi network has the ‘limited connectivity’ sign next to it, it means that you’re connected to the network but do not have access to the internet. The main reason for this issue is that the DHCP server is not responding. And when the DHCP server doesn’t respond the computer automatically assigns an IP address to itself because the DHCP server was unable to assign the IP address. Hence the ‘Limited or No connectivity’ error.
ແກ້ໄຂການເຂົ້າເຖິງທີ່ຈໍາກັດຫຼືບໍ່ມີບັນຫາການເຊື່ອມຕໍ່ WiFi
Method 1: Run Network troubleshooter
1. ກົດຂວາໃສ່ປຸ່ມ ໄອຄອນເຄືອຂ່າຍ at the taskbar and click on ແກ້ໄຂບັນຫາ.
![]()
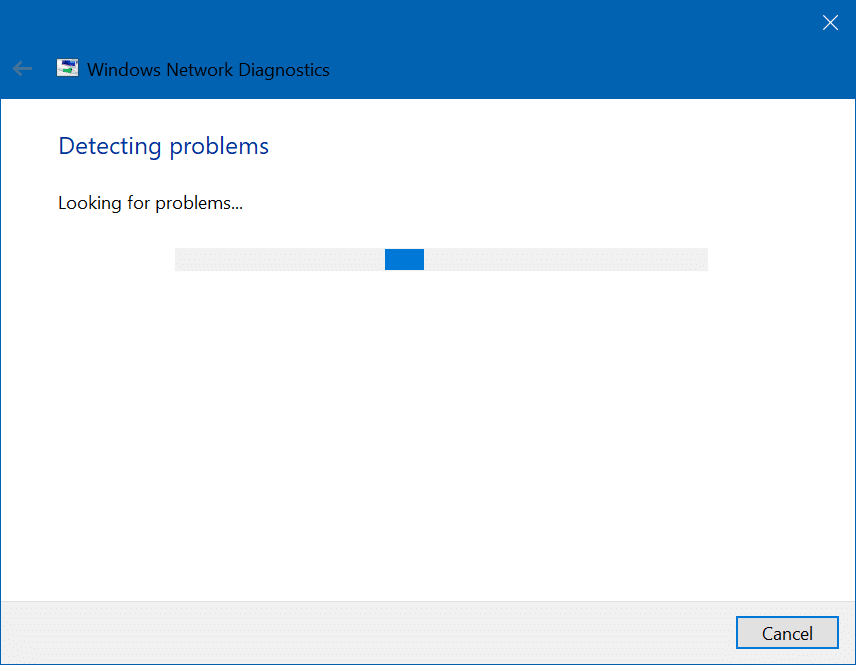
2. The Network Diagnostics window will open. Follow the on-screen instructions to run the Troubleshooter.
ວິທີທີ່ 2: ຕັ້ງຄ່າ TCP / IP
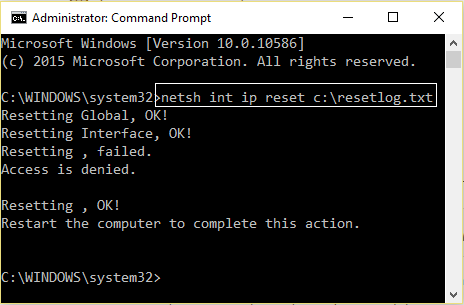
1. Right-click on the Windows button and select “Command Prompt(Admin).”

2. ພິມຄໍາສັ່ງຕໍ່ໄປນີ້: netsh int ip reset c:resetlog.txt
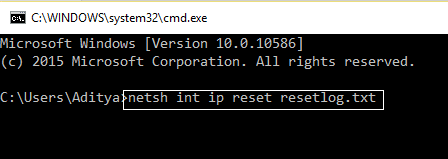
3. If you don’t want to specify the directory path then use this command: netsh int ip reset resetlogtxt
4. Reboot PC ໄດ້.
ວິທີທີ 3: ປ່ຽນການຕັ້ງຄ່າ Bitdefender firewall (ຫຼື Antivirus Firewall ຂອງທ່ານ)
1. Open Settings of Bitdefender Internet Security and choose ໄຟວໍ.
2. ກົດທີ່ປຸ່ມ“ຕັ້ງຄ່າຂັ້ນສູງປຸ່ມ”.
3. Make sure that “ເປີດໃຊ້ການແບ່ງປັນການເຊື່ອມຕໍ່ອິນເຕີເນັດ” ຖືກກວດສອບ.
ຫມາຍເຫດ: If you don’t have the above setting then disable “Block Internet Connection Sharing” instead of above.
4. Click the OK button to save changes.
5. And if it doesn’t work try disabling your Antivirus Firewall and enabling Windows Firewall.
For maximum people changing firewall settings fixes the limited access or no connectivity WiFi problem, but if it didn’t work for you don’t lose hope we still have a long way to go, so follow the next method.
Method 4: Change adapter settings
1. Open the Bitdefender, then select Protection module ແລະຄລິກໃສ່ Firewall feature.
2. Make sure the Firewall is turned ON and then go to the Adapters tab and perform the following changes:
Set Network type to "Home/Office"
Set Stealth Mode to "Off"
Set Generic to "On"
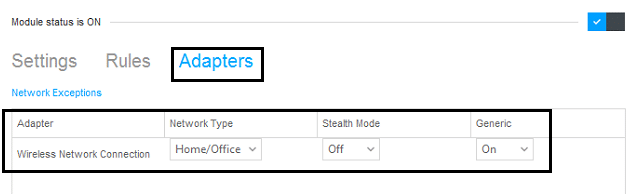
3. Restart your PC to apply these changes.
Method 5: Wake up your Wi-Fi Adapter
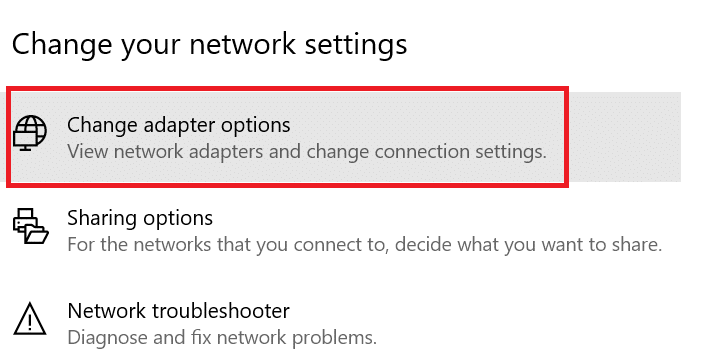
1. ສິດຄລິກ on the network icon in the notification area and select ເປີດ Network & Internet Settings.

2 ພາຍໃຕ້ ປ່ຽນການຕັ້ງຄ່າເຄືອຂ່າຍຂອງທ່ານ, ໃຫ້ຄລິກໃສ່ Change Adapter Options.
3. ຄລິກທີ່ຂອງເຈົ້າ ເຄືອຂ່າຍ WiFi ແລະເລືອກເອົາ ຄຸນສົມບັດ.
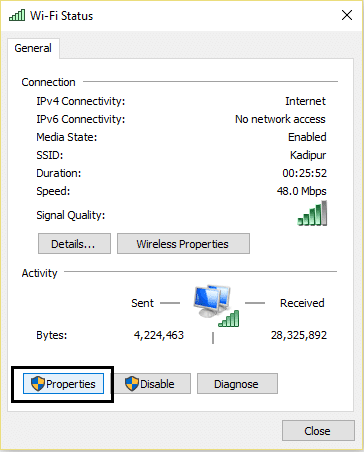
4. Now in ຄຸນສົມບັດ WiFi ໃຫ້ຄລິກໃສ່ ຕັ້ງຄ່າ.
5. Go to the Power Management tab and uncheck “ອະນຸຍາດໃຫ້ຄອມພິວເຕີປິດອຸປະກອນນີ້ເພື່ອປະຢັດພະລັງງານ."
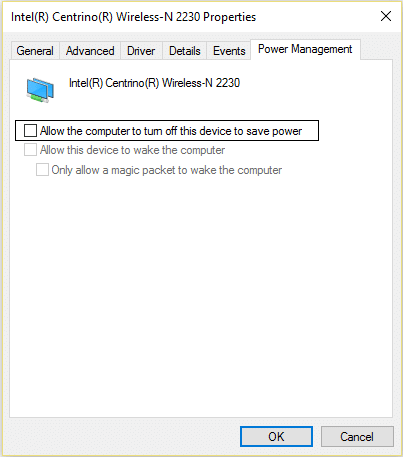
6. reboot ຄອມພິວເຕີຂອງທ່ານ.
ວິທີທີ່ 6: ໃຊ້ Google DNS
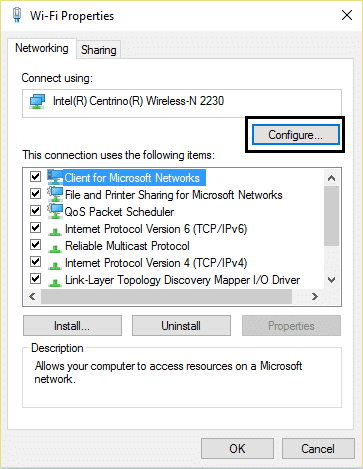
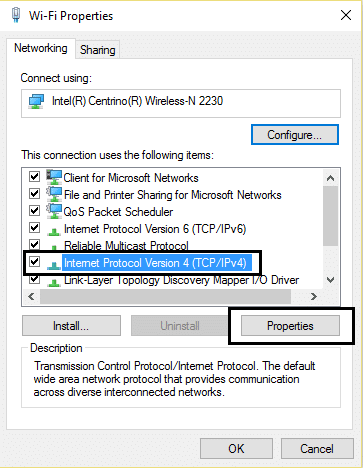
1. Again go to your Wi-Fi properties.
2. ດຽວນີ້ເລືອກ Internet Protocol Version 4 (TCP / IPv4) ແລະຄິກ ຄຸນສົມບັດ.
3. Check the box saying “ໃຊ້ທີ່ຢູ່ຂອງເຊີບເວີ DNS ຕໍ່ໄປນີ້” and enter the following:
ເຊີຟເວີ DNS ທີ່ຊອບ: 8.8.8.8
ເຊີຟເວີ DNS ແທນ: 8.8.4.4
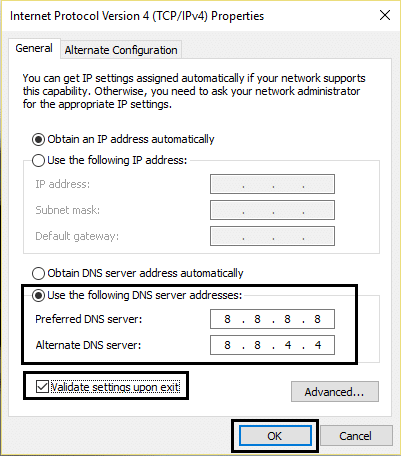
4. Click OK to save, then click close and ເລີ່ມຕົ້ນໃຫມ່ PC ຂອງທ່ານ.
Method 7: Reset TCP/IP Auto-tuning
1. Right-click on the Windows key and select “Command Prompt (Admin)."
2. Type the following commands:
netsh int tcp ຕັ້ງ heuristics disabled netsh int tcp ຕັ້ງ global autotuninglevel=disabled netsh int tcp set global rss=enabled
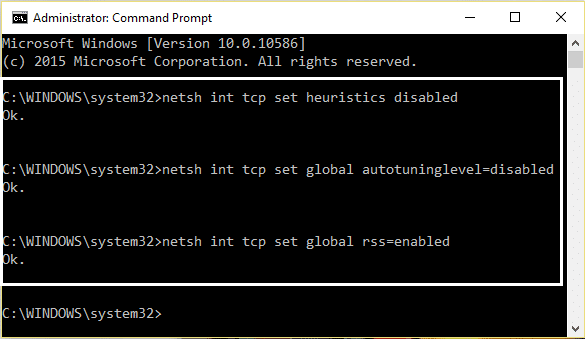
3. reboot ຄອມພິວເຕີຂອງທ່ານ.
Method 8: Enable Download over metered connections
1 ໃຫ້ຄລິກໃສ່ ປຸ່ມ Windows ແລະເລືອກເອົາ Settings
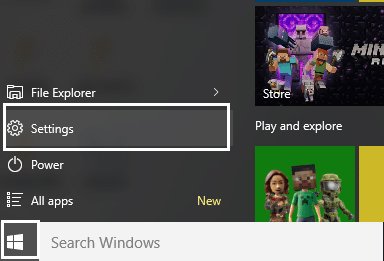
2. Now in settings click on ເຄືອຂ່າຍແລະອິນເຕີເນັດ.

3. Here you will see ຕົວເລືອກຂັ້ນສູງ, ໃຫ້ຄລິກໃສ່ມັນ.
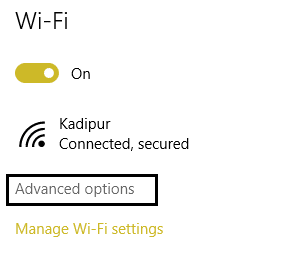
4. Make sure your Metered connection is set to ເປີດ.
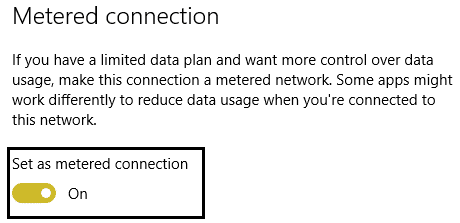
5. reboot ເພື່ອນໍາໃຊ້ການປ່ຽນແປງ.
Yeah, I admit, this is a stupid step but hey for some people it worked out so why not try it and who knows your limited access or no connectivity WiFi issues may be fixed.
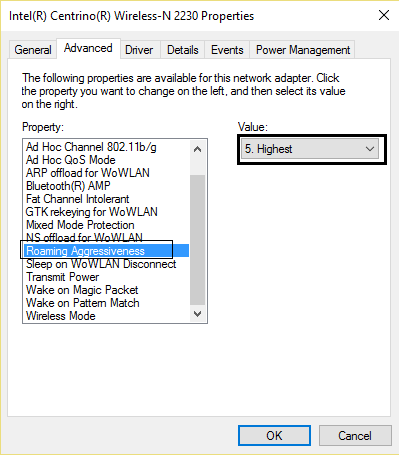
Method 9: Set Roaming Aggressiveness to Maximum
1. ສິດຄລິກ on the network icon in the notification area and select ເປີດ Network & Internet Settings.
2 ພາຍໃຕ້ ປ່ຽນການຕັ້ງຄ່າເຄືອຂ່າຍຂອງທ່ານ, ໃຫ້ຄລິກໃສ່ Change Adapter Options.
3. ໃນປັດຈຸບັນເລືອກເອົາຂອງທ່ານ Wi-Fi ແລະຄລິກໃສ່ ຄຸນສົມບັດ.
4. Inside Wi-Fi properties click on ຕັ້ງຄ່າ.
5 ທ່ອງໄປຫາ the Advanced tab ແລະຊອກຫາໄດ້ Roaming Aggressiveness ຕັ້ງ.
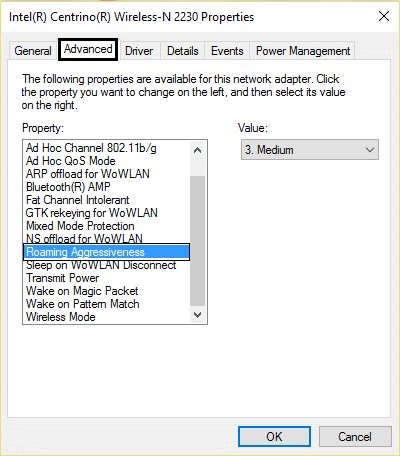
6. Change the value from Medium to Highest ແລະກົດ OK.
7. reboot ເພື່ອນໍາໃຊ້ການປ່ຽນແປງ.
ວິທີທີ່ 10: ອັບເດດໄດເວີ
1. ກົດປຸ່ມ Windows + R ແລະພິມ “devmgmtmsc” in Run dialogue box to open the ຕົວຈັດການອຸປະກອນ.

2. ຂະຫຍາຍ ອະແດບເຕີເຄືອຂ່າຍ, ຈາກນັ້ນຄລິກຂວາໃສ່ຂອງທ່ານ ຕົວຄວບຄຸມ Wi-Fi(ຕົວຢ່າງ Broadcom ຫຼື Intel) ແລະເລືອກ ອັບເດດໄດເວີ.

3. In the Update Driver Software Windows, select “ຄົ້ນຫາຄອມພິວເຕີຂອງຂ້ອຍສໍາລັບຊອບແວທີ່ຂັບຂີ່."

4. ໃນປັດຈຸບັນເລືອກ “ຂ້ອຍຂໍເອົາຈາກລາຍຊື່ຂອງຄົນຂັບອຸປະກອນໃນຄອມພິວເຕີ້ຂອງຂ້ອຍ."

5. ພະຍາຍາມ ອັບເດດໄດເວີຈາກລຸ້ນທີ່ລະບຸໄວ້.
6. If the above didn’t work then go to the ເວັບໄຊທ໌ຂອງຜູ້ຜະລິດ to update drivers: https://downloadcenter.intel.com/
7. reboot ເພື່ອນໍາໃຊ້ການປ່ຽນແປງ.
ນອກນັ້ນທ່ານຍັງອາດຈະຢາກ:
I hope by now any one of the methods must have worked for you to fix limited access or no connectivity WiFi issues. If you still have any queries regarding this guide please feel free to ask them in the comments.
![[SOLVED] keyboard has stopped working on Windows 10](https://lbsite.org/wp-content/uploads/2023/01/Solved-keyboard-has-stopped-working-on-Windows-10.png "[SOLVED] keyboard has stopped working on Windows 10")
