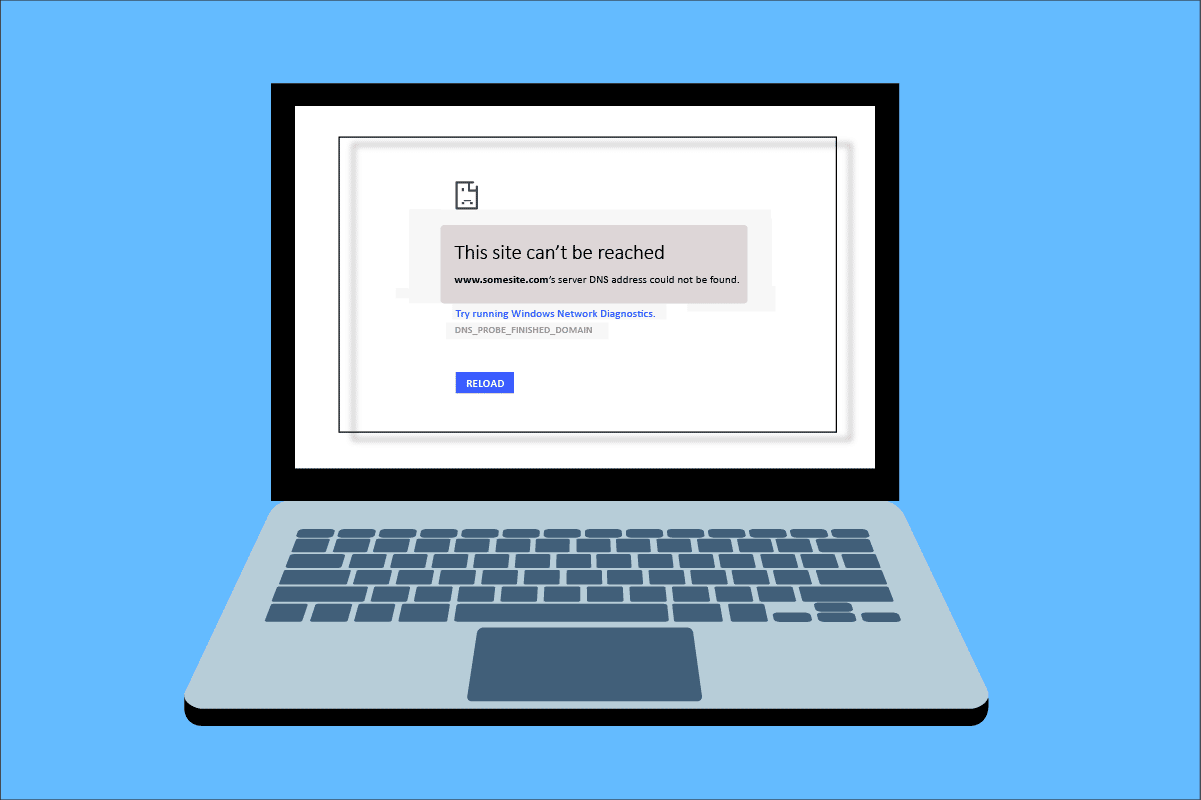
While surfing internet in your browser, you may face Server IP address could not be found error. This is a common issue for the Google Chrome users. We bring to you a helpful guide that will fix server IP address could not be found error on Windows 10. So, continue reading!
How to Fix Server IP Address Could Not be Found on Windows 10
One of the most popular web browser is Google Chrome. However if you are facing the error while browsing in the Chrome browser, then do not worry! This issue may be caused due to various reasons like;
- ການເຊື່ອມຕໍ່ອິນເຕີເນັດບໍ່ສະຖຽນ
- Corrupt Browser Cache and Cookies
- Incorrect IP Address
- Corrupt DNS Cache
- Outdated Network Drivers
Here, we have listed all possible methods to fix the said issue on Windows 10.
Method 1: Troubleshoot Network Adapter
The said issue may occur due to your network error. You can run the network adapter troubleshooter to fix any errors with your network adapter. Read our guide to troubleshoot network connectivity on Windows 10.

ວິທີທີ່ 2: Clear Browser Cache
The cache files in your web browser may get corrupt. You can try to clear the cache and cookies of your browser and try to check if the error still persists or not. Follow these steps to clear browser cache.
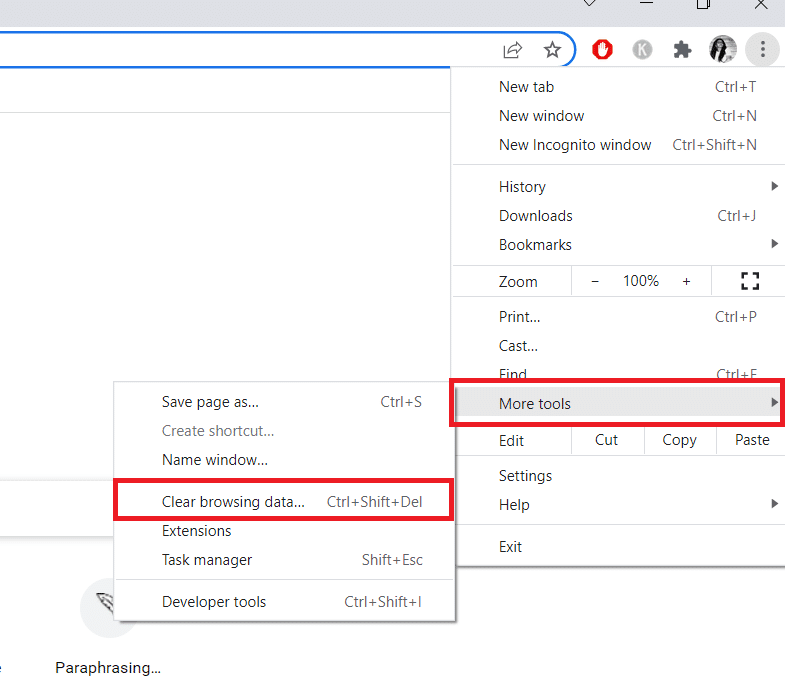
1. ເປີດຕົວ Chrome browser from Windows search bar as shown.

2. ໃນປັດຈຸບັນ, ໃຫ້ຄລິກໃສ່ ໄອຄອນສາມຈຸດ ຢູ່ແຈຂວາເທິງ.
3. ທີ່ນີ້, ໃຫ້ຄລິກໃສ່ More tools ທາງເລືອກ.
4. ຕໍ່ໄປ, ໃຫ້ຄລິກໃສ່ ລຶບການທ່ອງເວັບ ຂໍ້ມູນ... ທາງເລືອກ.
ຫມາຍເຫດ: ທ່ານສາມາດພິມໄດ້ chrome: // settings / clearBrowserData in the search bar to launch the browser history page directly.
5. ໃນທີ່ນີ້, ເລືອກເອົາ ຊ່ວງເວລາ in the next window. Check the boxes marked:
- ຄຸກກີ້ແລະຂໍ້ມູນໃນເວັບໄຊອື່ນໆ ແລະ
- ຮູບພາບທີ່ເກັບໄວ້ໃນແຟ້ມແລະໄຟລ໌ຕ່າງໆ.
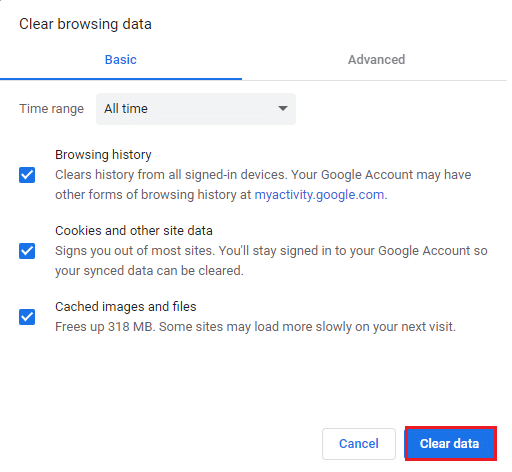
6. ສຸດທ້າຍ, ໃຫ້ຄລິກໃສ່ ຂໍ້ມູນທີ່ຈະແຈ້ງ.
ຍັງອ່ານ: Fix This Plugin is Not Supported error in Chrome
Method 3: Clear DNS Cache
You can try to clear the DNS cache to fix server IP address could not be found error. Follow our guide to flush and reset the DNS cache in Windows 10.
Method 4: Release and Renew IP Address
Here are the steps to release and renew the IP address.
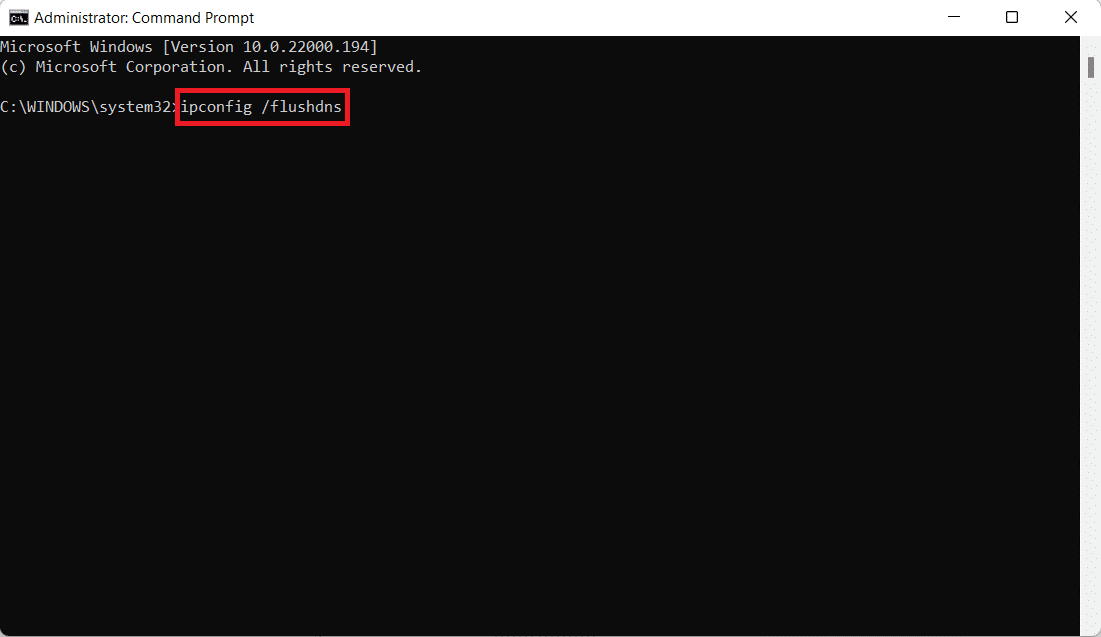
1. ຕີໄດ້ ປຸ່ມ Windows, ປະເພດ Command Prompt, ແລະກົດເຂົ້າ ດໍາເນີນການເປັນຜູ້ເບິ່ງແຍງ.

2. Firstly you should flush the DNS cache as shown in Method 2.
3. Once the above process is complete, type ipconfig / release ແລະກົດປຸ່ມ ກະລຸນາໃສ່ ທີ່ສໍາຄັນ.

4. ຫຼັງຈາກນັ້ນ, ພິມ ipconfig / renew ແລະມົນຕີ ກະລຸນາໃສ່ to renew your IP.

ຍັງອ່ານ: Fix No WiFi Networks Found in Windows 10
ວິທີການ 5: ປ່ຽນທີ່ຢູ່ DNS
Incorrect DNS address also cause this said Chrome error. You can change your DNS address to fix the error. Follow the given steps to change DNS address.
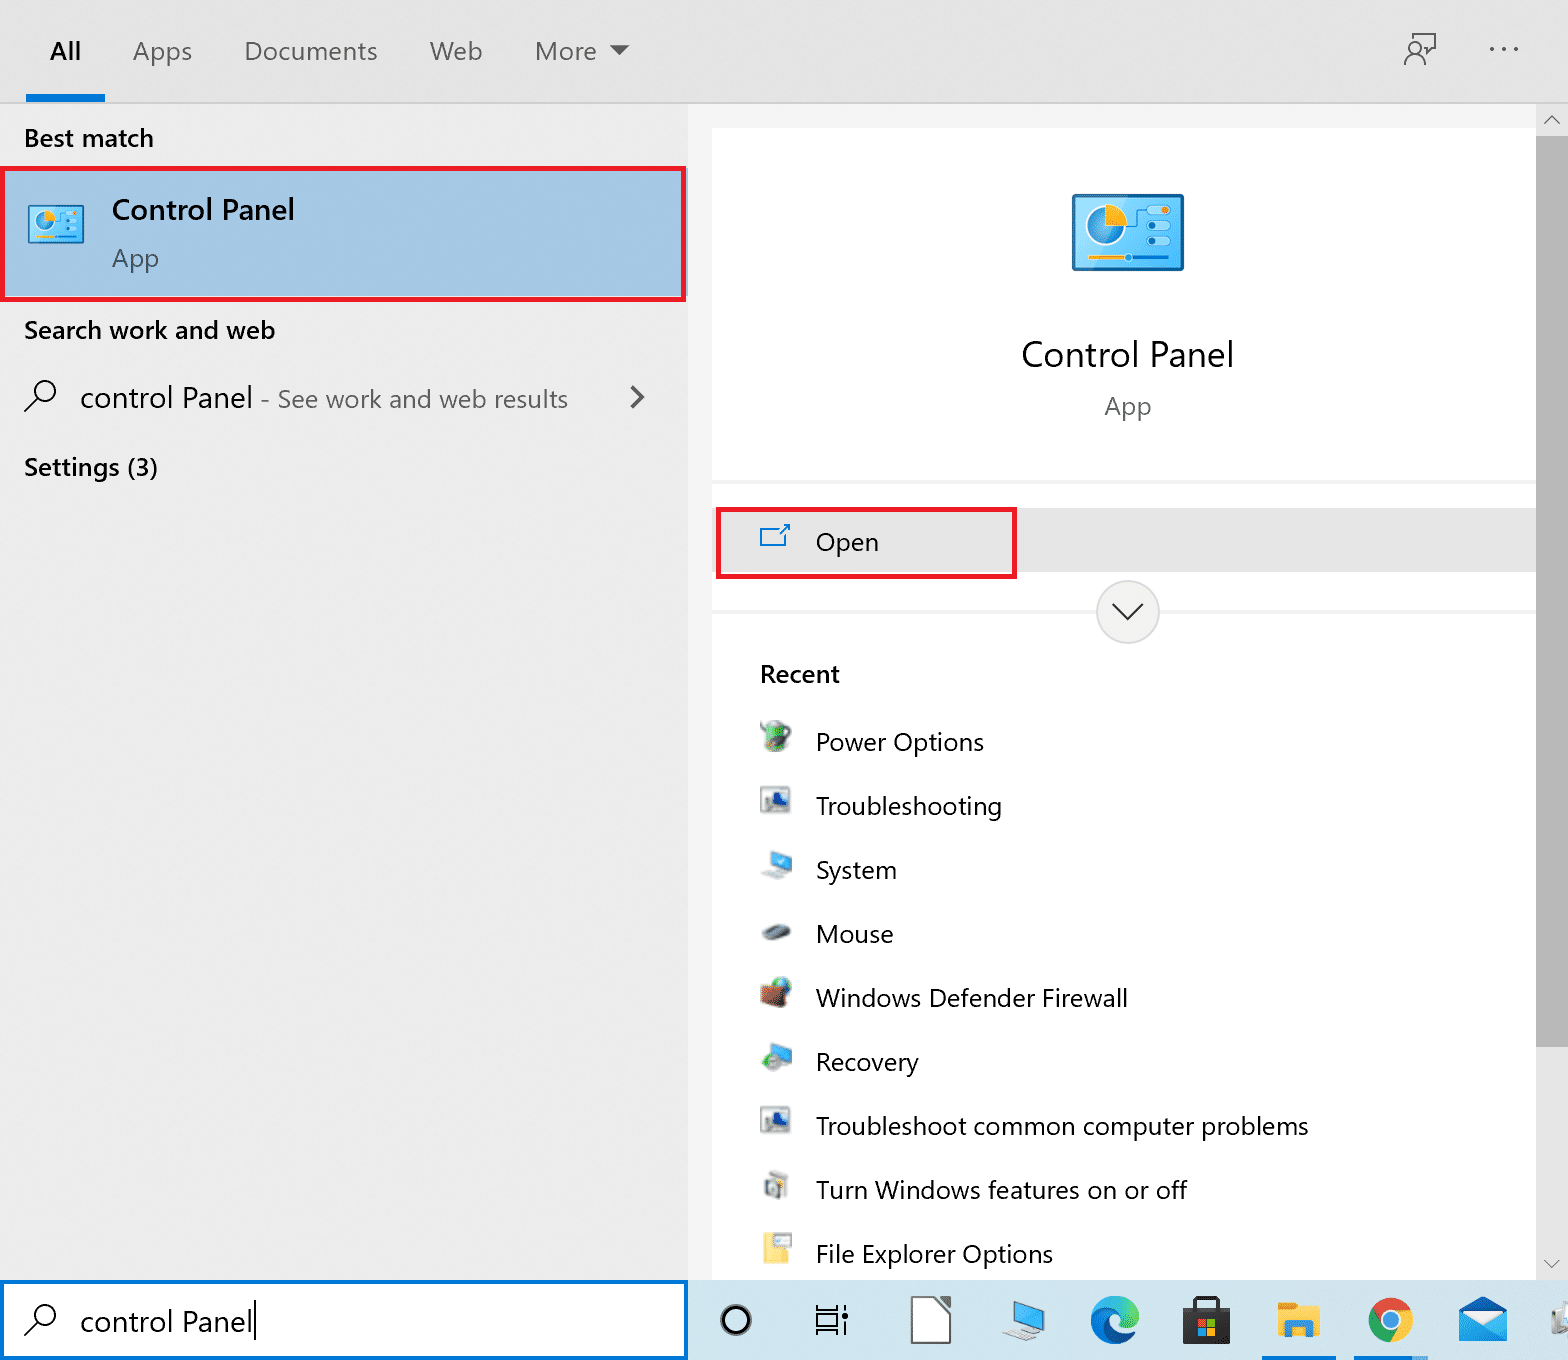
ກົດປຸ່ມ ປຸ່ມ Windows, ປະເພດ ກະດານການຄວບຄຸມ ແລະຄລິກໃສ່ ເປີດ.
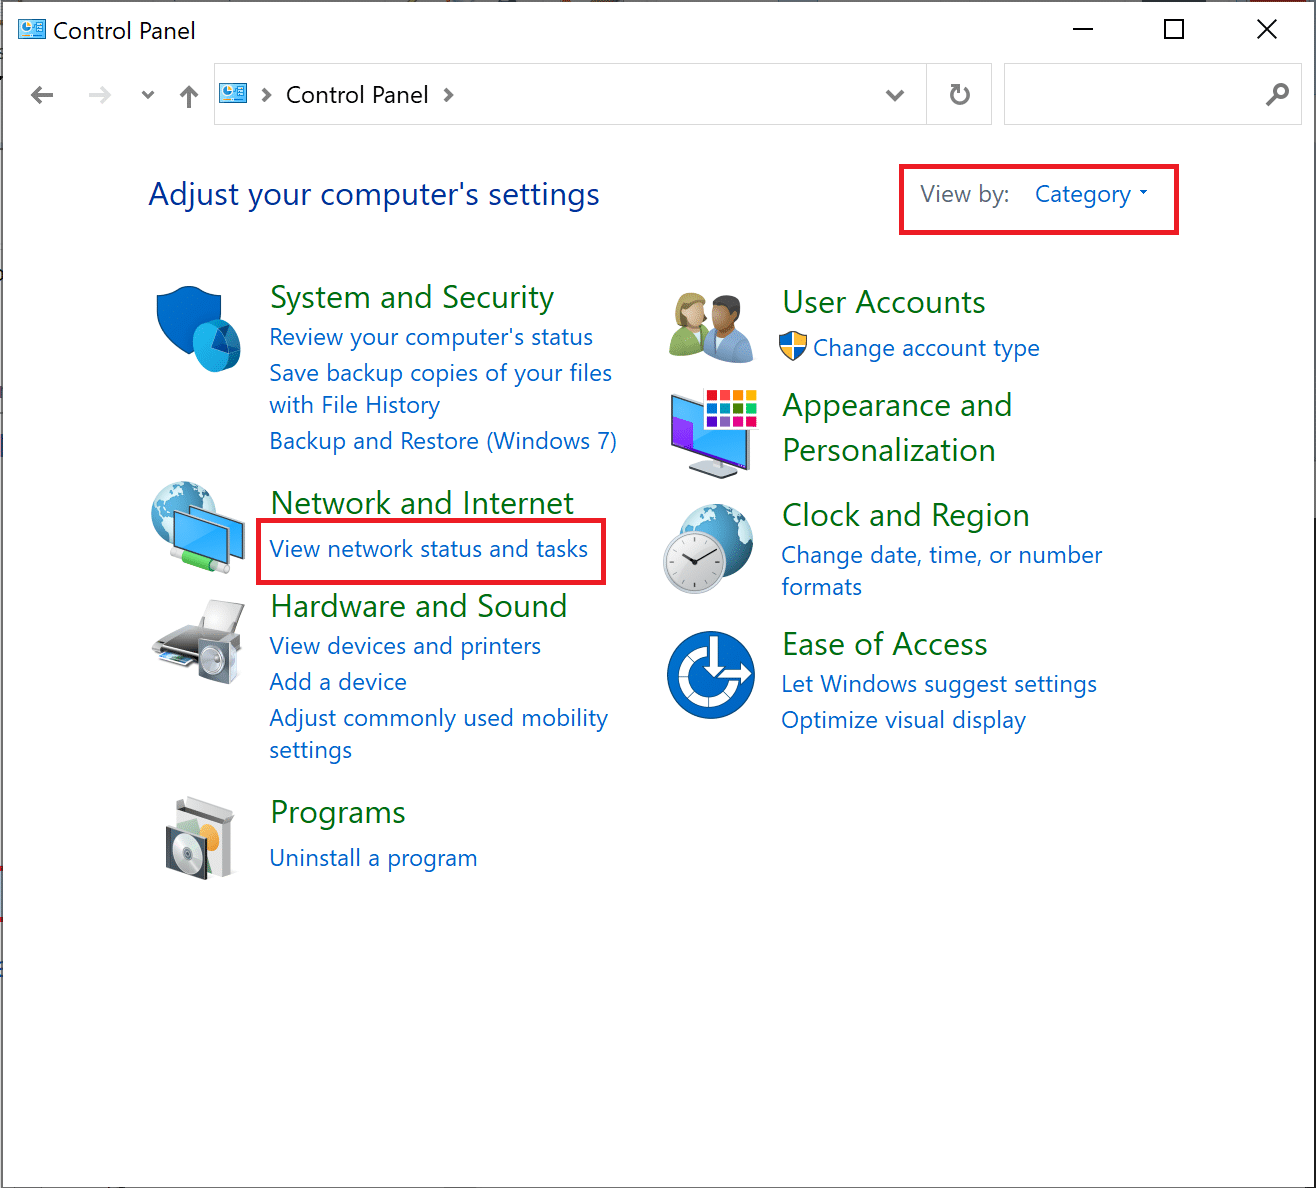
2. ຕັ້ງ ເບິ່ງໂດຍ > ປະເພດ ແລະຄລິກໃສ່ ເບິ່ງສະຖານະແລະ ໜ້າ ວຽກຂອງເຄືອຂ່າຍ.
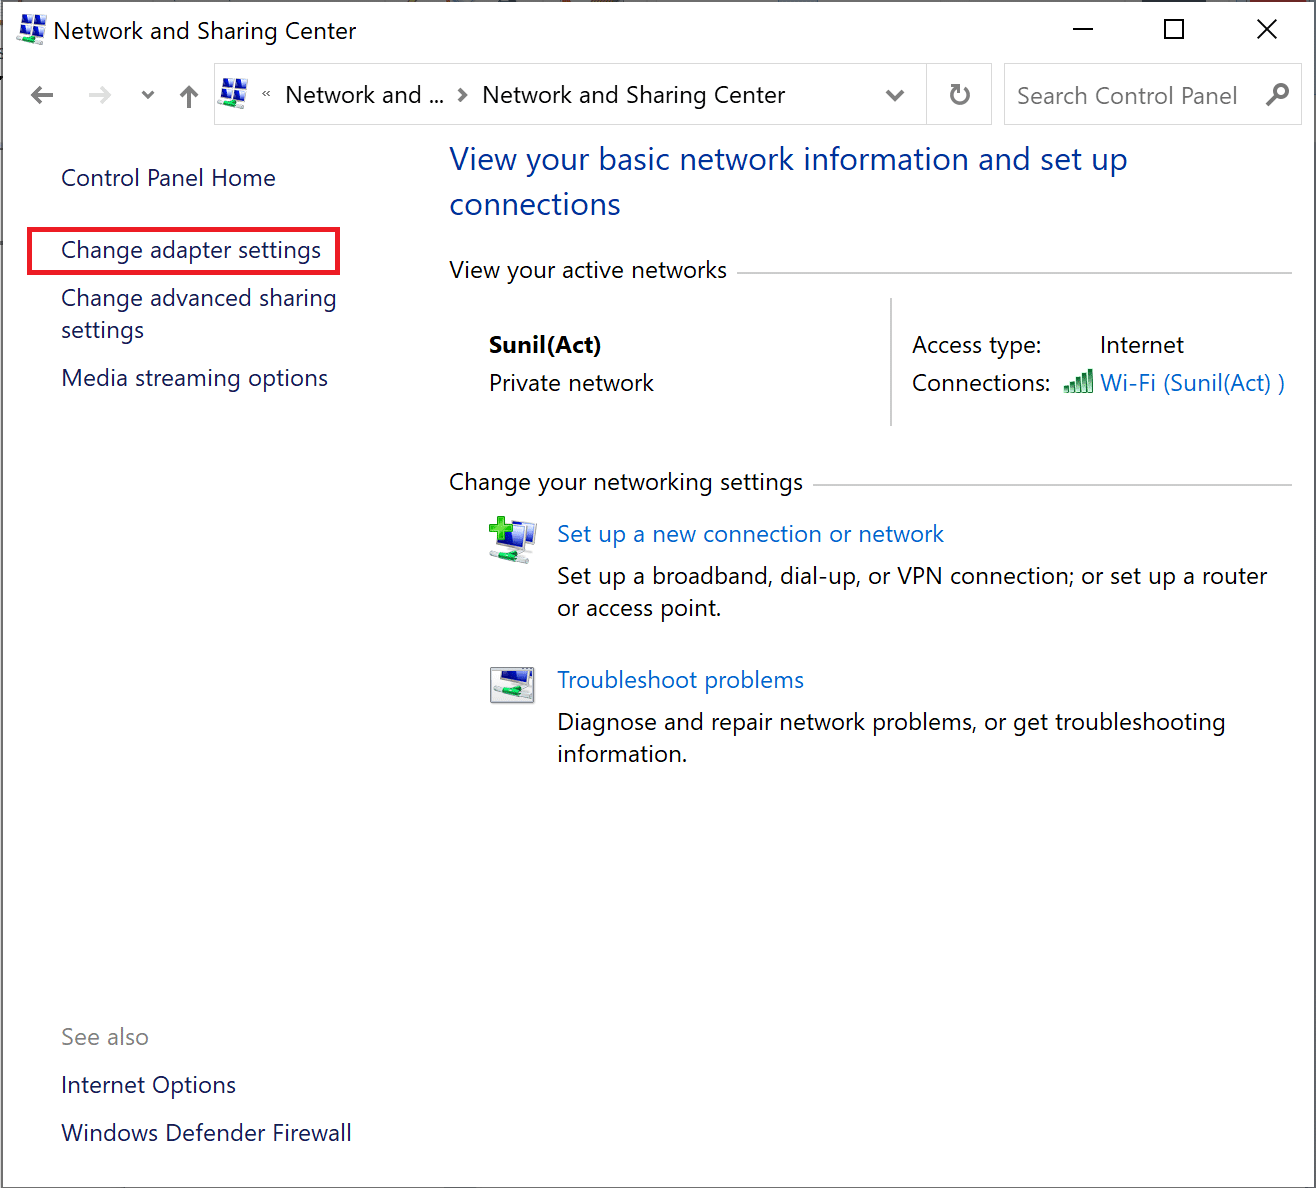
3. ໃນປັດຈຸບັນ, ໃຫ້ຄລິກໃສ່ ປ່ຽນການຕັ້ງຄ່າອະແດບເຕີ option at the left sidebar.
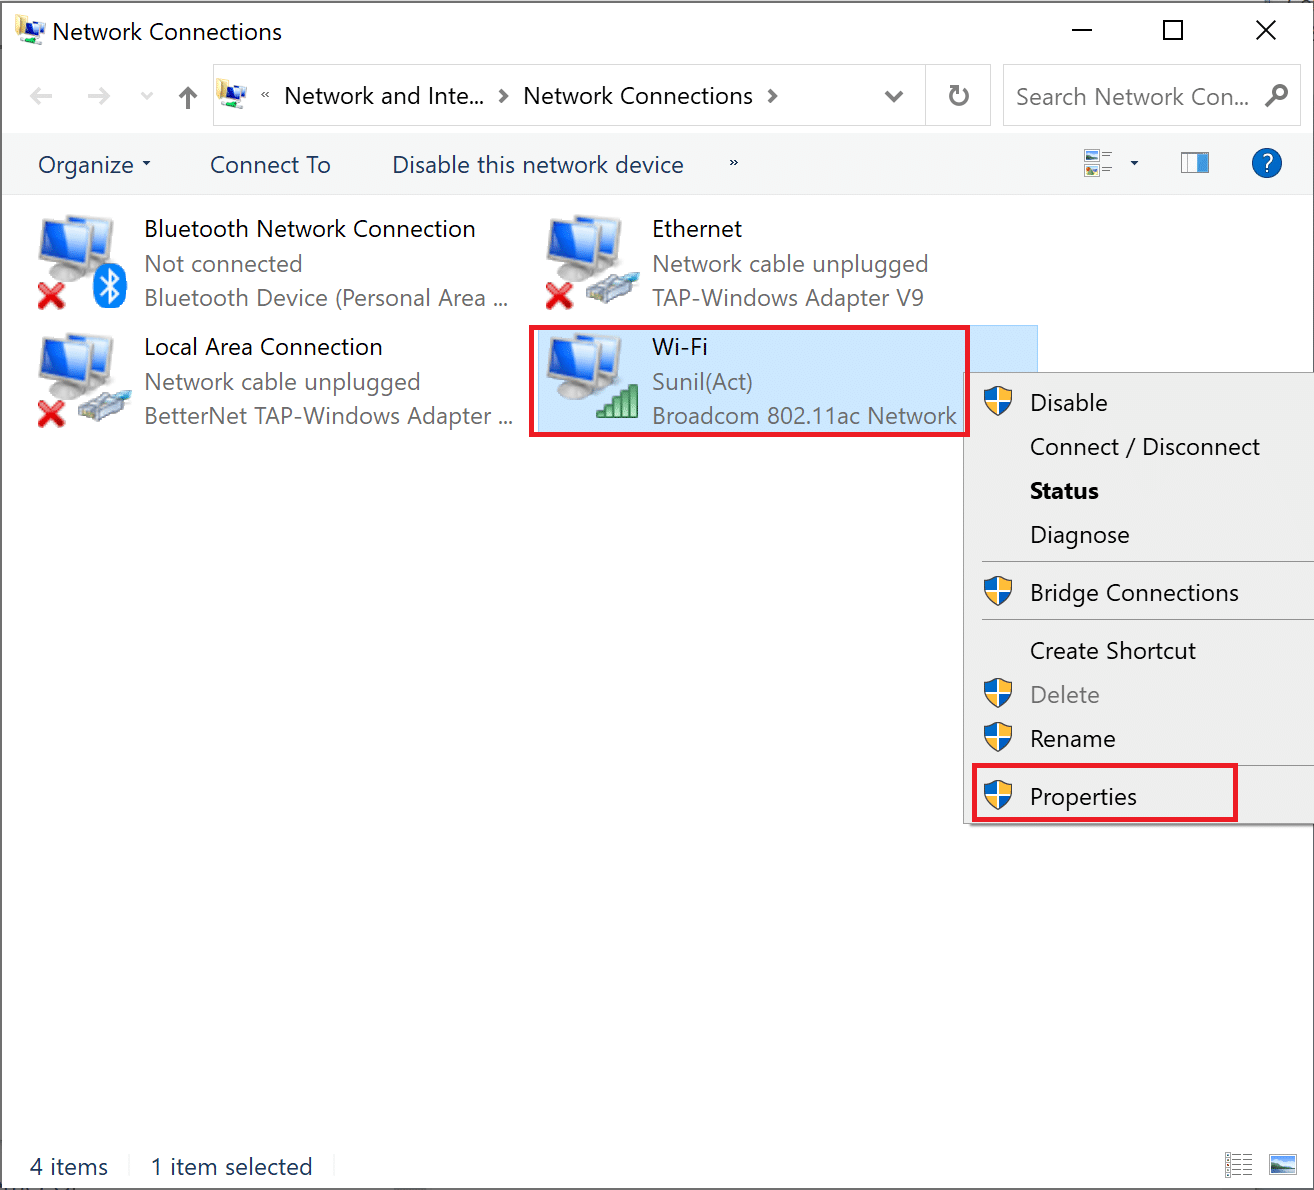
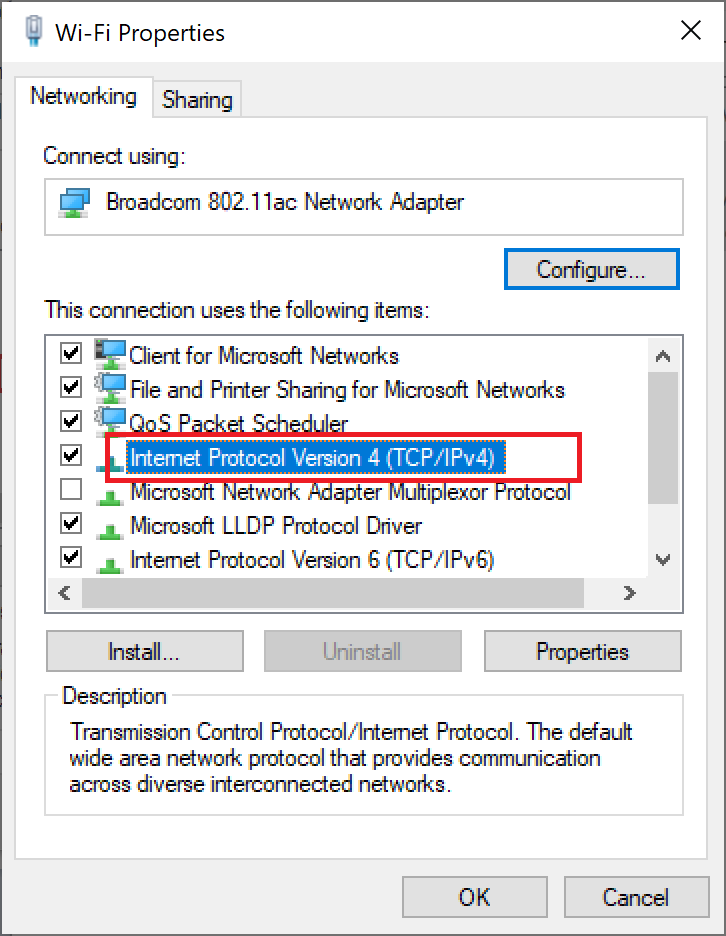
4. Next, right-click on your currently active internet connection and select ອະສັງຫາ, ດັ່ງທີ່ເນັ້ນໃຫ້ເຫັນ.
5. In the Properties window, double-click on Internet Protocol Version 4 (TCP / IPv4).
6. Next, check the options titled ໄດ້ຮັບທີ່ຢູ່ IP ໂດຍອັດຕະໂນມັດ ແລະ ໃຊ້ທີ່ຢູ່ຂອງເຊີບເວີ DNS ຕໍ່ໄປນີ້, ດັ່ງທີ່ເນັ້ນໃຫ້ເຫັນ.
6a. For the Preferred DNS server, enter the Google Public DNS address as: 8.8.8.8
6b. And, In the ເຊີຟເວີ DNS ສຳ ຮອງ, enter the other Google Public DNS as: 8.8.4.4
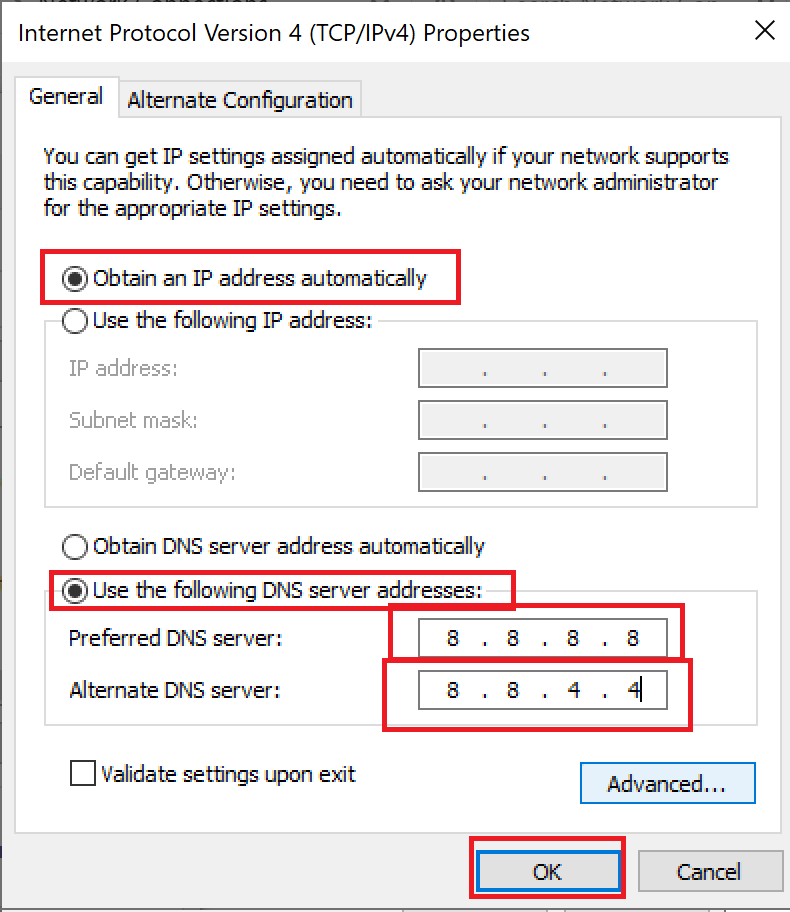
7. ສຸດທ້າຍ, ກົດເຂົ້າ OK to save the changes and reboot PC ໄດ້.
Method 6: Restart DNS Cache
You can follow these steps to restart DNS cache.
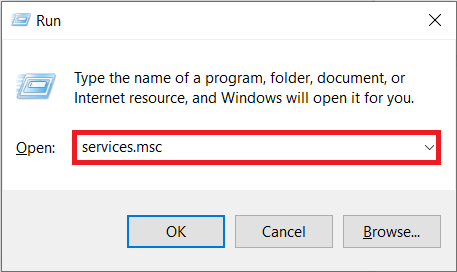
ກົດປຸ່ມ ປຸ່ມ Windows + R ຮ່ວມກັນເພື່ອເປີດ ການດໍາເນີນງານ ກ່ອງໂຕ້ຕອບ
2. Then type servicesmsc ແລະກົດປຸ່ມ ໃສ່ລະຫັດ ເພື່ອເປີດ ບໍລິການ window.
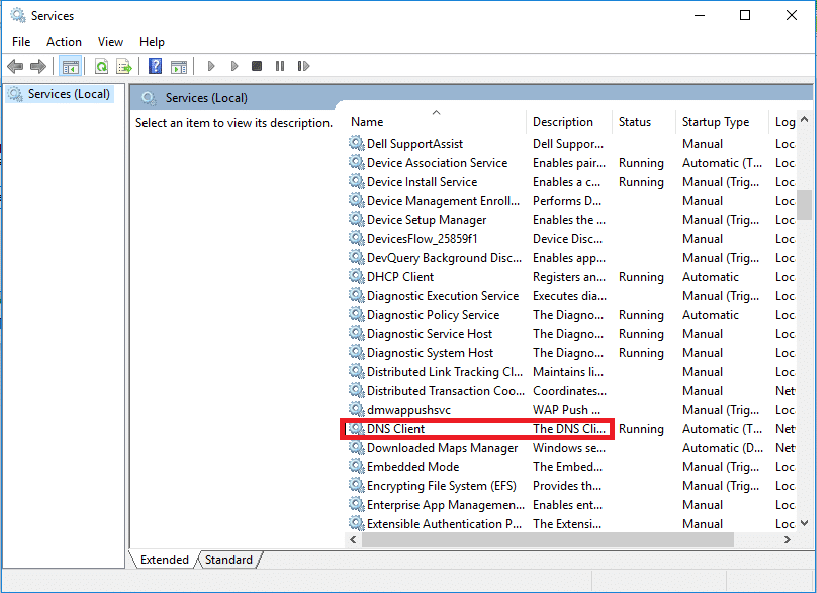
3. Right-click on ລູກຄ້າ DNS ແລະເລືອກເອົາ ເລີ່ມຕົ້ນໃຫມ່.
ຫມາຍເຫດ: If you find no restart option and unable to restart it from this method, you do not need to worry. You just need to open an elevated Command Prompt on your system.
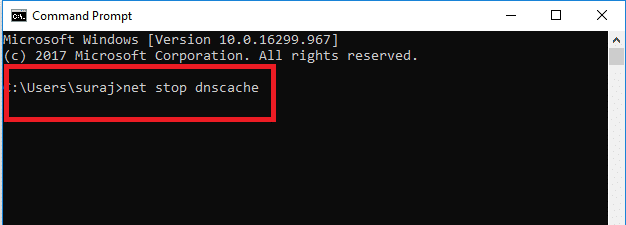
4. ພິມຕໍ່ໄປນີ້ ຄໍາສັ່ງ ແລະກົດປຸ່ມ ໃສ່ລະຫັດ.
dnscache ຢຸດສຸດທິ
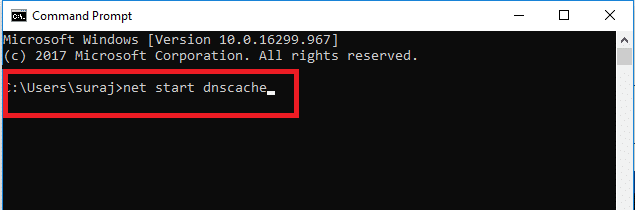
5. To start it again, type the given ຄໍາສັ່ງ ແລະມົນຕີໄດ້ ໃສ່ລະຫັດ.
ເລີ່ມຕົ້ນ dnscache
ຍັງອ່ານ: How to Reset Network Settings on Windows 10
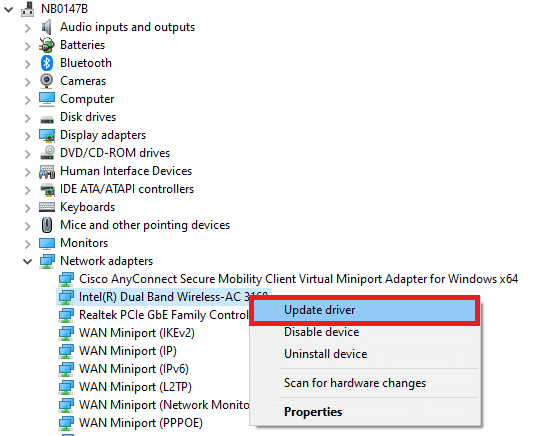
Method 7: Update Network Driver
Outdated network drive also can cause server IP address could not be found error. If you do not have the latest driver versions installed, then this may create bugs and can result in the unstable network connection. So, updating your network driver is necessary for a good network connection. Read our guide to update network drivers on Windows 10.
Method 8: Verify Proxy Settings
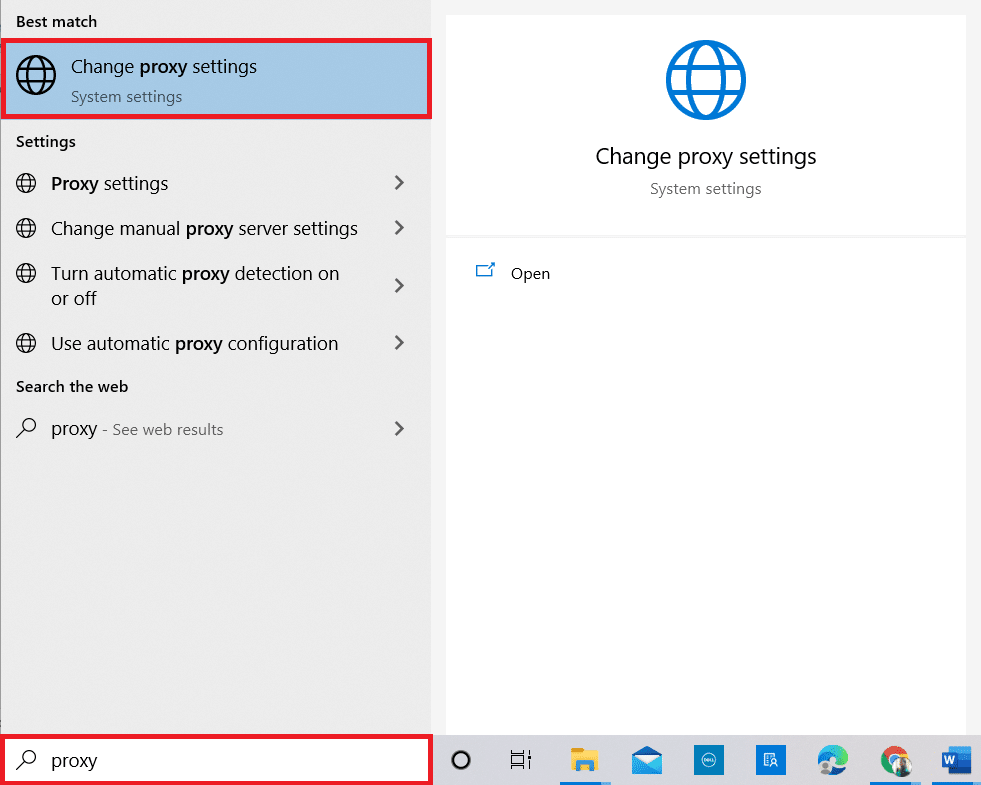
If you are using a proxy server, then using a particular proxy can create issues with your internet. You can change your proxy server to solve this problem. Follow the steps listed below to verify proxy settings.
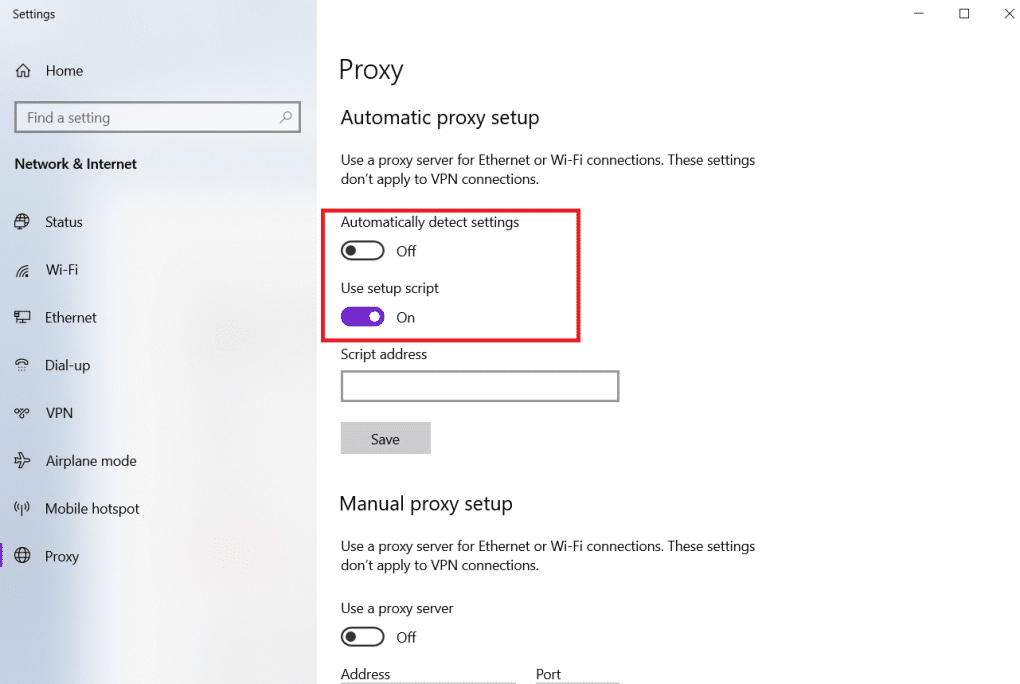
1. ຕີໄດ້ ປຸ່ມ Windows ແລະປະເພດ proxy ແລະຄລິກໃສ່ ປ່ຽນການຕັ້ງຄ່າຕົວແທນ ຈາກຜົນການຄົ້ນຫາ.
2. Here, switch on the toggle for ກວດສອບການຕັ້ງຄ່າໂດຍອັດຕະໂນມັດ.
ແນະນໍາໃຫ້:
We hope that you learned how to fix server IP address could not be found on Windows 10. Feel free to reach out to us with your queries and suggestions via the comments section below. Let us know what you want to learn about next.

