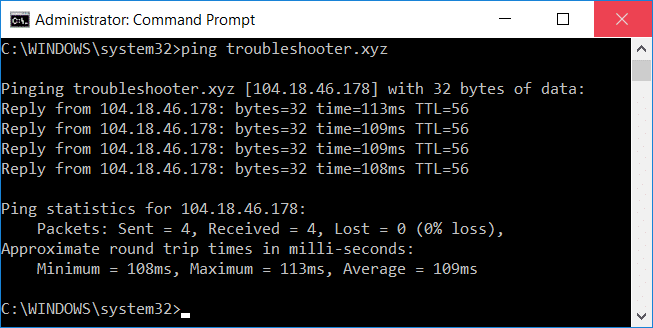
Fix High Ping on Windows 10: It becomes really irritating for online gamers who use the internet for playing games to have a high ping on your system. And having a high ping is definitely not good for your system and while playing online having high ping doesn’t help at all. Sometimes, you will get such pings when you have high configuration system. Ping can be defined as the computational speed of your connection or, more particularly, the Latentinis laikas of its connection. If you facing problems while playing the game due to the interruption of such above-mentioned issue, here is an article for you that will show some methods through which you can reduce ping latency on your Windows 10 system.
5 būdai, kaip ištaisyti „High Ping“ sistemoje „Windows 10“.
Būtinai sukurkite atkūrimo tašką, jei kas nors nutiktų.
Method 1: Disable Network Throttling using Registry
1.Press Windows Key + R to open Run then type regedit ir paspauskite Enter, kad atidarytumėte Registro redaktorius.

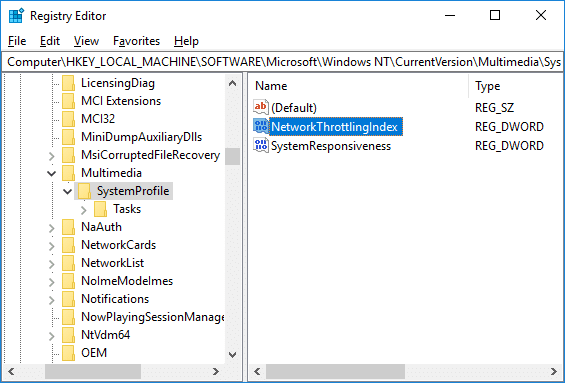
2. Eikite į šį registro raktą:
HKEY_LOCAL_MACHINESOFTWAREMicrosoftWindows NTCurrentVersionMultimediaSystemProfile
3. Pasirinkite Sistemos profilis then in the right window pane double-click on “NetworkThrottlingIndex".
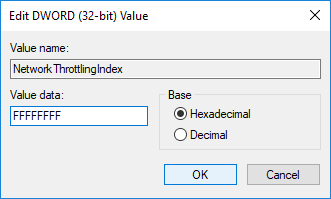
4.First, make sure the Base is selected as “Šešioliktainis” then in the value data field type “FFFFFFFF“Ir spustelėkite Gerai.
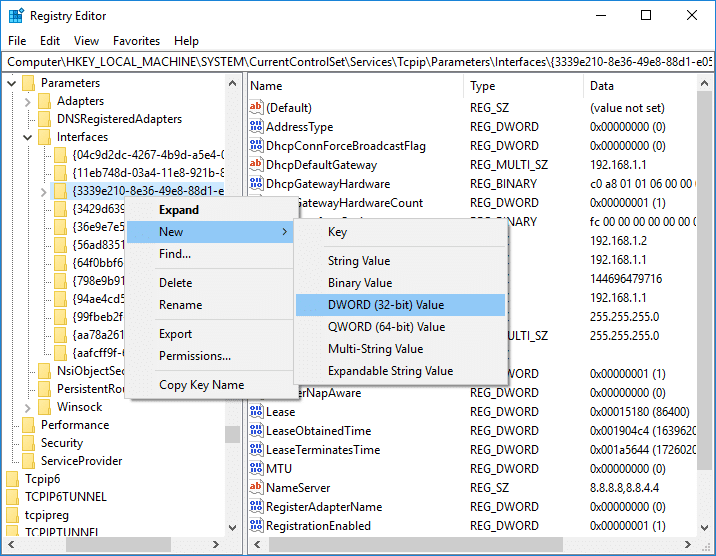
5. Dabar eikite į šį registro raktą:
HKEY_LOCAL_MACHINESYSTEMCurrentControlSetServicesTcpipParameters sąsajos
6.Here you need to select a raktą (folder) which represents your tinklo prisijungimas. To identify the correct folder you need to check the subkey for your IP address, gateway, etc information.

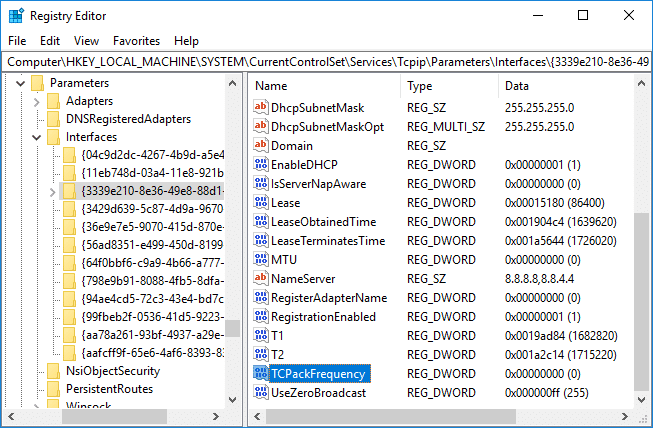
7.Now right-click on the above subkey then select Nauja > DWORD (32 bitų) reikšmė.
8.Name this newly created DWORD as “TCPackFrequency” and hit Enter.
9.Similarly, again create a new DWORD and name it as “TCPNoDelay".
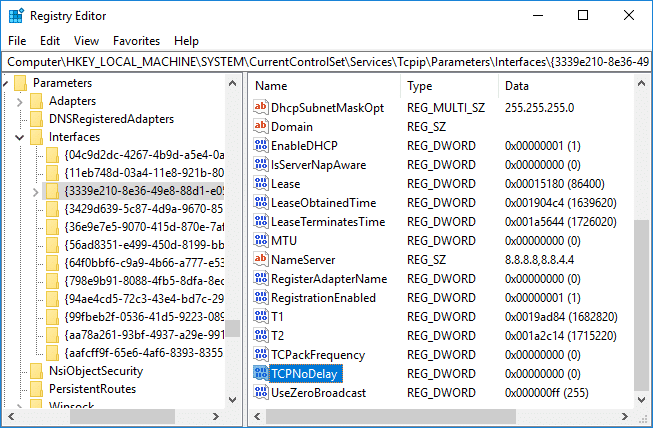
10.Set the Value of both “TCPackFrequency” & “TCPNoDelay” DWORD to 1 & click OK to save changes.

11. Toliau eikite į šį registro raktą:
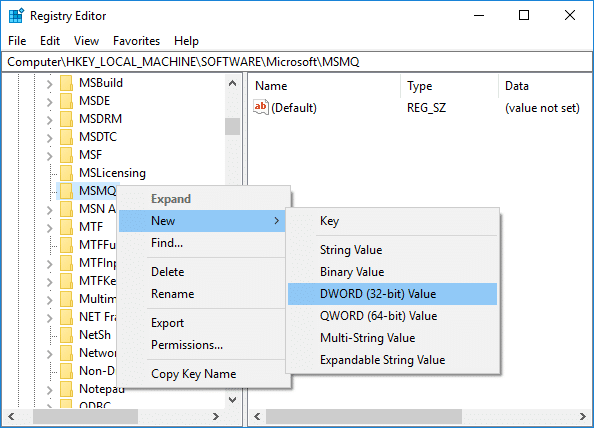
HKEY_LOCAL_MACHINESOFTWAREMicrosoftMSMQ
12.Right-click on MSMQ then select Nauja > DWORD (32 bitų) reikšmė.
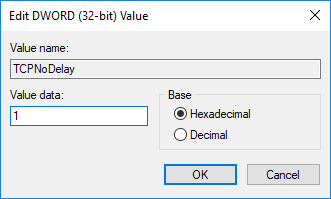
13.Name this DWORD as “TCPNoDelay” and hit Enter.
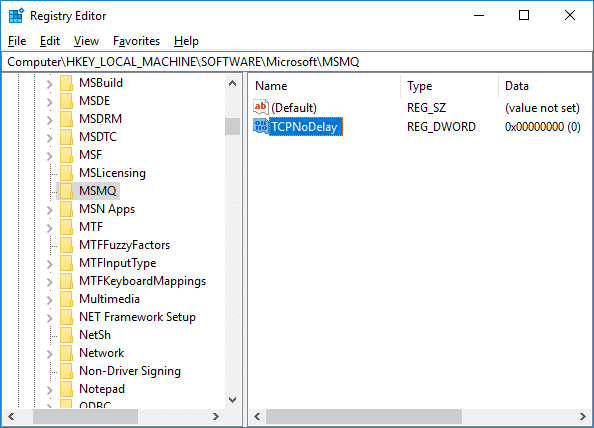
14.Double-click on “TCPNoDelay” then set the value as 1 pagal vertė data field and click OK.
15.Išskleisti MSMQ key and make sure it has Parametrai raktas.
16.If you can’t find Parametrai folder then right-click on MSMQ & pasirinkite Naujas > Raktas.
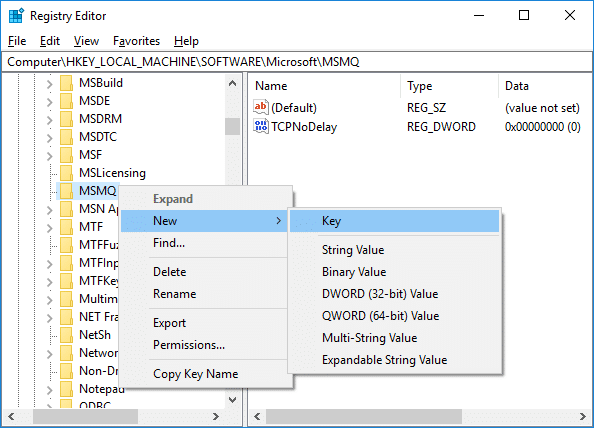
17. Pavadinkite šį raktą kaip Parametrai & hit Enter.
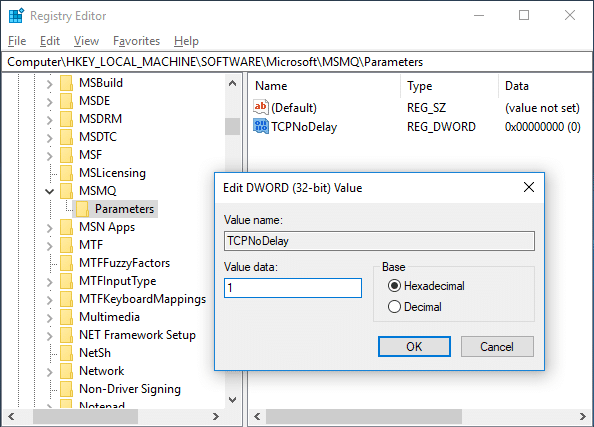
18. Dešiniuoju pelės mygtuku spustelėkite Parametrai & pasirinkite Nauja > DWORD (32 bitų) reikšmė.
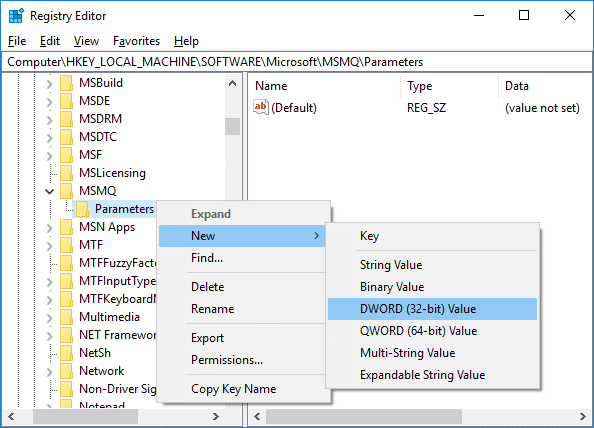
19.Name this DWORD as “TCPNoDelay” and set it’s value to 1.
20.Click OK to save changes and reboot your PC.
Method 2: Disable Apps with High Network Usage using Task Manager
Usually, Windows 10 permits its users to observe which applications are employing or eating up the most network bandwidth in the background.
1. Paspauskite Ctrl + Shift + Esc klavišus kartu atidaryti Užduočių vadovas.

2. Spustelėkite „Daugiau informacijos” to expand Task Manager.
3.You can sort the “tinklas” column of Task Manager in descending order which will allow you to see those applications which are taking the most bandwidth.
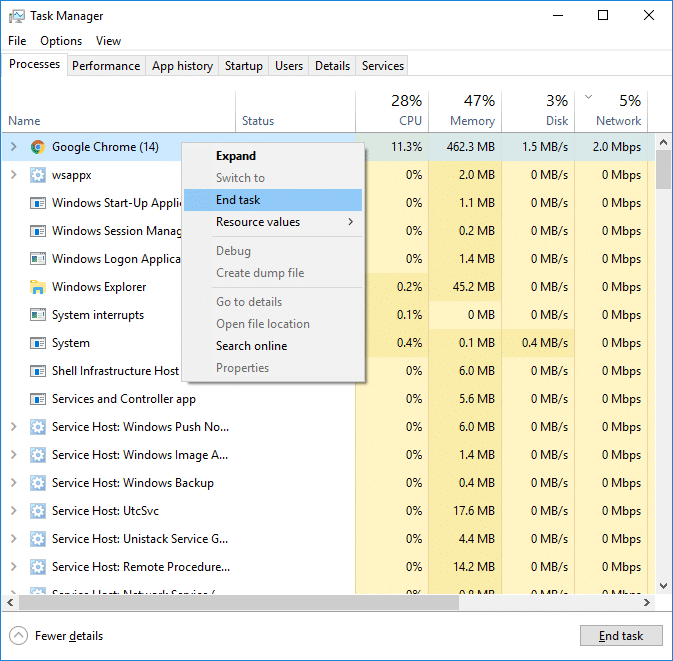
4.Close those applications Tai turi eating a high amount of bandwidth,
Pastaba: Don’t close the processes which are a system process.
Method 3: Disable Windows Auto-Updates
Windows usually download system updates with no notification or permission. Hence it may eat up your internet with high ping & slow your game. That time you cannot hiatus an update which has already started; & may ruin your online game experience. So you can stop your Windows update so that it doesn’t eat up your internet bandwidth.
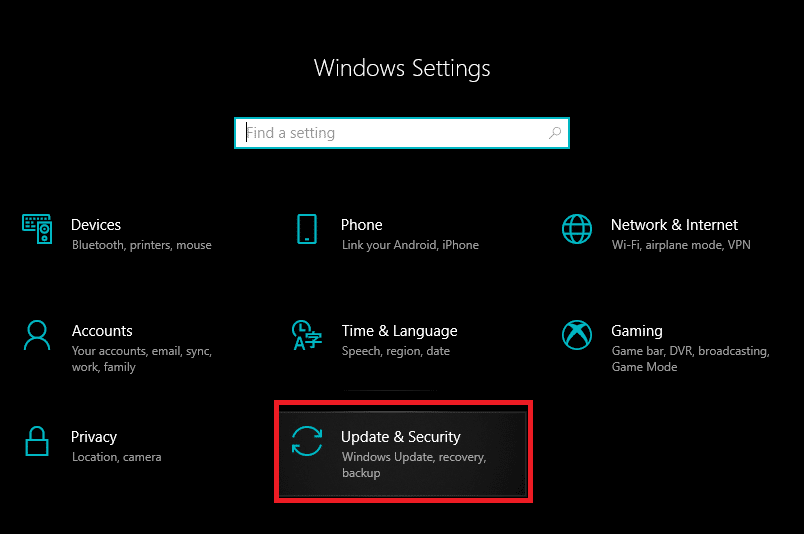
1.Press Windows Key + I to open Settings then click on “Atnaujinimas ir sauga“Piktogramą.
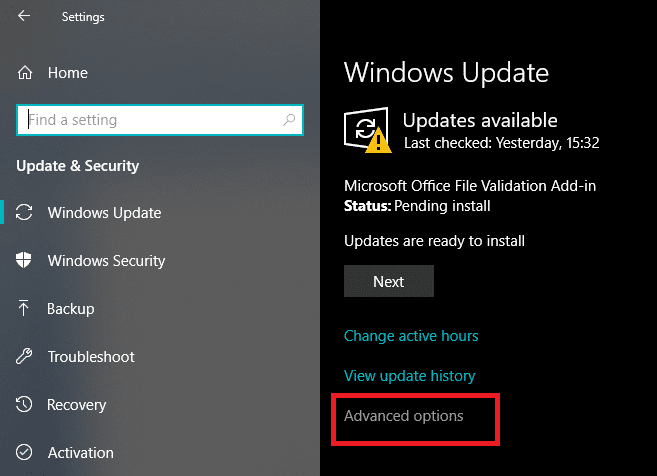
2.From the left-hand window select “"Windows" naujinimo".
3.Now under Windows Update click on “pažangus" galimybės.
4.Now look for “Pristatymo optimizavimas” option & click on it.

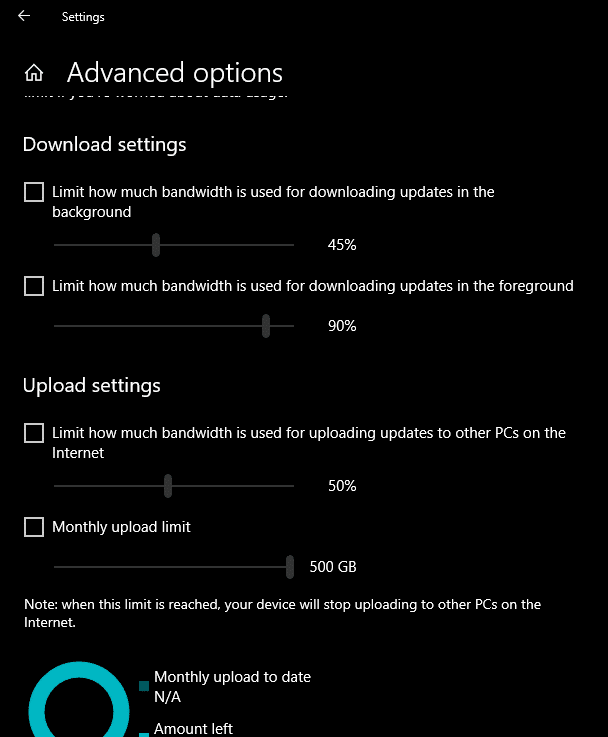
5.Again click on “Advanced options".

6.Dabar adjust your Download & Upload Bandwidth procentas.
If you don’t want to mess System updates then another way to Fix High Ping on Windows 10 issue is to set your network connection as Išmatuotas. This will let system think that you’re on a metered connection and hence it will not download the Windows updates automatically.
1.Spauskite ant pradėti mygtukas tada eik į Nustatymai.
2.From Settings window click on “Tinklas ir internetas“Piktogramą.
![]()
3.Now make sure you select "Ethernet" option from the left window pane.
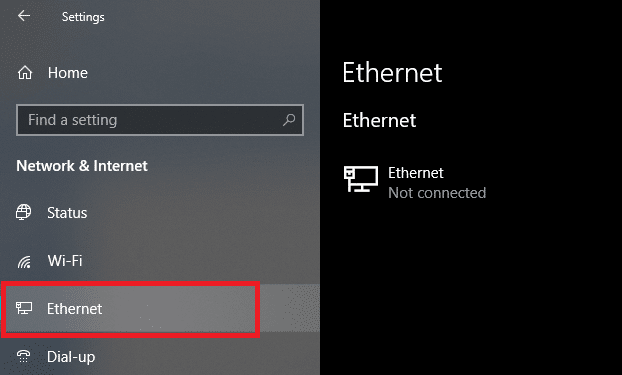
4.Choose the Network which you currently connected to.
5.Turn ON the toggle for “Nustatytas kaip matavimo jungtis".

4 būdas: iš naujo nustatykite tinklo ryšį
1. Paspauskite Windows Key + I, kad atidarytumėte nustatymus, tada spustelėkite Tinklas ir internetas.

2. Kairiajame lango lange spustelėkite Statusas.
3. Slinkite žemyn iki apačios ir spustelėkite Tinklo nustatymas iš naujo.

4. Kitame lange spustelėkite Nustatyti iš naujo dabar.

5. Jei prašoma patvirtinimo, pasirinkite Taip.
6. Iš naujo paleiskite kompiuterį, kad išsaugotumėte pakeitimus ir patikrintumėte, ar galite tai padaryti Fix High Ping on Windows 10 Issue.
Method 5: Disable WiFi Sense
1. Paspauskite Windows Key + I, kad atidarytumėte nustatymus, tada spustelėkite Tinklas ir internetas.
2. Dabar spustelėkite "Wi-Fi" from the left window pane and make sure to Disable everything under Wi-Fi Sense.
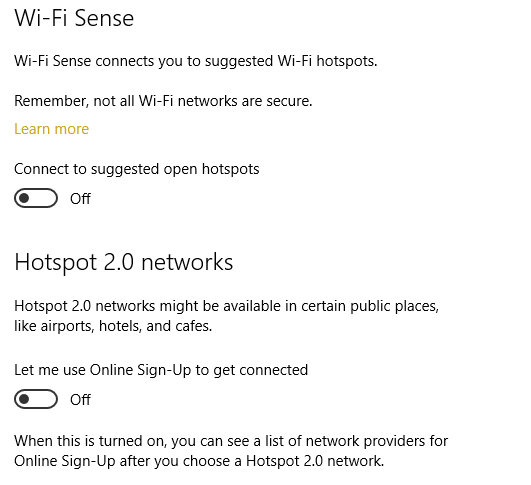
3.Also, make sure to disable Hotspot 2.0 networks and Paid Wi-Fi services.
Rekomenduojama:
Tikiuosi, kad šis straipsnis buvo naudingas ir dabar galite lengvai Fix High Ping on Windows 10, bet jei vis dar turite klausimų dėl šio vadovo, nedvejodami užduokite juos komentarų skiltyje.

