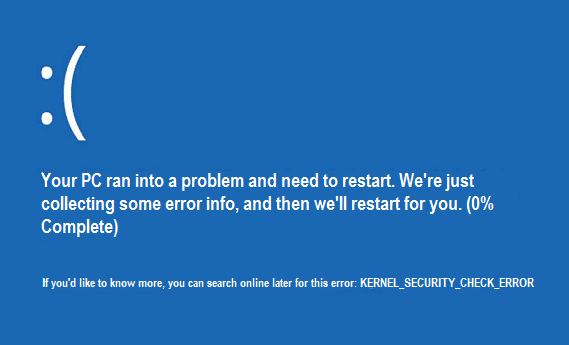
Most of the time, you will experience a kernel security check failure error after you have installed new software or hardware. Well, you will get this error when you will upgrade your windows because the drivers of previous versions of Windows will not be compatible with the new one. Hence, leaving with you the Kernel Security Check failure BSOD error.
Causes of kernel security check failure errors:
- Virus or malware infection that has corrupted Windows OS files.
- Device drivers are outdated or not properly configured.
- Corrupted or bad memory.
- Conflicting hardware or software.
- Damaged or corrupted Hard Disk.
First, your need to enable legacy boot, and if you don’t know how to do that, just follow this post to enable your advanced legacy boot option.
Before trying the below technical methods it’s advised that you do the following in order to fix kernel security check failure (KERNEL_SECURITY_CHECK_FAILURE) error:
- Make sure only one antivirus is running if you have purchased another make sure to turn off Windows Defender.
- Run Automatic Repair or use System Restore to try to fix the issue.
- Run a full system virus and malware scan with your antivirus.
- Install any pending updates through Windows update.
- Reinstall drivers from the manufacturer’s website.
- Run malware bytes.
Fix kernel security check failure (KERNEL_SECURITY_CHECK_FAILURE)
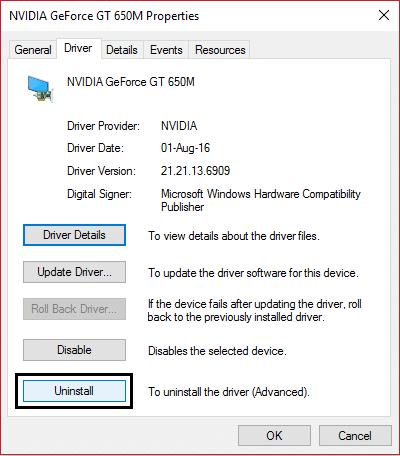
Method 1: Uninstall Graphic Card Driver
1. Boot your PC into Safe mode from the advanced boot menu.
2. Paspauskite „Windows“ klavišą + R, tada įveskite „devmgmt.msc” and hit Enter to Device Manager.

3. In Device Manager, expand the Display adapter.
4. Next, select your „Nvidia“ kortelė and then right click then select Savybės
5. Dabar pasirinkite Drivers tab ir spauskite Įvirsta Vairuotojas (If asked for confirmation click Yes to confirm).
6. If the Roll Back option is grayed out then click “Pašalinti“, kad pašalintumėte šią tvarkyklę.
7. Restart your PC and on the advanced boot, select “Start your PC normally.”
2 būdas: paleiskite tvarkyklės tikrintuvą
Šis metodas naudingas tik tuo atveju, jei įprastai galite prisijungti prie „Windows“, o ne saugiuoju režimu. Tada būtinai sukurkite sistemos atkūrimo tašką.
To run Driver Verifier to fix kernel security check failure, go here.
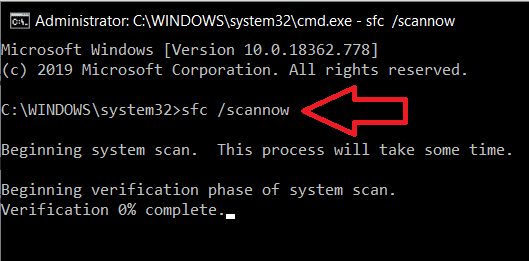
3 būdas: paleiskite sistemos failų tikrintuvą ir patikrinkite diską
1. Again, Boot your PC into safe mode from the above-advanced boot menu.
2. Once you login into safe mode, press Windows key + X and click on Komandinė eilutė (administratorius).
3. In the command prompt, type the following command and hit enter after each one:
sfc /scannow
chkdsk /f C:
4. Once the process is finished, exit the cmd.
5. Now type memory in the Windows search bar and select “„Windows“ atminties diagnostika."
6. In the set of options displayed, select “Paleiskite dabar ir patikrinkite problemas"
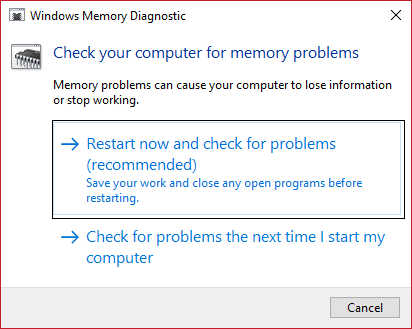
7. After which Windows will restart to check for possible RAM errors and will hopefully display the possible reasons as for why you get the Mėlynas mirties ekranas (BSOD) klaidos pranešimas.
8. Reboot your PC and check if the problem is resolved or not.
4 metodas: paleiskite „Memtest86“
To be sure, again run the memory test, but this time using Memtest as it eliminates all the possible exceptions, and it’s better than the built-in memory test as it runs outside the Windows environment.
Note: Before starting, make sure you have access to another computer as you will need to download and burn the software to the disc or USB flash drive. It’s best to leave the computer overnight when running Memtest as it sure likely to takes some time.
1. Connect a USB flash drive, to your working PC.
2. Atsisiųskite ir įdiekite Windows Memtest86 Auto-installer for USB Key.
3. Dešiniuoju pelės mygtuku spustelėkite downloaded image file ir pasirinkiteIšskleisti čia"Variantas.
4. Once extracted, open the folder ir paleiskite „Memtest86+“ USB diegimo programa.
5. Pasirinkite savo plugged USB drive to burn the MemTest86 software (This will erase all the content from your USB).

6. Once the above process is finished, insert the USB to the PC, giving the KERNEL_SECURITY_CHECK_FAILURE error.
7. Restart your PC and make sure boot from USB flash drive is selected.
8. Memtest86 will begin testing for memory corruption in your system.
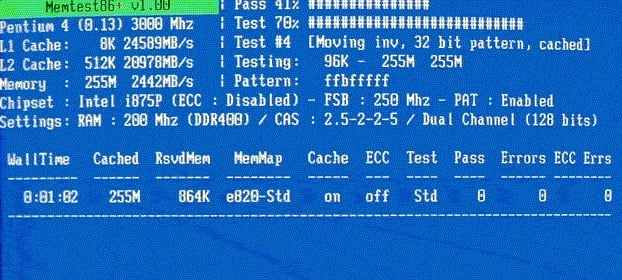
9. If you have passed all 8 phases of the test, you can be sure that your memory is working correctly.
10. If some of the steps were unsuccessful, then Memtest86 will find memory corruption which means that your kernel security check failure (KERNEL_SECURITY_CHECK_FAILURE) blue screen of death error is because of bad/corrupt memory.
11.Siekiant fix kernel security check failure error, turėsite pakeisti RAM, jei aptiksite blogų atminties sektorių.
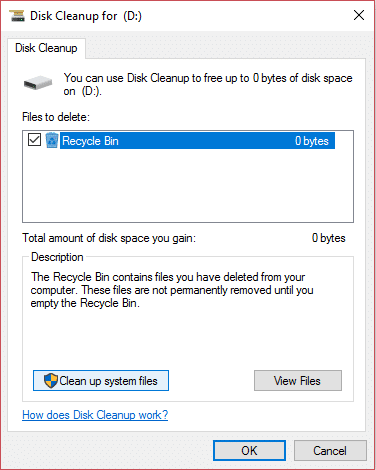
Method 5: Run Disk Cleanup and Error Checking
1. Again, boot your windows into safe mode and follow the below steps for each hard disk partition you have(example Drive C: or E:).
2. Go to This PC or My PC ir dešiniuoju pelės mygtuku spustelėkite vairuoti pasirinkite Savybės
3. Now, from the Skelbimų langas pasirinkite disko valymas and click clean up sistemos failus.
4. Again, go to the properties windows Ir pasirinkite Įrankių skirtukas.
5. Tada spustelėkite Tikrinti pagal Error-checking.
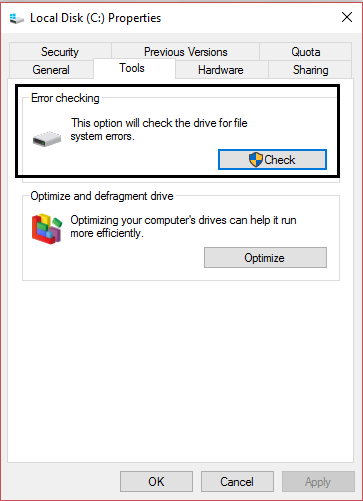
6. Follow the on-screen instruction to finish error checking.
7. Restart your PC and boot to windows normally.
Tai viskas, jums pavyko Fix kernel security check failure (KERNEL_SECURITY_CHECK_FAILURE), but if you still have any queries regarding this guide, then feel free to ask them in the comments section.


)