If a WiFi network has the ‘limited connectivity’ sign next to it, it means that you’re connected to the network but do not have access to the internet. The main reason for this issue is that the DHCP server is not responding. And when the DHCP server doesn’t respond the computer automatically assigns an IP address to itself because the DHCP server was unable to assign the IP address. Hence the ‘Limited or No connectivity’ error.
Fix limited access or no connectivity WiFi issues
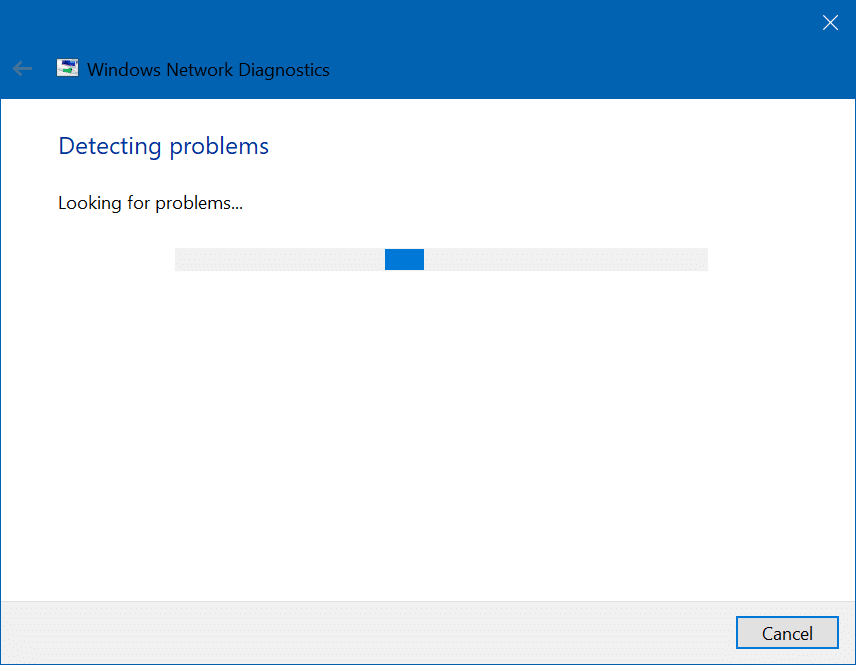
Method 1: Run Network troubleshooter
1. Ar peles labo pogu noklikšķiniet uz tīkla ikona at the taskbar and click on Problēmu novēršana.
![]()
2. The Network Diagnostics window will open. Follow the on-screen instructions to run the Troubleshooter.
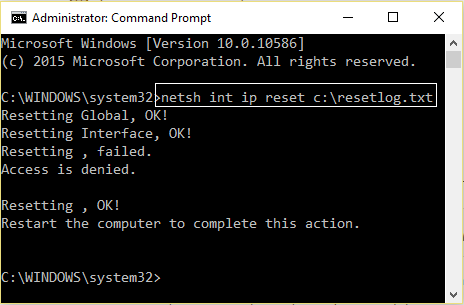
2. metode: atiestatīt TCP / IP
1. Right-click on the Windows button and select “Command Prompt(Admin).”

2. Ierakstiet šādu komandu: netsh int ip reset c:resetlog.txt
3. If you don’t want to specify the directory path then use this command: netsh int ip atiestatīt resetlog.txt
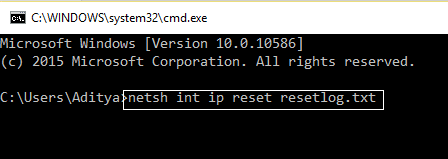
4. Restartējiet datoru.
3. metode: mainiet Bitdefender ugunsmūra iestatījumus (vai savu pretvīrusu ugunsmūri)
1. Open Settings of Bitdefender Internet Security and choose Ugunsmūris.
2. Noklikšķiniet uz “Papildu iestatījumi"Poga.
3. Make sure that “Iespējot interneta savienojuma koplietošanu” ir pārbaudīts.
PIEZĪME: Ja jums nav iepriekš minētā iestatījuma, atspējojiet "Bloķēt interneta savienojuma koplietošanu”, nevis augstāk.
4. Click the OK button to save changes.
5. And if it doesn’t work try disabling your Antivirus Firewall and iespējot Windows ugunsmūri.
Lielākajai daļai cilvēku, mainot ugunsmūra iestatījumus, tiek novērsta problēma limited access or no connectivity WiFi problem, but if it didn’t work for you don’t lose hope we still have a long way to go, so follow the next method.
Method 4: Change adapter settings
1. Open the Bitdefender, then select Aizsardzības modulis un noklikšķiniet uz Ugunsmūra funkcija.
2. Make sure the Firewall is turned ON and then go to the Adapteri cilne un veiciet šādas izmaiņas:
Iestatīt tīkla veidu uz "Mājas/birojs" Iestatīt slepeno režīmu uz "Izslēgts" Iestatīt Vispārīgo uz "Ieslēgts"
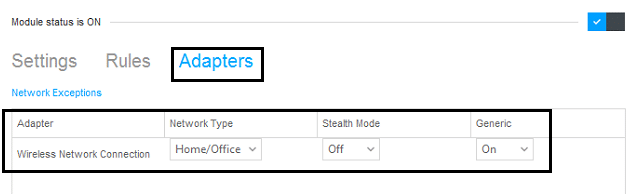
3. Restart your PC to apply these changes.
5. metode: pamodiniet savu Wi-Fi adapteri
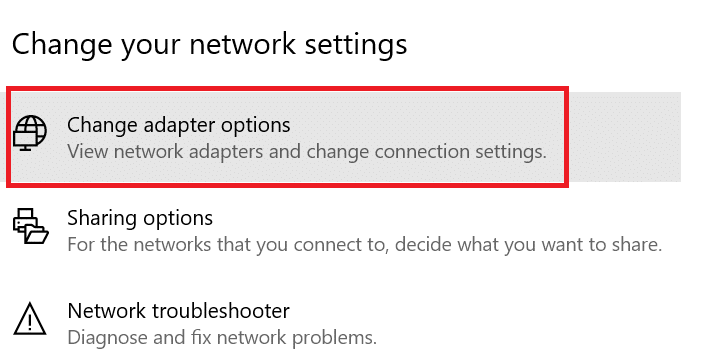
1. Right-click on the network icon in the notification area and select atvērts Tīkla un interneta iestatījumi.

2. Zem Mainiet tīkla iestatījumus, klikšķiniet uz Change Adapter Options.
3. Noklikšķiniet uz sava WiFi tīkls un izvēlieties Properties.
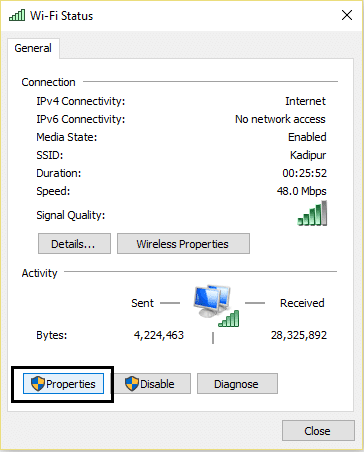
4. Tagad iekšā WiFi īpašības noklikšķiniet uz Konfigurēt.
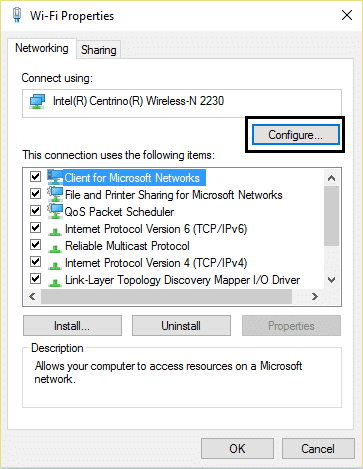
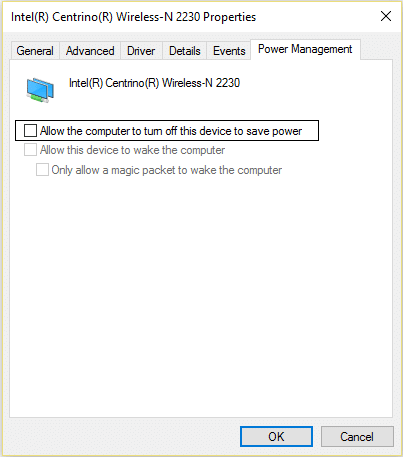
5. Go to the Power Management tab and uncheck “Ļaujiet datoram izslēgt šo ierīci, lai taupītu enerģiju."
6. Pārstartējiet datoru.
6. metode: izmantojiet Google DNS
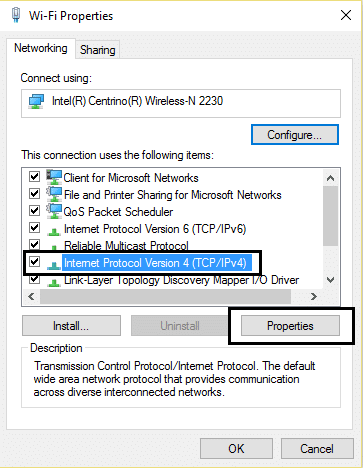
1. Again go to your Wi-Fi properties.
2. Tagad atlasiet 4 Internet Protocol Version (TCP / IPv4) un noklikšķiniet Properties.
3. Check the box saying “Izmantot šādu DNS serveru adreses” and enter the following:
Vēlamais DNS serveris: 8.8.8.8
Alternate DNS serveris: 8.8.4.4
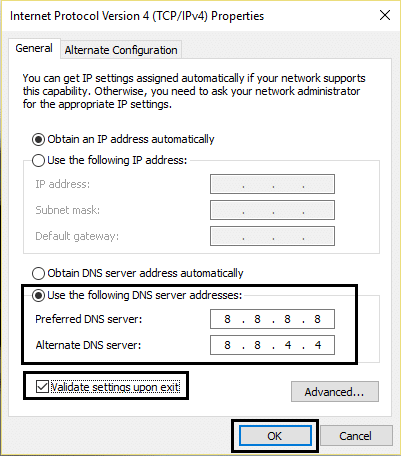
4. Click OK to save, then click close and restart jūsu datoram.
Method 7: Reset TCP/IP Auto-tuning
1. Right-click on the Windows key and select “Komandu uzvedne (administrators)."
2. Type the following commands:
netsh int tcp kopa heiristika atspējota netsh int tcp set global autotuninglevel=disabled netsh int tcp set global rss=enabled
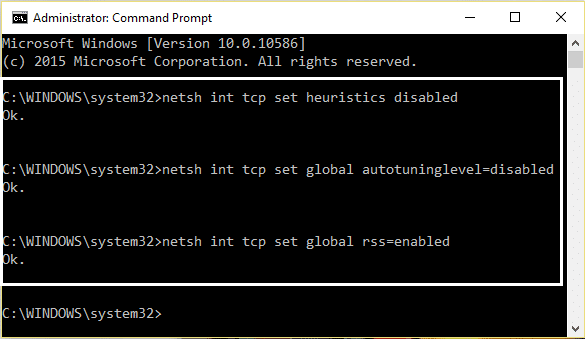
3. Pārstartējiet datoru.
8. metode: iespējojiet lejupielādi, izmantojot mērītu savienojumus
1. Noklikšķiniet uz Windows taustiņu un izvēlieties Iestatījumi.
2. Now in settings click on Tīkls un internets.

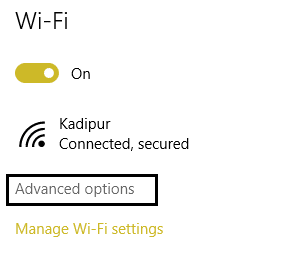
3. Here you will see uzlabotas iespējas, noklikšķiniet uz tā.
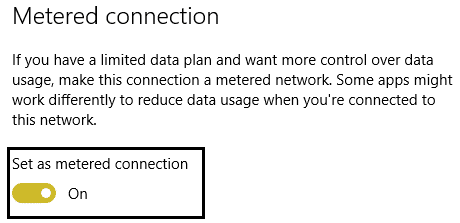
4. Make sure your Metered connection is set to IESL.
5. Atsāknēšana piemērot izmaiņas.
Yeah, I admit, this is a stupid step but hey for some people it worked out so why not try it and who knows your limited access or no connectivity WiFi issues may be fixed.
9. metode: iestatiet viesabonēšanas agresivitāti uz maksimālo
1. Right-click on the network icon in the notification area and select atvērts Tīkla un interneta iestatījumi.
2. Zem Mainiet tīkla iestatījumus, klikšķiniet uz Change Adapter Options.
3. Tagad atlasiet savu Wi-Fi un noklikšķiniet uz Properties.
4. Inside Wi-Fi properties click on Konfigurēt.
5. Pāriet uz cilne Papildu un atrodiet Viesabonēšanas agresivitāte iestatījumu.
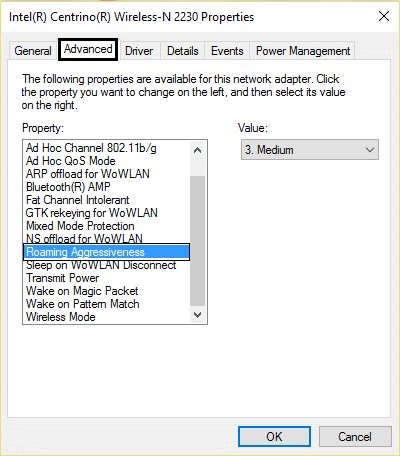
6. Change the value from No vidēja līdz augstākajam un noklikšķiniet uz Labi.
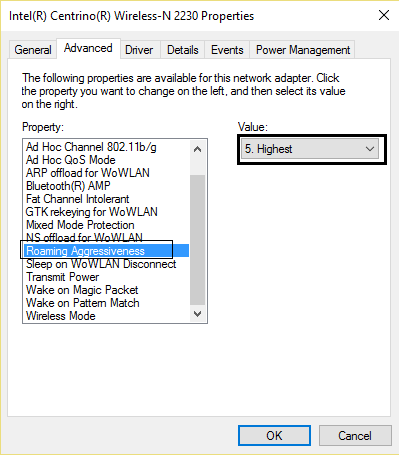
7. Atsāknēšana piemērot izmaiņas.
10. metode: atjauniniet draiverus
1. Press Windows key + R and type “devmgmt.msc” in Run dialogue box to open the Ierīču pārvaldnieks.

2. Izvērst Tīkla adapteri, pēc tam ar peles labo pogu noklikšķiniet uz sava Wi-Fi kontrolieris(piemēram, Broadcom vai Intel) un atlasiet Atjauniniet draiverus.

3. In the Update Driver Software Windows, select “Pārlūkojiet datoru, lai atrastu draivera programmatūru."

4. Tagad atlasiet “Ļaujiet man izvēlēties no datora draiveru saraksta."

5. Mēģiniet atjauniniet draiverus no uzskaitītajām versijām.
6. If the above didn’t work then go to the ražotāja tīmekļa vietne lai atjauninātu draiverus: https://downloadcenter.intel.com/
7. Atsāknēšana piemērot izmaiņas.
Jūs varat arī patīk:
I hope by now any one of the methods must have worked for you to fix limited access or no connectivity WiFi issues. If you still have any queries regarding this guide please feel free to ask them in the comments.
![[SOLVED] keyboard has stopped working on Windows 10](https://lbsite.org/wp-content/uploads/2023/01/Solved-keyboard-has-stopped-working-on-Windows-10.png "[SOLVED] keyboard has stopped working on Windows 10")
