If you have 2 in 1 Windows device such as Tablets, you would be familiar with the importance of the screen rotation feature. Users report that the screen rotation feature has stopped working & the Screen Rotation Lock option is greyed out. If you’re facing this issue, then don’t worry as this is just a setting issue which means it can be easily fixed. This guide will walk you through the steps to fix rotation lock greyed out in Windows 10.
Here are issues which can be resolved using this guide:
- Rotation lock missing
- Auto Rotate not working
- Rotation lock greyed out.
- Screen rotation not working
Fix Rotation Lock greyed out in Windows 10
Noteikti izveidojiet atjaunošanas punktu, ja kaut kas noiet greizi.
Method – 1: Enable Portrait Mode
One of the methods to fix this problem is to rotate your screen in portrait mode. Once you rotate it to portrait mode, most probably your rotation lock would start working, i.e. clickable again. In case your device is not rotating into portrait mode automatically, try to do it manually.
1. Nospiediet Windows atslēga + I to open Settings then click on the sistēma ikonu.

2. Noteikti atlasiet displejs no kreisās puses izvēlnes.
3. Atrodiet Orientation section where you need to choose Portrets no nolaižamās izvēlnes.
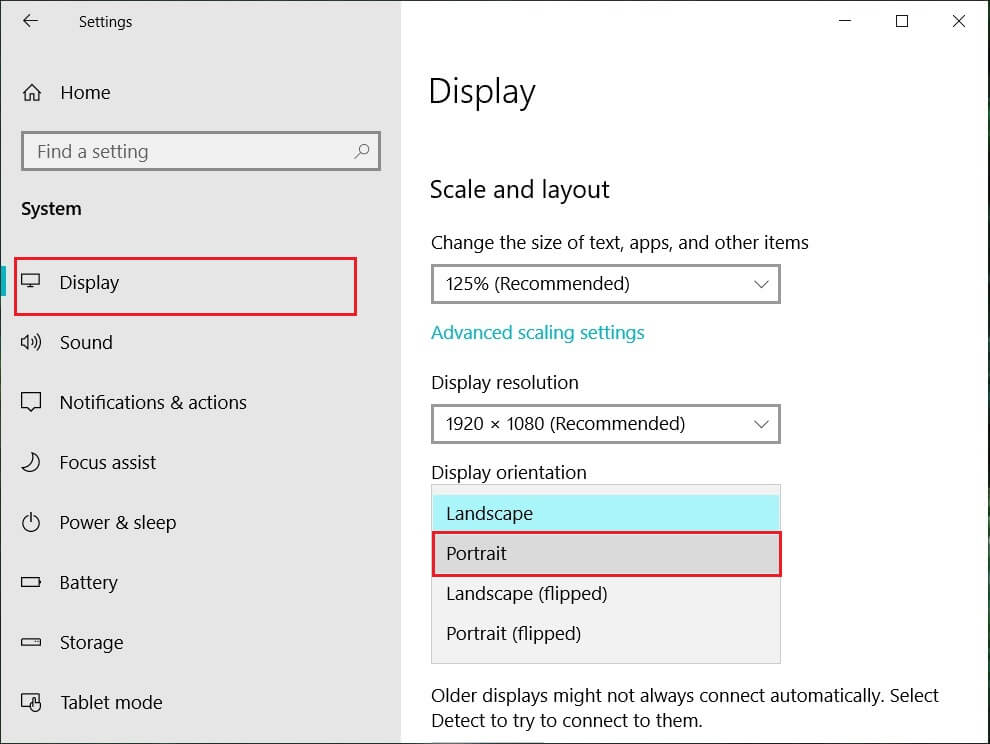
4. Your device will automatically turn into portrait mode.
Method – 2: Use your device in tent mode
Some users, particularly Dell Inspiron, experienced that when their rotation lock is greyed out, the only way to solve this problem is to put your device in Tent Mode.
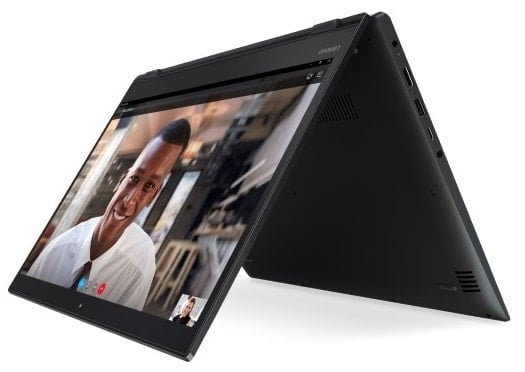
Attēlu autori: microsoft
1. You need to put your device in Tent Mode. If your display is upside down, you need not worry.
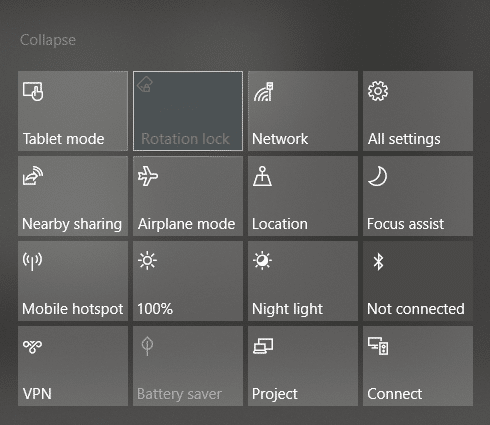
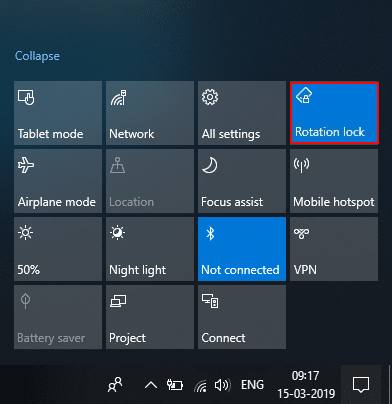
2. Tagad noklikšķiniet uz Windows Action Center, Rotācijas bloķētājs will be working. Here you need to turn it off if you want so that your device rotate properly.
Method – 3: Disconnect your keyboard
If rotation lock is greyed in your Dell XPS and Surface Pro 3 (2-in-1 device), you need to disconnect your keyboard, and many users reported that disconnecting the keyboard solves the rotation lock problem. If you own different devices, you can still use this method to fix rotation lock greyed out in Windows 10 issue.
Method – 4: Switch to Tablet Mode
Many users experienced that this rotation greyed out the problem by switching their device into Tablet Mode. If it is switched automatically, it is good; otherwise, you can do it manually.
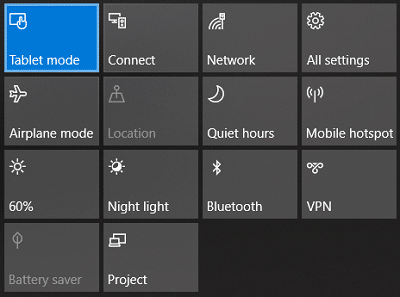
1. Noklikšķiniet uz Windows darbību centrs.
2. Šeit jūs atradīsiet Planšetdators option, Click on It.
OR
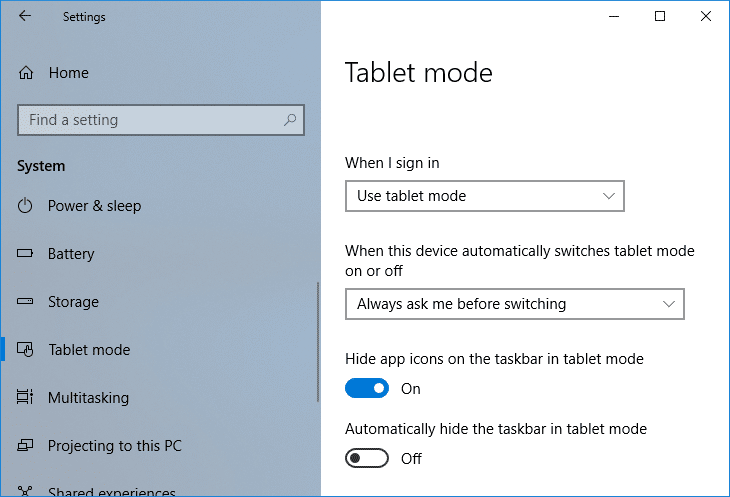
1. Nospiediet Windows taustiņu + I, lai atvērtu Settings tad noklikšķiniet uz sistēma ikonu.
2. Here it would help if you located Planšetdators option under the left window pane.
3. Now from the “When I sign in” drop-down, select “Izmantojiet planšetdatora režīmu".
Method – 5: Change LastOrientation Registry Value
If you still experience a problem, you can solve it by changing some registry values.
1. Press Windows +R and enter regedit tad nospiediet taustiņu Enter.

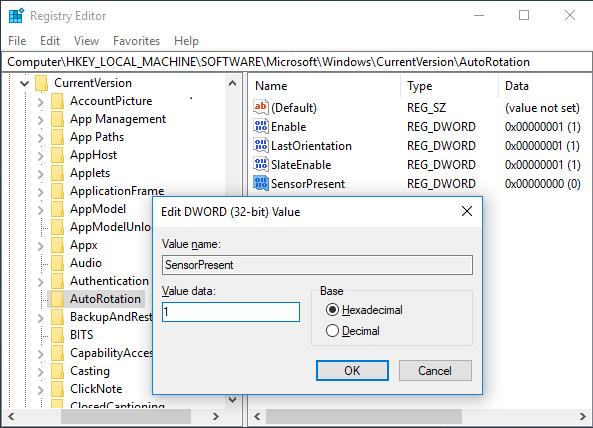
2. Once registry editor opens, you need to navigate to the below path:
HKEY_LOCAL_MACHINESOFTWAREMicrosoftWindowsCurrentVersionAutoRotation
Piezīme: Follow the above folders one by one to locate Auto Rotation.
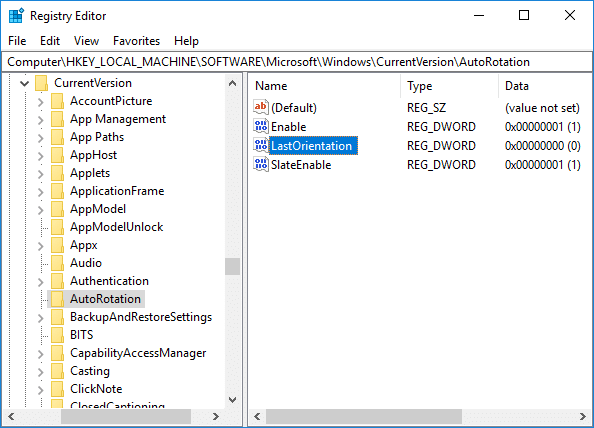
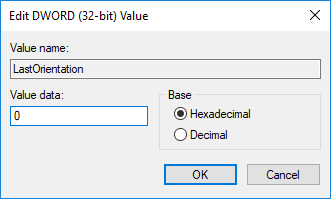
3. Pārliecinieties, ka select AutoRotation pēc tam labajā loga rūtī veiciet dubultklikšķi uz Last Orientation DWORD.
4. Now enter 0 under Value data field un noklikšķiniet uz Labi.
5. Ja ir SensorPresent DWORD, double-click on it and set its vērtība līdz 1.
Method – 6: Check Sensor Monitoring Service
Sometimes services of your device can cause a rotation lock problem. Therefore, we can get it sorted with Windows Monitoring services feature.
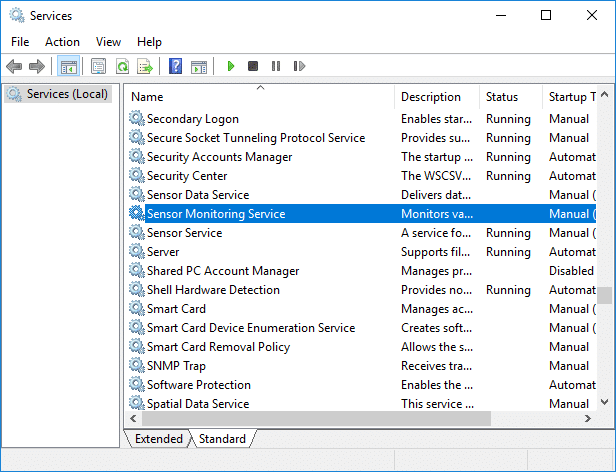
1. Nospiediet Windows + R un ierakstiet services.msc un nospiediet taustiņu Enter.

2. Once the services window opens, find the Sensor Monitoring services option un veiciet dubultklikšķi uz tā.
3. Now, from the Startup type drop-down select Automātisks un pēc tam noklikšķiniet uz Start poga to start the service.
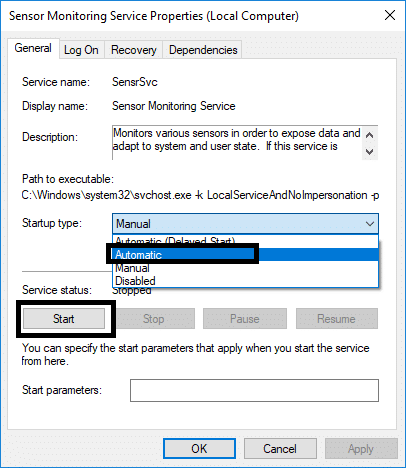
4. Finally, click Apply followed by OK to save the settings, and you can reboot the system to apply the changes.
Method – 7: Disable YMC service
If you are using a Lenovo Yoga device and experiencing this problem, you can fix rotation lock grayed out in the Windows 10 issue by disabling YMC service.
1. Windows + R type services.msc un nospiediet taustiņu Enter.
2. Atrodiet YMC services un veiciet dubultklikšķi uz tā.
3. Set the Startup type to invalīdiem and click Apply, followed by OK.
Method – 8: Update Display Drivers
One reason for this problem could be the driver update. If your respective driver for the monitor is not updated, it can cause the Rotation Lock greyed out in Windows 10 Issue.
Manuāli atjauniniet grafikas draiverus, izmantojot ierīču pārvaldnieku
1. Nospiediet Windows taustiņu + R, pēc tam ierakstiet devmgmt.msc un nospiediet taustiņu Enter, lai atvērtu Ierīču pārvaldnieks.

2. Pēc tam izvērsiet Displeja adapteri un ar peles labo pogu noklikšķiniet uz savas grafikas kartes un atlasiet Iespējot.

3. Kad esat to izdarījis vēlreiz, ar peles labo pogu noklikšķiniet uz grafiskās kartes un atlasiet “Update Driver".

4. Atlasiet “Meklējiet automātiski atjauninātu draivera programmatūru” un ļaujiet tai pabeigt procesu.

5. If the above steps helped fix the issue then very good, if not then continue.
6. Vēlreiz ar peles labo pogu noklikšķiniet uz grafiskās kartes un atlasiet “Update Driver”, bet šoreiz nākamajā ekrānā atlasiet “Pārlūkojiet datoru, lai atrastu draivera programmatūru."

7. Tagad atlasiet “Ļaujiet man izvēlēties no pieejamo draiveru saraksta manā datorā. "

8. Visbeidzot, atlasiet jaunāko draiveri no saraksta un noklikšķiniet uz Nākamo.
9. Ļaujiet iepriekšminētajam procesam pabeigt un restartējiet datoru, lai saglabātu izmaiņas.
Veiciet tās pašas darbības integrētajai grafikas kartei (šajā gadījumā Intel), lai atjauninātu tās draiverus. Skatiet, vai varat Fix Rotation Lock greyed out Issue, ja nē, turpiniet ar nākamo soli.
Automātiski atjauniniet grafikas draiverus no ražotāja vietnes
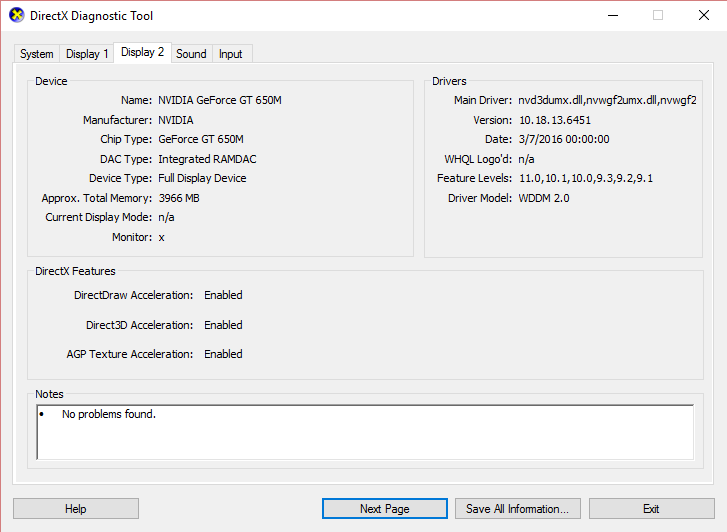
1. Nospiediet Windows taustiņu + R un dialoglodziņā ierakstiet “dxdiag” un nospiediet taustiņu Enter.

2. Pēc tam meklējiet displeja cilni (būs divas displeja cilnes viena integrētajai grafikas kartei, bet otra - Nvidia) noklikšķiniet uz cilnes Displejs un uzziniet savu grafikas karti.
3. Tagad dodieties uz Nvidia draiveri lejupielādes vietne un ievadiet mūsu noskaidroto informāciju par produktu.
4. Pēc informācijas ievadīšanas meklējiet draiverus, noklikšķiniet uz Piekrītu un lejupielādējiet draiverus.

5. Pēc veiksmīgas lejupielādes instalējiet draiveri, un jūs esat veiksmīgi manuāli atjauninājis Nvidia draiverus.
Method – 9: Remove Intel Virtual Buttons Driver
Some users reported that Intel Virtual button drivers cause rotation lock problem on your device. To solve this problem, you can uninstall the driver.
1. Open Device manager on your device by pressing Windows + R and type devmgmt.msc and hit Enter or press Windows X and choose Device Manager from the options list.
2. Once Device manager box is opened locate Intel virtual buttons driver.
3. Right-click on it and choose Atinstalēt.
Ieteicams:
Es ceru, ka šis raksts bija noderīgs, un tagad jūs to varat viegli izdarīt Fix Rotation Lock greyed out in Windows 10, bet, ja jums joprojām ir kādi jautājumi par šo apmācību, uzdodiet tos komentāru sadaļā.
")
