While surfing internet in your browser, you may face Server IP address could not be found error. This is a common issue for the Google Chrome users. We bring to you a helpful guide that will fix server IP address could not be found error on Windows 10. So, continue reading!
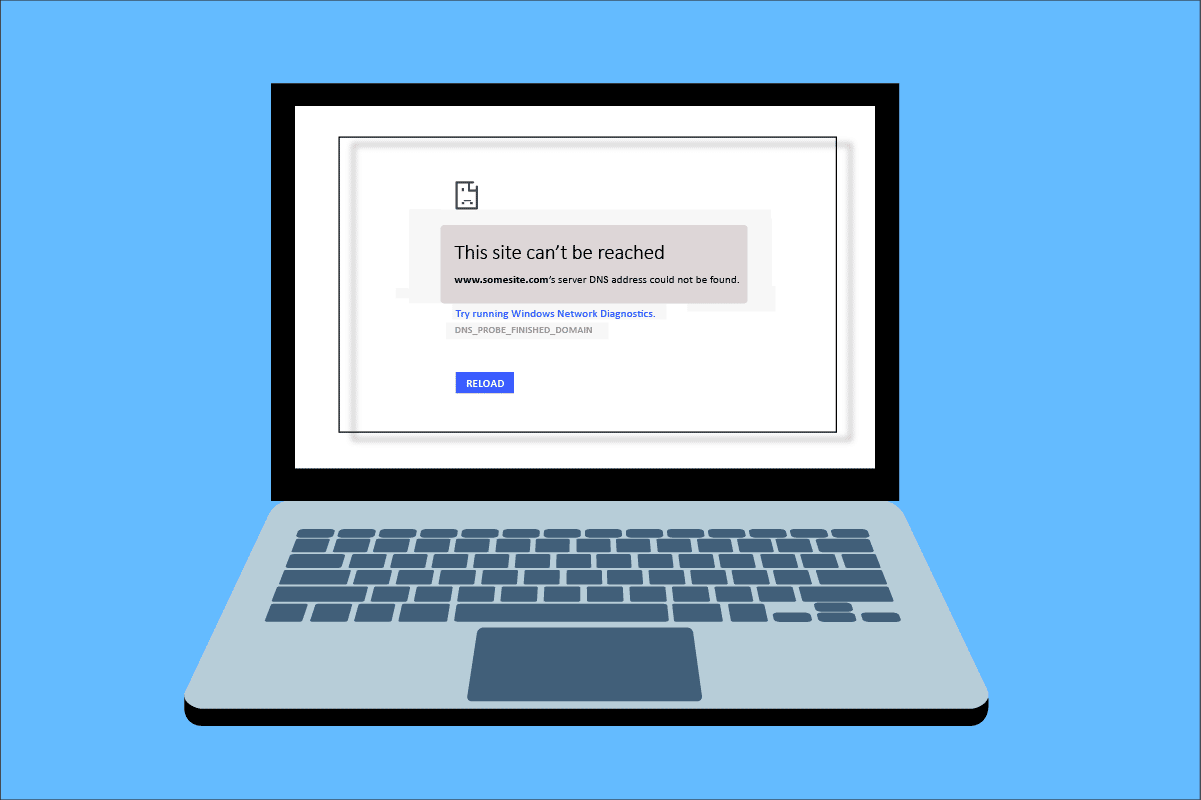
How to Fix Server IP Address Could Not be Found on Windows 10
One of the most popular web browser is Google Chrome. However if you are facing the error while browsing in the Chrome browser, then do not worry! This issue may be caused due to various reasons like;
- Nestabils interneta savienojums
- Corrupt Browser Cache and Cookies
- Incorrect IP Address
- Corrupt DNS Cache
- Outdated Network Drivers
Here, we have listed all possible methods to fix the said issue on Windows 10.
Method 1: Troubleshoot Network Adapter
The said issue may occur due to your network error. You can run the network adapter troubleshooter to fix any errors with your network adapter. Read our guide to troubleshoot network connectivity on Windows 10.

2. metode: notīriet pārlūkprogrammas kešatmiņu
The cache files in your web browser may get corrupt. You can try to clear the cache and cookies of your browser and try to check if the error still persists or not. Follow these steps to clear browser cache.
1. Uzsāciet hroms browser from Windows search bar as shown.

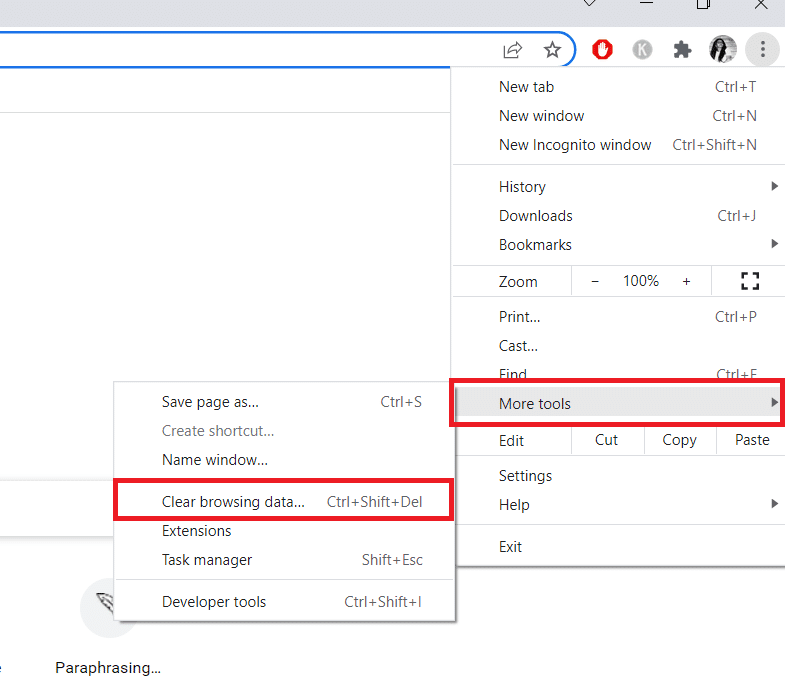
2. Tagad noklikšķiniet uz trīspunktu ikona augšējā labajā stūrī.
3. Šeit noklikšķiniet uz Vairāk rīku variants.
4. Pēc tam noklikšķiniet uz Notīrīt pārlūkošanu dati… variants.
Piezīme: Jūs varat ierakstīt chrome: // settings / clearBrowserData in the search bar to launch the browser history page directly.
5. Šeit atlasiet Laika diapazons in the next window. Check the boxes marked:
- Sīkfaili un citi vietnes dati un
- Kešatmiņā saglabātie attēli un faili.
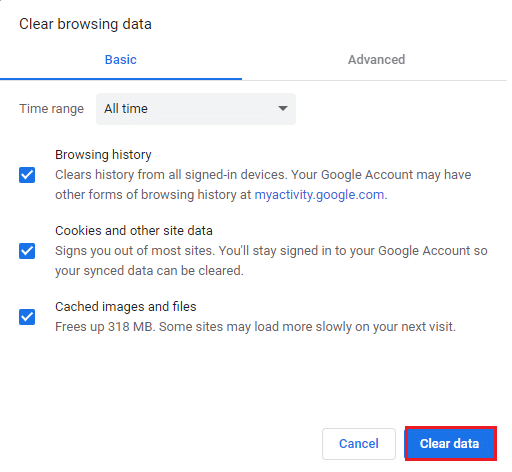
6. Visbeidzot noklikšķiniet uz Skaidrs datumu.
Arī lasīt: Fix This Plugin is Not Supported error in Chrome
3. metode: notīriet DNS kešatmiņu
You can try to clear the DNS cache to fix server IP address could not be found error. Follow our guide to flush and reset the DNS cache in Windows 10.
Method 4: Release and Renew IP Address
Here are the steps to release and renew the IP address.
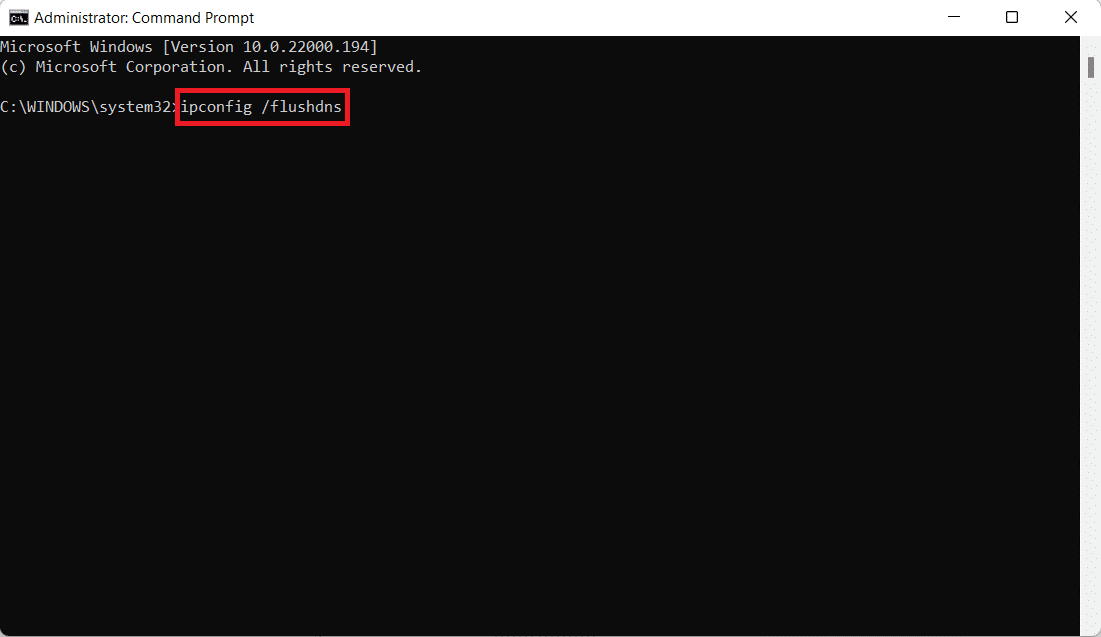
1. Noklikšķiniet uz Windows taustiņu, ierakstiet Command Promptun noklikšķiniet uz Palaist kā administratoram.

2. Firstly you should flush the DNS cache as shown in Metode 2.
3. Once the above process is complete, type ipconfig / release un nospied ienākt taustiņš.

4. Pēc tam ierakstiet ipconfig / atjaunot un hit ienākt to renew your IP.

Arī lasīt: Fix No WiFi Networks Found in Windows 10
5. metode: mainiet DNS adresi
Incorrect DNS address also cause this said Chrome error. You can change your DNS address to fix the error. Follow the given steps to change DNS address.
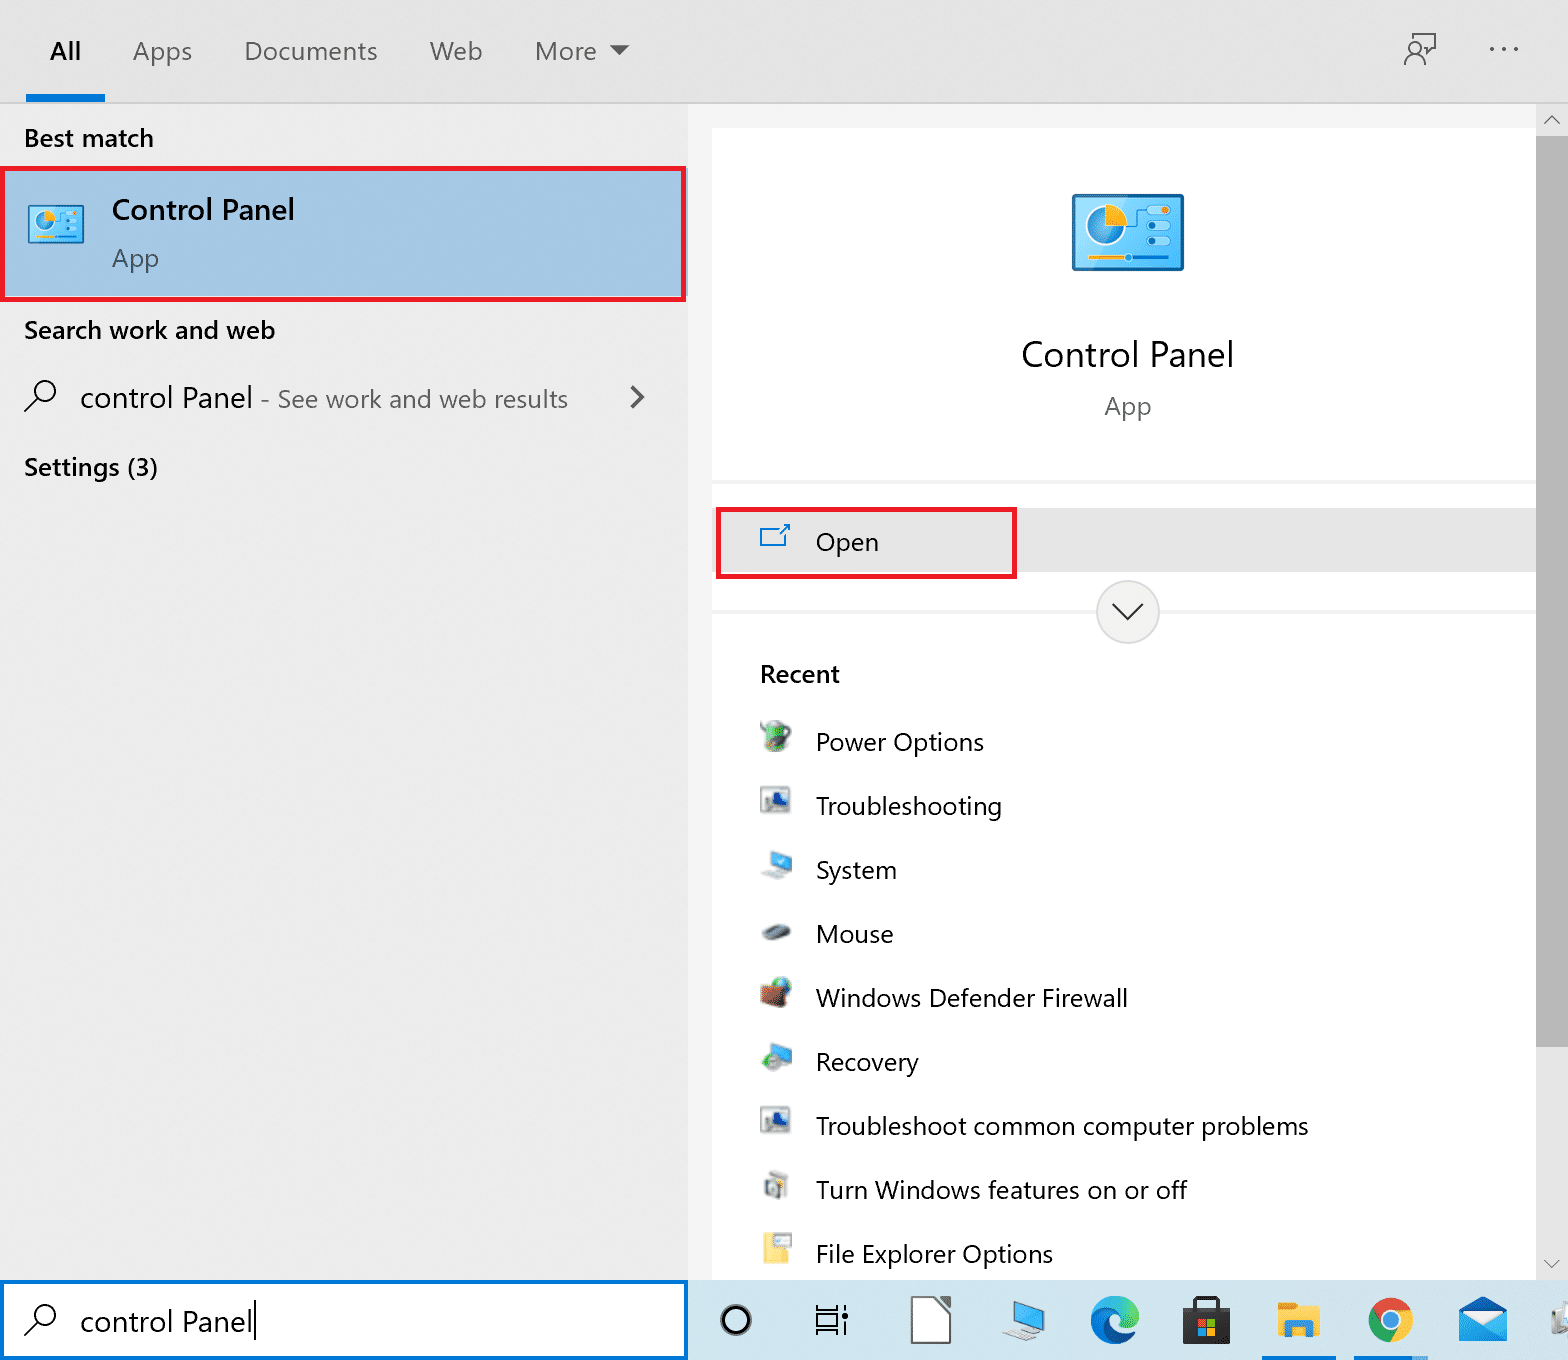
1. Nospiediet Windows taustiņu, ierakstiet kontroles panelis un noklikšķiniet uz atvērts.
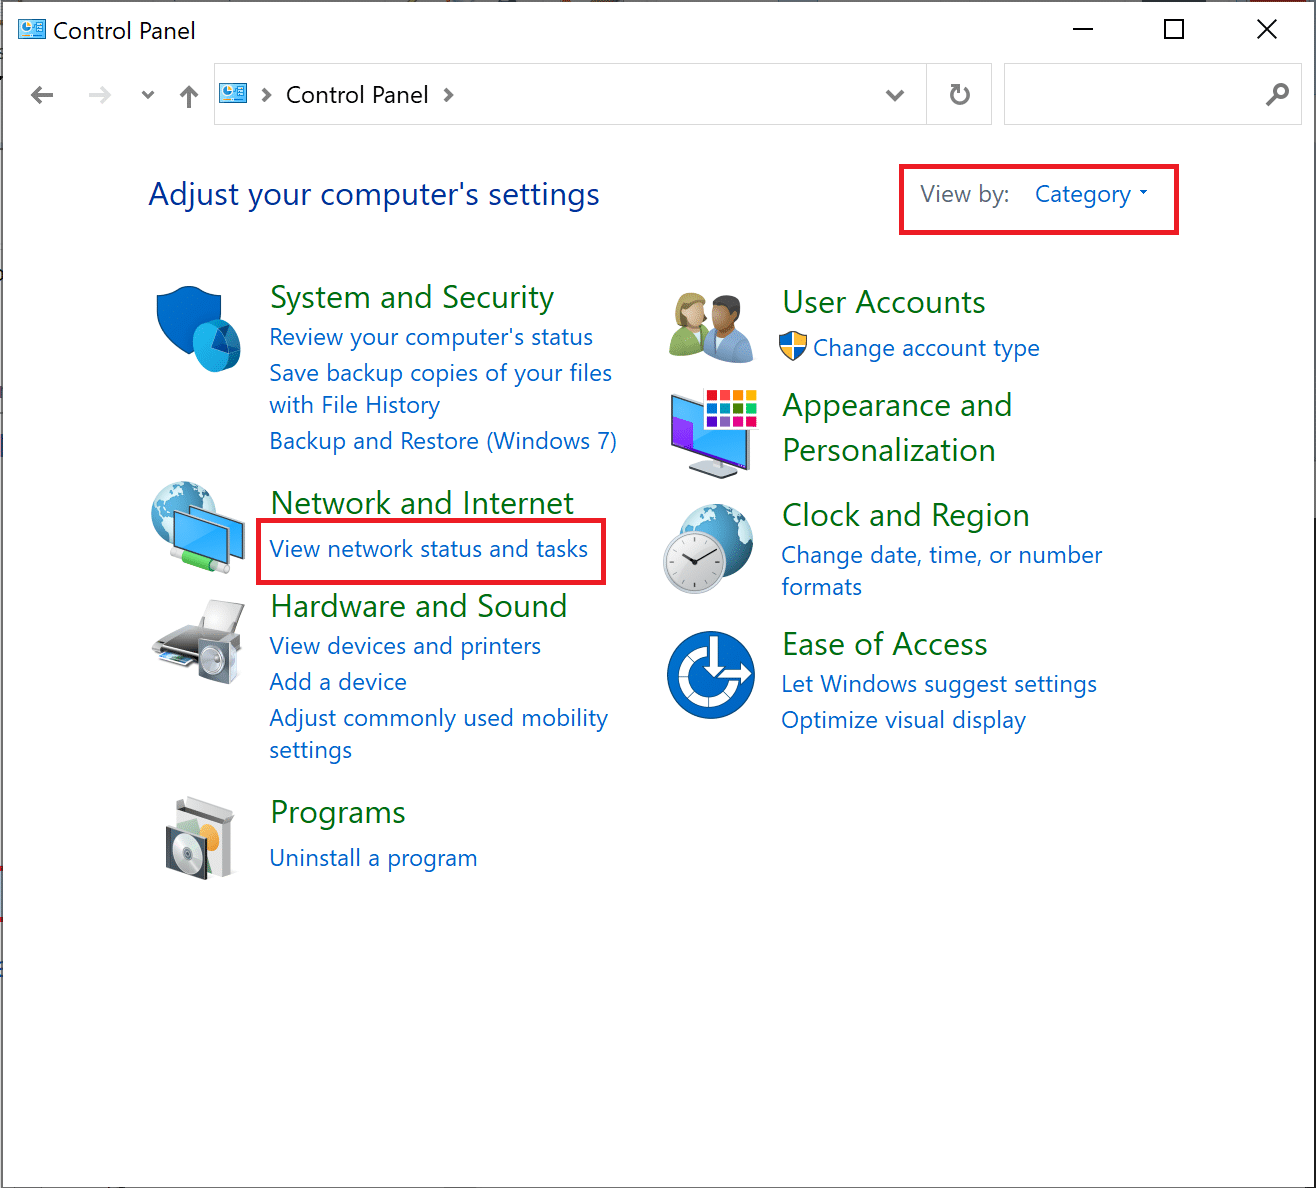
2. Komplekts Skatīt pēc > Kategorija un noklikšķiniet uz Skatīt tīkla statusu un uzdevumus.
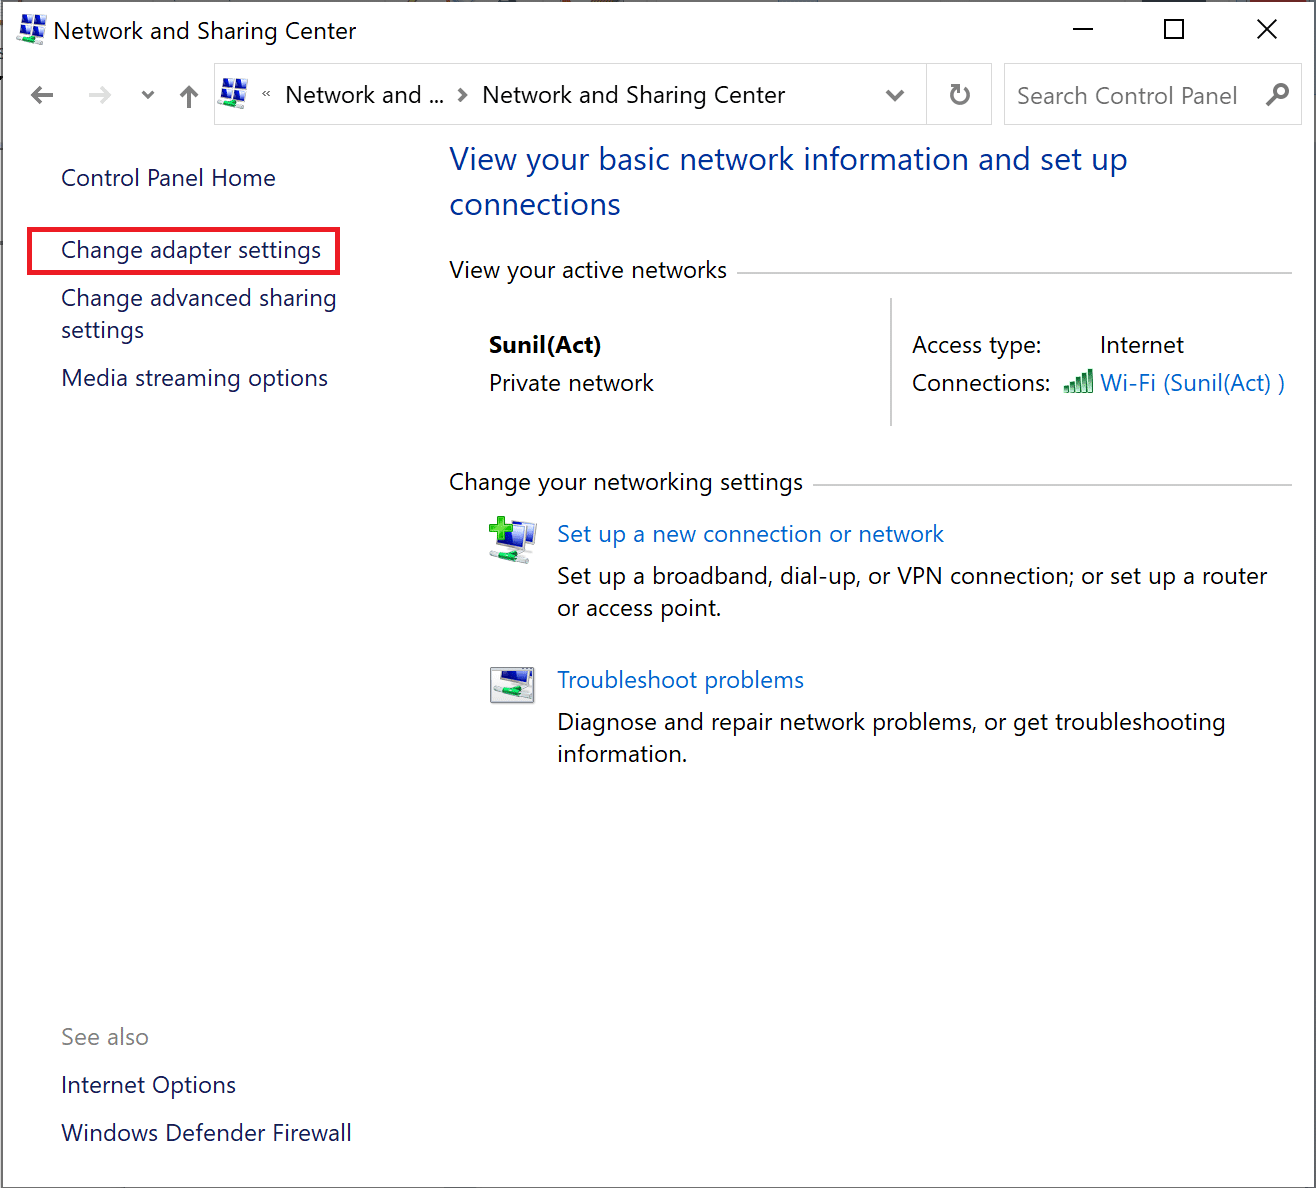
3. Tagad noklikšķiniet uz Mainīt adaptera iestatījumus option at the left sidebar.
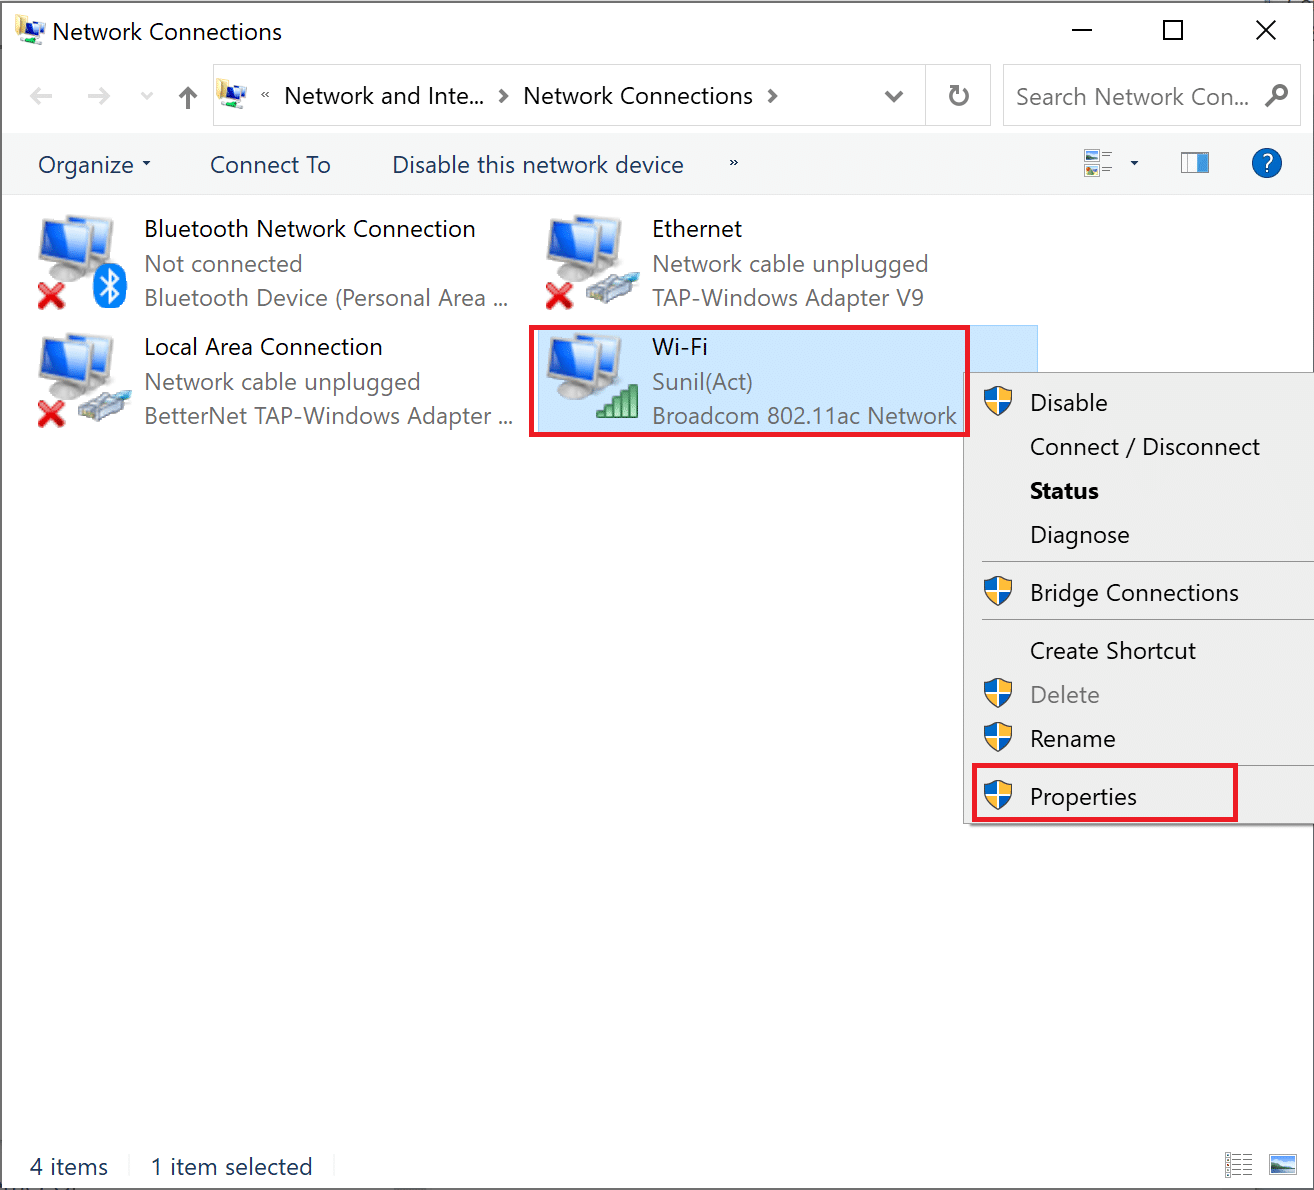
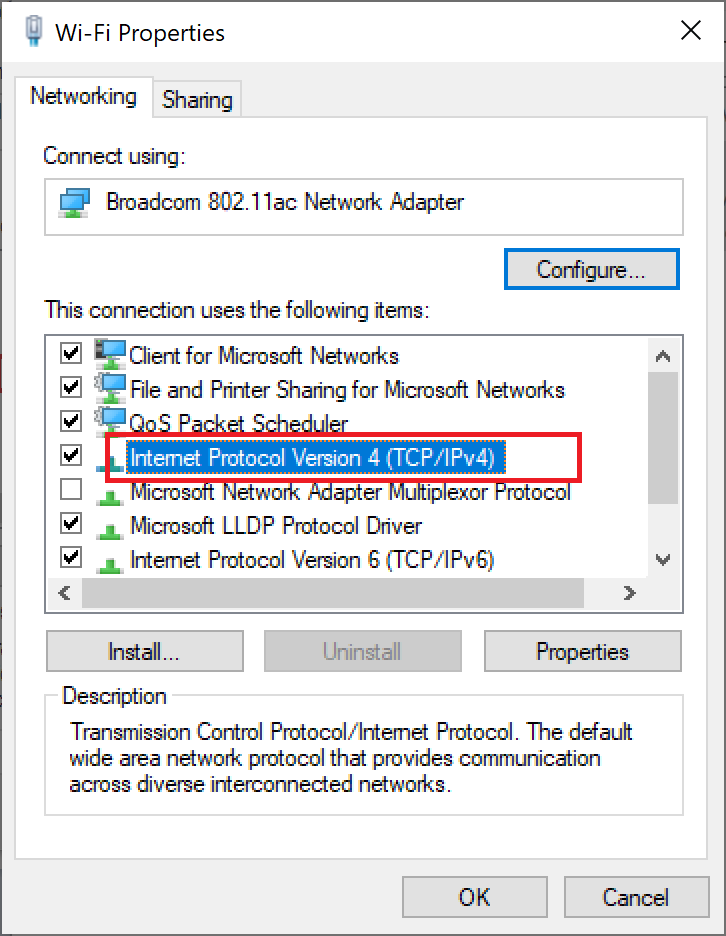
4. Next, right-click on your currently active internet connection and select Rekvizīti, kā izcelts.
5. In the Properties window, double-click on 4 Internet Protocol Version (TCP / IPv4).
6. Next, check the options titled Iegūstiet IP adresi automātiski un Izmantot šādu DNS serveru adreses, kā izcelts.
6a. For the Preferred DNS server, enter the Google Public DNS address as: 8.8.8.8
6b. And, In the Alternate DNS serveri, enter the other Google Public DNS as: 8.8.4.4
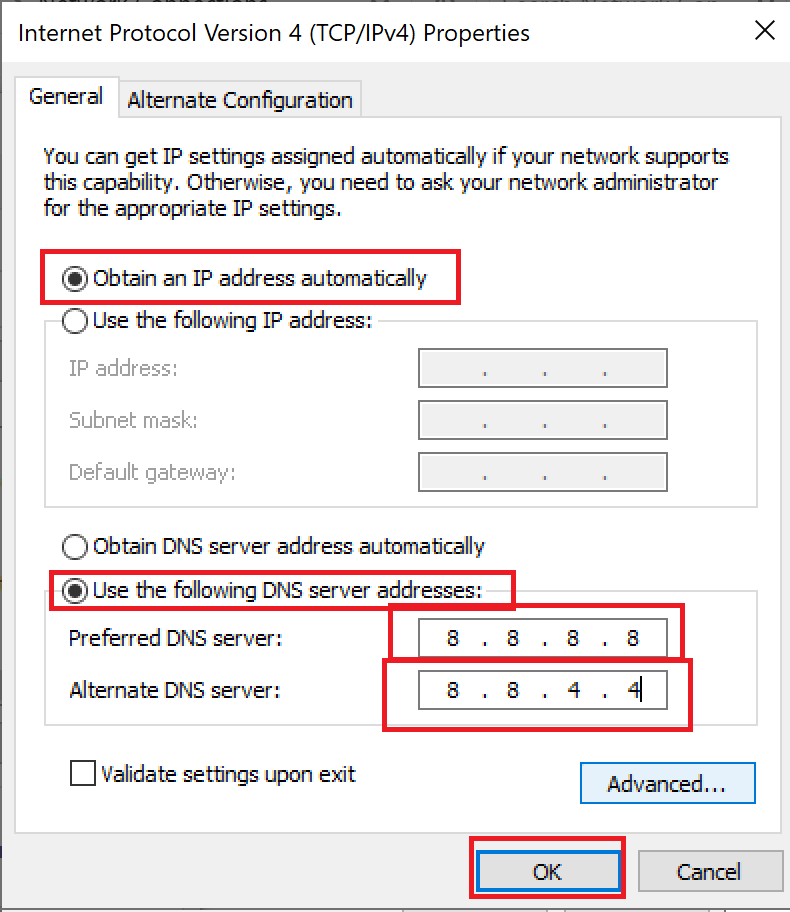
7. Visbeidzot, noklikšķiniet uz OK lai saglabātu izmaiņas un restartējiet datoru.
Method 6: Restart DNS Cache
You can follow these steps to restart DNS cache.
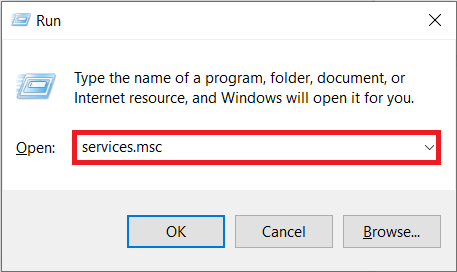
1. Nospiediet Windows + R taustiņi kopā, lai atvērtu skrējiens dialoglodziņš.
2. Then type services.msc un nospied Ievadiet taustiņu atvērt Pakalpojumi logs.
3. Right-click on DNS Client un izvēlieties Restartēt.
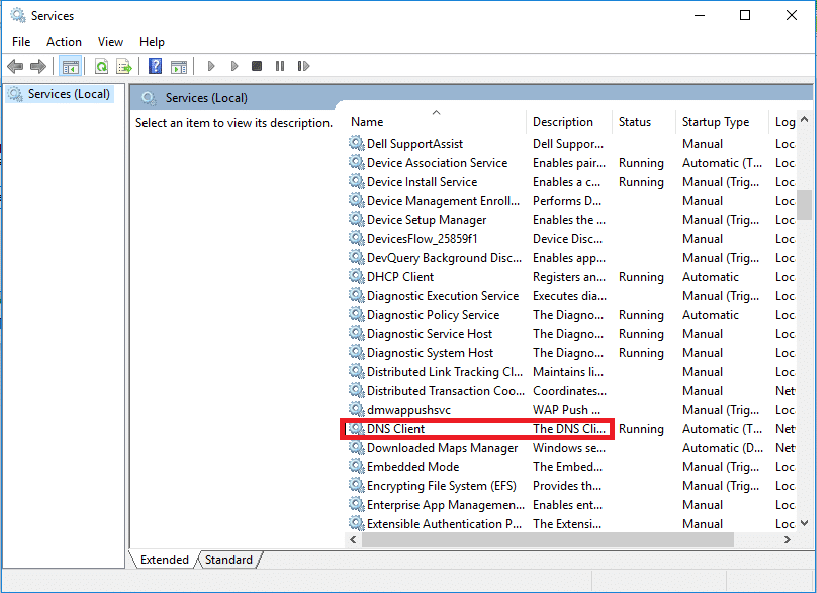
Piezīme: If you find no restart option and unable to restart it from this method, you do not need to worry. You just need to open an elevated Command Prompt on your system.
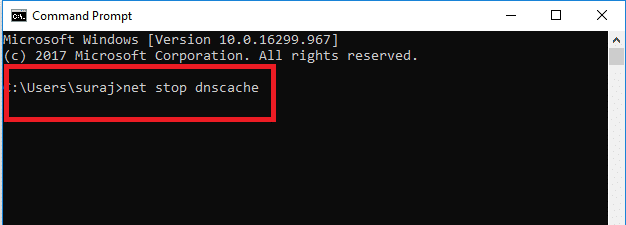
4. Ierakstiet tālāk norādīto komanda un nospied Ievadiet taustiņu.
net stop dnscache
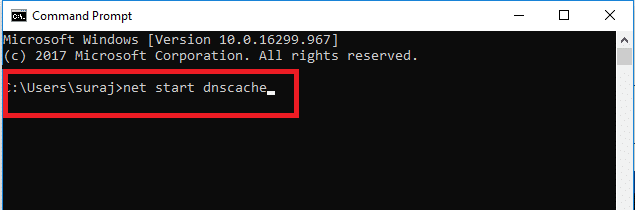
5. To start it again, type the given komanda un nospiediet Ievadiet taustiņu.
net start dnscache
Arī lasīt: How to Reset Network Settings on Windows 10
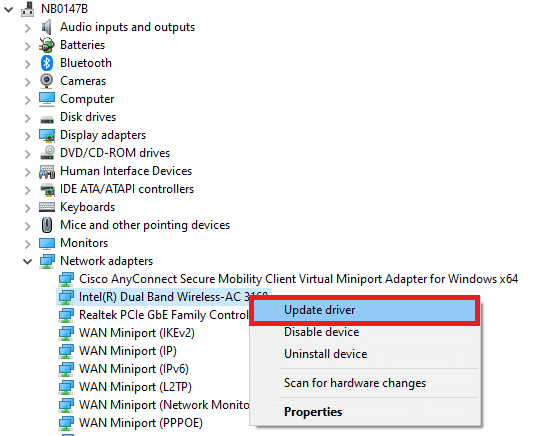
7. metode: atjauniniet tīkla draiveri
Outdated network drive also can cause server IP address could not be found error. If you do not have the latest driver versions installed, then this may create bugs and can result in the unstable network connection. So, updating your network driver is necessary for a good network connection. Read our guide to update network drivers on Windows 10.
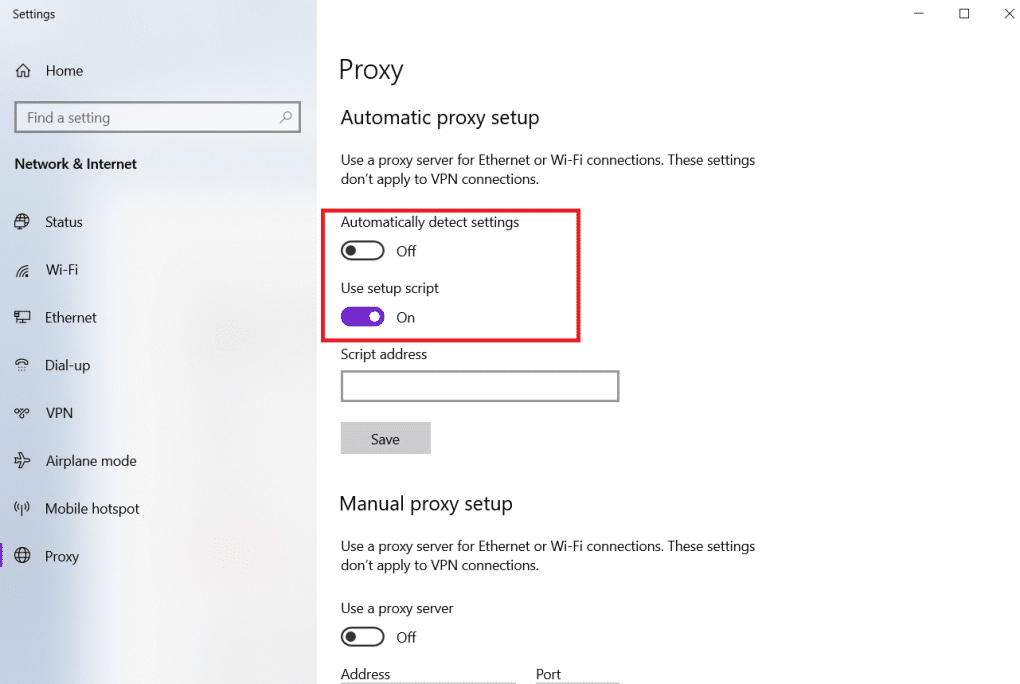
Method 8: Verify Proxy Settings
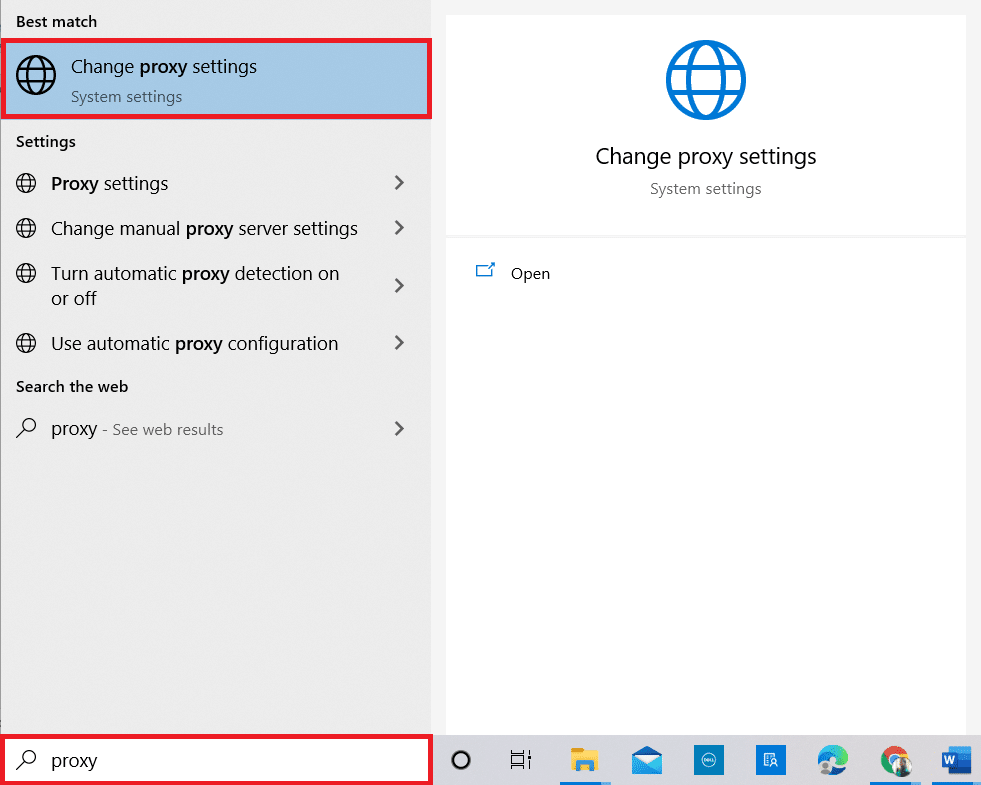
If you are using a proxy server, then using a particular proxy can create issues with your internet. You can change your proxy server to solve this problem. Follow the steps listed below to verify proxy settings.
1. Noklikšķiniet uz Windows atslēga un tips Pilnvara un noklikšķiniet uz Mainīt starpniekservera iestatījumus no meklēšanas rezultātiem.
2. Here, switch on the toggle for Automātiski noteikt iestatījumus.
Ieteicams:
We hope that you learned how to fix server IP address could not be found on Windows 10. Feel free to reach out to us with your queries and suggestions via the comments section below. Let us know what you want to learn about next.

