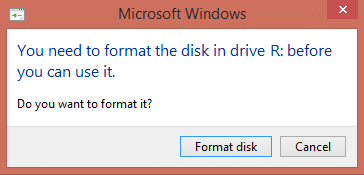
You need to format the disk before you can use it fix: When you plug in your USB device do you consider the option of ‘soa aman-tsara‘ removing the device? If not then you might reconsider it because the error “You need to format the disk in drive before you can use it” is caused by not removing your device safely and as a result, you cannot access your data.
The above error occurs when you remove your external USB drive tsy mampiasa ny Safely Remove Option which results in the USB drive Partition Table to become corrupted and unreadable.
To avoid losing your data or corrupting the storage drive’s partition table always make sure that you use the safely remove option before unplugging your drive. And in case you receive a warning message ‘This device is currently in use. Close any programs or windows that might be using the device and then try again’, then restart your computer.
Fix You need to format the disk in drive before you can use it
Method 1: Using Check Disk Utility
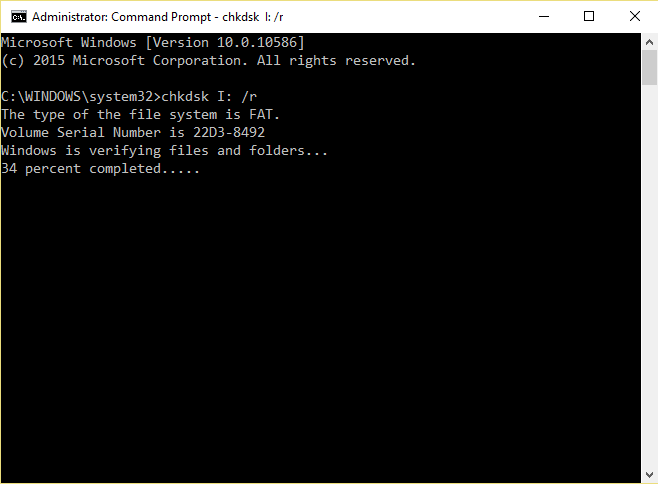
1. Note the driver letter in the error, for example, “You need to format the disk in drive H: in drive before you can use it.” In this example the drive letter is H.
2. Right click on the Windows button (Start Menu) and select “Command Prompt (Admin)."

3. Type the command in cmd: chkdsk (driveletter:) /r (Change drive letter with your own). Example: The drive letter is our example is “H:” hence the command should be chkdsk H: /r
4. If you are asked to recover files select Yes.
5. If the above command doesn’t work try: chkdsk (driveletter:) /f
In many cases, the windows check disk utility seems to fix You need to format the disk in drive before you can use it error but if it didn’t work don’t worry just continue to the next method.
Method 2: Use TestDisk utility
1. Download TestDisk utility to your computer from here: http://www.cgsecurity.org/wiki/TestDisk_Download
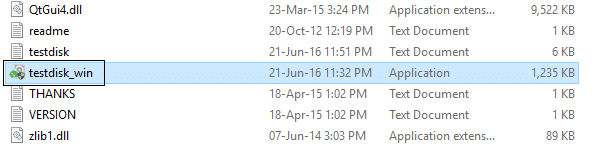
2. Extract the TestDisk utility from the downloaded file.
3. Now in the extracted folder double click on “testdisk_win.exe” to open the TestDisk utility.
4. At the TestDisk utility first screen, Select Create ary tsindrio ny Enter.

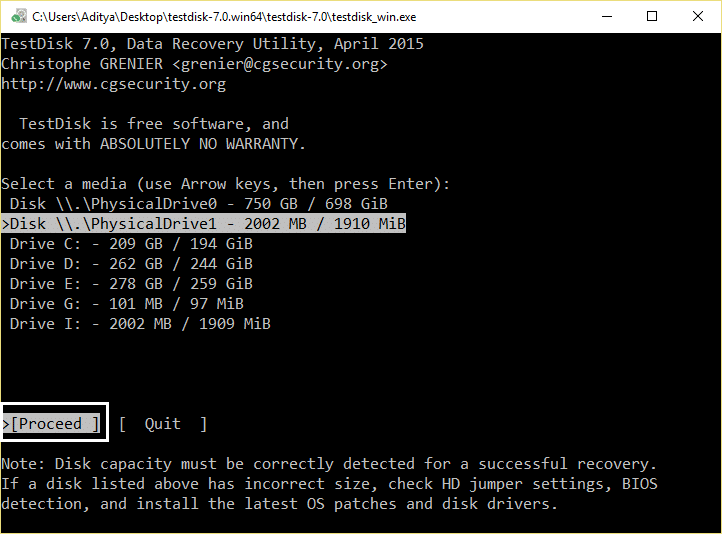
5. Wait until TestDisk scans your computer for connected disks.
6. Carefully select the unrecognized external USB hard drive like WD Ultra and press Enter to Proceed to disk analysis.
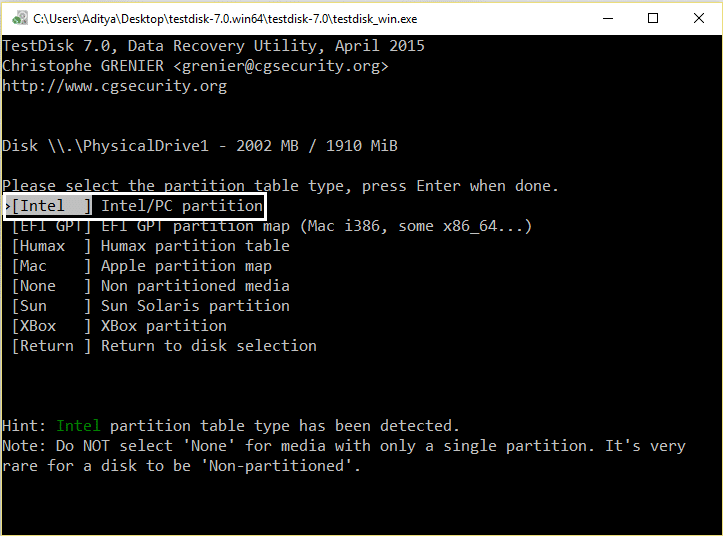
7. Fidio izao ny partition table type ary tsindrio ny Enter.
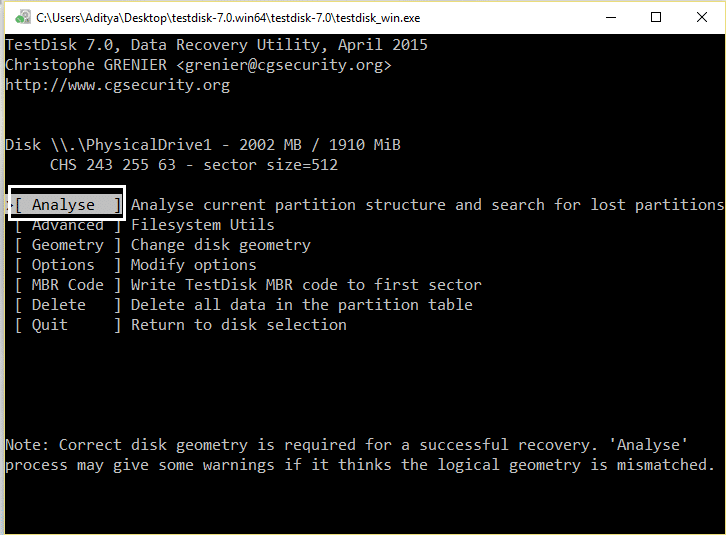
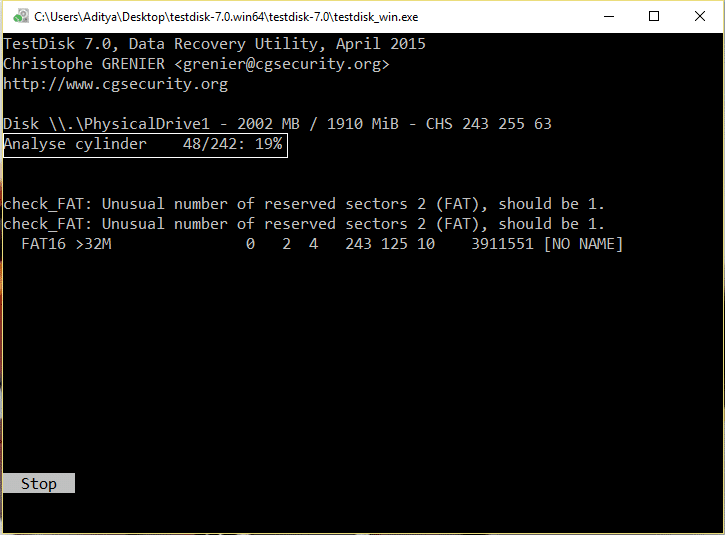
8. Select Analyze option and press Enter to let TestDisk utility to analyze your hard disk drive and find the lost partition table rafitra.
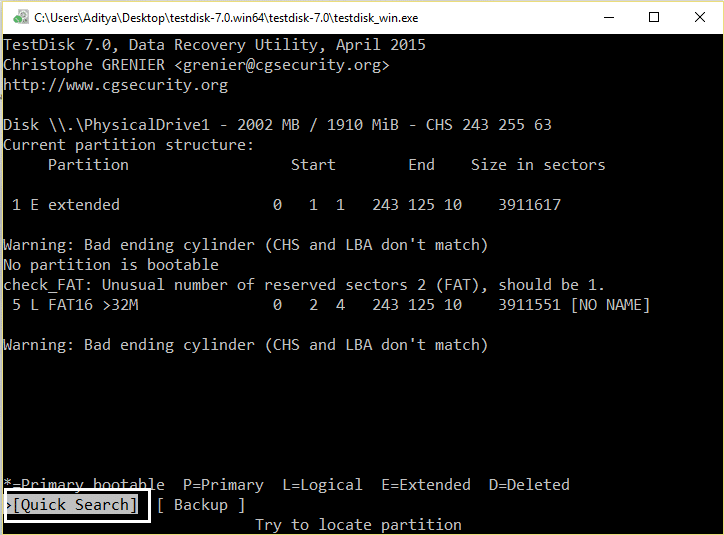
9. Now TestDisk should display the current partition structure. Select Fikarohana haingana ary tsindrio ny Enter.
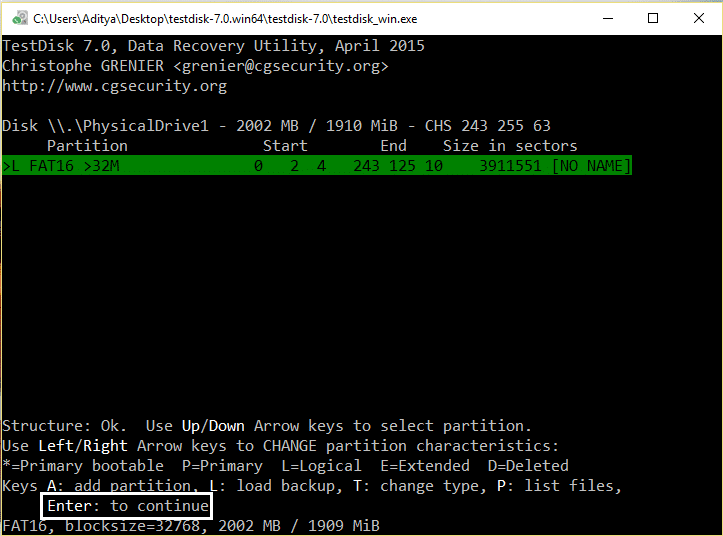
10. If TestDisk locates the lost partition’s then press “P” to ensure that your files are in this partition.
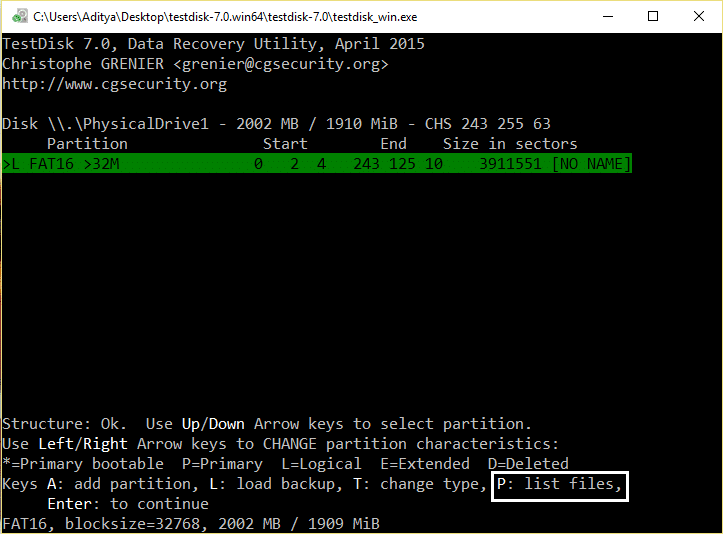
11. At this point two different things can happen:
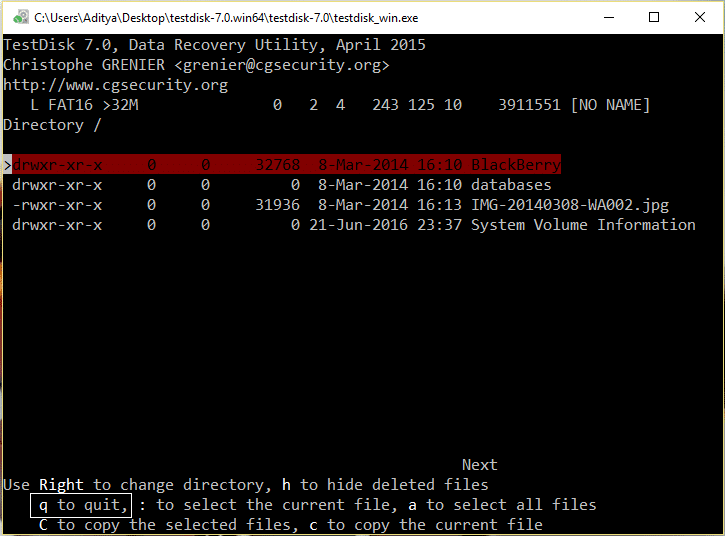
12. If you can see a list of your lost files on your screen then press “Q” to return to the previous menu and continue to “Write Partition Structure back to disk."
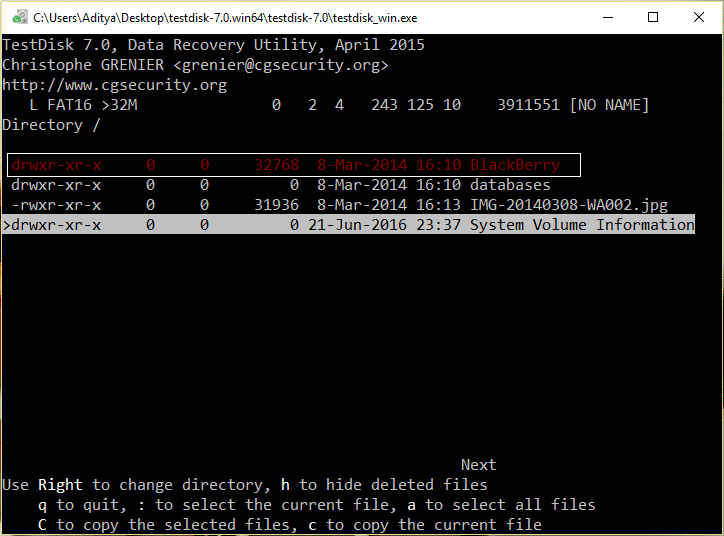
13. If you don’t see your files or the files are damaged, then you need to perform a Deeper search:
14. Press “Q” to quit and return to the previous screen.
15. At the previous screen, tsindrio ny Enter.
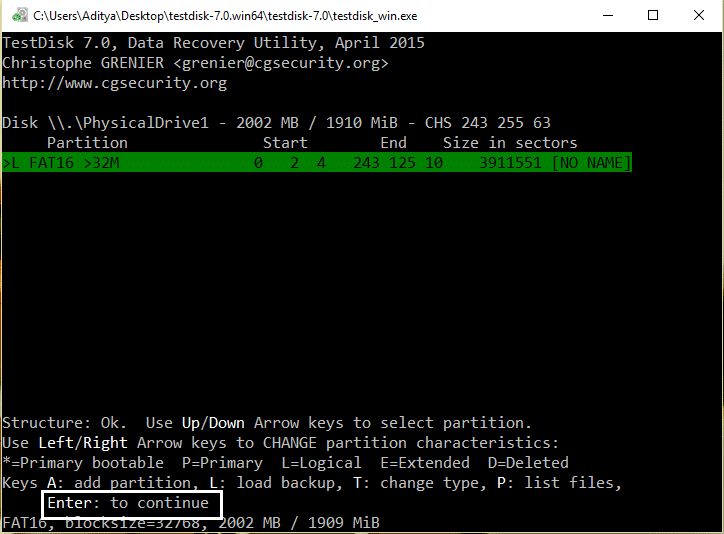
16. Press Enter one more time to manao a Deeper Search.
17. Avelao TestDisk analyzes your disk as this operation may take some time.
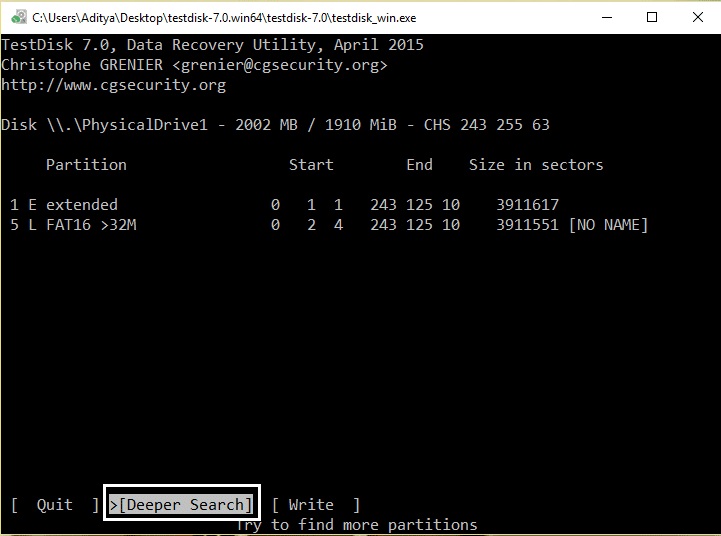
18. After the Deeper search is completed, again press “P” to see if your files are listed.

19. If your files are listed, then press “Q” to return to the previous menu and then continue to the next step.
Write Partition Structure back to disk.
1. After successful recognition of your files, press Enter again to restore the files.
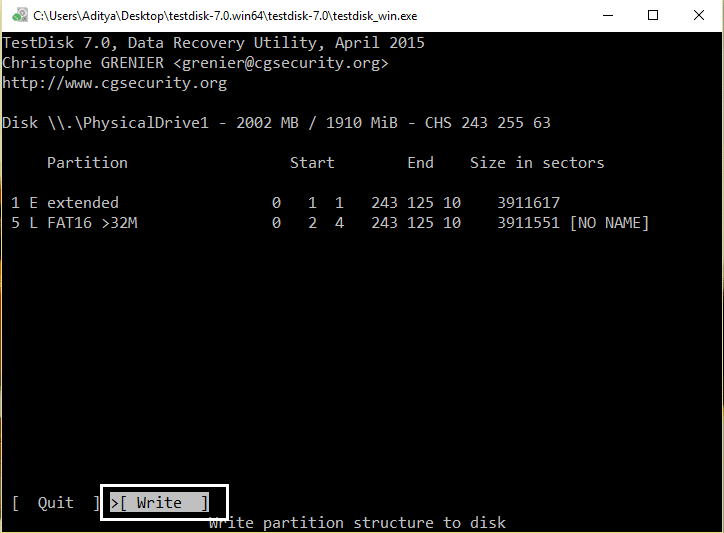
2. Farany, fidio ny Write option ary tsindrio Enter to write the found partition data to the hard disk’s MBR (Master Boot Record).
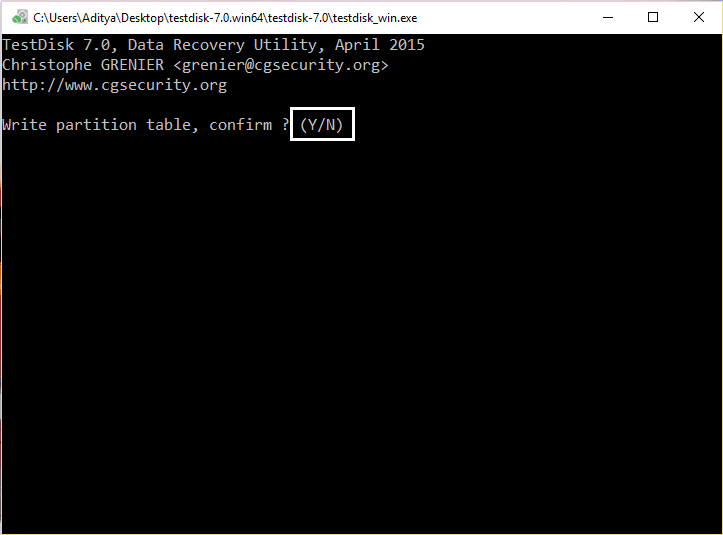
3. Press “Y” when asked to confirm your decision.
4. After that quit TestDisk utility by pressing “Q” and then restart your PC.
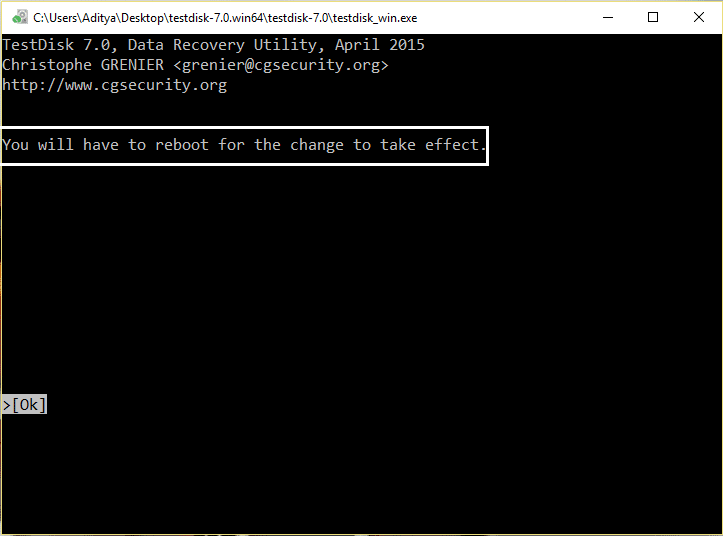
5. If during Startup, Windows Disk check utility shows up DO NOT INTERRUPT.
Azonao atao koa ny tianao:
That’s it if you have followed the above procedure correctly then the error message “You need to format the disk in drive before you can use it” is fixed and you should see your hard disk content again. If you still have any questions regarding this post feel free to ask them in the comment section.

