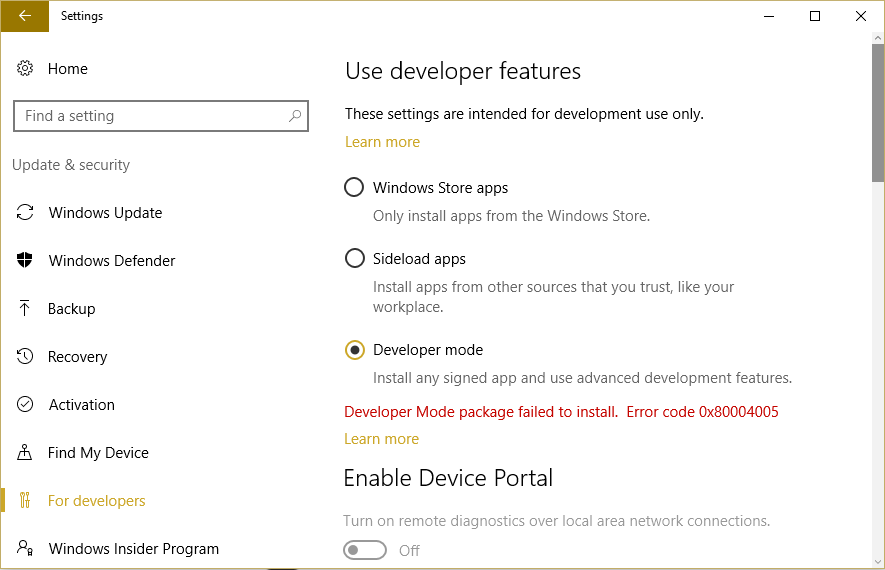
Fix Developer Mode package failed to install Error code 0x80004005: This error indicates that the extra components required by the OS to enable additional debugging features in the Windows Device Portal or the Visual Studio could not be installed automatically. In Windows 10 Developer mode is used for testing applications which are developed by you. You can activate developer mode by going to Settings app > Update & security > For developers > Developer mode. But some of the users have reported that when they try to activate Developer Mode they receive the following error message:
Developer Mode package failed to install. Error code: 0x80004005
Well, this problem certainly doesn’t let you test your apps which can be kind of roadblock if you’re pretty serious about app development. So let’s see how to troubleshoot this issue in order to fix it.
Whakatikahia te kete Aratau Kaiwhakawhanake i rahua te whakauru i te waehere Hapa 0x80004005
Make sure to create a restore point just in case something goes wrong.
Method 1: Manually Install Developer Mode
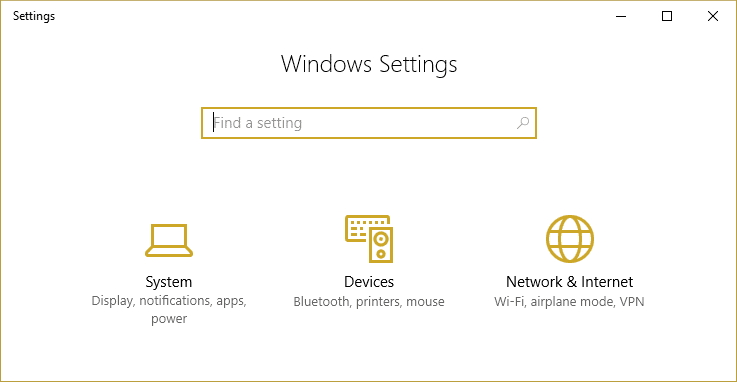
1.Press Windows Key + I ki te whakatuwhera Tautuhinga Matapihi.
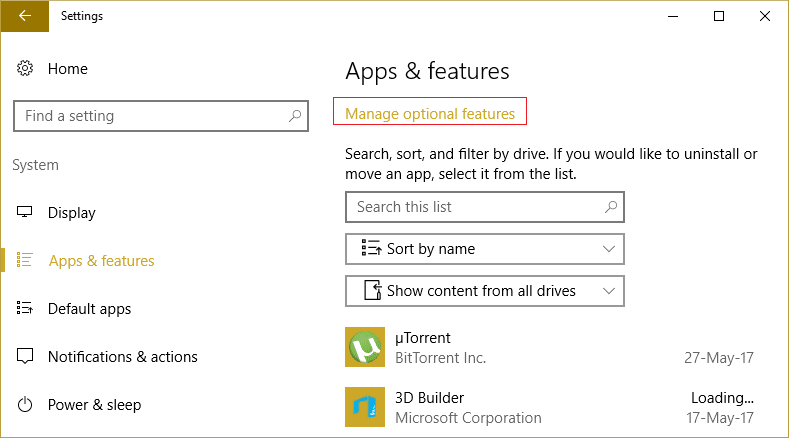
2.Next, pāwhiri pūnaha ka tīpako Taupānga me ngā āhuatanga.
3.Choose Manage Optional features under Apps & features on the top.
4.On the next screen, click Add a feature.
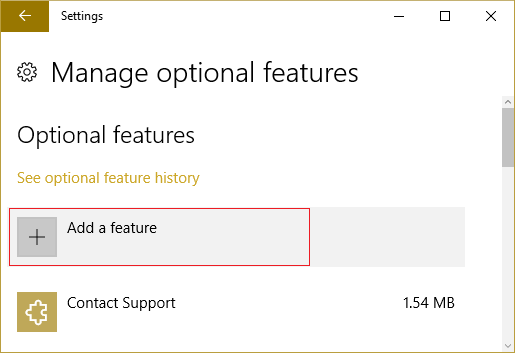
5.Na, panuku ki raro kia kitea ra ano Windows Developer Mode package and click on it then select tāuta.
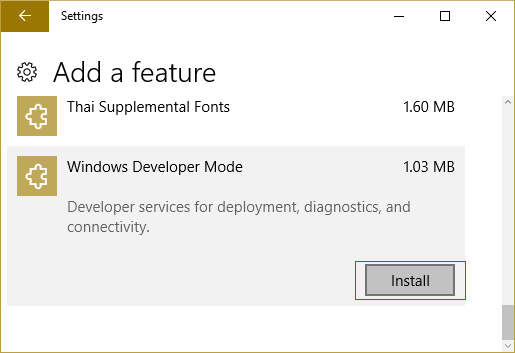
6.Whakahouhia to PC ki te tiaki i nga huringa.
7.Press Windows Key + X ka tīpako Tohuaki Tono(Kaiwhakahaere).

8.Type the following command in cmd and hit Enter:
sc config debugregsvc start=auto
sc start debugregsvc
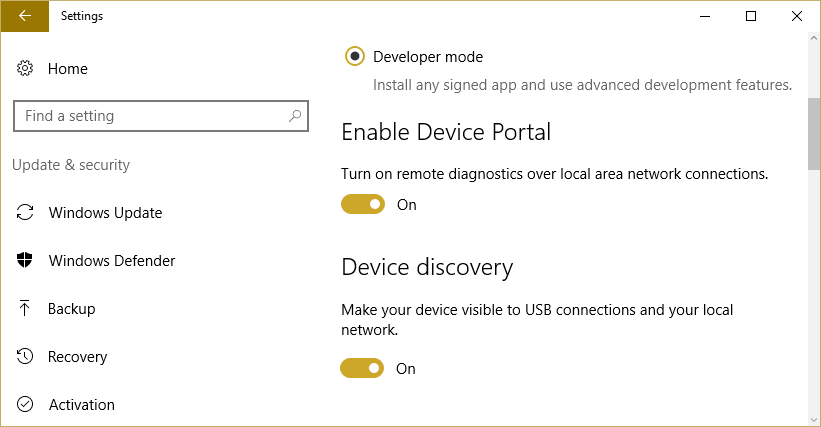
9.Now go back to the ‘Mo nga Kaihanga‘ Settings page. Unfortunately, you will still see the error 0x80004005 but now you should be able to enable Windows Device Portal and the Device Discovery features.
Method 2: Disable Custom Microsoft Software Update Services (SUS)
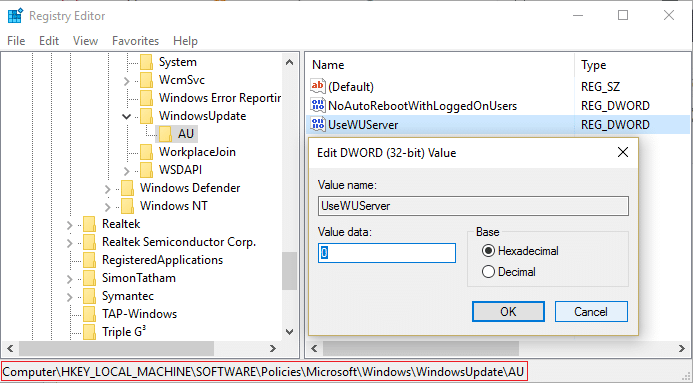
1.Pēhi Windows Key + R ka pato "regedit” and hit Enter to open Registry Editor.

2.Whakatere ki te Kī Rēhita e whai ake nei:
HKEY_LOCAL_MACHINESOFTWAREPoliciesMicrosoftWindowsWindowsUpdateAU
3.Now double click the key WhakamahiaWUServer in the right window pane and set it’s value to 0 in order to disable UseWUServer.
4. Patohia Windows Key + X ka pāwhiri Whakaaetanga Whakatairanga (Kaiwhakahaere).
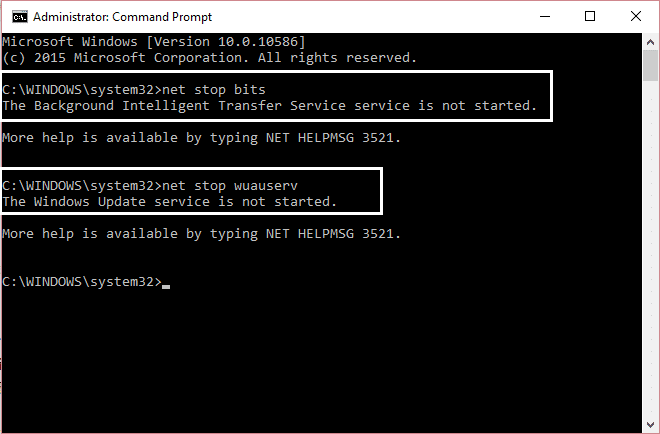
5.Now type the following command one by one and hit Enter after each one:
net stop wuauserv
net stop bits
net stop cryptsvc
net start wuauserv
net stop bits
net stop cryptsvc
6.Katia te tere whakahau me te whakaara ano i to PC hei tiaki i nga huringa.
E taunaki ana mo koe:
Koira kua angitu koe Whakatikahia te kete Aratau Kaiwhakawhanake i rahua te whakauru i te waehere Hapa 0x80004005 but if you still have questions regarding this guide please feel free to ask them in the comment’s section.

