Windows 10 offers various customizable sleep setting options, so your PC sleeps exactly the way you want. For example, you can set your PC to sleep after a predefined time period has elapsed. You can even make your PC fall asleep when you close your laptop’s lid.
In this guide, we’ll take a look at some of the Windows 10 sleep settings that you can tweak on your PC.
Choose the Idle Duration After Which Your PC Sleeps
When you configure sleep settings for your PC, the first option to define is how long your PC should be in idle mode to enter sleep mode. You can choose different options for both when your machine is plugged into a power source and when your machine is running on battery.
- Отворете го Подесувања app on your PC by pressing Windows + I клучеви во исто време.
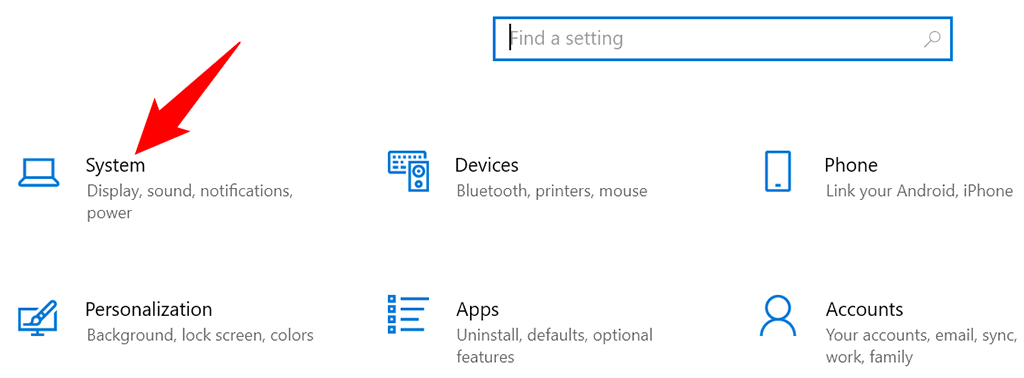
- изберете Систем на екранот со поставки.
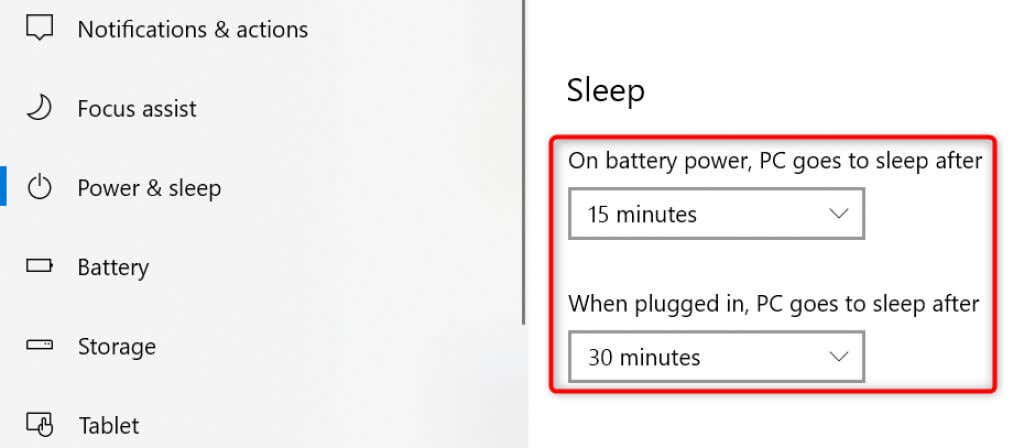
- Избери Моќ и спиење од страничната лента одлево.
- Define when your PC goes to sleep in the Спијам section on the right. Select an option from both drop-down menus depending on when your PC should enter sleep mode.
If you don’t want your PC to ever enter sleep mode, choose Никогаш не from both drop-down menus. This way, your PC never goes into sleep mode and always remains awake.
Put Your Laptop to Sleep When You Close the Lid
Windows 10 offers a sleep setting where you can put your laptop to sleep when you close the laptop’s lid. This is a handy and time-saving tip if you manually put your laptop to sleep mode while closing the lid.
- Отворете го Подесувања app on your PC by pressing Windows + I.
- Оди до Систем > Моќ и спиење во апликацијата Поставки.
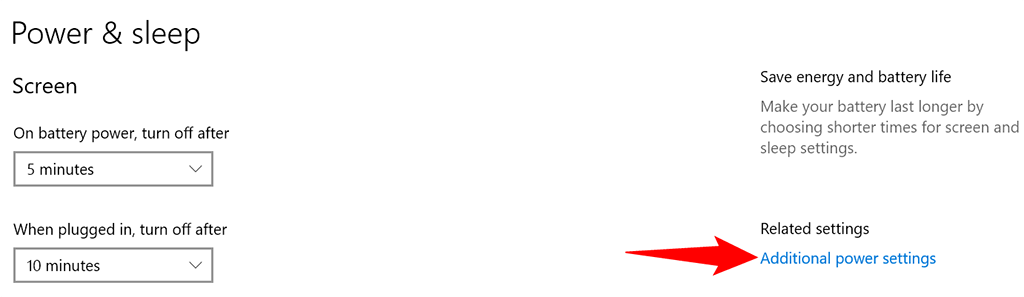
- Избери Дополнителни поставки за напојување from the sidebar on the right.
- изберете Изберете што го затвора капакот од левата странична лента.

- изберете Спијам од обете На батерија Вклучено drop-down menus for the Кога ќе го затворам капакот опција.
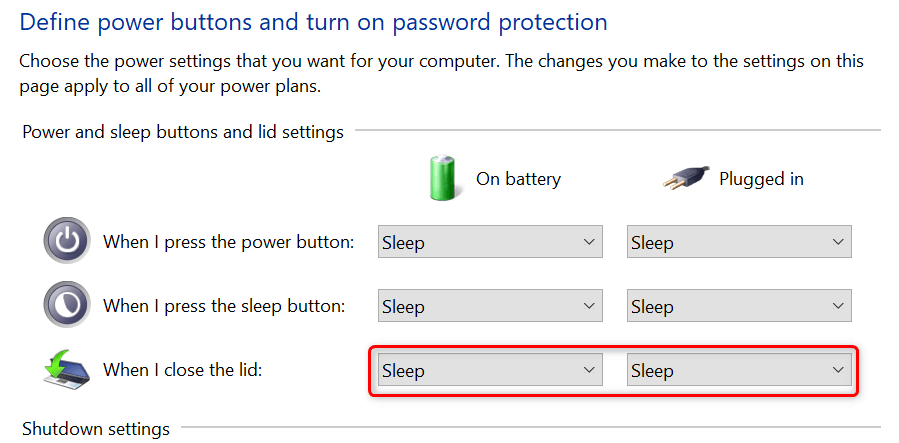
- изберете Зачувај промени at the bottom of the window to save your settings.
Prevent Your Mouse From Waking Up Your PC From Sleep
By default, Windows 10 allows your mouse or trackpad’s movement to bring your PC out of sleep mode. If you don’t want this to happen, turn off an option for your mouse in your PC’s Device Manager tool.
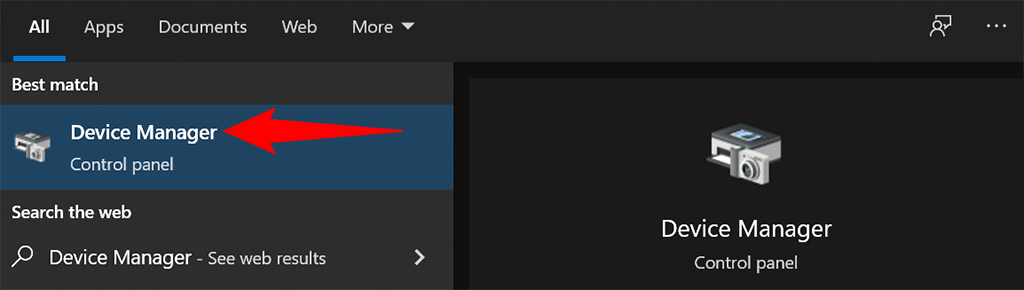
- Отворете го почеток мени, пребарување за Менаџер на уреди, и одберете Менаџер на уреди во резултатите од пребарувањето.
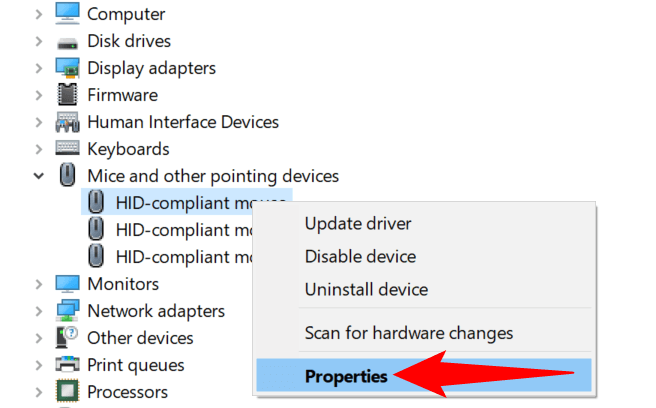
- Проширување на Глувци и други укажувачки уреди section in Device Manager.
- Right-click your mouse in the device list and select Својства од менито.
- Пристапете до Моќен менаџмент табот на прозорецот Својства.
- Оневозможете го Оставете го уредот да го разбуди компјутерот опција. Потоа, изберете OK на дното.
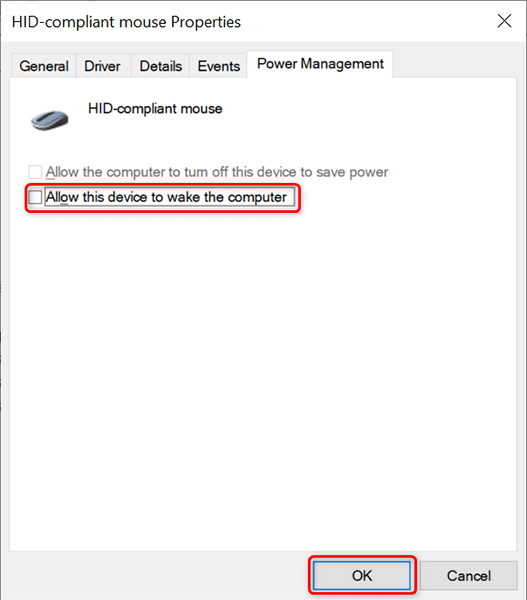
From now on, when your PC is in sleep mode and you move your cursor, your PC will remain in sleep and won’t come out of sleep mode.
Disable Hybrid Sleep Setting to Prevent Issues
Hybrid sleep in Windows 10 is the combination of sleep and hibernation modes. This combination sometimes creates various issues on your system. To prevent that from happening, it’s worth toggling off this option on your computer.
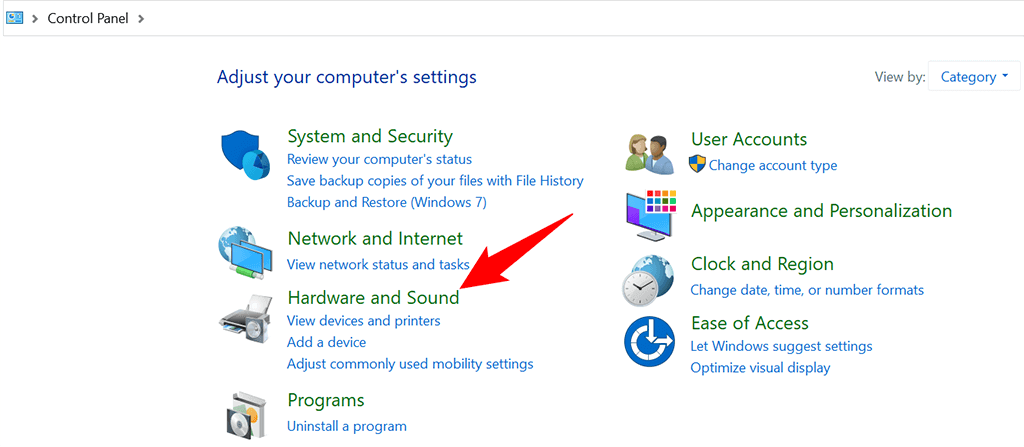
- Open Control Panel on your PC. The easiest way to do this is to open the почеток мени, пребарување за контролен панел, и одберете ја таа опција во резултатите од пребарувањето.
- Избери Хардвер и звук на прозорецот Контролен панел.
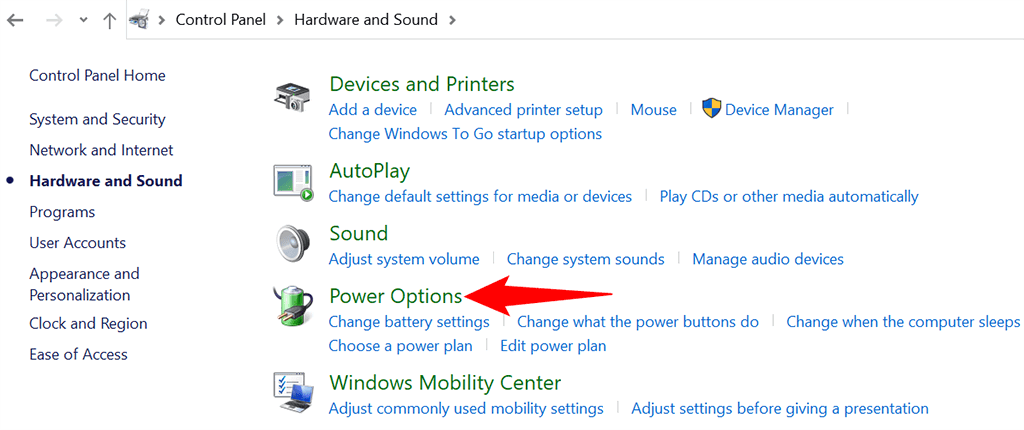
- изберете Опции за напојување on the screen that follows.
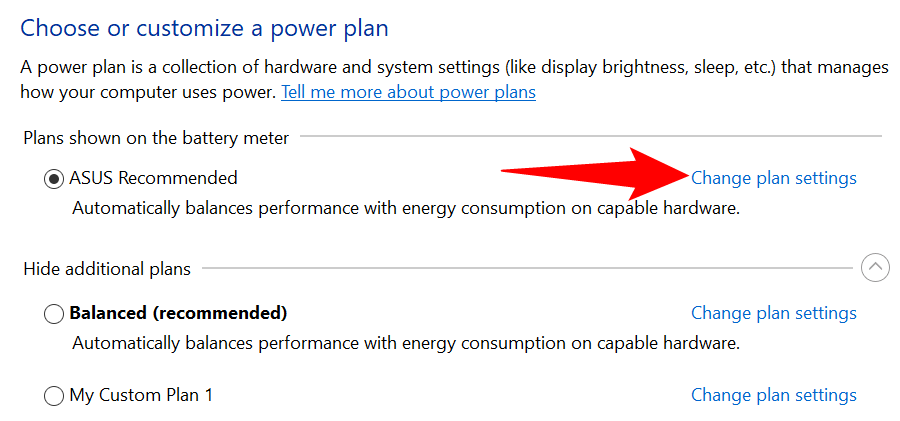
- Find your active power plan and select Промени ги поставувањата на планот next to your plan.
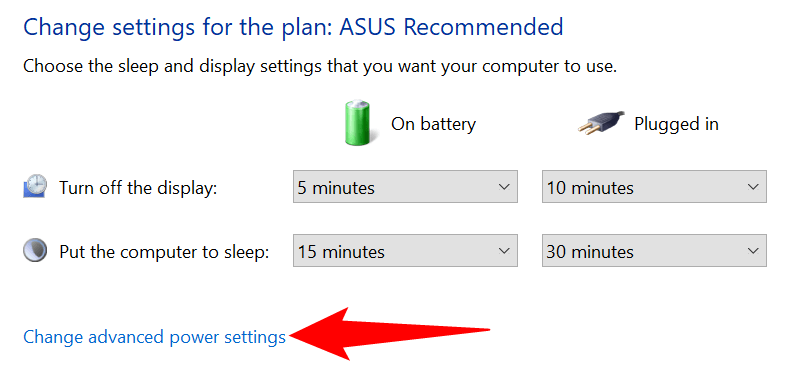
- изберете Променете напредни поставки за енергија.
- Проширување на Спијам опција на Опции за напојување прозорец.
- Проширете Дозволете хибриден сон и изберете Исклучување за двете На батерија Вклучено опции.
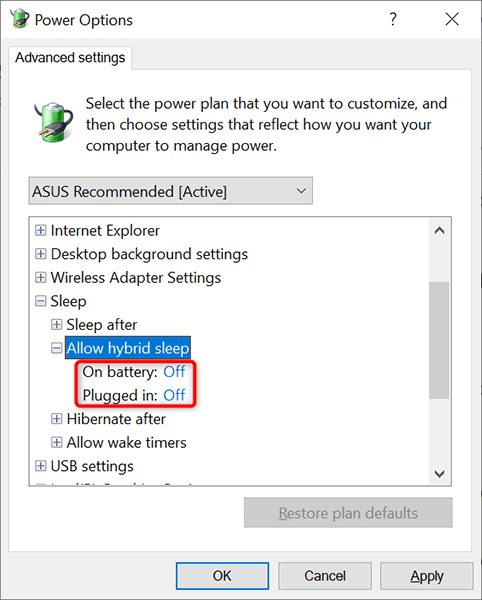
- изберете Применуваат проследено со OK на дното на прозорецот.
Change Your Power Plan to Apply Different Windows 10 Sleep Settings
Each power plan on your Windows 10 PC carries different sleep settings. If you want to quickly apply a specific set of power and sleep settings to your PC, change your power plan to the one that has the sleep settings you want.
Да го сториме тоа:
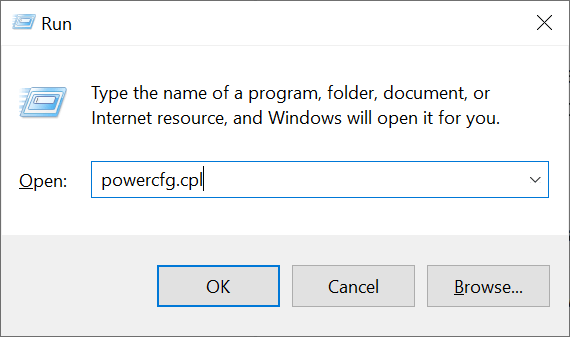
- прес Windows + R клучеви за отворање на Испратена кутија.
- Внесете го следново во Испратена кутија и притиснете Внесете: powercfg.cpl
- You’ll see the power plans available on your PC. Select the radio button beside the plan that you’d like to activate.
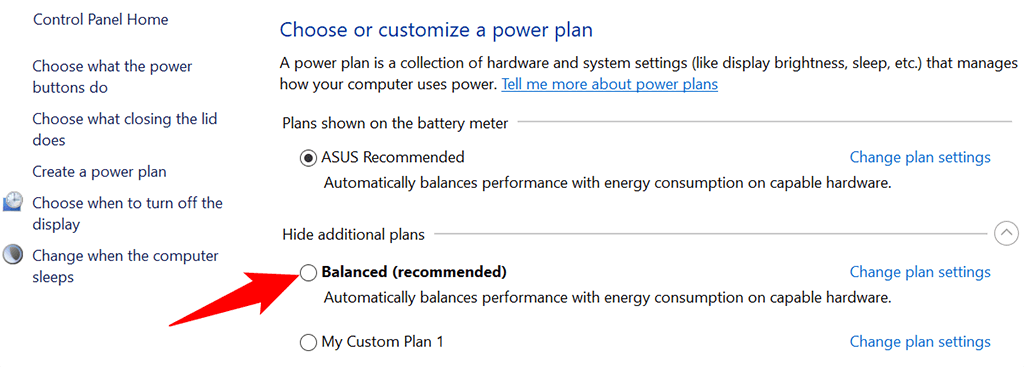
Your PC now uses both power and sleep settings from your selected power plan. If a plan doesn’t meet your needs, you can quickly and easily switch to another plan whenever you want.
Create a Power Plan With Custom Sleep Settings
If the Windows 10 sleep settings you need are not available in the default power plan, you can create your own custom power plan. You can copy the settings from an existing plan, tweak them to your requirements, and make a custom plan of yours.
- Десен-клик на почеток мени и изберете Опции за напојување.
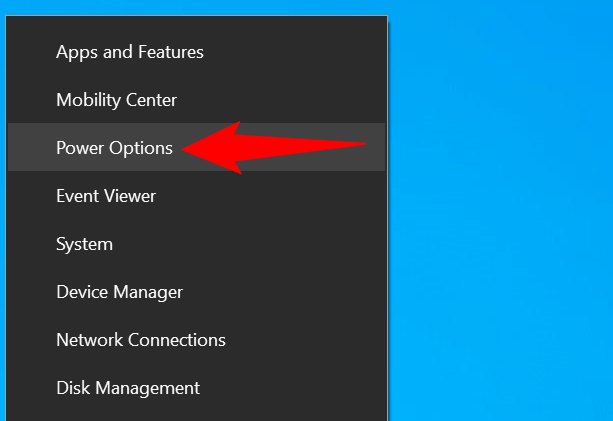
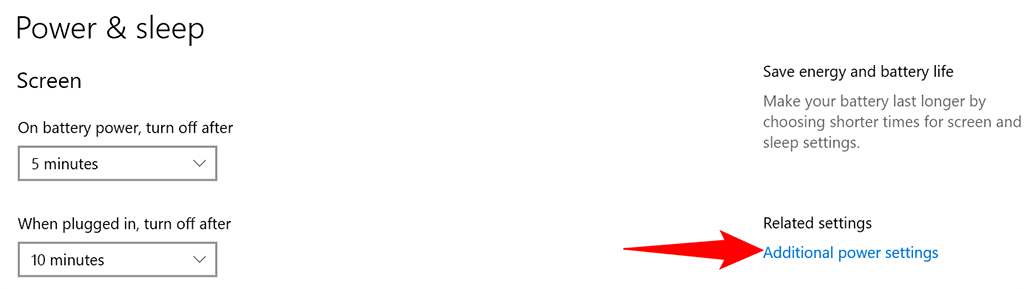
- изберете Дополнителни поставки за напојување from the right sidebar.
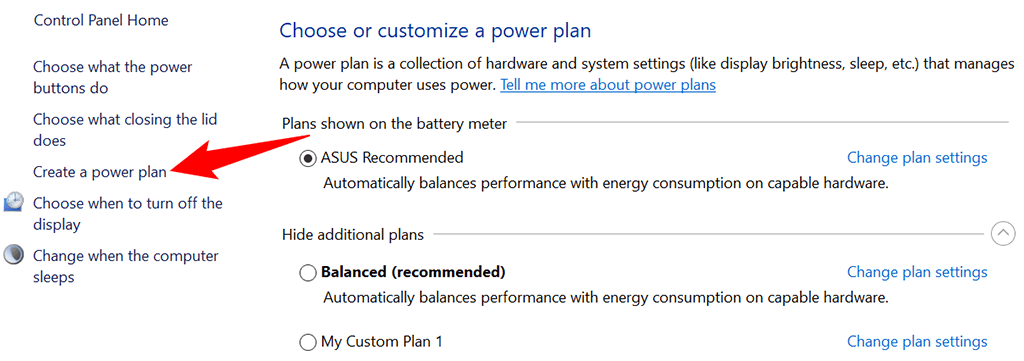
- Избери Create a power plan from the options in the left sidebar.
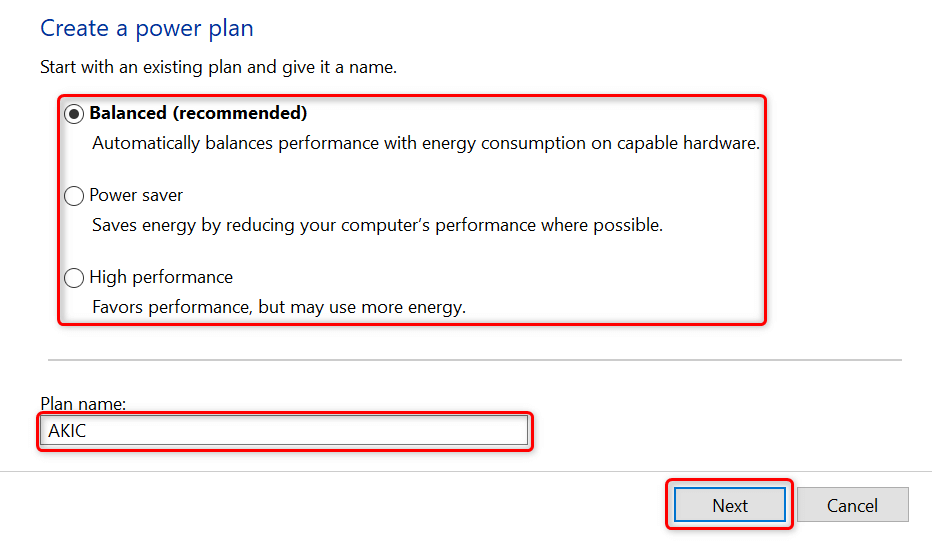
- Select an existing plan to copy settings from, type a name for your new power plan, and choose Следна.
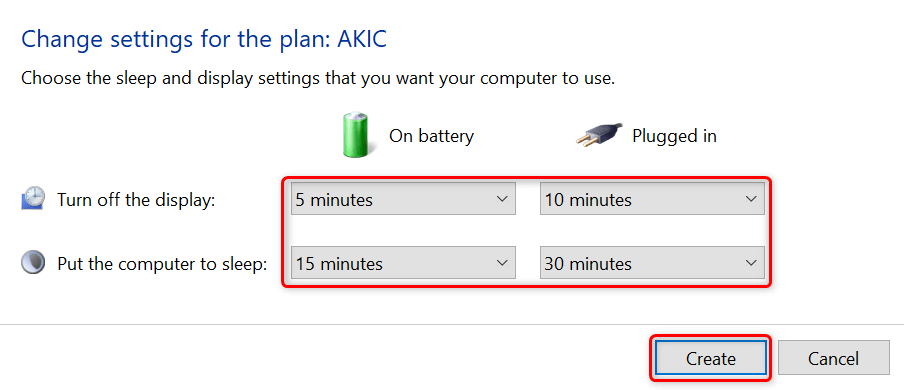
- Одредете го display off and sleep settings, and then select Креирај.
- You’ll now see your newly created power plan on your screen. This plan is now in use and is the default power plan for your PC.
- To change your power plan’s advanced options, select Промени ги поставувањата на планот > Променете напредни поставки за енергија.
Customize Your Windows 10 PC’s Sleep Patterns to Your Liking
Windows 10 comes with appropriate sleep settings enabled, but these don’t always match a user’s requirements. Luckily, you can customize these sleep settings to your own specifications and make the sleep feature function exactly the way you want.
And, if your Windows 10 PC still won’t sleep, there are ways to fix that issue.

