On a Windows computer, if you want to connect to another device, you can do so by setting up a remote desktop connection. You can use the Microsoft Remote Desktop app on Windows 10 to remotely connect to and access another computer over the same network or internet. Setting up a remote connection allows you to access your Windows computer’s files, programs and resources from some other computer using Windows. To set up your computer and your network for remote connection, follow the steps given below.
Windows 10 дээр Remote Desktop програмыг хэрхэн ашиглах вэ
Enable Remote Connections On Your Computer
Before setting up remote access on your computer, you need to enable Remote Desktop Connections on your computer. The limitation, however, is that not all versions and editions of Windows allow Remote Desktop Connections. This feature is available only on Pro and Enterprise versions of Windows 10 and 8, and Windows 7 Professional, Ultimate and Enterprise. To enable remote connections on your PC,
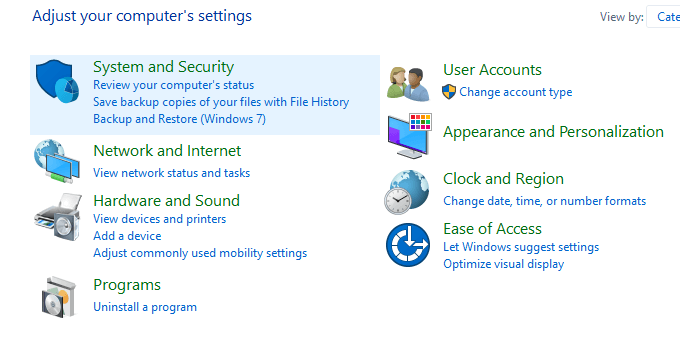
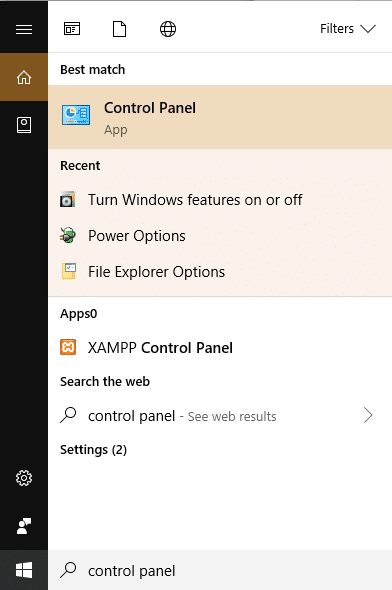
1. Type ‘хяналтын самбар’ in Start Menu Bar хайх and click on the search result to open.

2. 'дээр дарна ууСистем болон Аюулгүй байдал'.
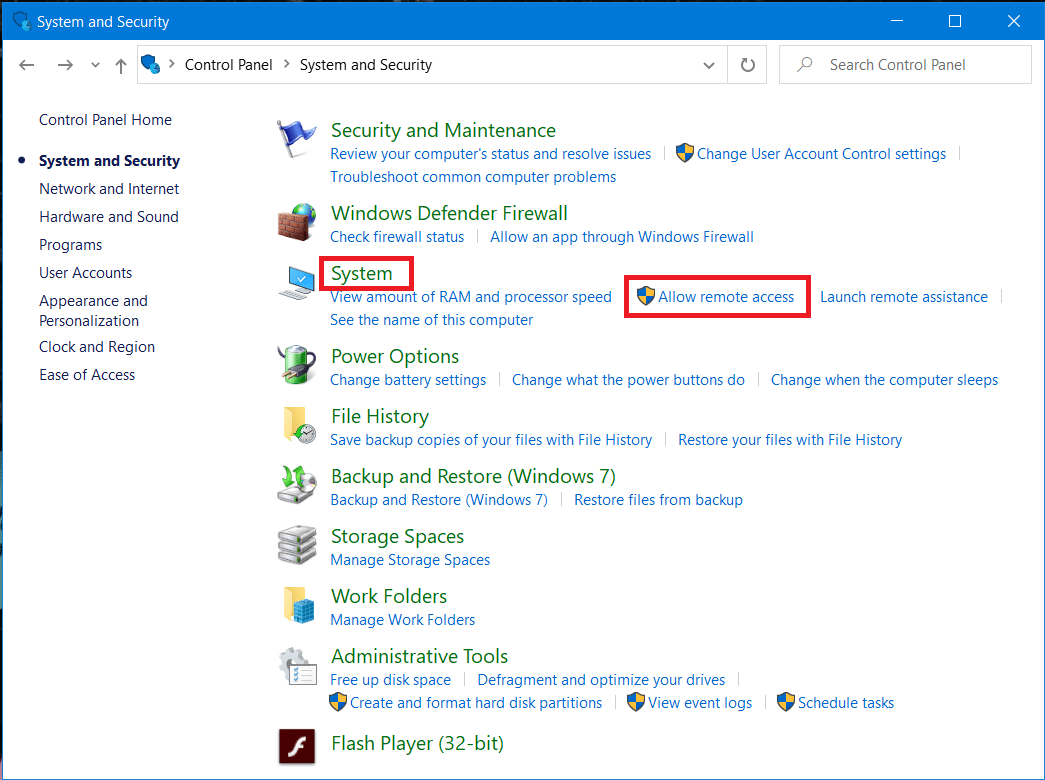
3. Now under System tab Click on ‘Алсын хандалтыг зөвшөөрөх'.
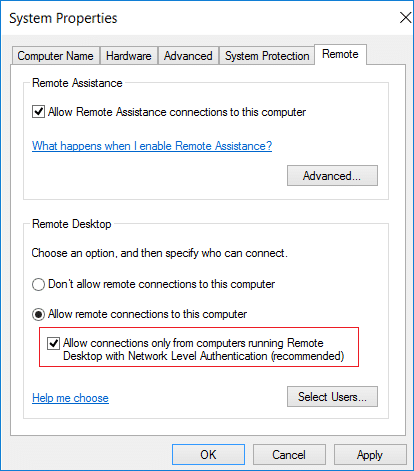
4. Доор алсын tab, check the checkbox ‘Allow remote connections to this computer’ then click on ‘түрхэнэ’ and OK өөрчлөлтөө хадгалах.
 "
"
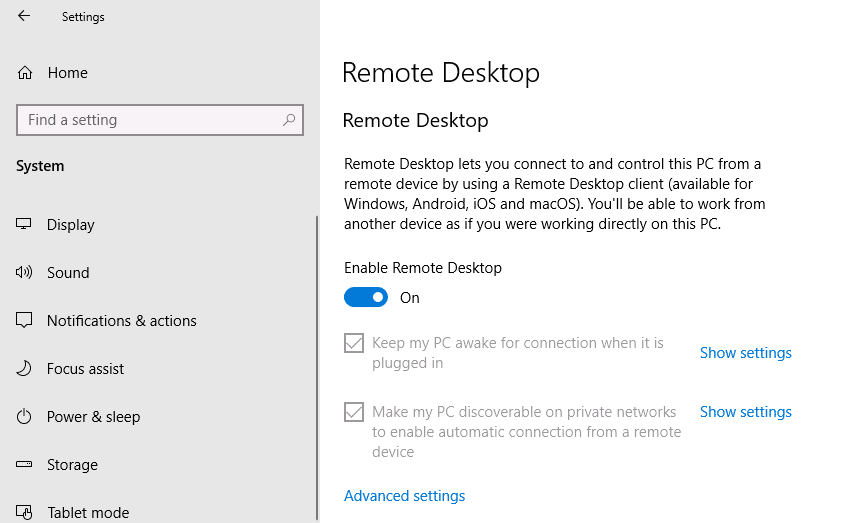
If you’re running Windows 10 (with Fall Update), then you can do the same by following the below steps:
1. Хэвлэлийн Windows түлхүүр + I to open Settings then click систем.

2. Сонгох 'Алсын Ширээний’ from the left pane and Turn on the toggle next to Enable Remote Desktop.
Configuring Static IP Address on Windows 10
Now, if you’re using a private network, then your IP addresses will change every time you connect/disconnect. So, if you’re going to utilize the remote desktop connection regularly, then you should assign a static IP address on your computer. This step is crucial because, if you don’t assign a статик IP, then you will need to reconfigure the port forwarding settings on the router every time a new IP address is assigned to the computer.
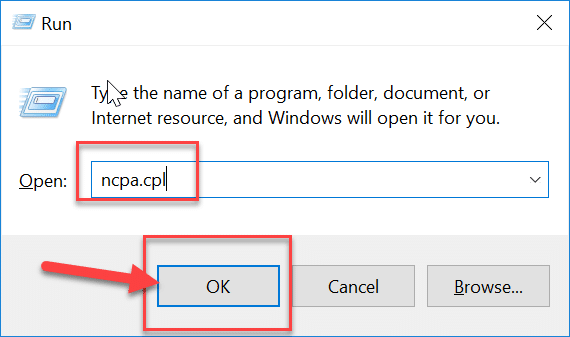
1. Хэвлэлийн Windows түлхүүр + R дараа нь бичнэ үү ncpa.cpl болон цохих оруулна уу to open Network Connections window.
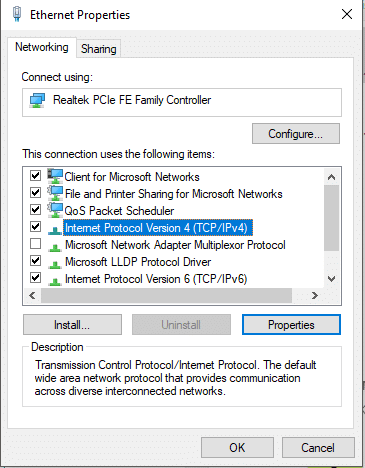
2. Баруун товчлуур дээр дарна уу on your network connection (WiFi/Ethernet) and select Үл хөдлөх хөрөнгө.

3. Сонгох Интернет протоколын хувилбар 4 (TCP / IPv4) сонголтыг хийгээд дээр дарна уу Үл хөдлөх хөрөнгө товчлуур.
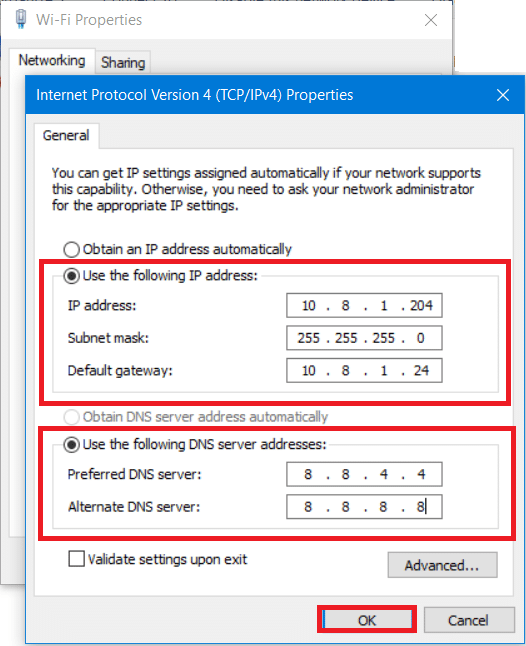
4. Now checkmark “Дараах IP хаягийг ашигла” option and enter the following information:
IP хаяг: 10.8.1.204
Дэд сүлжээний маск: 255.255.255.0
Анхдагч гарц: 10.8.1.24
5. You need to use a valid local IP address that shouldn’t conflict with the local DHCP Scope. And the default gateway address should be the IP address of the router.
Тайлбар: Олохын тулд DHCP configuration, you need to visit the DHCP settings section on your router admin panel. If you don’t have the credentials for the router’s admin panel then you can find the current TCP/IP configuration using the ipconfig / бүх командын мөр дэх тушаал.
6. Next, checkmark “Дараах DNS серверийн хаягийг ашигла” and use the following DNS addresses:
Дуртай DNS сервер: 8.8.4.4
Сул DNS сервер: 8.8.8.8
7. Эцэст нь дээр дарна уу OK button followed by Close.
Чиглүүлэгчээ тохируулна уу
If you want to set up remote access over the Internet, you will need to configure your router to allow remote connection. For this, you need to know the public IP address of your device so that you contact your device on the Internet. If you don’t know it already, you can find it by following the given steps.
1. Вэб хөтчөө нээгээд дараах руу очно уу Google.com or bing.com.
2. ' гэж хайхWhat’s my IP’. You will be able to see your public IP address.

Once you know your public IP address, continue with the given steps to forward the port 3389 on your router.
3. Type ‘хяналтын самбар’ in Start Menu Bar хайх and click on the search result to open.
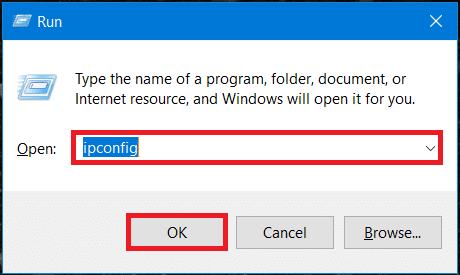
4. Хэвлэлийн Windows түлхүүр + R, a Run dialogue box will appear. Type the command ipconfig болон дар оруулна уу түлхүүр.
5. The Windows IP configurations will be loaded. Note down your IPv4 Address and Default Gateway (which is your router’s IP address).
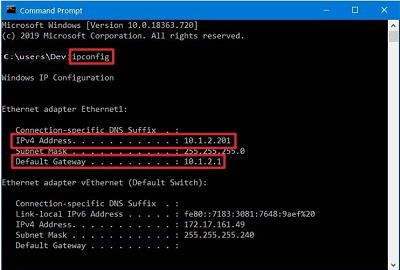
6. Now, open your web browser. Type the noted default gateway address and press оруулна уу.
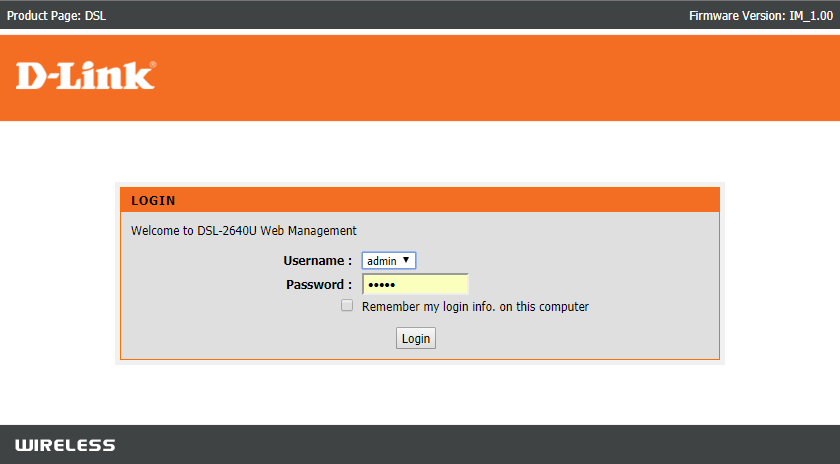
7. You will have to log in to your router at this point using your username and password.
8. In the ‘Боомтын дамжуулалт’ section of the settings, enable Port Forwarding.
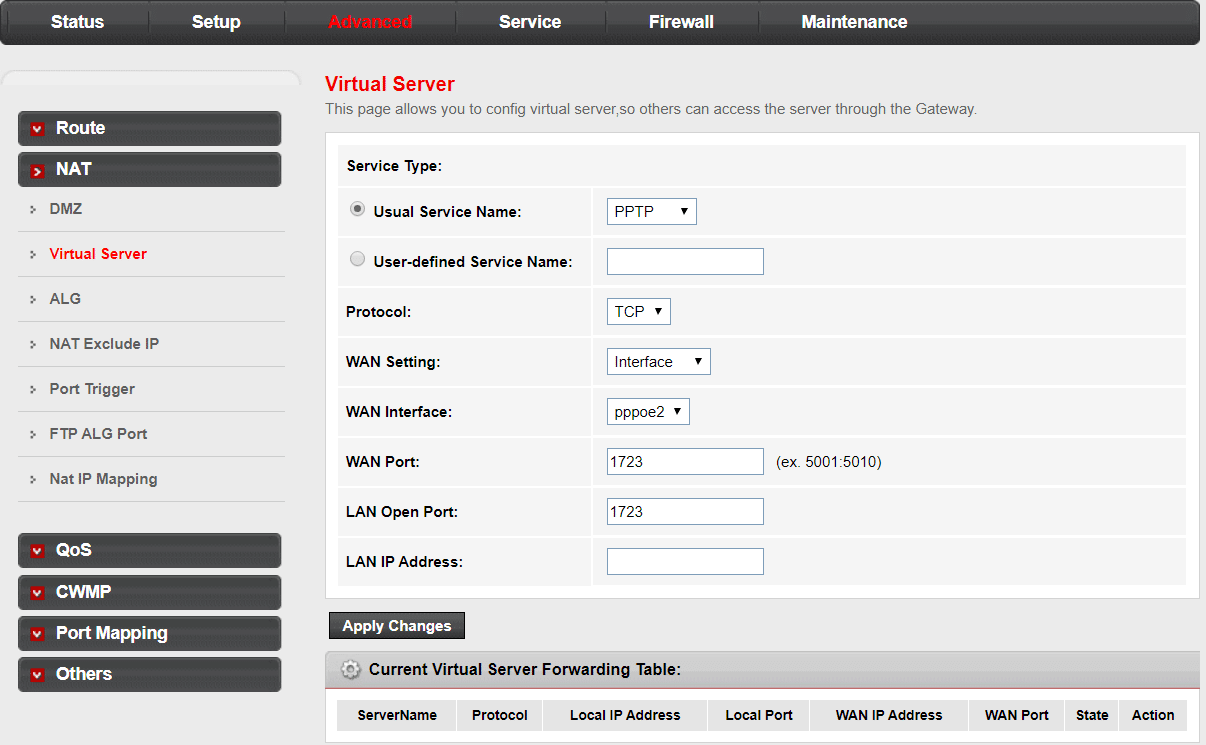
9. Add the required information under port forwarding like:
- In the SERVICE NAME, type the name you want for reference.
- Under PORT RANGE, type port number 3389.
- Enter the IPv4 address of your computer under the LOCAL IP field.
- Type 3389 under the LOCAL PORT.
- Finally, select TCP under PROTOCOL.
10. Add the new rule and click on түрхэнэ тохиргоог хадгалахын тулд.
Зөвлөмж: Change Remote Desktop Port (RDP) in Windows 10
Use the Remote Desktop app on Windows 10 to start Remote Desktop Connection
By now, all the computer and network configurations have been set up. You can now start your remote desktop connection by following the command below.
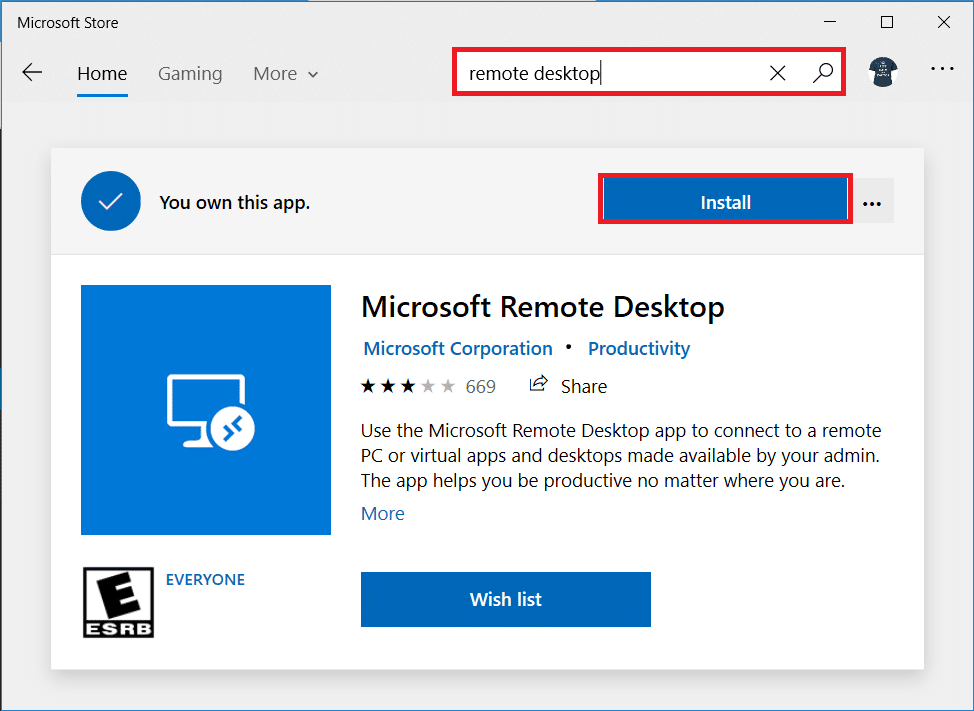
1. From the Windows Store, download the Microsoft Remote Desktop апп.
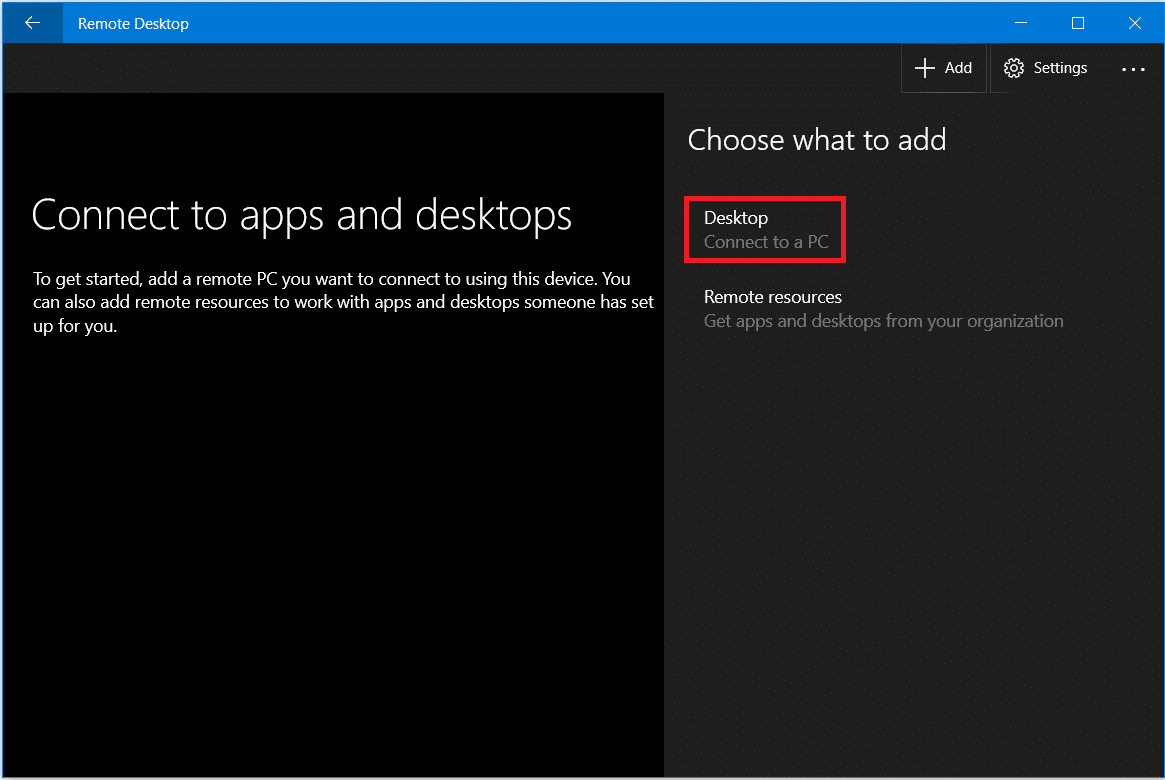
2. Launch the app. Click on the ‘нэмэх’ icon on the top right corner of the window.
![]()
3. '-г сонгоно уу.Ширээний’ option form the list.
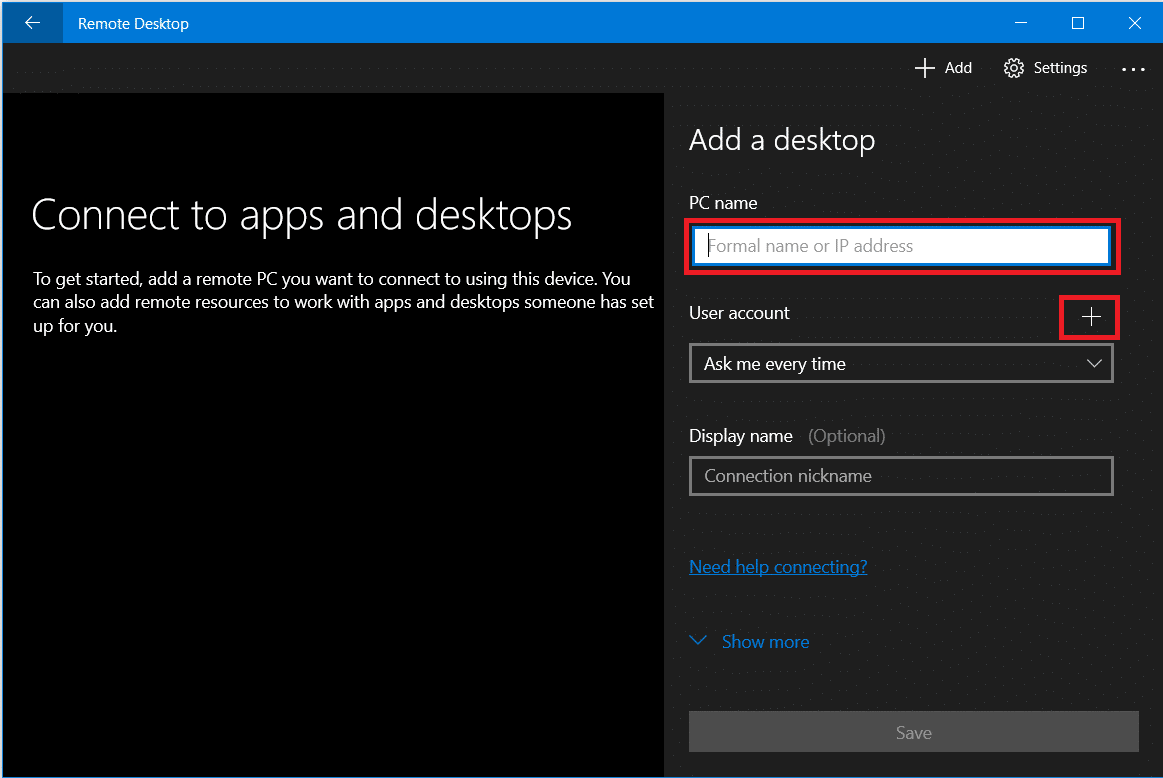
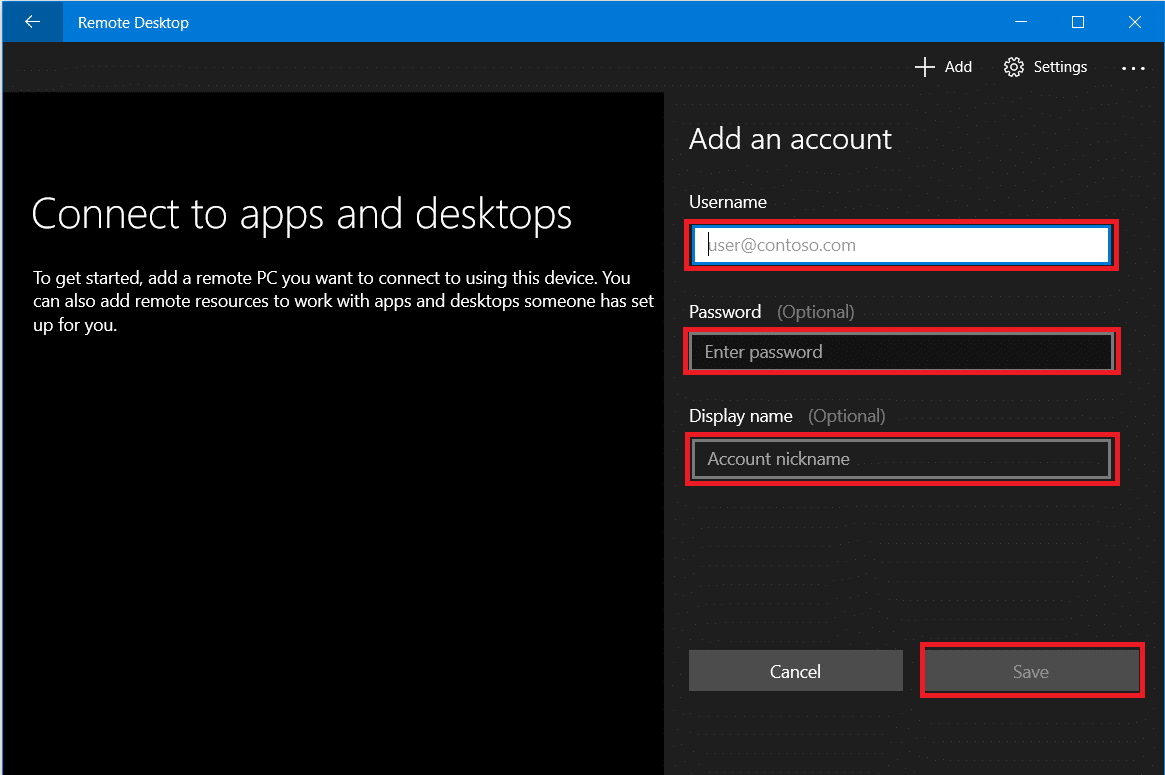
4. Under the ‘Компьютерийн нэр’ field you need to add your PC’s IP хаяг, depending upon your choice of connection than click on ‘Данс нэмэх'.
- For a PC located in your private network, you need to type the local IP address of the computer that you need to connect to.
- For a PC over the Internet, you need to type the public IP address of the computer that you need to connect to.
5. Enter your remote computer’s sign-in credentials. Enter the local хэрэглэгчийн нэр болон нууц үг for a local account or use the Microsoft account credentials for a Microsoft account. Click on ‘Save'.
6. You will see the computer that you want to connect to the available connections list. Click on the computer to start your remote desktop connection and click on ‘холбоно'.
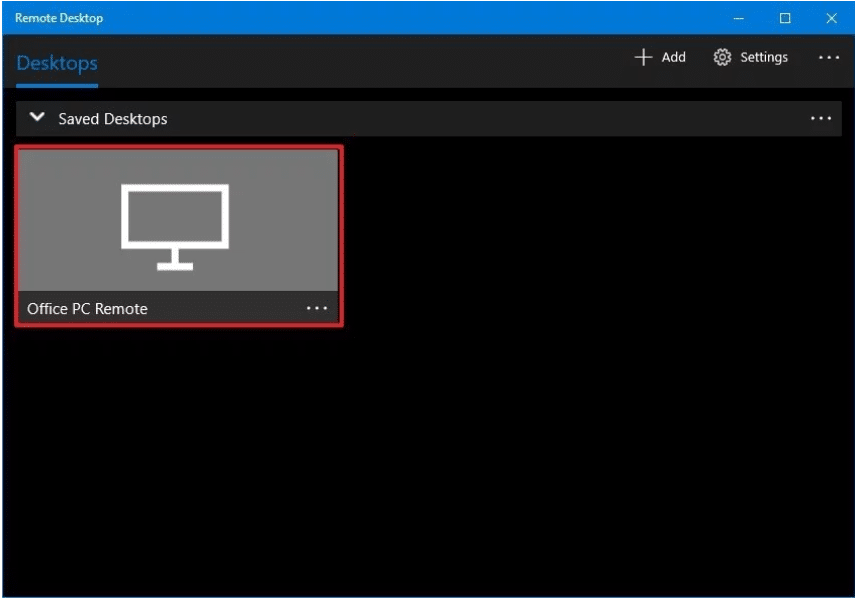
You will be connected to the required computer remotely.
To further change settings of your remote connection, click on the gear icon on the top right corner of the Remote Desktop window. You can set the size of the display, session resolution, etc. To change settings for just one particular connection, right-click on the required computer from the list and click on ‘Засах'.
Зөвлөмж: Access Your Computer Remotely Using Chrome Remote Desktop
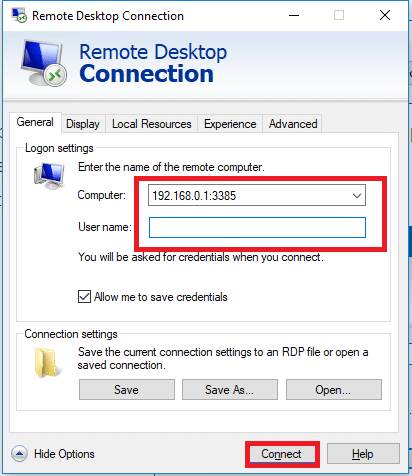
Instead of the Microsoft Remote Desktop app, you can also use the older Remote Desktop Connection app. To use this app,
1. In the Start Menu Search field, type ‘Алсын ширээний холболт’ and open the app.
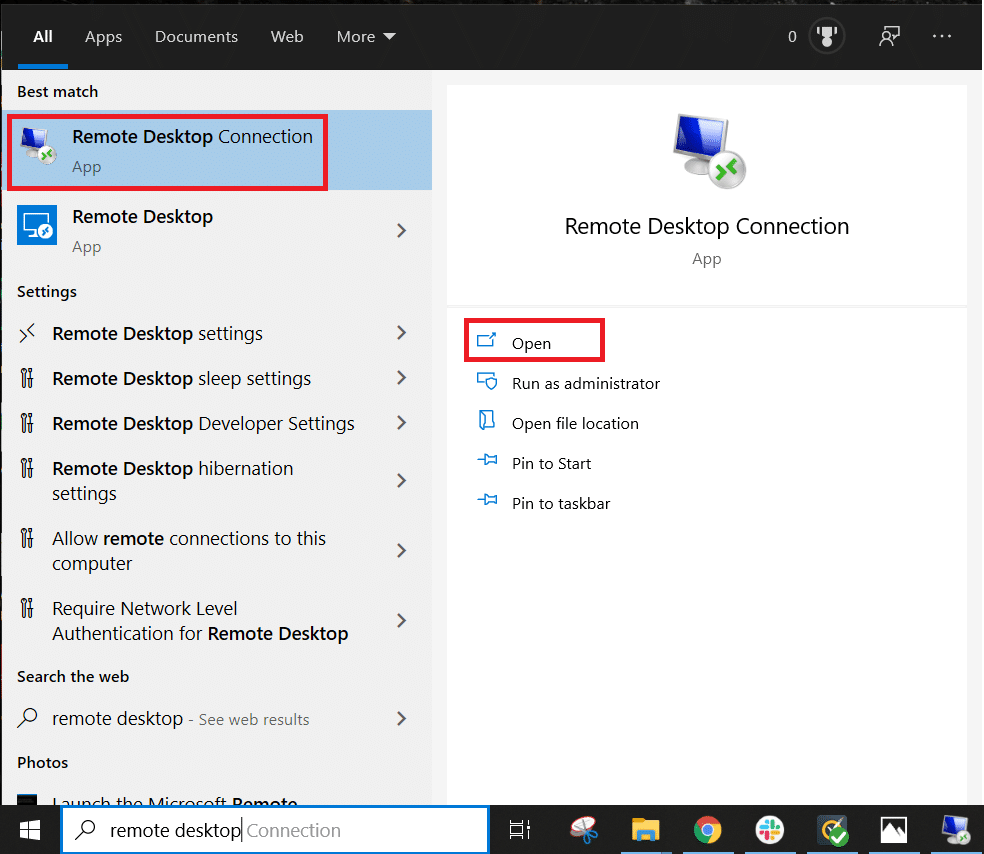
2. The remote desktop app will open, type the name of the remote computer (You will find this name in the System Properties on your remote computer). Click on Холбоно.
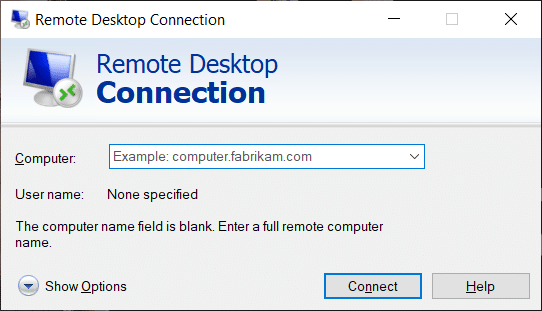
3. 'руу очихИлүү олон сонголтууд’ in case you want to change any settings that you may need.
4. You can also connect to the remote computer using its орон нутгийн IP хаяг.
5. Enter the credentials of the remote computer.
6. OK дээр дарна уу.
7. You will be connected to the required computer remotely.
8. To connect to the same computer in the future easily, open File Explorer and go to Network. Right-click on the required computer and select ‘Connect with Remote Desktop Connection'.
These were the steps that you need to follow in order to use the Remote Desktop app on Windows 10. Note that you should take care of the security concerns related to preventing yourself from any unauthorized access.

