Fix This site can’t be reached error in Gooogle Chrome: Most Google Chrome users must have faced the ‘This site can’t be reached error‘ but didn’t have any clue how to fix it? Then don’t worry we are at your disposal to fix this issue easily. The cause of this error is that the DNS lookup failed so the webpage is not available. When you try to open any website or web page, you received the error and it says Error code:
ही साइट पोहोचू शकत नाही
www.quora.com’s server DNS address could not be found.
DNS_PROBE_FINISHED_NXDOMAIN
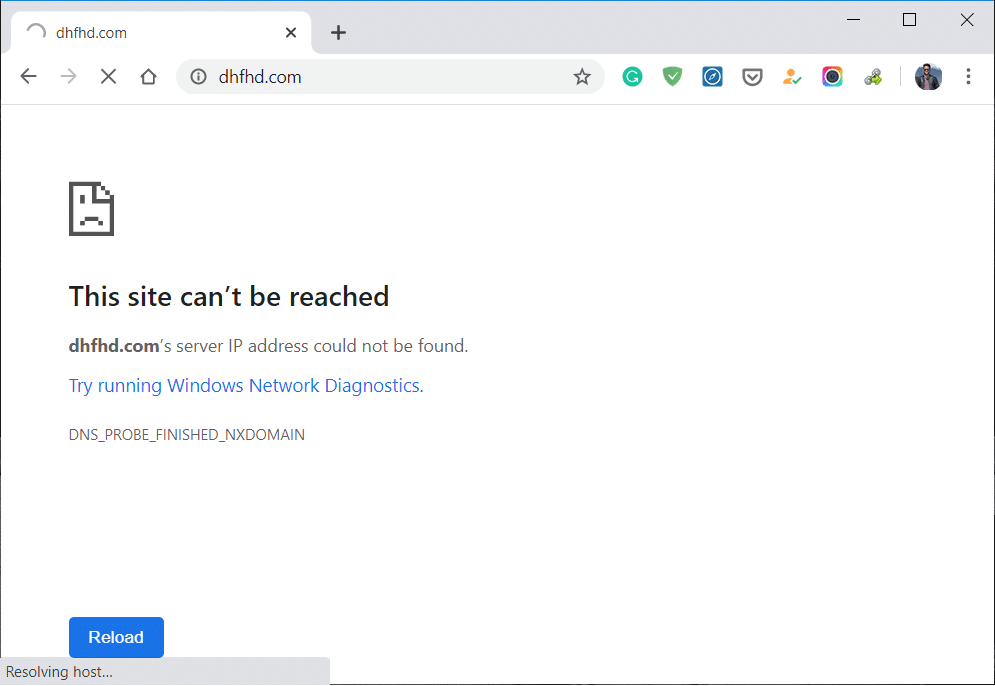
Fix This site can’t be reached error in Gooogle Chrome
The server at any website can’t be found because the DNS lookup failed. DNS is the network service that translates a website’s name to its Internet address. This error is most often caused by having no connection to the Internet or a misconfigured network. It can also be caused by an unresponsive DNS server or a firewall preventing Google Chrome from accessing the network.
When a DNS server can’t convert a domain name to an IP address in a TCP/IP network then there is a DNS failure error. A DNS अपयश occurs because of the misconfiguration of the DNS address or because of Windows DNS client is not working.
Method 1: Restart DNS client
1. Windows Key + R दाबा नंतर “टाईप कराservices.msc” and hit enter to open the Services window.

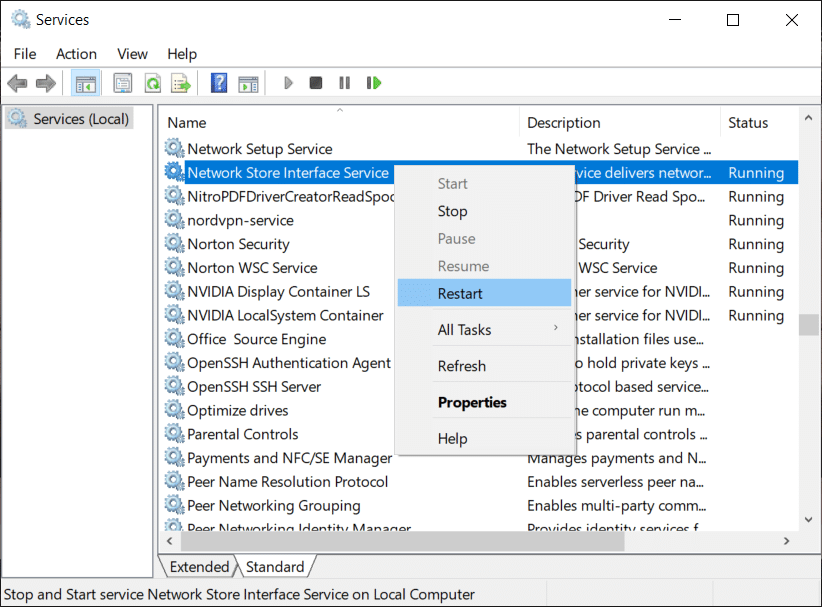
2. Scroll down till you find “Network Store Interface Service” (Press N to easily find it).
२. राइट-क्लिक करा Network Store Interface Service आणि निवडा पुन्हा सुरू करा.
4. Follow the same step for the DNS क्लायंट आणि डीएचसीपी क्लायंट in the services list.
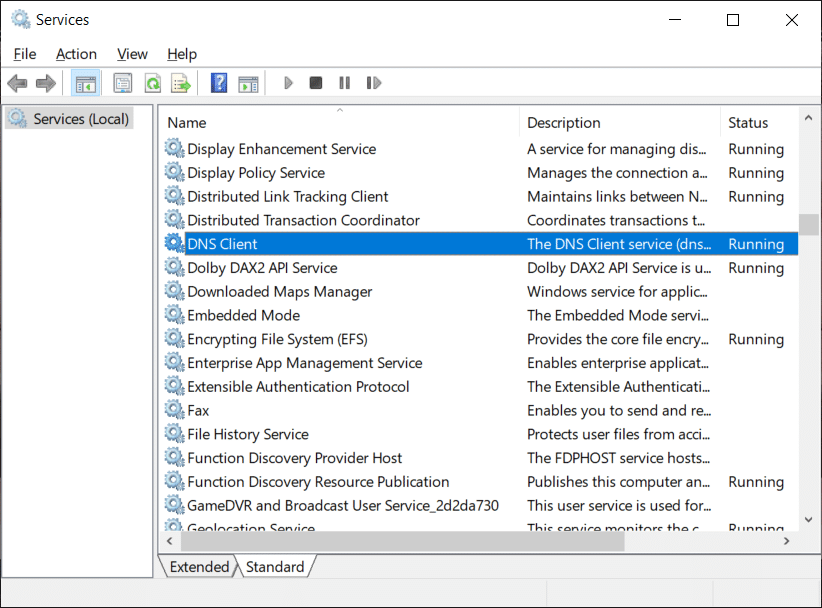
5. Now the DNS client will पुन्हा सुरू करा, go, and check if you’re able to resolve the error or not.
Method 2: Change IPv4 DNS Address
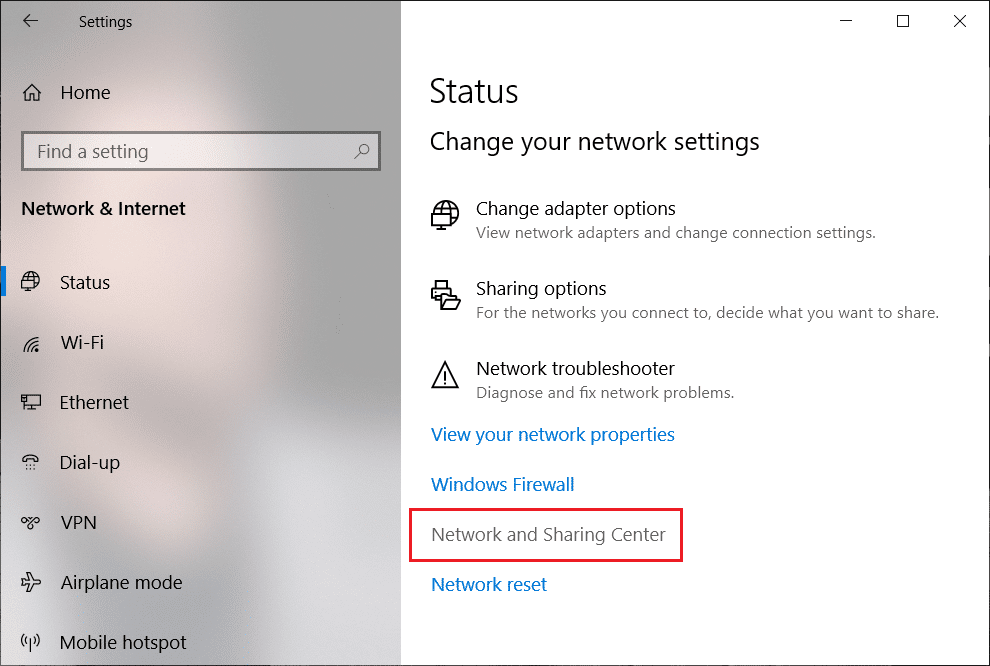
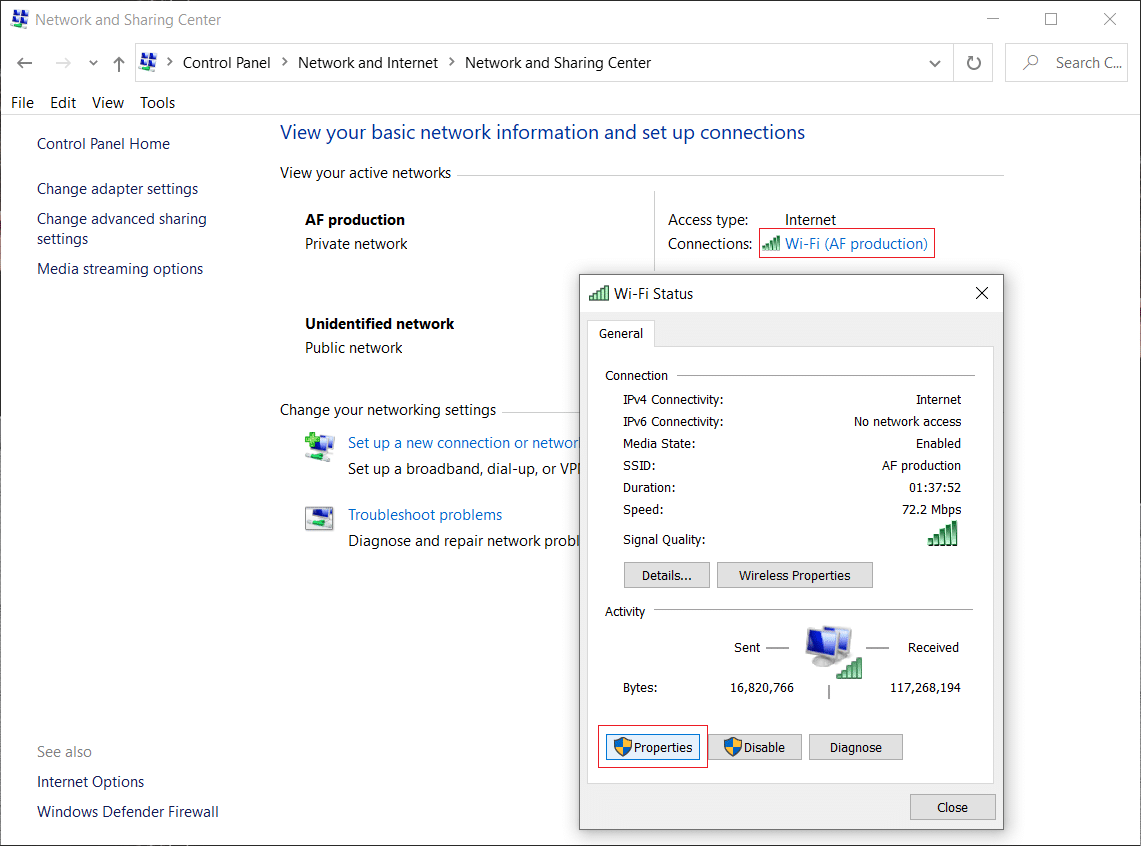
1. सिस्टम ट्रेवरील वायफाय चिन्हावर उजवे-क्लिक करा आणि नंतर “वर क्लिक करा.मुक्त नेटवर्क आणि सामायिकरण केंद्र."

Now. आता “नेटवर्क आणि सामायिकरण केंद्र".
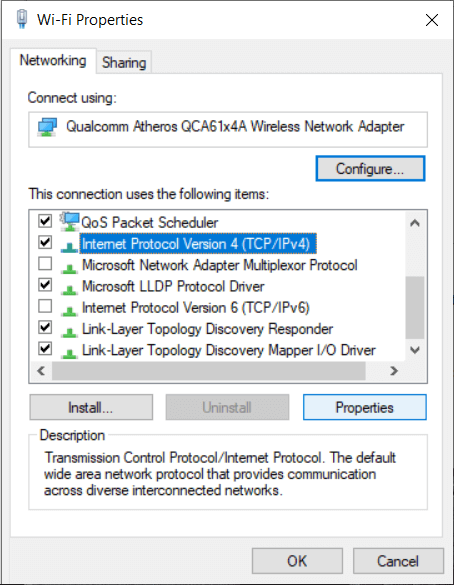
3. Next, तुमच्या वर्तमान कनेक्शनवर क्लिक करा in order to open सेटिंग्ज आणि नंतर क्लिक करा गुणधर्म
4. Next, select “इंटरनेट प्रोटोकॉल आवृत्ती 4 (टीसीपी / आयपी)"आणि क्लिक करा गुणधर्म
5. Checkmark on “खालील DNS सर्व्हर पत्ते वापरा."
6. Type the following address in the Preferred DNS server and Alternate DNS server:
8.8.8.8
8.8.4.4
टीप: Instead of the Google DNS you can also use other Public DNS Servers.
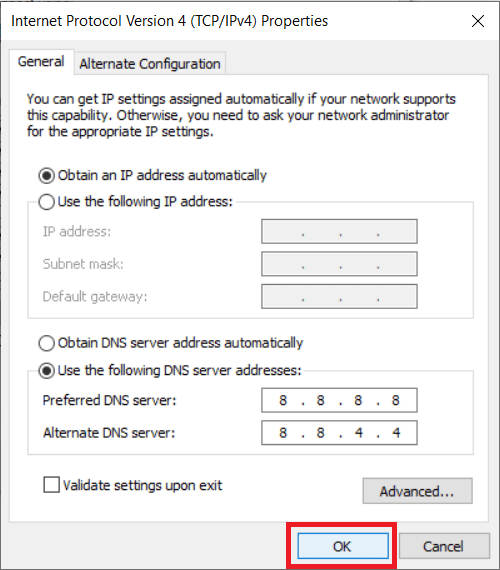
7. Checkmark on “बाहेर पडल्यावर सेटिंग्ज मान्य करा” then click OK and click Close.
8. This step must Fix This site can’t be reached error in Gooogle Chrome.
तसेच वाचा: How to Change DNS Server on Windows 11
पद्धत 3: टीसीपी / आयपी रीसेट करा
1. Right-click on Windows Button and select “कमांड प्रॉम्प्ट (प्रशासक)."
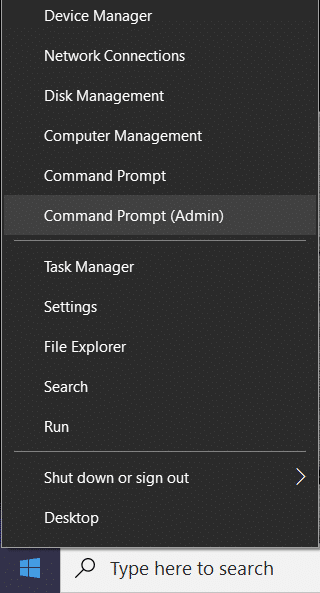
2. Now type the following command one by one and press Enter after each one:
ipconfig / प्रकाशन
ipconfig / सर्व
ipconfig / flushdns
ipconfig / नूतनीकरण

3. रीबूट करा बदल जतन करण्यासाठी.
पद्धत 4: नेटवर्क समस्यानिवारक चालवा
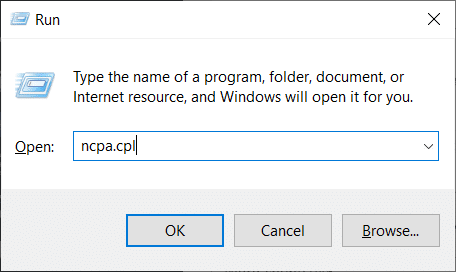
1. Windows Key + R दाबा नंतर टाइप करा ncpa.cpl and hit Enter to open Network Connections.
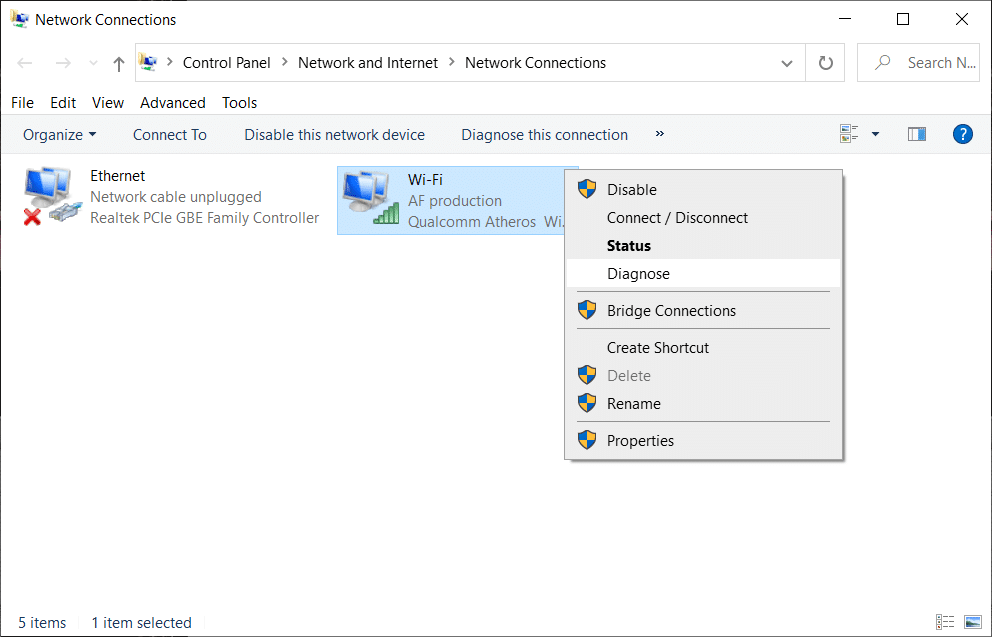
2. Right-click on your current active Wifi connection and select निदान करा.
3. Let the Network Troubleshooter run and it will give you the following error message: DHCP is not enabled for “Wireless Network Connection”.
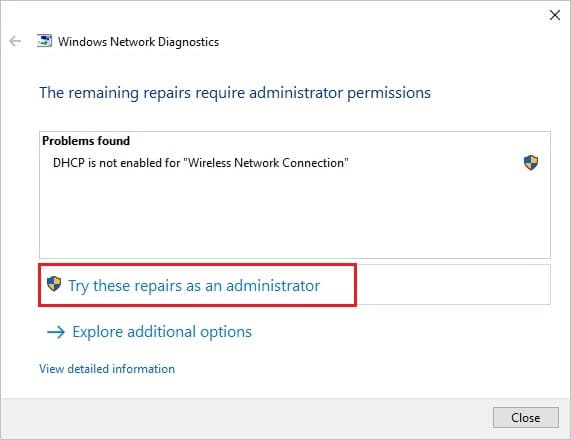
4. वर क्लिक करा "Try these Repairs as an Administrator".
5. On the next prompt, click Apply this Fix.
तसेच वाचा: How to Fix PDFs Not Opening in Chrome
पद्धत 5: Chrome ब्राउझर रीसेट करा
टीप: Make sure you backup your Chrome data before proceeding.
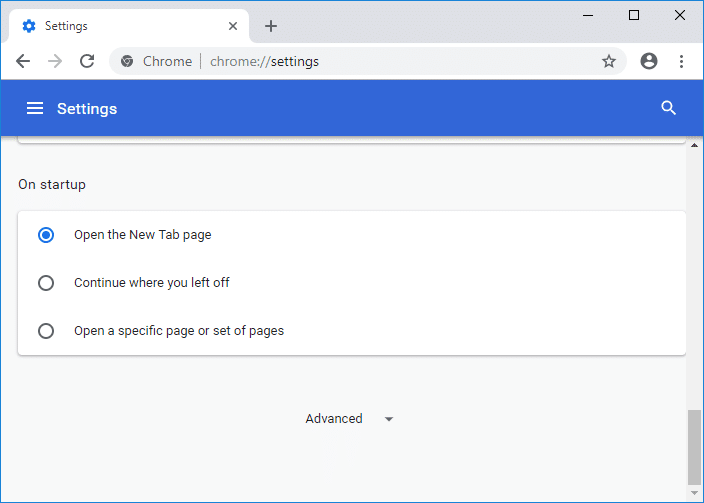
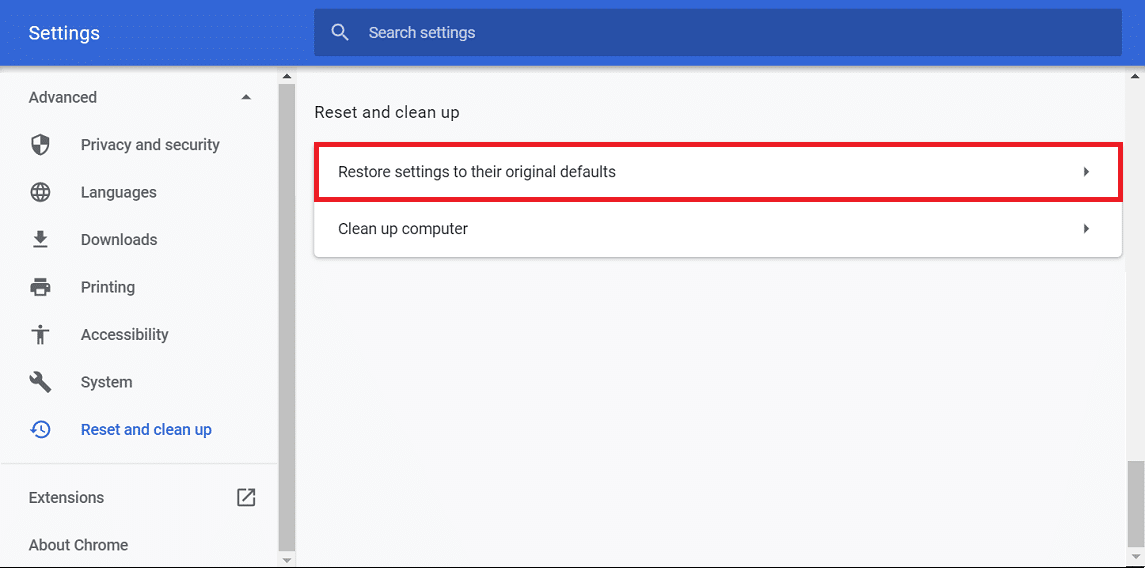
1. उघडा Chrome Settings then scroll down to the bottom and click प्रगत.
2. From the left-hand side click on “रीसेट करा आणि साफ करा".
3. Now uच्या खाली Reset and clean up tab, वर क्लिक करा सेटिंग्ज त्यांच्या मूळ डीफॉल्टवर पुनर्संचयित करा.
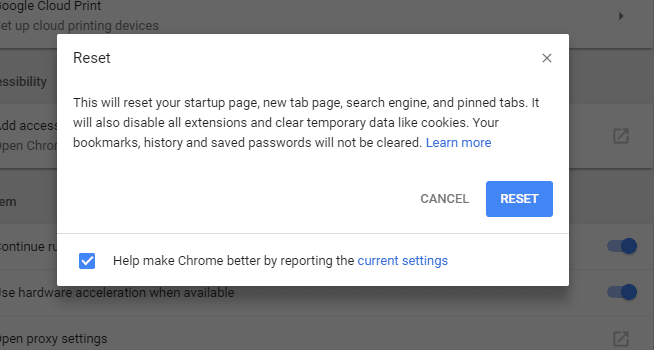
4. The below dialog box will open up, once you’re sure that you want to restore Chrome to its original settings, click on the सेटिंग्ज रीसेट करा बटणावर क्लिक करा.
Method 6: Reinstall Chrome
टीप: Reinstalling Chrome will delete all your data so make sure you backup your data such as Bookmarks, passwords, settings, etc.
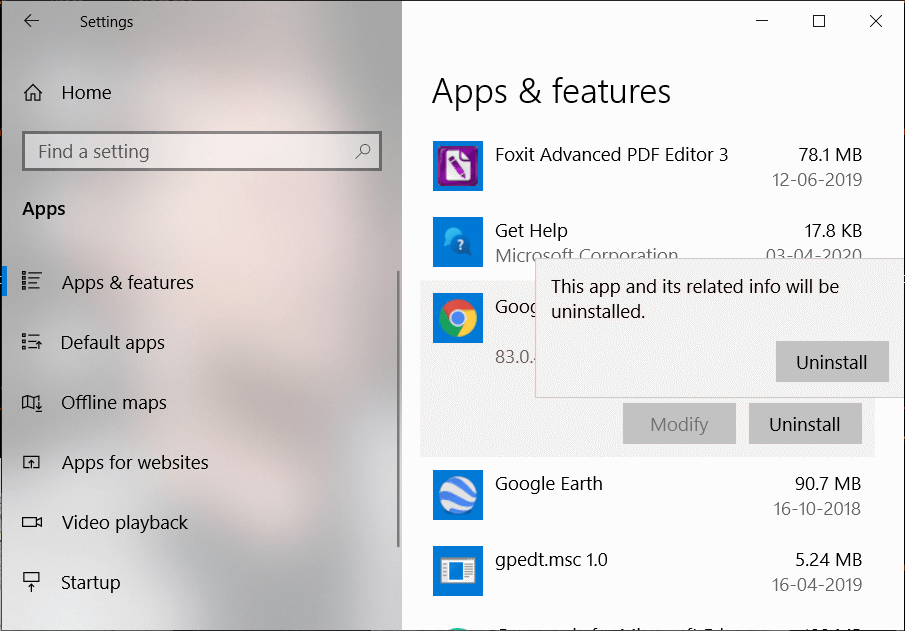
1. उघडण्यासाठी Windows Key + I दाबा सेटिंग्ज नंतर क्लिक करा अॅप्स.
2. डावीकडील मेनूमधून, निवडा ॲप्स आणि वैशिष्ट्ये.
3. Scroll down, and find Google Chrome
4. Click on Google Chrome नंतर वर क्लिक करा विस्थापित करा बटणावर क्लिक करा.
5. Again click on the विस्थापित करा बटण to confirm Chrome uninstallation.
6. Once Chrome uninstallation completes, reboot your PC to save changes.
7. Again download & install the Google Chrome ची नवीनतम आवृत्ती.
तुम्ही हे देखील तपासू शकता:
That’s it, we hope this guide was helpful and you are able to fix This site can’t be reached error in Google Chrome but if you still have any queries regarding this post feel free to ask them in the comments, and please share this post on social media to help your friends solve this issue easily.

