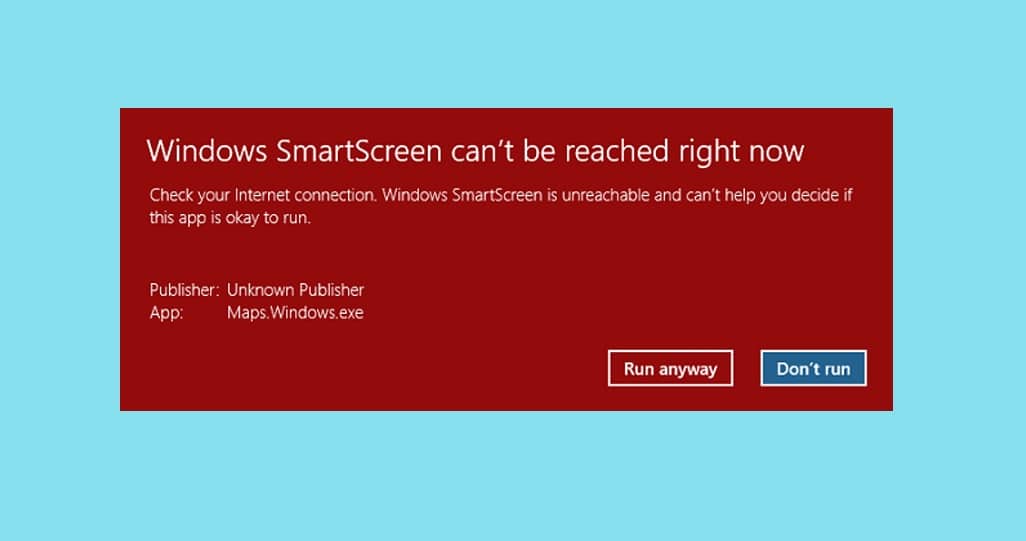
Many users have been reporting issues with the SmartScreen program when trying to launch built-in Microsoft applications like Alarm, Photos, Maps, Mail, etc. An error message reading ‘Windows SmartScreen can’t be reached right now’ is displayed with the option to Run the application anyway or not. The said error is primarily caused due to a poor or no internet connection. Other reasons that may prompt the issue include misconfigured security settings, SmartScreen has been disabled by either the user or a recently installed malware application, interference from proxy servers, SmartScreen is down for maintenance, etc.
With a rise in the number of phishing and virus attacks occurring via the internet, Microsoft had to step up its game and safeguard its users from falling prey to any such web-based attack. Windows SmartScreen, a native cloud-based application on every version of Windows 8 and 10, offers protection against all kinds of attacks when surfing the web through मायक्रोसॉफ्ट एज आणि इंटरनेट एक्सप्लोरर. The application stops you from visiting malicious websites and downloading any suspicious files or applications from the internet. SmartScreen when sure about the malicious nature of something, blocks it entirely, and when not sure about an application, will display a warning message and give you the choice to either continue or not.
The Windows SmartScreen Can’t be reached issue is an easy one to fix and all the potential solutions for the same have been discussed in this article.
निराकरण: विंडोज स्मार्टस्क्रीन आत्ता पोहोचू शकत नाही
Fixing the SmartScreen Can’t be Reached issue isn’t very difficult and can be done by simply going over all the suspected culprits one by one. You should start by checking SmartScreen status and its Settings. If everything is properly configured, trying disabling any active proxy servers and creating another Windows user account.
Firstly, check your internet connection and verify it is working properly. Since SmartScreen is a cloud-based security program (SmartScreen checks all the websites you visit against a dynamic list of reported फिशींग and malicious sites), a stable connection is a must for its operation. Try disconnecting the ethernet cable/WiFi once and then reconnect. If the internet isn’t the causing issue, move on to the solutions below.
Method 1: Ensure SmartScreen is Enabled & Check Settings
Before moving onto any advanced solutions, let’s ensure that the SmartScreen feature is not disabled on your computer. Along with that, you will also need to check the SmartScreen settings. Users can choose if they want the SmartScreen filter to scan all files & applications, malicious websites on Edge, and Microsoft Apps. For maximum safety and protection against any web attacks, the SmartScreen filter should be enabled for all the above items.
To check if SmartScreen is Enabled
1. दाबा विंडोज की + आर सुरू करण्यासाठी चालवा कमांड बॉक्स, टाइप करा gpedit.msc आणि दाबा प्रविष्ट करा ते उघडा स्थानिक गट धोरण संपादक. (If the group policy editor is missing from your computer, visit How to install Group Policy editor.)

2. Head down the following path using the navigation menu on the left pane (Click on the tiny arrows to expand a folder.)
Computer Configuration > Administrative Templates > Windows Components > File Explorer
Now. आता, dडबल-क्लिक करा (or right-click and select संपादित करा) वर Configure Windows Defender SmartScreen आयटम
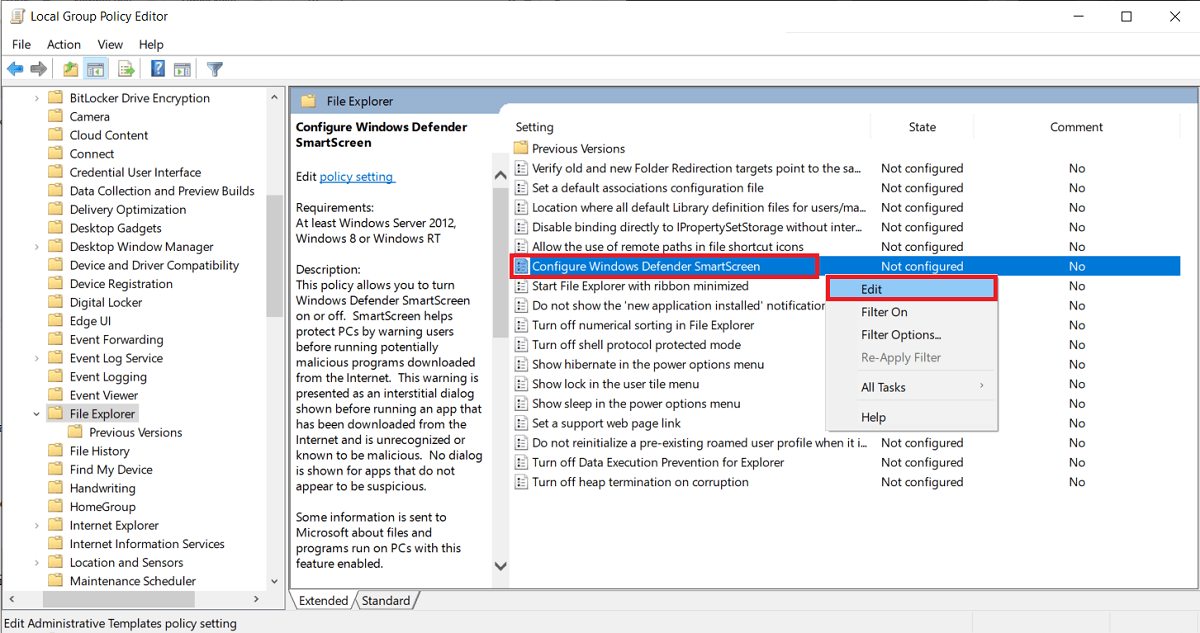
4. On the following window, ensure सक्षम केले is selected. Click on लागू करा to save changes and then Ok बाहेर पडणे

To Configure SmartScreen Settings
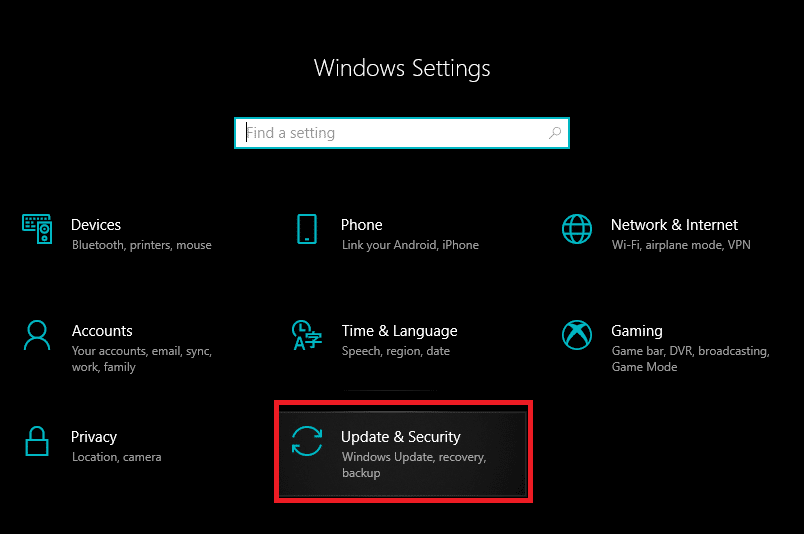
1. दाबा विंडोज की + आय ते लाँच विंडोज सेटिंग्ज. क्लिक करा अद्यतन आणि सुरक्षा.
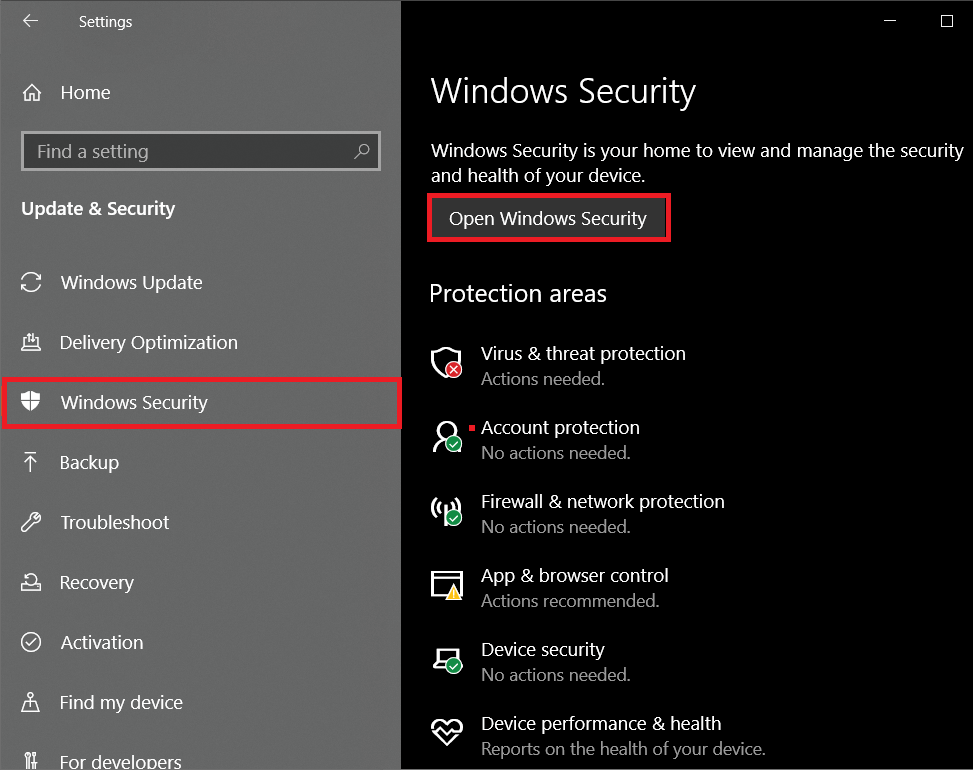
2. Using the left navigation menu, move to the विंडोज सुरक्षा टॅब
3. वर क्लिक करा विंडोज सुरक्षा उघडा button on the right panel.
4. वर स्विच करा अॅप आणि ब्राउझर नियंत्रण टॅब आणि वर क्लिक करा प्रतिष्ठा-आधारित संरक्षण सेटिंग्ज
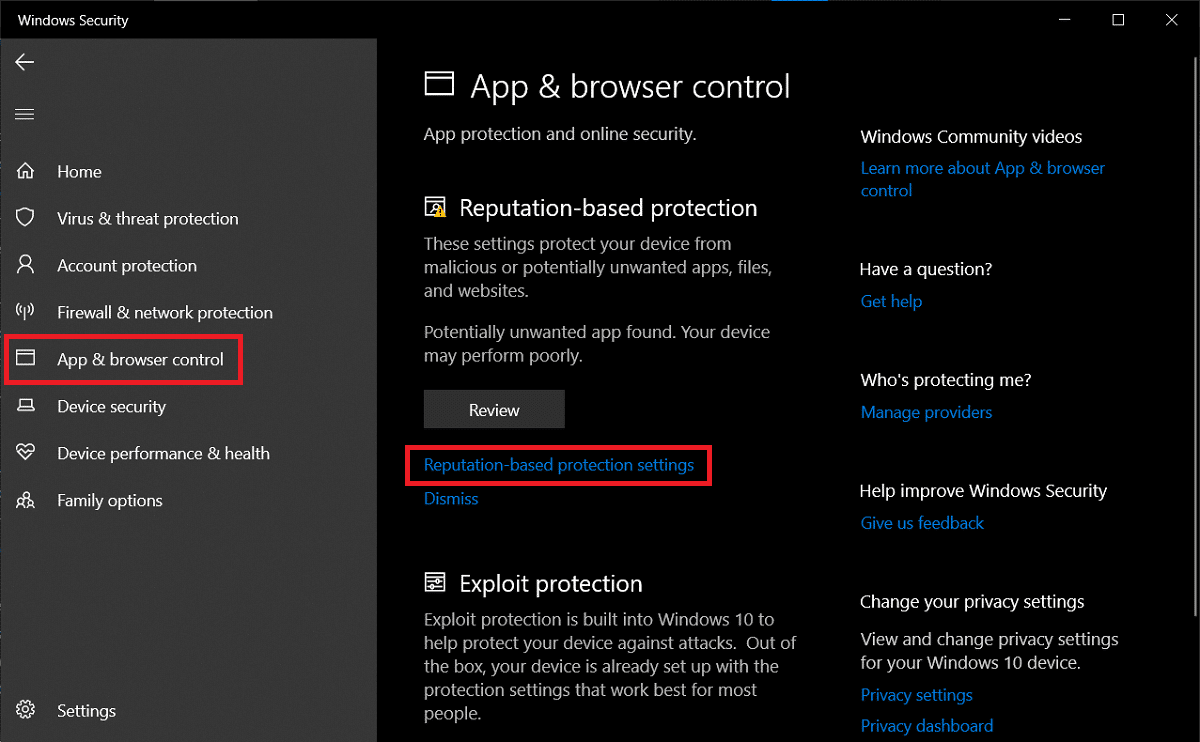
5. Make sure that all the three options (Check apps and files, SmartScreen for Microsoft Edge, and Potentially unwanted app blocking) toggles are turned ON.
6. Restart the computer to apply the SmartScreen setting changes.
तसेच वाचा: Disable Data Collection in Windows 10 (Protect Your Privacy)
पद्धत 2: प्रॉक्सी सर्व्हर अक्षम करा
Many users have been able to get around the ‘Windows SmartScreen Can’t Be Reached Right Now’ issue by turning off the built-in proxy server. If you aren’t already aware, proxy servers are a gateway between you and the internet. They act as a web filter, firewall, ensure user privacy, and cache frequently visited websites which helps in improving web page load time. Sometimes, a proxy server may interfere with the operation of the SmartScreen filter and prompt issues.
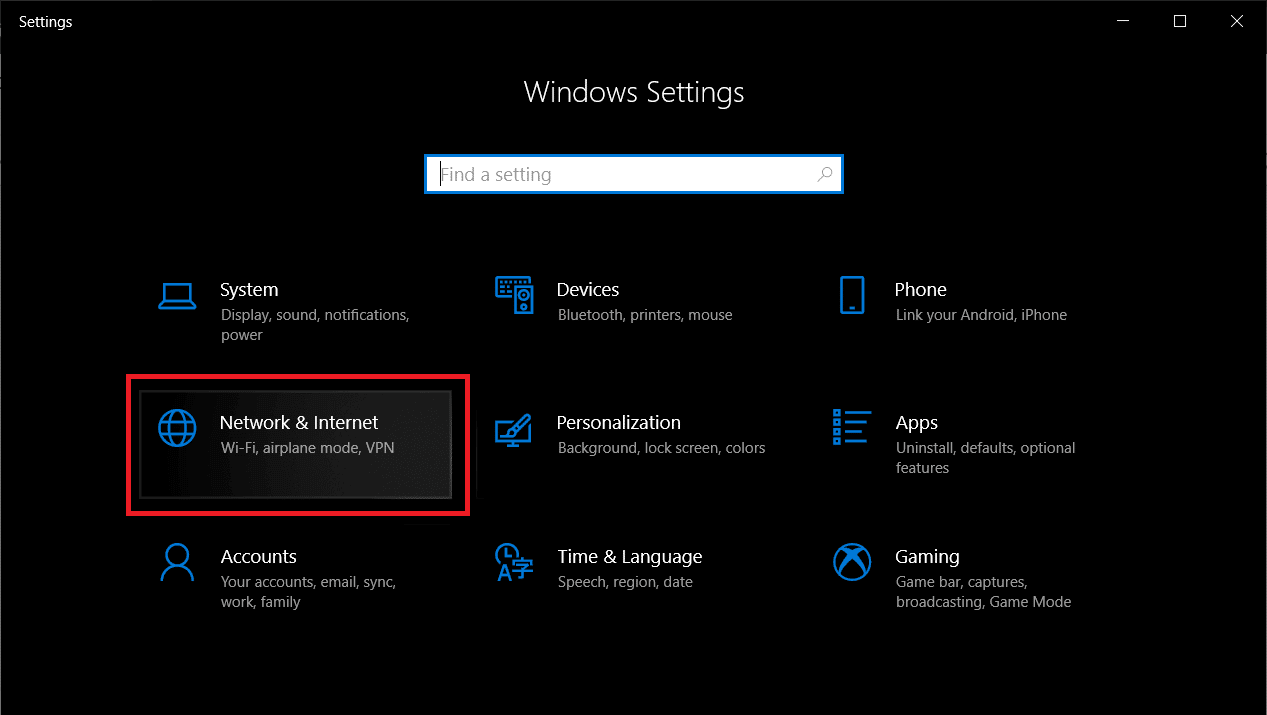
1. लाँच करा विंडोज सेटिंग्ज again and this time, open नेटवर्क आणि इंटरनेट सेटिंग्ज
2. वर हलवा प्रॉक्सी टॅब आणि टॉगल चालू the switch under the Automatically detect setting उजव्या पॅनेलवर.
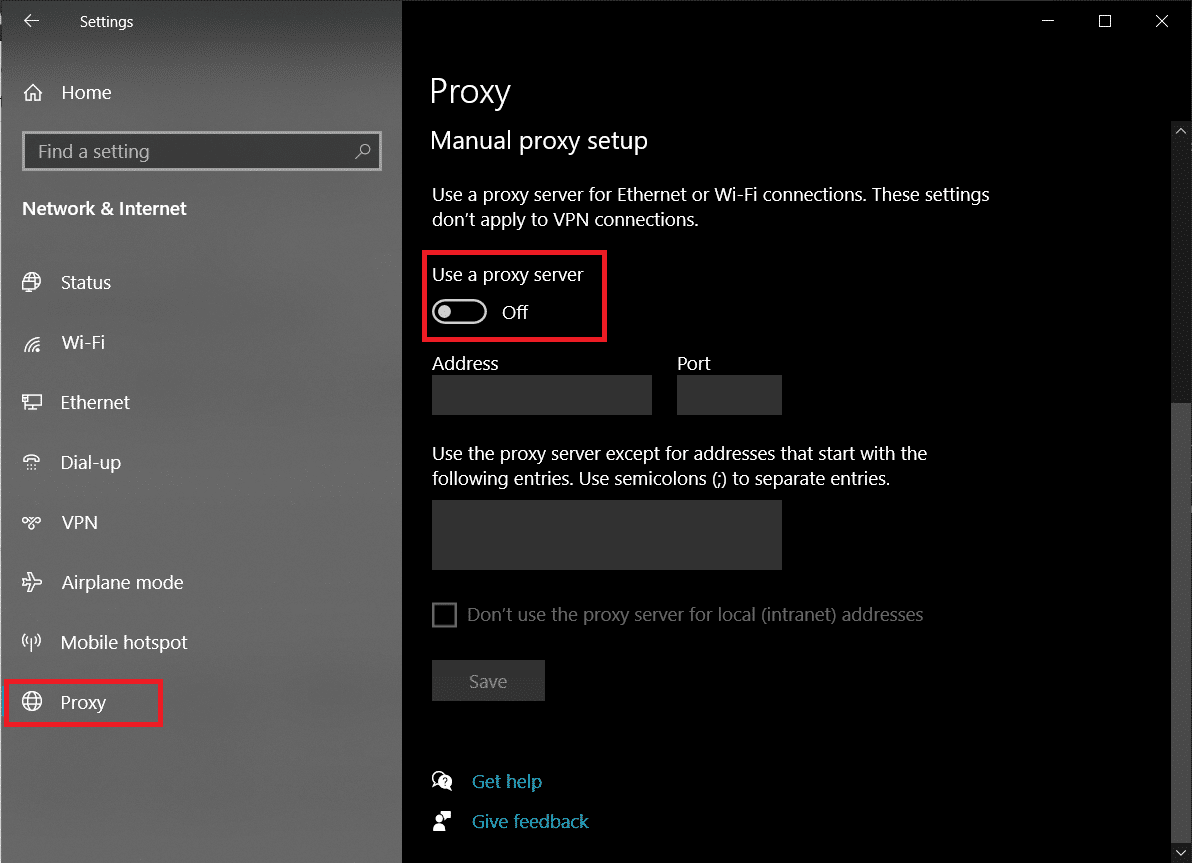
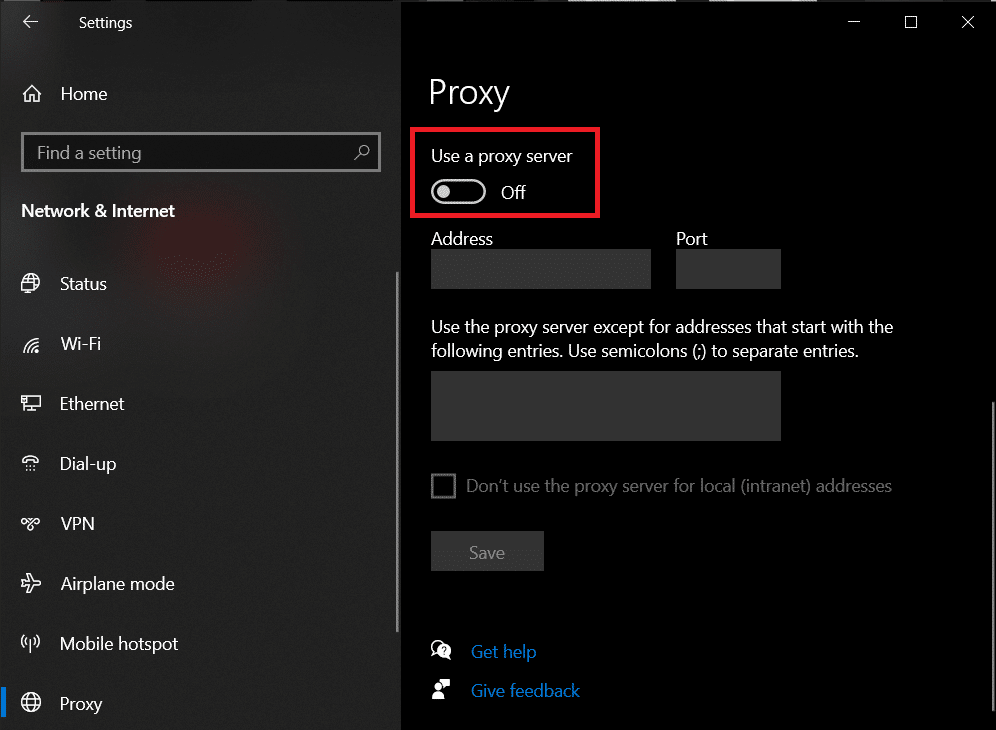
3. पुढे, toggle off the ‘Use a proxy server’ switch under the Manual Proxy setup.
4. Close the Settings window and आपला संगणक रीस्टार्ट करा. Check if the SmartScreen error still persists.
पद्धत 3: एक नवीन वापरकर्ता खाते तयार करा
It is quite possible that certain inconsistencies or the custom settings of your current account may be the culprit behind SmartScreen issues so creating a new user account will help provide a clean slate. However, the custom settings you have set over the course of time will be reset.
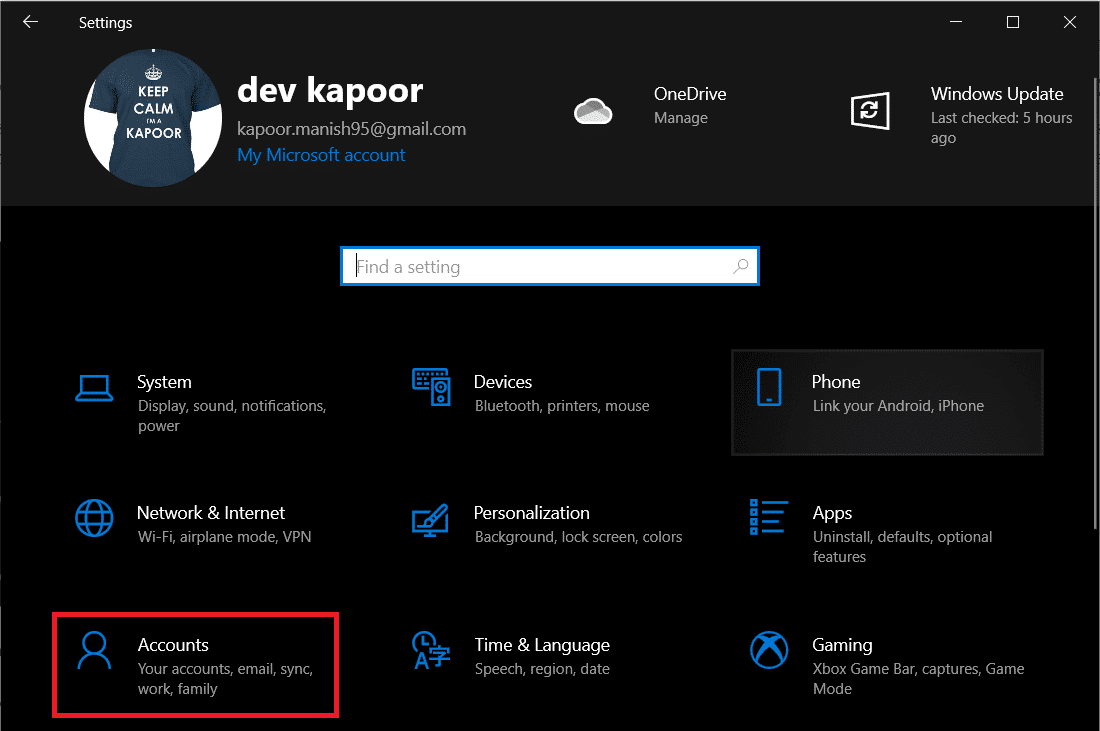
1. Once again खुल्या सेटिंग्ज आणि वर क्लिक करा खाती.
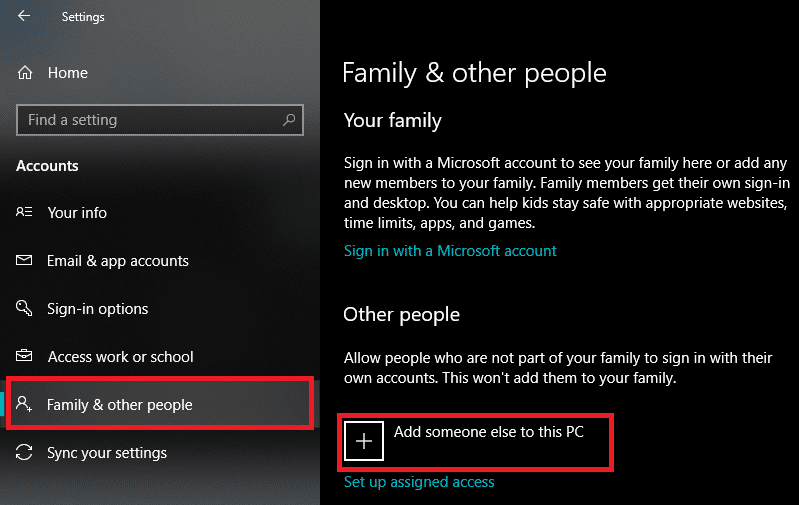
2. निवडा Add some else to this PC वर पर्याय कुटुंब आणि इतर वापरकर्ते पृष्ठ.
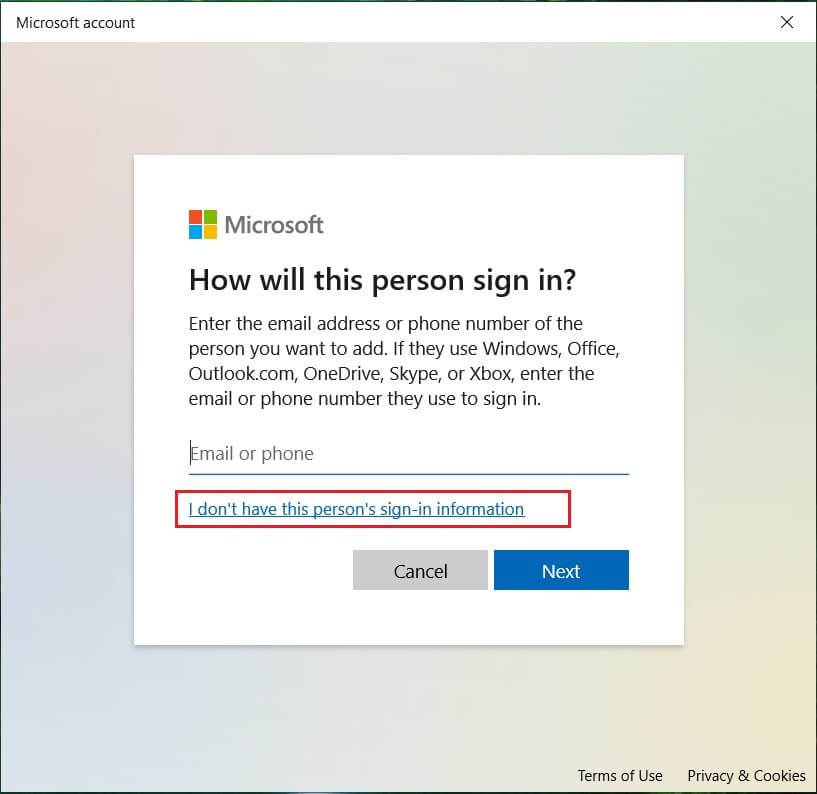
3. In the following pop-up, click on the माझ्याकडे या व्यक्तीची साइन-इन माहिती नाही हायपरलिंक
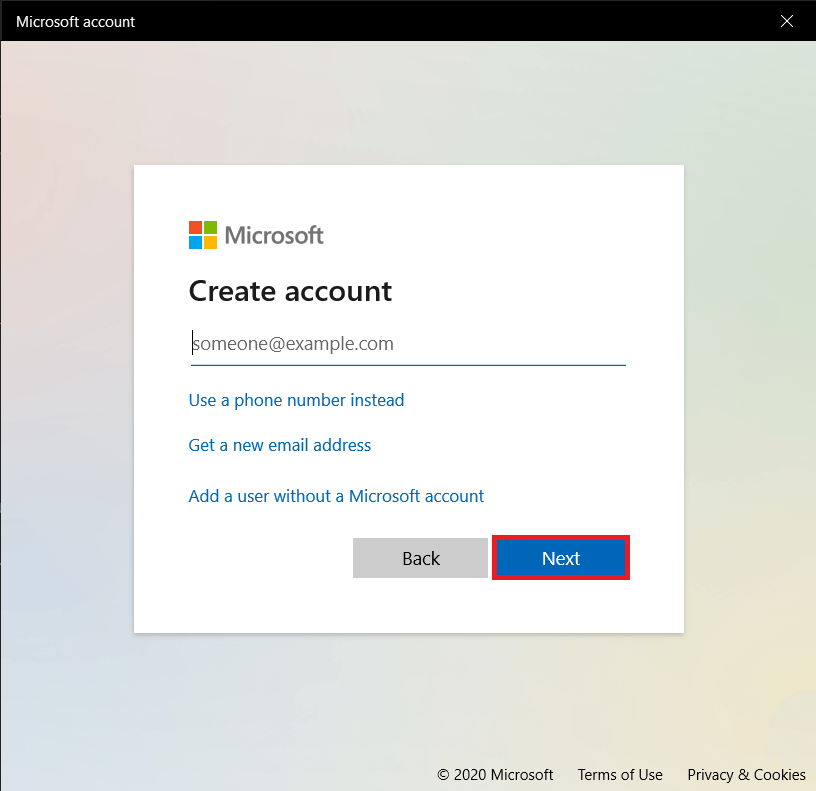
4. प्रविष्ट करा पत्र पत्ता for the new account or use a phone number instead and click on पुढे. You can even get an entirely new email address or continue without a Microsoft account (local user account).
5. Fill in the other user credentials (password, country, and birth date) and click on पुढे समाप्त करण्यासाठी.
6. आता, दाबा विंडोज की सुरू करण्यासाठी प्रारंभ मेनू आणि तुमच्या वर क्लिक करा प्रोफाइल चिन्ह. साइन आउट करा of your current account.
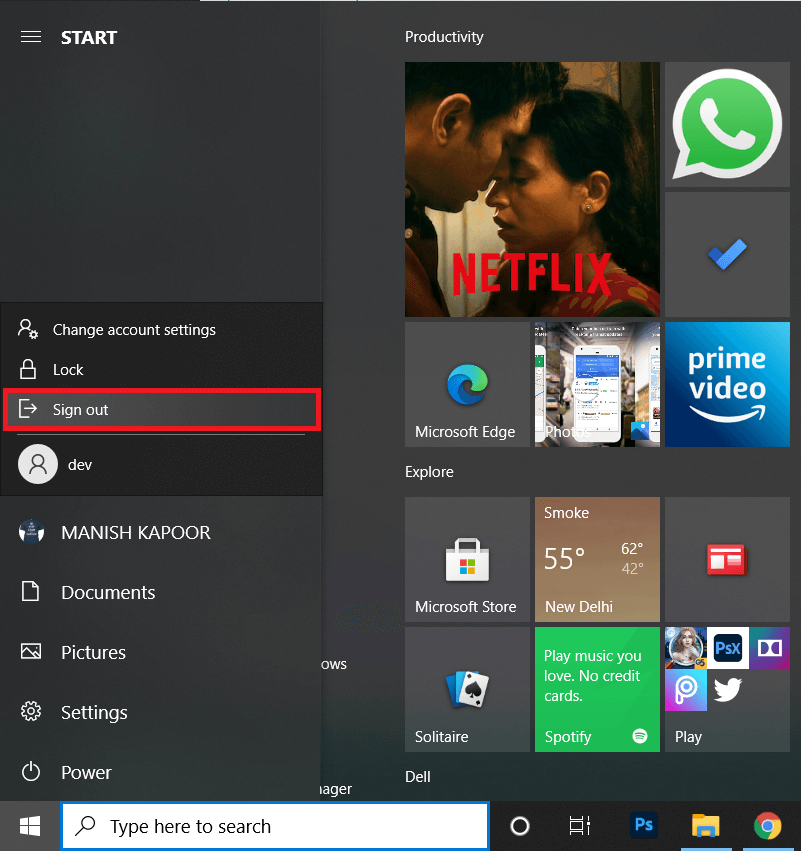
7. Log in to your new account from the Sign-in screen and सत्यापित करा if the Windows SmartScreen issue still persists.
शिफारस केलेलेः
That’s it for this article and we hope this article was helpful and you were able to fix Windows SmartScreen Can’t Be Reached Right Now error. If not, get in touch with us in the comments and we will help you out further.
