Skype Web Scheduler
Skype Web Scheduler is a meeting scheduler program that is especially used by corporate people. It is developed by Microsoft. Business men who do not use Microsoft Outlook or Windows operating system prefer to schedule meetings using this web scheduler. To schedule a Skype meeting the support team will share the username and password along with a link to join the scheduled meeting with the members whom they expect to attend the meeting. We will also discuss here how to schedule Skype meeting without Outlook.
Unfortunately, Microsoft retired the Skype for Business Web Scheduler in September 2021. This means the web interface to directly schedule Skype meetings is no longer available. However, there are still ways to schedule Skype meetings:
हे देखील पहाः
How to Use Twixtor Plugin in After Effects
छोटी स्काईप विंडो परत कशी मिळवायची
1. Using the Outlook Desktop App (if applicable):
-
If you use Microsoft Outlook for your email, you can leverage the built-in scheduling functionality to create meetings and invite participants, including Skype call options.
-
Here’s a general process (steps might vary slightly depending on your Outlook version):
- Click on “New Calendar Event” or a similar option to create a new event.
- Fill in the meeting details like title, date, and time.
- In the “Invitees” section, add the email addresses of the people you want to invite to the meeting.
- Click on “Teams Meeting” or “Skype Meeting” option (whichever is available in your Outlook version). This will add the Skype meeting details to the event invitation.
- Add an agenda or any other relevant information.
- Click “Send” to send the meeting invite to your participants.
2. Skype Web Scheduler Using the Skype Desktop App:
-
You can also schedule meetings directly within the Skype desktop app.
-
Here’s a general process (steps might vary slightly depending on your Skype version):
- Open the Skype desktop app and sign in to your account.
- Click on the “New Chat” button or icon.
- In the “To” field, enter the email addresses or usernames of the people you want to invite to the meeting.
- Click on the “Schedule a call” button (might look like a calendar icon).
- Set the date and time for the meeting.
- You can choose to “Join as a guest” or “Join from Skype” depending on your preference.
- Click “Send call” to send the meeting invite to your participants.
3. Sending a Manual Meeting Invite:
-
If you don’t use Outlook or the Skype app, you can still schedule a meeting by sending a manual email invite.
-
तुमच्या ईमेलमध्ये खालील तपशील समाविष्ट करा:
- Meeting subject (e.g., Meeting with [topic] on [date] at [time])
- Date and time of the meeting
- A note mentioning it will be a Skype meeting
- A link joining the Skype meeting (optional): You can generate a Skype meeting link beforehand from your Microsoft account settings (if applicable) and add it to the email for easy access.
By using one of these alternative methods, you can still schedule Skype meetings even though the dedicated web scheduler is no longer available.
मीटिंग शेड्यूल करण्यासाठी स्काईप वेब शेड्यूलर कसे वापरावे
Keep reading further to find the steps explaining how to use the Skype Web Scheduler in detail with useful illustrations for a better understanding.
How to Schedule Skype Meeting?
Here are the steps for scheduling a business meeting using Skype Web Scheduler.
1. भेट द्या Microsoft 365 Web Scheduler page and Sign In with your desired Microsoft account.
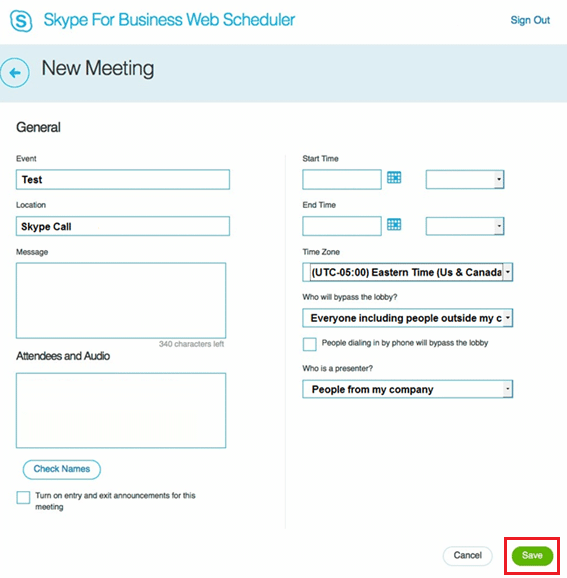
2. From the Skype for Business Web Scheduler नवीन बैठक page, enter desired event name मध्ये कार्यक्रम फील्ड
3. In the स्थान फील्ड, प्रविष्ट करा बैठकीचे ठिकाण, like a conference room or Skype call.
4. भरा संदेश box with the desired meeting details.
5. मध्ये Attendees and Audio फील्ड, प्रविष्ट करा desired attendees’ names or email addresses, separated by semicolons (;).
6 क्लिक करा नावे तपासा tab to verify the addresses of the attendees.
7. Then, set the meeting सुरवातीची वेळ आणि समाप्तीचा कालावधी by choosing the date from the calendar and selecting the time.
8. योग्य निवडा वेळ क्षेत्र.
9. निवडा desired options पासून Who will bypass the lobby? आणि Who is a presenter? फील्ड
10. शेवटी, वर क्लिक करा जतन करा option to schedule a Skype Business meeting.
तसेच वाचा: 12 Best Meeting Minutes Template Free
How to Schedule Skype Meeting without Outlook?
You can schedule a meeting even if you don’t have access to Outlook. Read and follow the वर नमूद केलेल्या चरण to schedule a Skype meeting without using Outlook.
How to Send the Meeting Information to Participants?
There are 2 methods to send the meeting information to the participants.
Method 1: Via Email
1. After you create the new meeting, the पुष्टीकरण पृष्ठ सह meeting details दिसेल
2. वर राइट-क्लिक करा Join Skype Meeting दुवा आणि वर क्लिक करा प्रत.
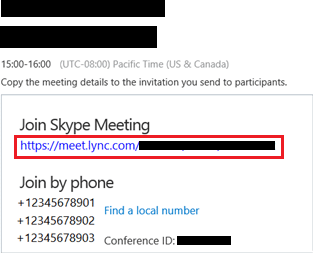
3. तयार करा an ई-मेल आणि पेस्ट अगोदर निर्देश केलेल्या बाबीसंबंधी बोलताना copied meeting link ते संलग्न.
Then. त्यानंतर, पाठवा it to the desired participants.
Method 2: Via iCalendar File
एक्सएनयूएमएक्स. पासून My Meetings पृष्ठ वर क्लिक करा इच्छित बैठक.
2. नंतर, वर क्लिक करा माहिती.
3. From the bottom of the page, click Export as iCalendar.
4 वर क्लिक करा जतन करा from the subsequent page to save the iCalendar meeting file.
5. तयार करा एक ई-मेल with the meeting title and information.
6. निवडा desired participants आणि संलग्न करा iCalendar file.
7. पाठवा ईमेल.
How to Join Skype Meeting?
You can join a Skype meeting the following 2 ways.
- वर क्लिक करून meeting link received via ई-मेल.
- साइन इन करा to > choose the इच्छित बैठक from the list of meetings scheduled > click on सामील व्हा from the meeting summary pane.
तसेच वाचा: How to Join Someone’s Live on TikTok
How to View, Edit and Delete Scheduled Skype Meeting?
1 जा My Meetings पृष्ठ वर Skype for Business Web Scheduler.
2. From the list of scheduled meetings, select the इच्छित बैठक that you wish to view, edit or delete.
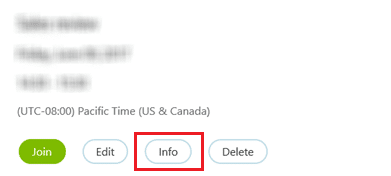
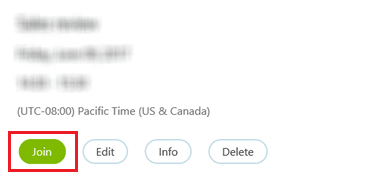
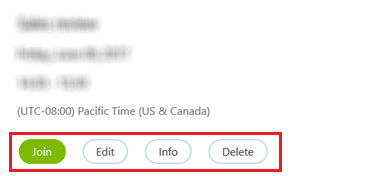
एक्सएनयूएमएक्स. पासून meeting summary pane:
- क्लिक करा सामील व्हा मीटिंगमध्ये सामील होण्यासाठी.
- क्लिक करा संपादित करा to edit the meeting time or any information.
- क्लिक करा माहिती to get the details of the meeting.
- क्लिक करा हटवा to delete the meeting scheduled so far.
How to Perform Skype Schedule Group Call?
You can perform a group call on Skype. To do that, you need a group created on Skype. Let us understand how to perform a group call on various operating systems.
Method 1: On Website/Desktop App
The method to perform a Skype group call is the same for the website and the Windows & macOS desktop app.
1 उघडा स्काईप app on your PC/laptop.
टीप: Make sure you are signed into your account.
2. निवडा desired group.
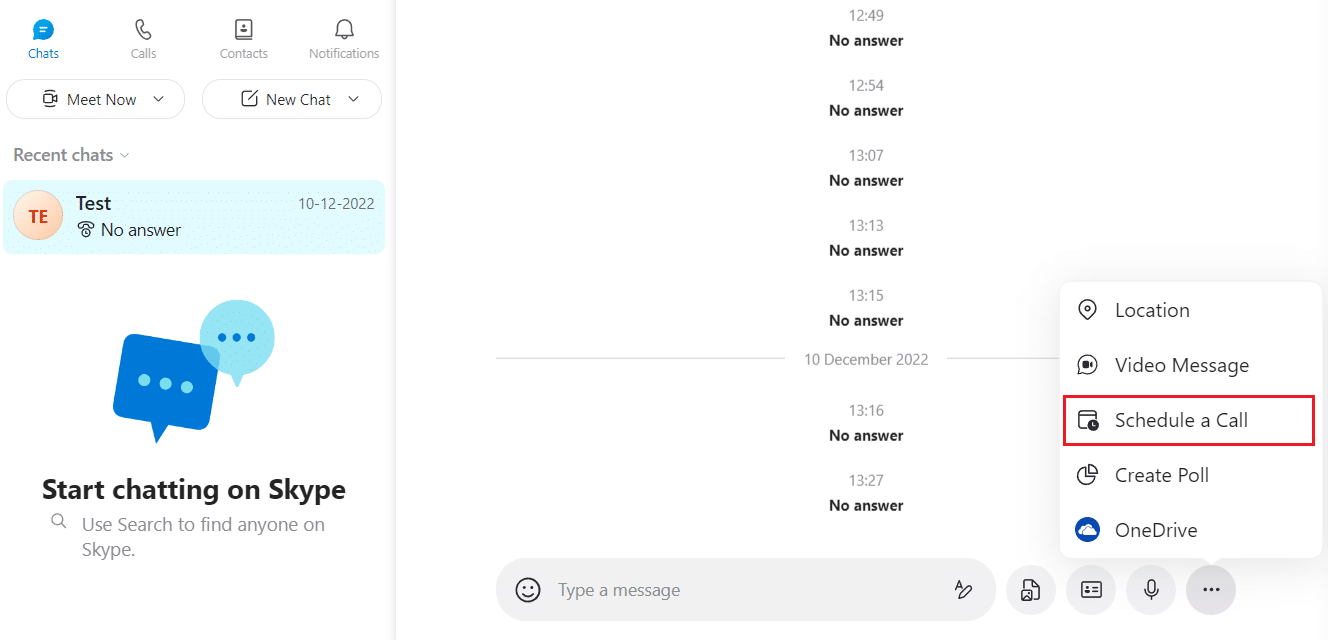
3. वर क्लिक करा तीन-बिंदू असलेले चिन्ह from the bottom right corner of the chat screen.
![]()
4. नंतर, वर क्लिक करा एक कॉल शेड्यूल करा पर्याय.
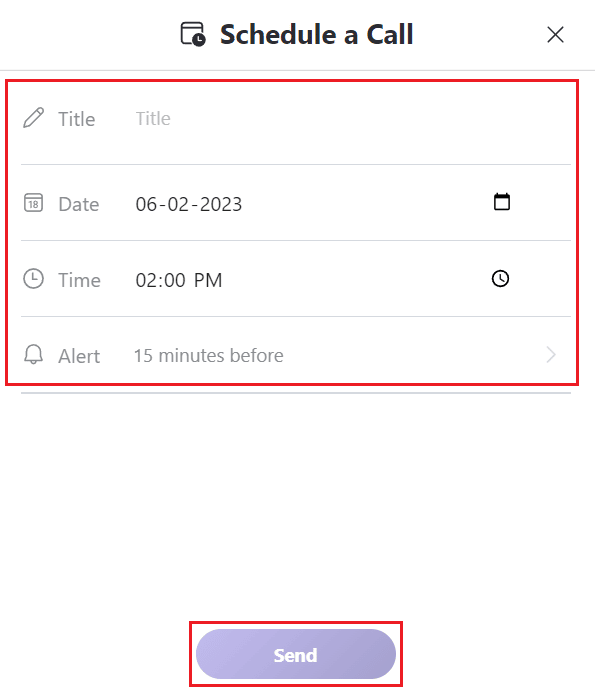
5. प्रविष्ट करा following details आणि वर क्लिक करा पाठवा to send the meeting schedule message invite to the other group members.
- शीर्षक: The title for the meeting you are conducting.
- तारीख: The exact date of the day the meeting will take place.
- वेळ: Correct time of the meeting on the selected date.
- अॅलर्ट: An reminder alert for all the participants of the meeting before the actual meeting transpires.
6. The recipient group members will have to select the स्वीकारा or नाकारू option to join or reject the meeting.
तसेच वाचा: How to Stop Skype from Muting Other Sounds on PC
Method 2: On Mobile App
If you are a new user and have yet to download Skype try to find the latest version of Skype. Otherwise, search for the update in the Play Store and install that. Now go with the following steps.
1 उघडा स्काईप अनुप्रयोग आपल्या Android or iOS अनुप्रयोग.
2. वर टॅप करा desired group to schedule a call.
3. टॅप करा अधिक (+) चिन्ह पुढील text input field.
![]()
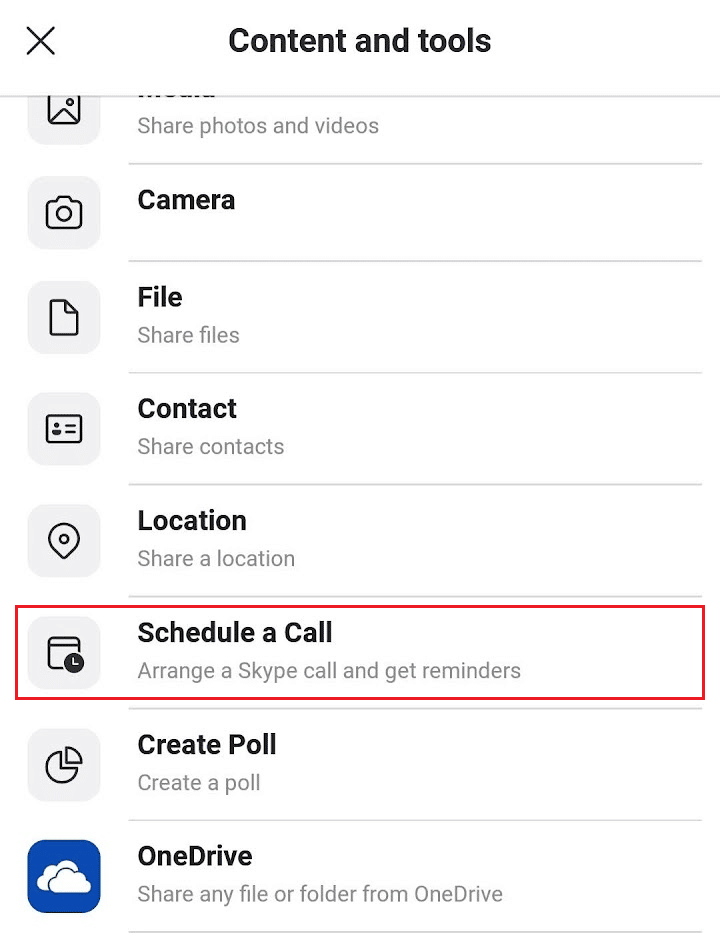
4. From the drop-down menu, tap on एक कॉल शेड्यूल करा.
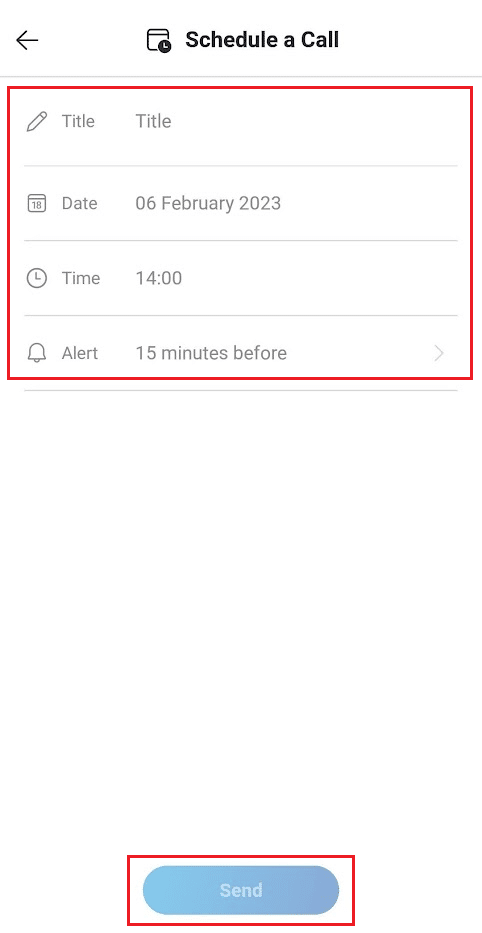
5. नंतर, सेट करा शीर्षक, तारीख, वेळआणि अॅलर्ट बैठकीसाठी.
6. वर टॅप करा पाठवा to create and send the scheduled meeting invite to the group recipients.
शिफारस:
We hope that this article guided you on how to use the Skype Web Scheduler to schedule Skype business meetings. You can let us know any queries or suggestions about any other topic you want us to make an article on. Drop them in the comments section below for us to know.

