Windows repeatedly waking up PC from sleep mode can be irritating and cause several issues. MoUSO Core Worker Process is responsible for this error. It is a program that coordinates Windows Update operation. It exclusively works in the back end and doesn’t hinder regular processes. But, sometimes in sleep mode it often wakes your system without permission. We bring to a perfect guide to fix MoUsoCoreWorker.exe process issue in Windows 10.
How to Fix MoUSO Core Worker Process in Windows 10
Here are some plausible reasons why MoUSO Core Worker Process may wake up your PC from sleep.
- Outdated Windows
- Incorrect Power Settings
- Interference by third party applications
- Orchestrator Service issues
After understanding why MoUsoCoreWorker.exe keeps waking up your PC from sleep, let us go to into the method for resolving this MoUsoCoreWorker.exe process error in Windows 10.
Method 1: Uninstall GoodSync
Syncing third-party applications can keep your PC engaged causing MoUSO Core Worker Process to run continuously. They may cause this MoUsoCoreWorker.exe process error. GoodSync app is well-known for causing such issues. You can fix this by disabling or uninstalling such programs using the steps below.
1. Agħfas il-buttuna Ċwievet Windows + I flimkien biex tiftaħ Settings.
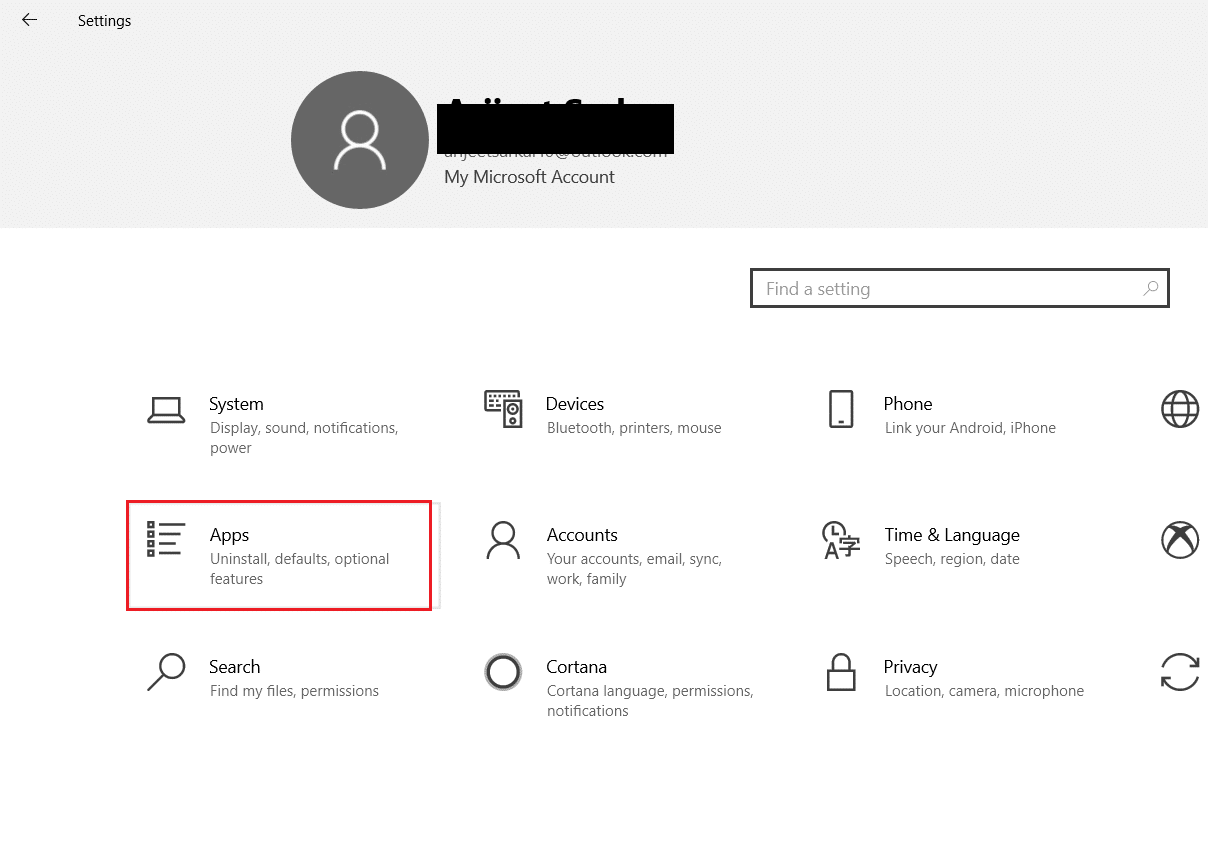
2. Agħżel apps għażla minn Settings tieqa.
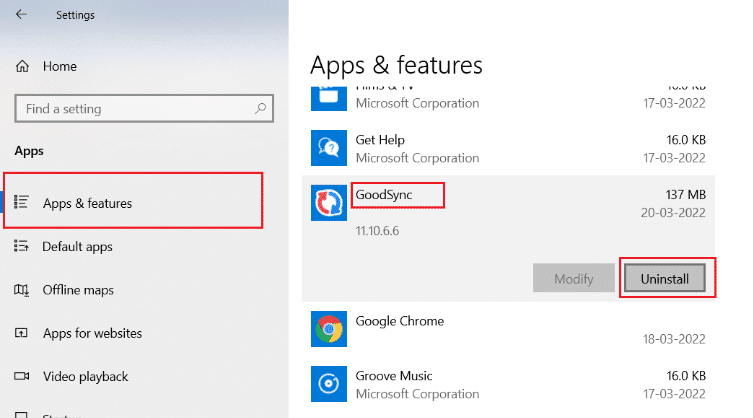
3. Agħżel Apps u karatteristiċi on the left pane. After that, scroll down in the right pane and select GoodSync app u kklikkja fuq Uninstall buttuna.
4. ikklikkja Uninstall fil-pront tal-konferma.

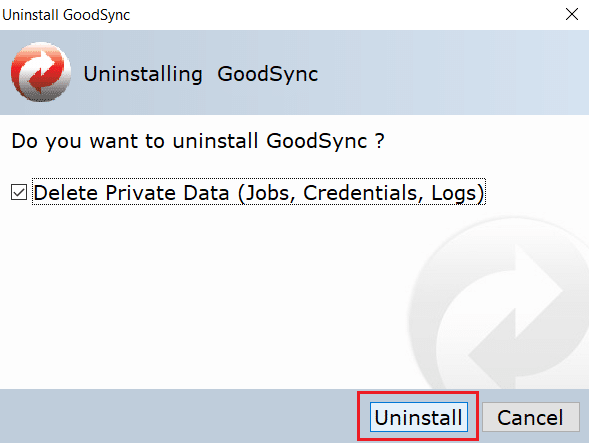
5. Again, click Uninstall on Uninstall GoodSync tieqa.
Nota: You can check the box marked Delete Private Data (Jobs, Credentials, Logs) if you have a backup of your private data.
6. ikklikkja Iva on GoodSync runner popup.

7. After uninstallation is complete, erġa ibda PC.
Aqra wkoll: Fix the Trust Relationship Between This Workstation and the Primary Domain Failed
Method 2: Disable Wake Timers
Wake timers are used for waking your PC automatically to complete specified tasks at a certain time. Sometimes they can disturb PC when it is on Sleep mode, thus causing this MoUsoCoreWorker.exe process error. Follow the steps given below and disable them.
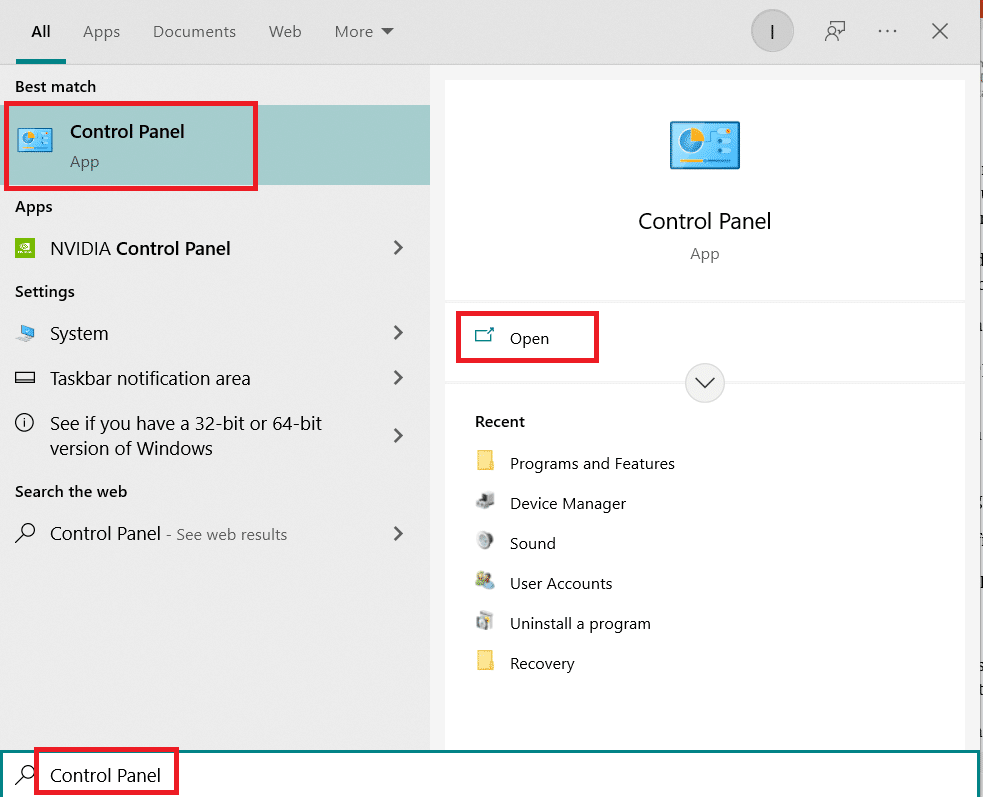
1. Agħfas il-buttuna twieqi ċavetta u tip pannell tal-kontroll, u kklikkja fuq miftuħa.
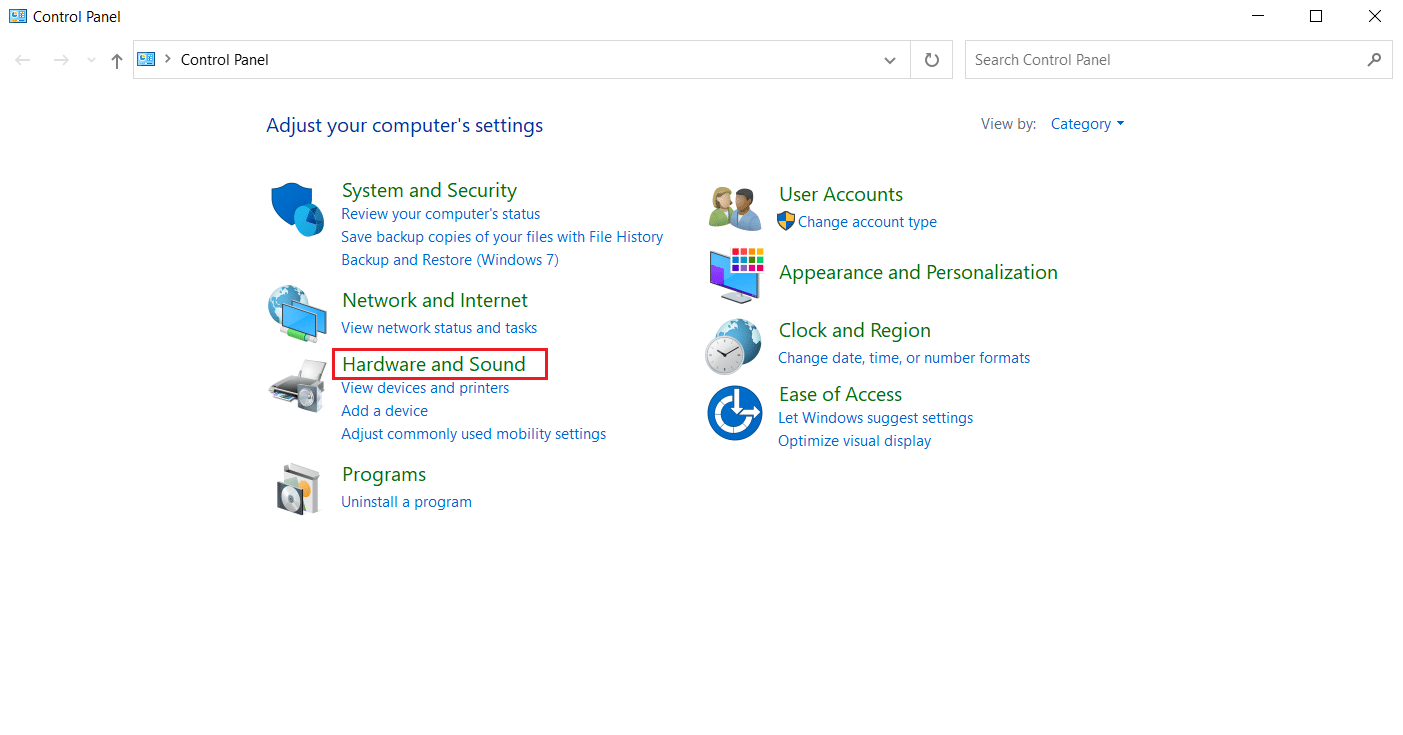
2. Agħżel Hardware u Sound għażla.
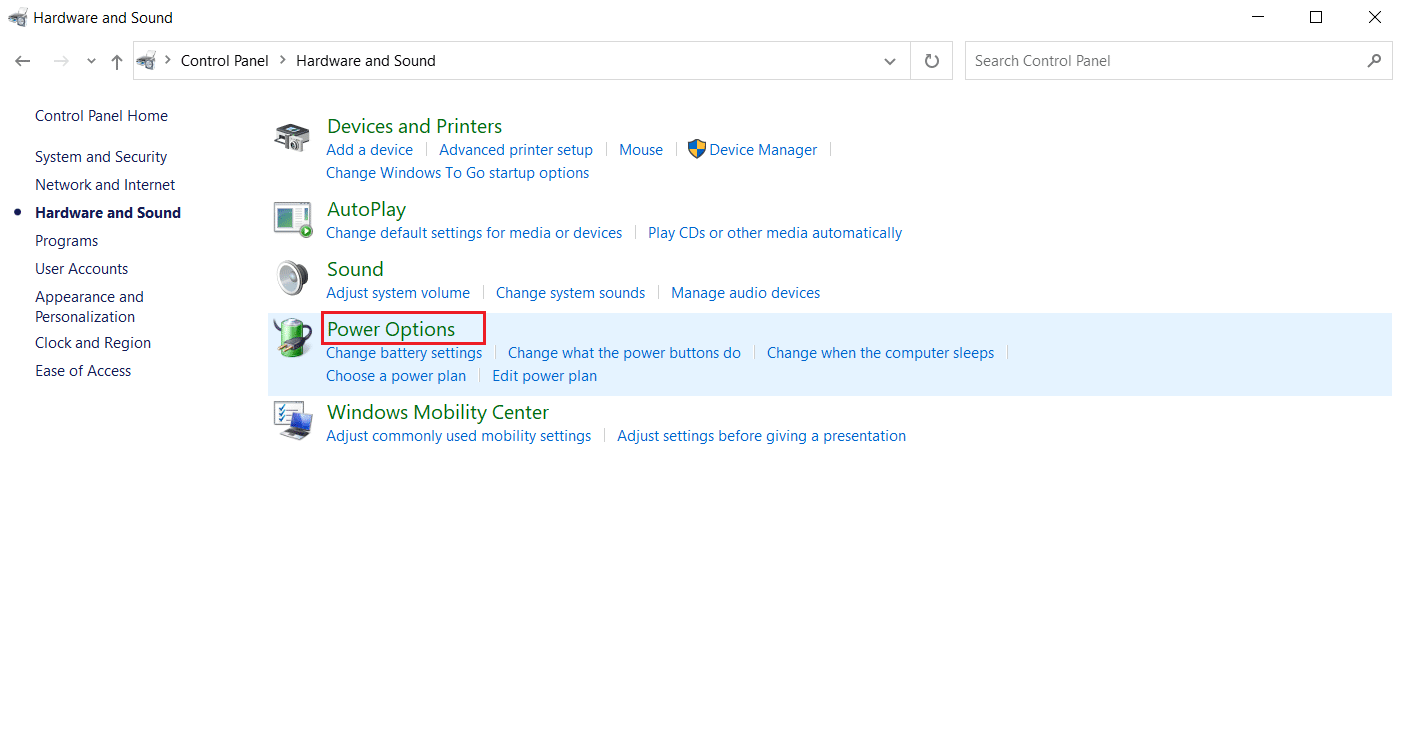
3. Agħżel Għażliet tal-Enerġija on Hardware u Sound paġna.
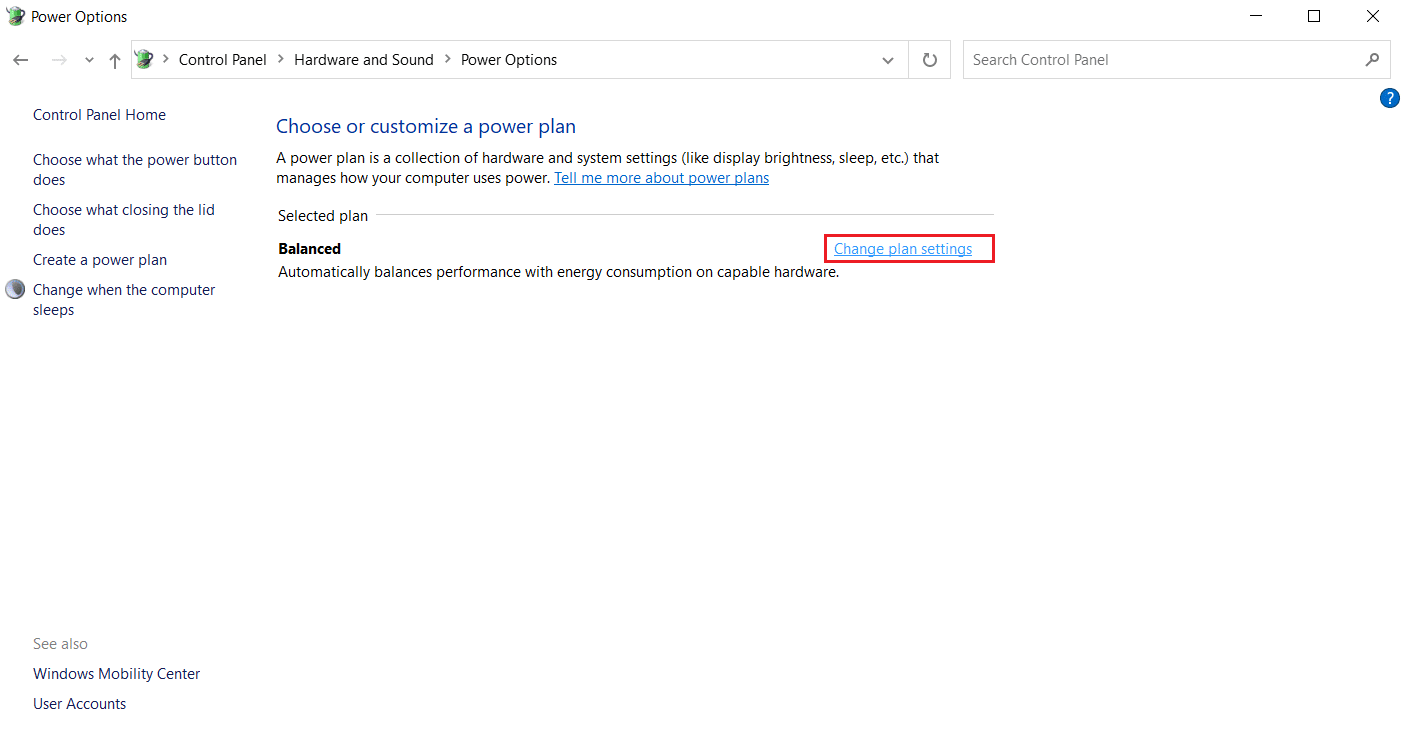
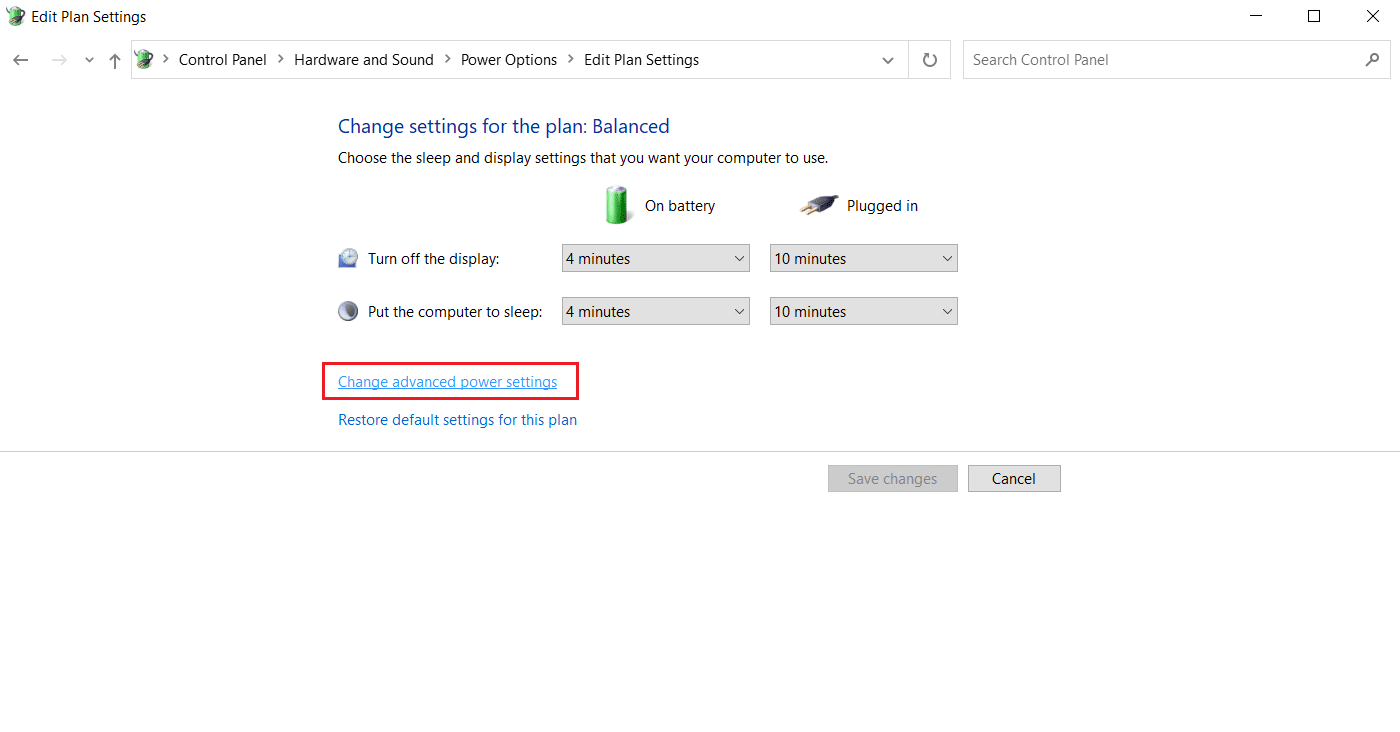
4. ikklikkja Settings tal-pjan ta 'bidla kif muri.
5. ikklikkja Ibdel is-settings avvanzati tal-qawwa. Għażliet tal-Enerġija tieqa tiftaħ.
Nota: You can directly open Għażliet tal-Enerġija from Desktop by running control.exe powercfg.cpl,,3 kmand fi Mexxi kaxxa ta 'dialog.
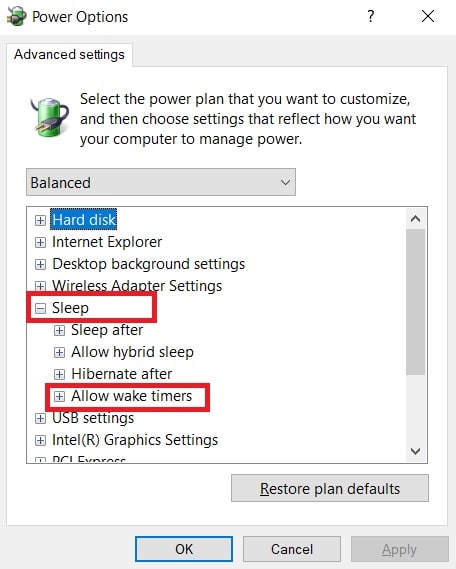
6. Sib Sleep u kklikkja fuq + ikona to expand it. You will see Allow Wake Timers għażla.
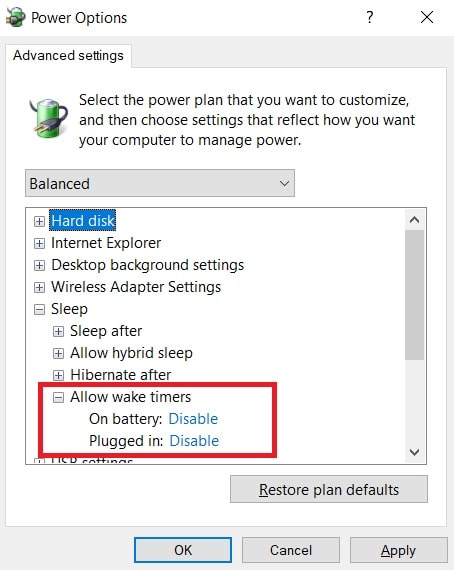
7. Għal darb'oħra ikklikkja fuq il- + ikona biex tespandi Allow Wake Timers u agħżel Itfi kemm Fuq batterija u, Imdaħħal.
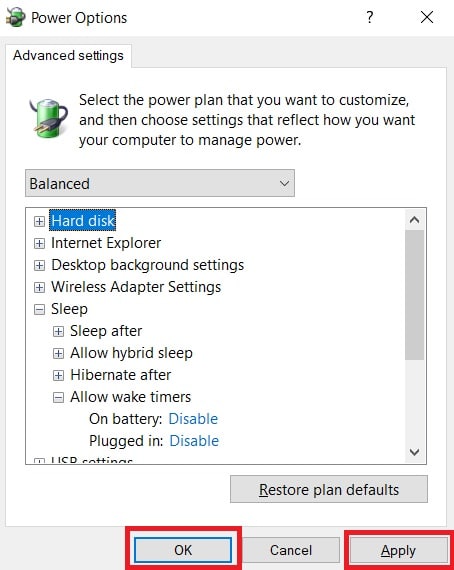
8. ikklikkja Applika u, OK biex isalva l-bidliet.
9. Wara dan, reboot il-PC.
Check if this MoUsoCoreWorker.exe process error is fixed.
Ukoll Aqra: Fix Multiple Google Chrome Processes Running
Method 3: Stop Update Orchestrator Service
UsoSVC or Update Orchestrator Service organises updates released by Windows and does tasks like downloading, verifying and installing updates. It may trigger MoUSO Core Worker Process and could be the cause behind this error. To fix this issue, you can disable UsoSVC by following these steps.
Nota: You will need to enable update orchestrator service whenever you update your PC.
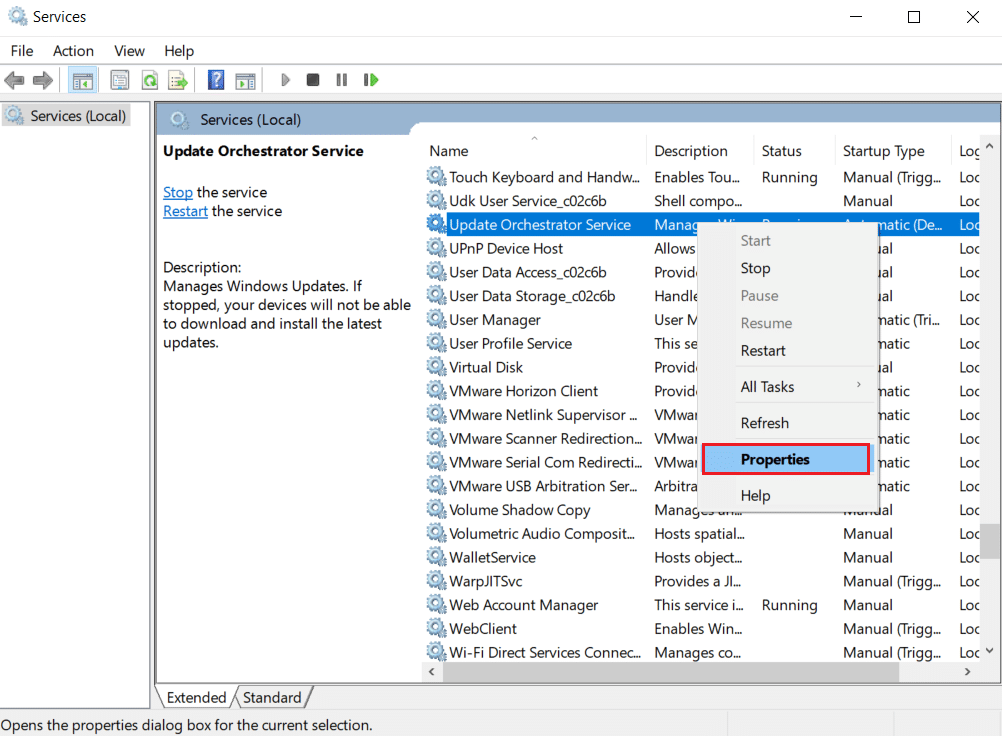
1. Agħfas il- Windows key, it-tip servizzi, u kklikkja fuq Mexxe bħala amministratur.

2. Sib u kklikkja bil-lemin fuq Aġġorna s-Servizz tal-Orkestratur u agħżel Properties.
3. Ġol ġenerali tab, bidla Istartjar tip għal B'diżabilità.
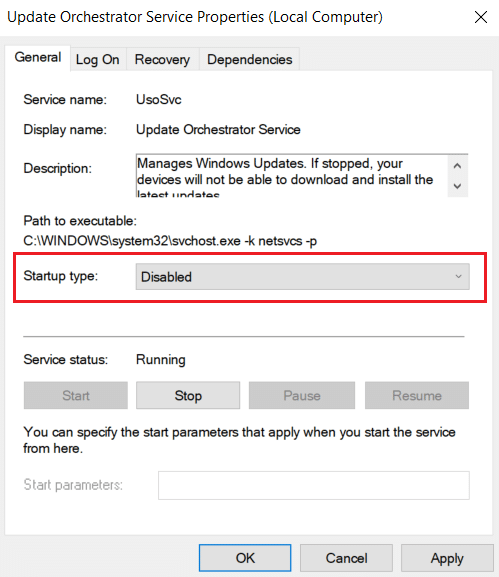
4. ikklikkja Applika u, OK biex tikkonferma l-bidliet.
Method 4: Disable Task Scheduler
Task Scheduler is a service that enables you to schedule and perform any task on your PC without manual intervention at any specific time. Sometimes a planned automated task can wake PC from sleep, causing this MoUsoCoreWorker.exe process issue. Follow the instructions below to turn off Task Scheduler.
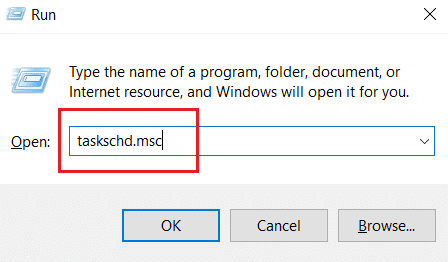
1. Istampa Windows + R ċwievet fl-istess ħin biex tiftaħ il- Mexxi kaxxa ta 'dialog.

2. Tip taskschd. msc on Run Dialog Box u l-istampa Ikteb li tniedi Task Scheduler.
3. Fil Task Scheduler Window, navigate to the Task Scheduler Library > Microsoft > Windows > UpdateOrchestrator folder on the left pane.
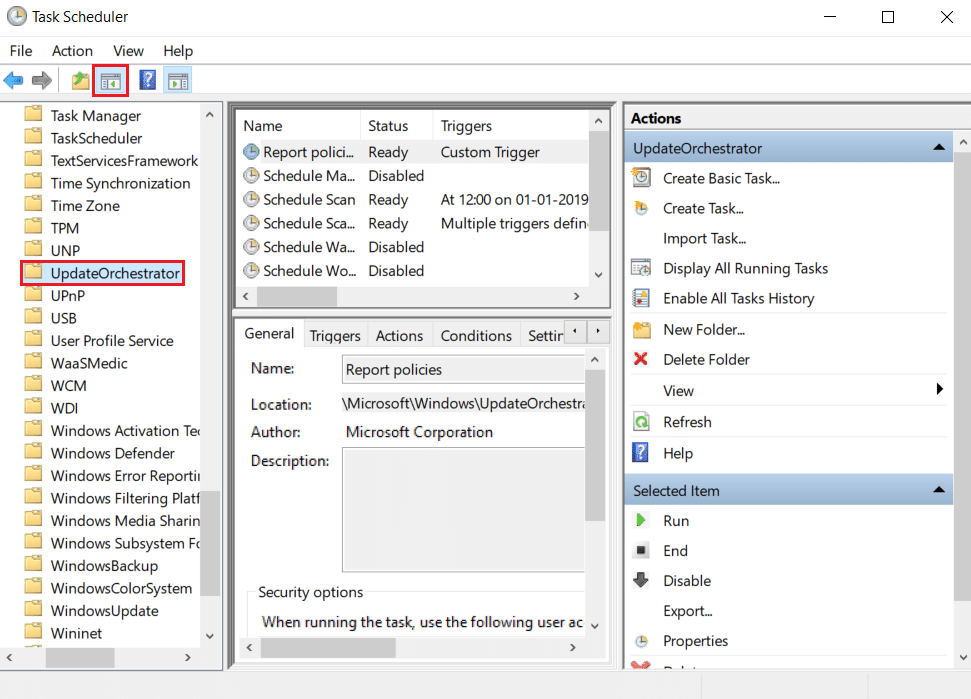
4. Ġol Aġġorna l-Orkestratur folder, find and right-click Schedule scan task u agħżel Itfi.
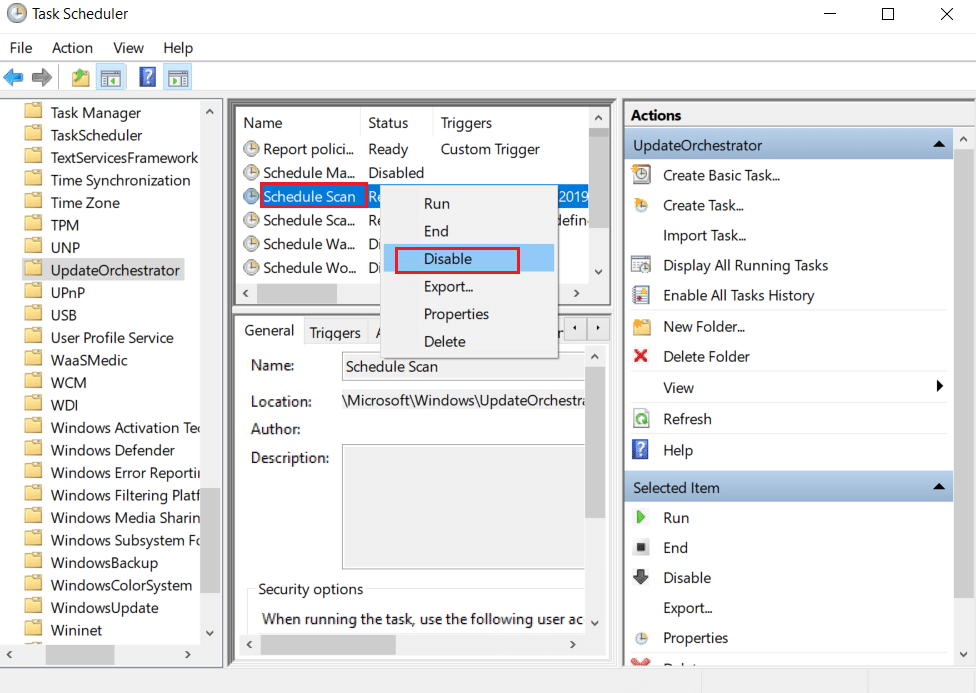
5. Exit Task Scheduler and erġa ibda il-PC.
Ukoll Aqra: How to Check How Much VRAM Do I Have on Windows 10
Metodu 5: Aġġorna l-Windows
Outdated Windows PC can create compatibility issues. Microsoft team releases updates to fix bugs and add other useful features. Updating Windows may fix this MoUsoCoreWorker.exe process issue. Follow these to do so.
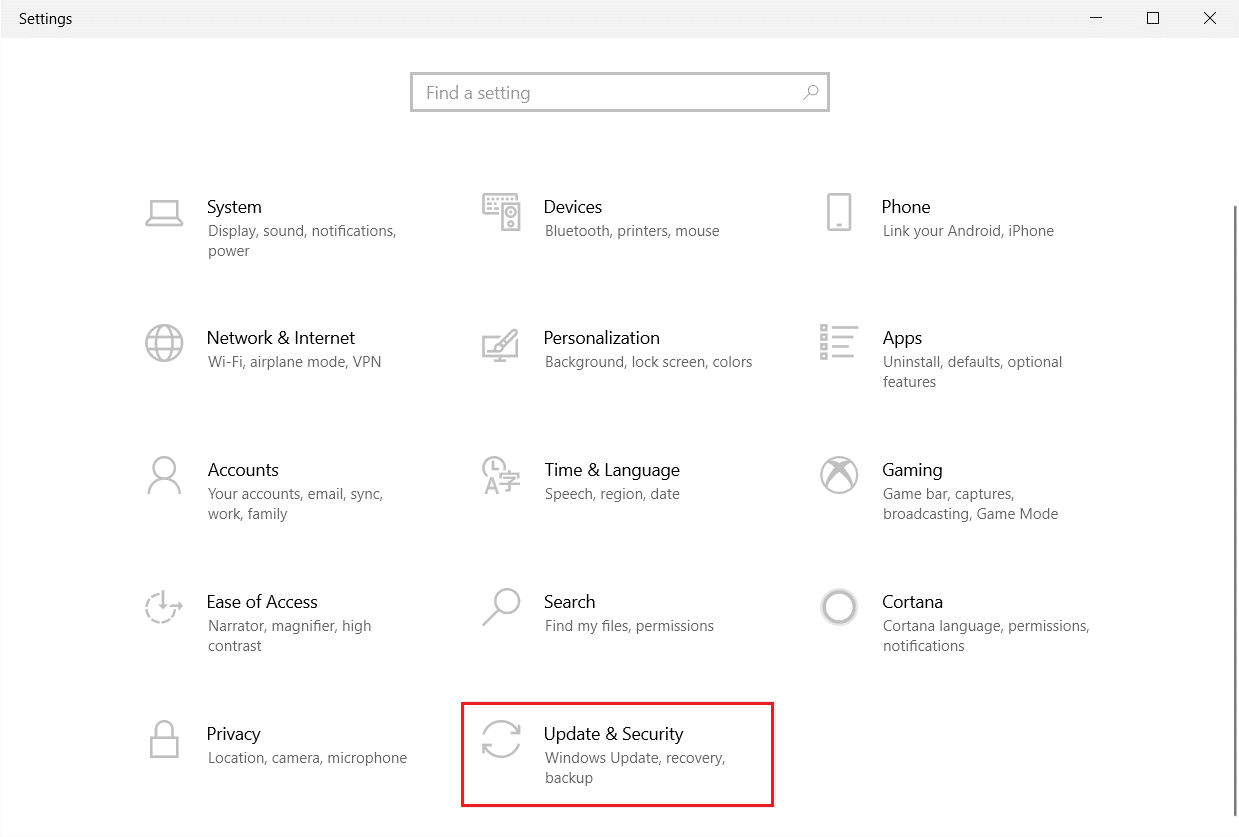
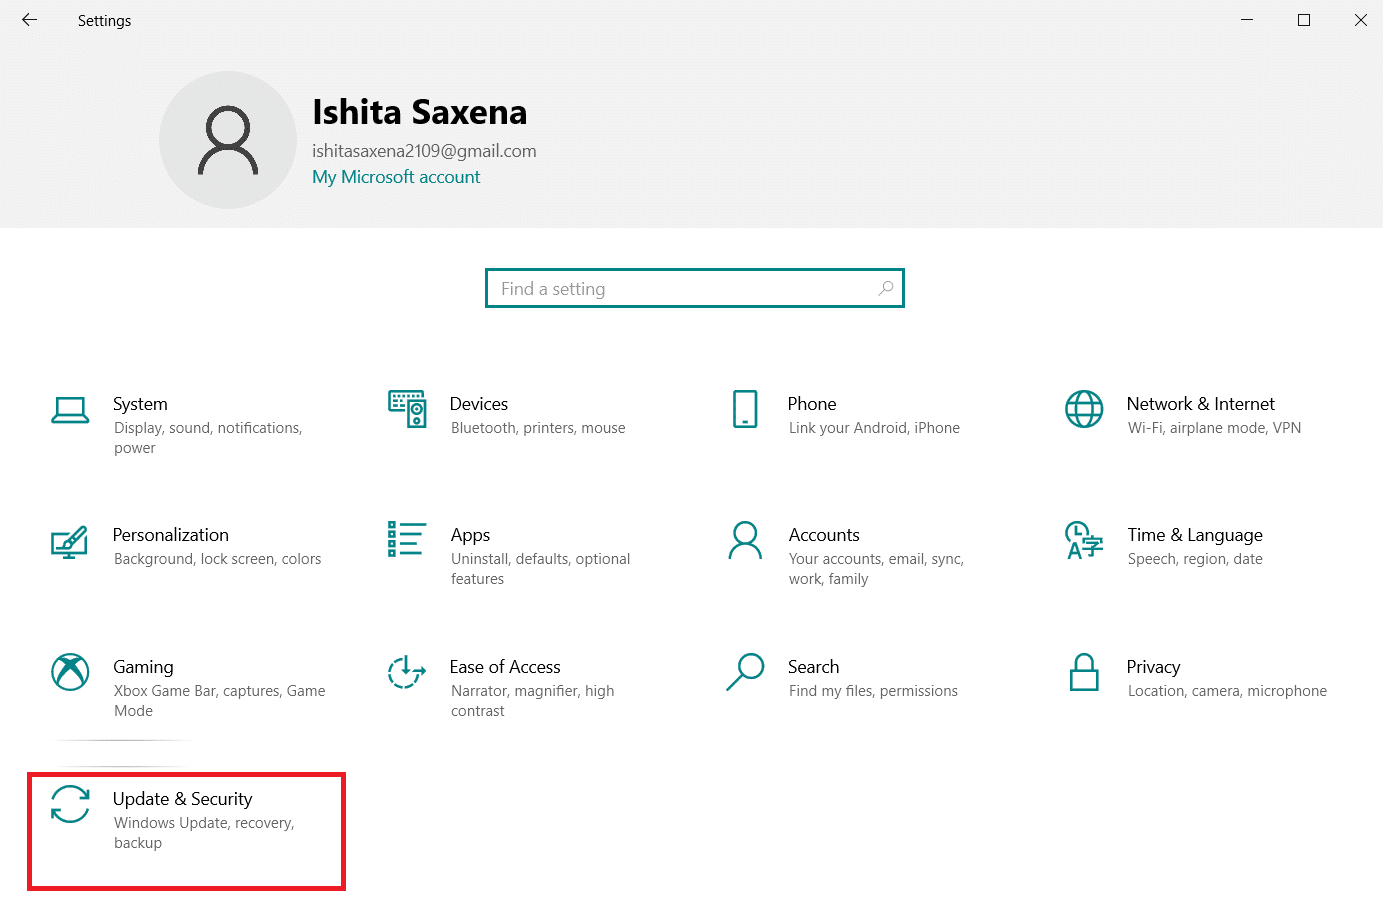
1. Agħfas il-buttuna Ċwievet Windows + I simultanjament biex tniedi Settings.
2. Ikklikkja fuq il - Aġġornament u Sigurtà madum, kif muri.
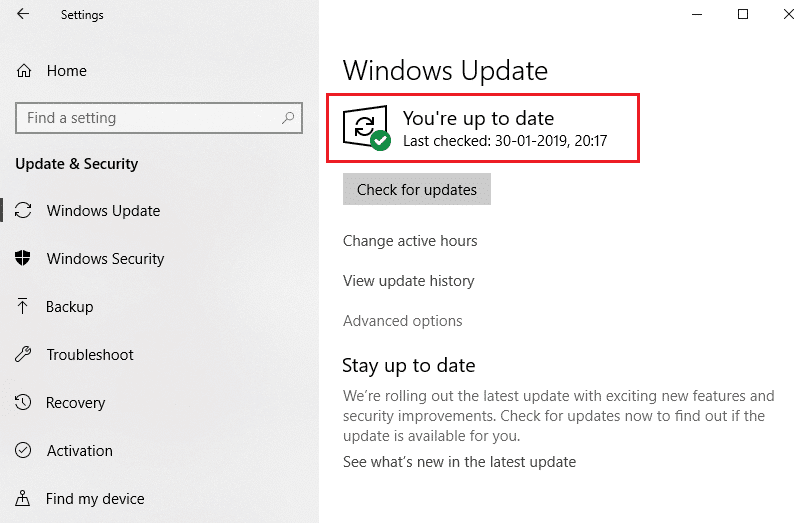
3. Ġol Windows Update tab, ikklikkja fuq Iċċekkja għal aġġornamenti buttuna.
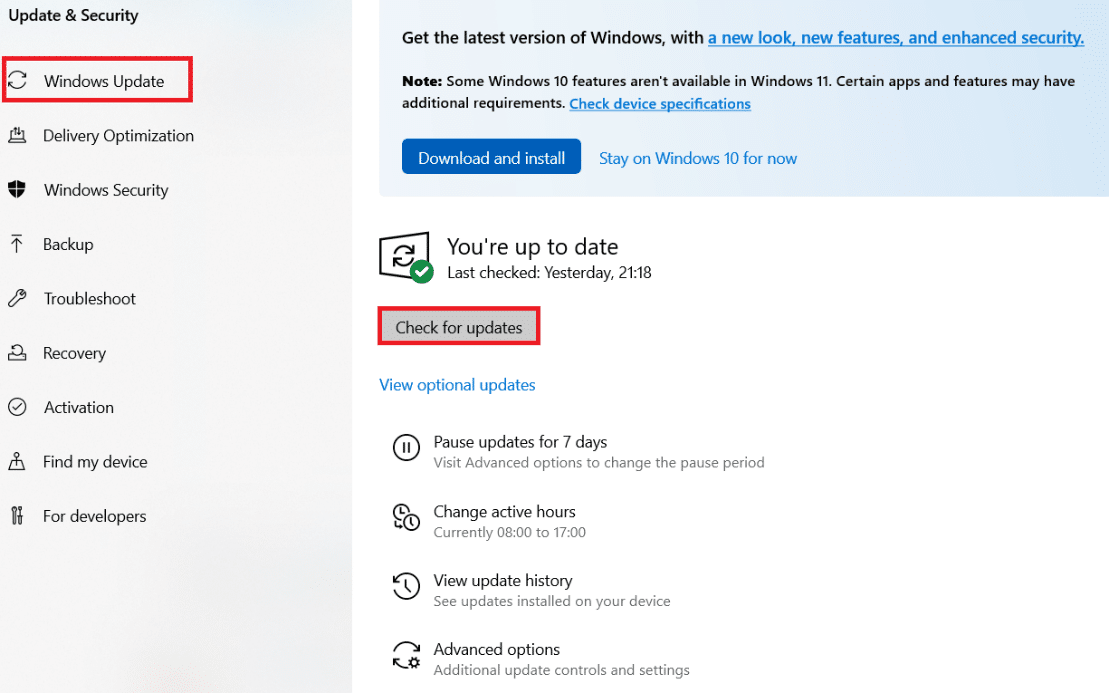
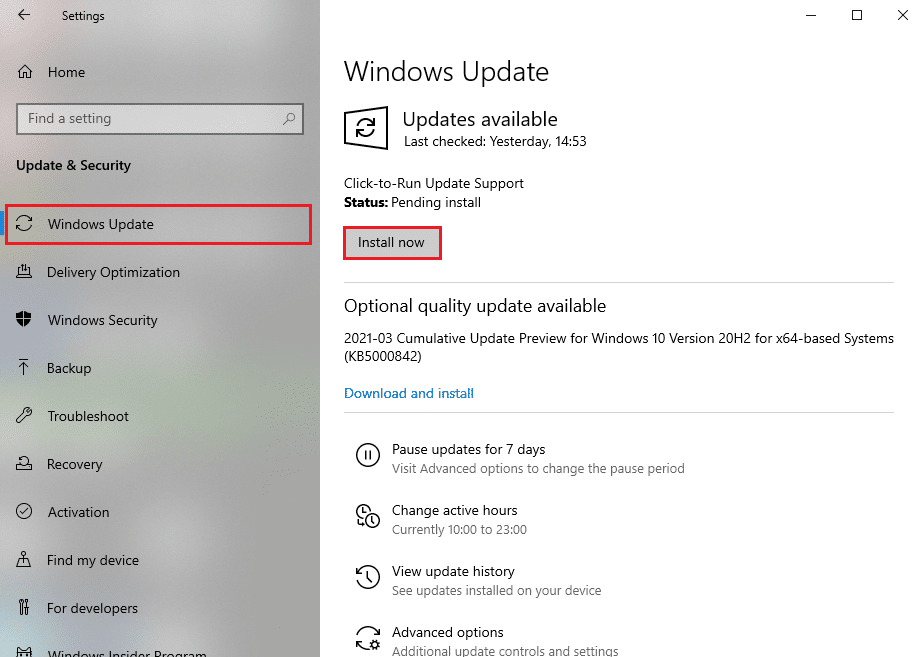
4A. Jekk aġġornament ġdid huwa disponibbli, imbagħad ikklikkja Installa Issa u segwi l-istruzzjonijiet biex taġġorna.
4B. Inkella, jekk il-Windows hija aġġornata, allura se turi Int aġġornat messaġġ.
Metodu 6: Uża l-Editur tar-Reġistru
Registry Editor is a repository containing all configurations, values and settings for Windows. We can use it to create NoAutoRebootWithLoggedOnUsers DWORD which will stop PC from auto rebooting and may fix this MoUsoCoreWorker.exe MoUSO Core Worker process error. Follow the below-mentioned steps to do it.
Nota: Modifying Registry Editor may cause issues. Create Registry backup before following this method as shown below.
1. Istampa Windows + R ċwievet flimkien biex tiftaħ il- Mexxi kaxxa ta 'dialog.

2. Tip regedit u kklikkja OK li tniedi Editur tar-Reġistru.

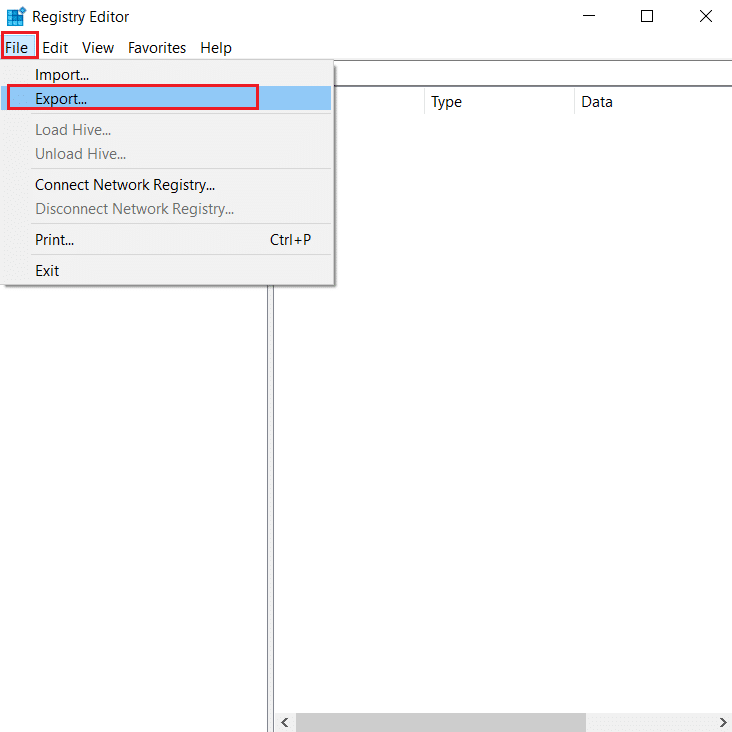
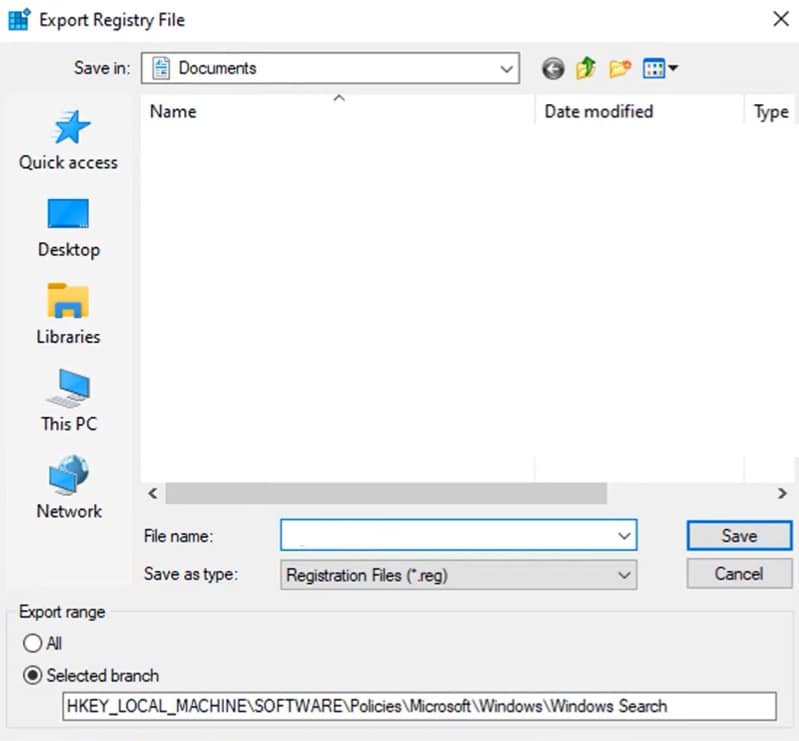
3. Ikklikkja fuq File u agħżel il- Export… option. It will open Fajl tar-Reġistru tal-Esportazzjoni tieqa.
4. Name it accordingly and click on Ħlief. Registry Backup will be created which you can import if things go wrong.
5. After creating backup, navigate to the following path in Editur tar-Reġistru.
HKEY_LOCAL_MACHINESOFTWAREPolitisMicrosoftWindowsWindowsUpdateAU
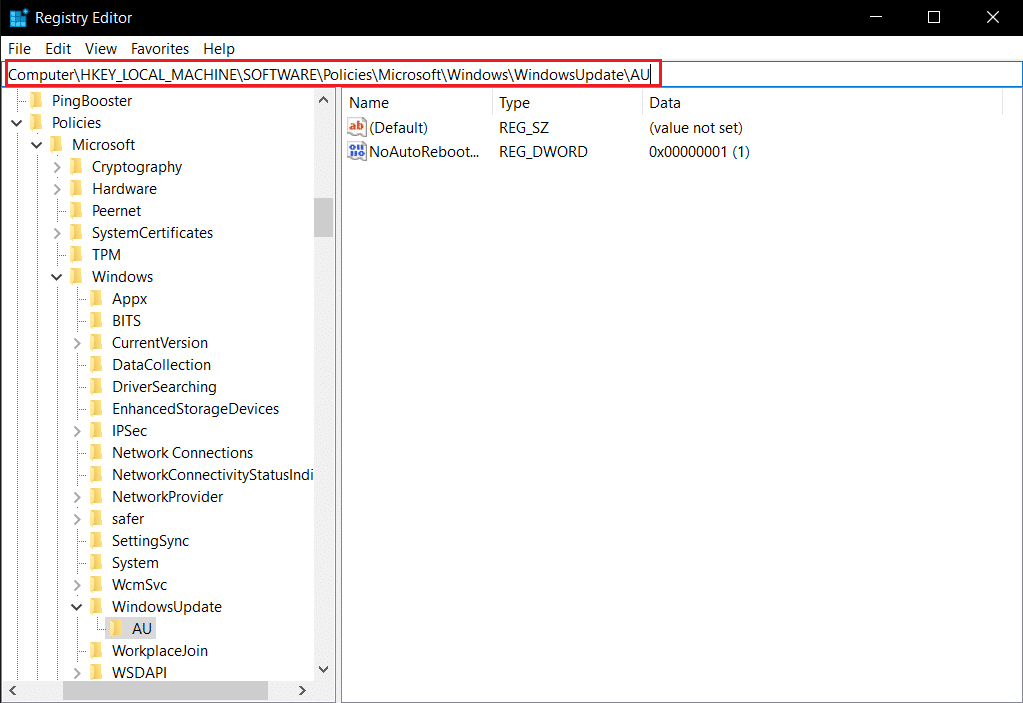
6. In the right pane, locate and double click NoAutoRebootWithLoggedOnUsers ċavetta.
7. Issettja Data tal-valur as 1 on the popup and click OK biex isalva l-bidliet.
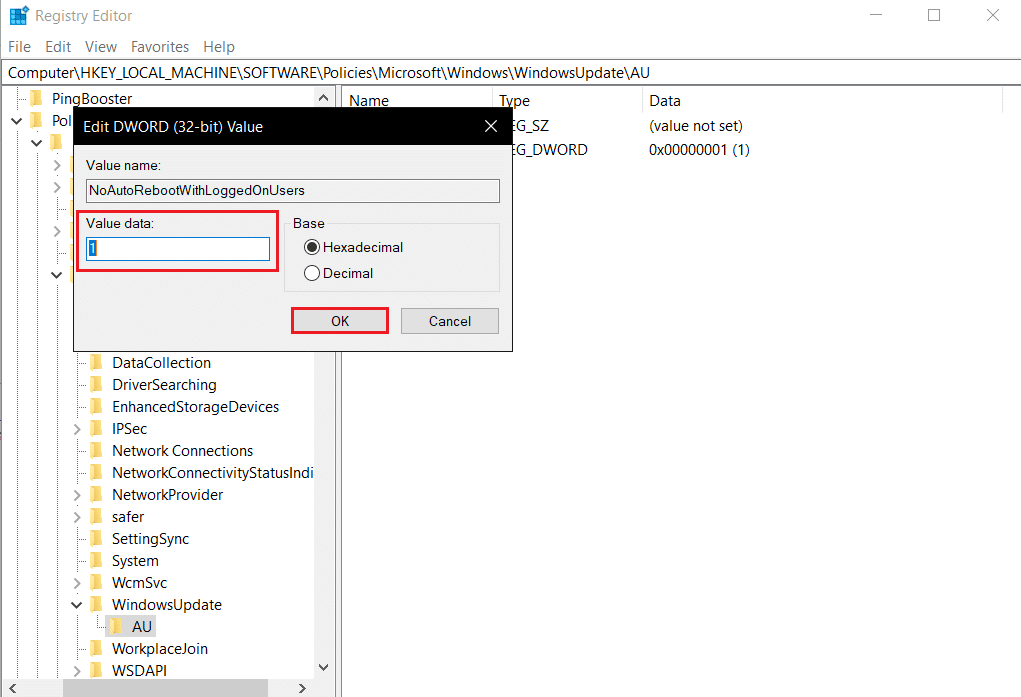
8. Exit Registry Editor and erġa ibda il-PC.
Ukoll Aqra: How to Fix hkcmd High CPU Usage
Metodu 7: Ibda mill-ġdid Windows Update Service
If your PC is unable to Sleep it may be because Windows Update service not working properly because of various errors. To resolve this, restart Windows Update service by following these steps.
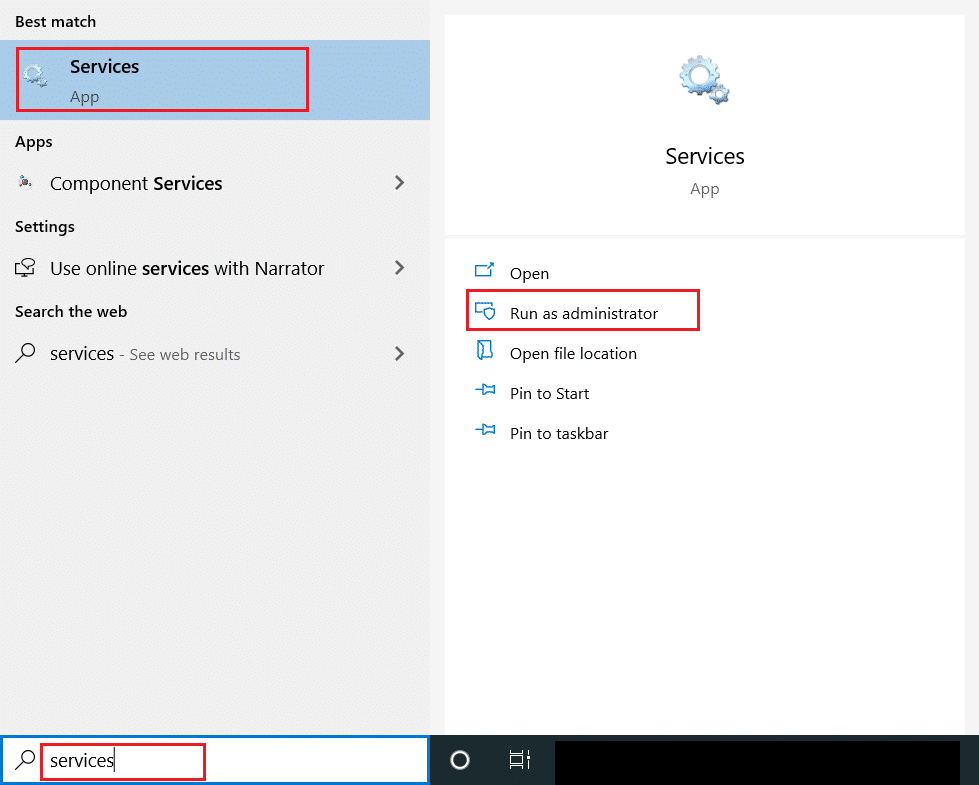
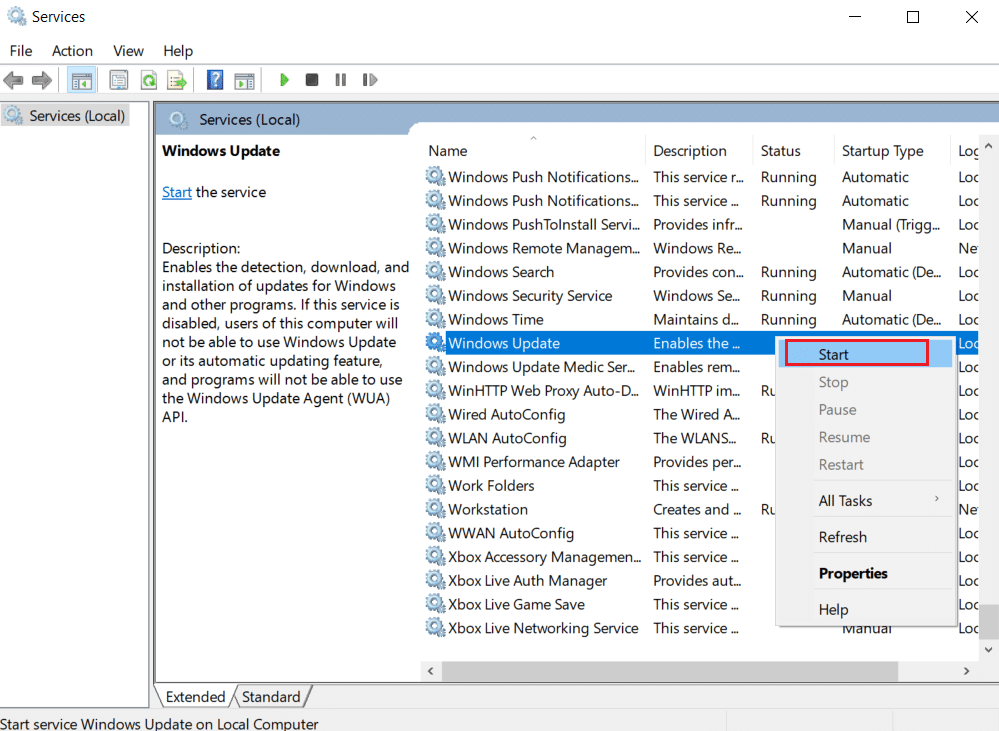
1. Agħfas il-buttuna twieqi ċavetta u tip servizzi u kklikkja fuq Mexxe bħala amministratur li tniedi Servizzi tieqa.
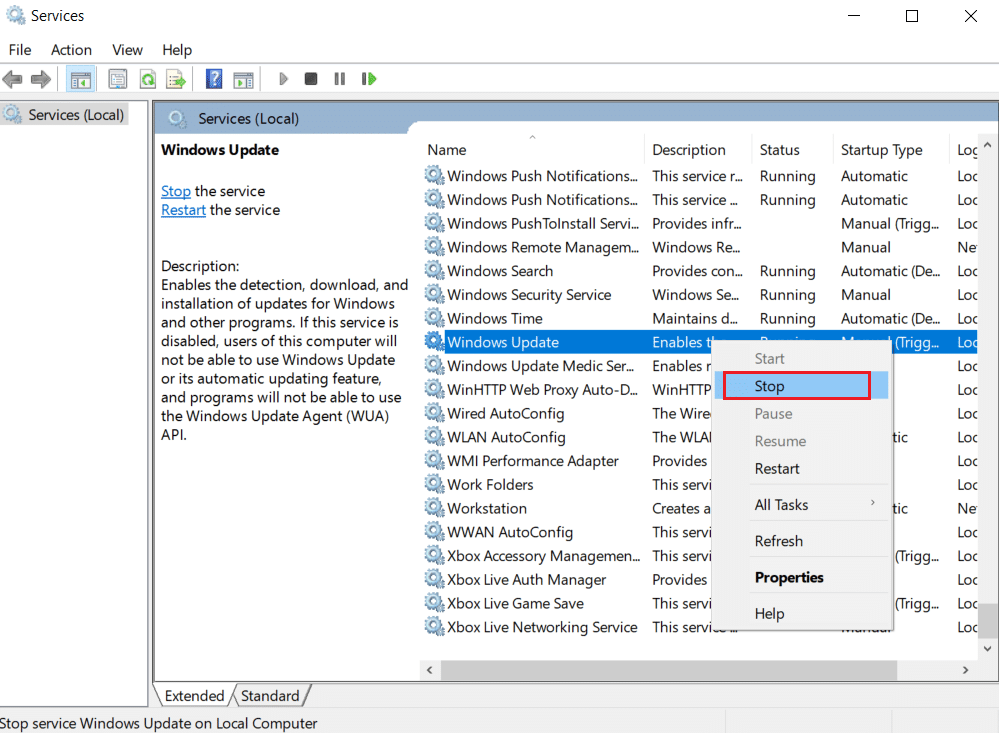
2. Sib u kklikkja bil-lemin fuq Windows Update servizz u agħżel Stop.
3. After that, minimize servizz tieqa.
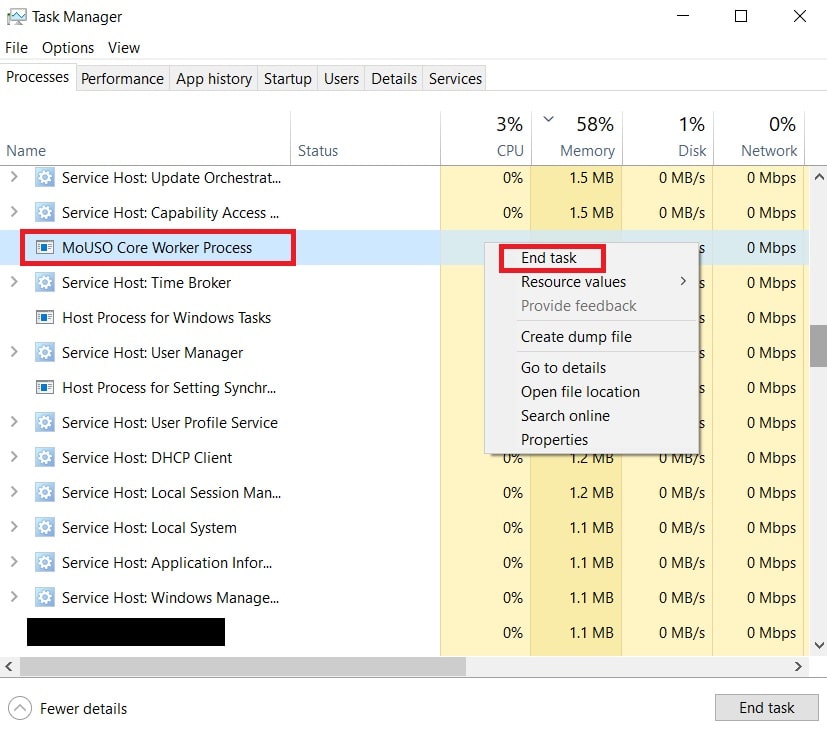
4. Istampa Ċwievet Ctrl + Shift + Esc simultanjament biex tiftaħ Task Manager.
5. Ikklikkja fuq aktar dettalji.

6. Sib u kklikkja bil-lemin fuq MoUSO Core Worker Process u agħżel Kompitu ta 'tmiem.
7. Close Task Manager and maximize Servizzi tieqa.
8. Ikklikkja fuq il-lemin fuq Windows Update u agħżel bidu.
After restarting Windows Update service, check if this MoUsoCoreWorker.exe process error is resolved.
Method 8: Change Windows Update Service Startup Mode
If the Windows Update service is set as manual in Startup type, it can sometimes freeze during its processes which may trigger PC to wake up from sleep. You can fix this issue by changing its Startup type to Automatic and to do that follow the steps below.
1. Segwi 1 pass minn Metodu 7 biex tiftaħ Servizzi.
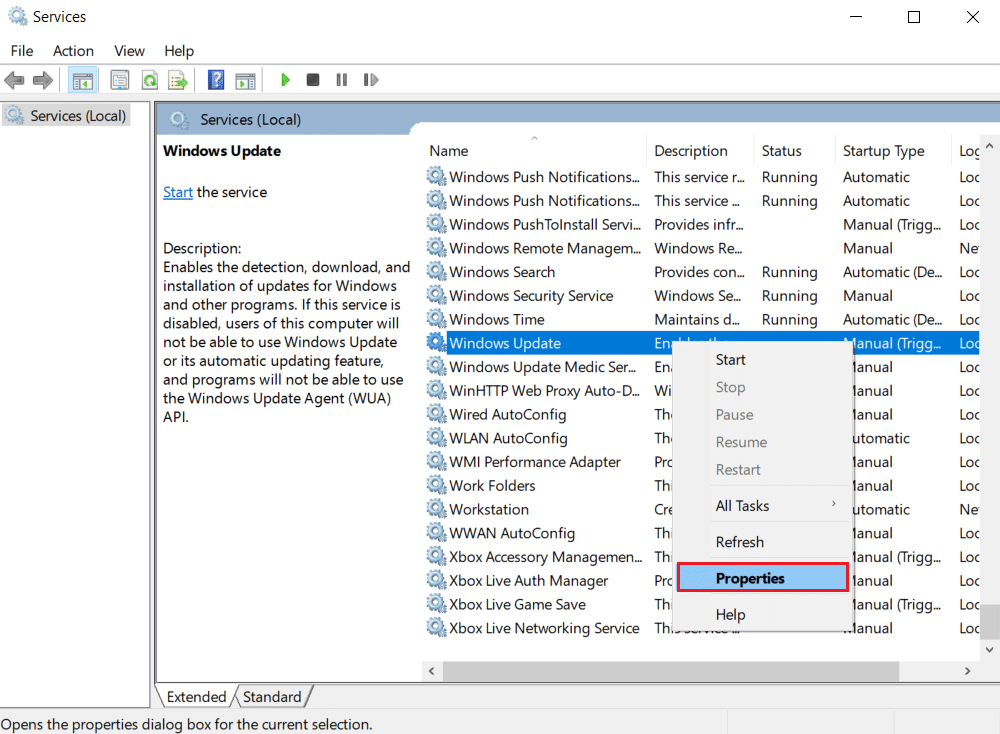
2. Sib u kklikkja fuq il-lemin Windows Update servizz u agħżel Properties to open Properties window.
3. Fil ġenerali tab, bidla Tip ta 'istartjar għal awtomatika from drop down list.
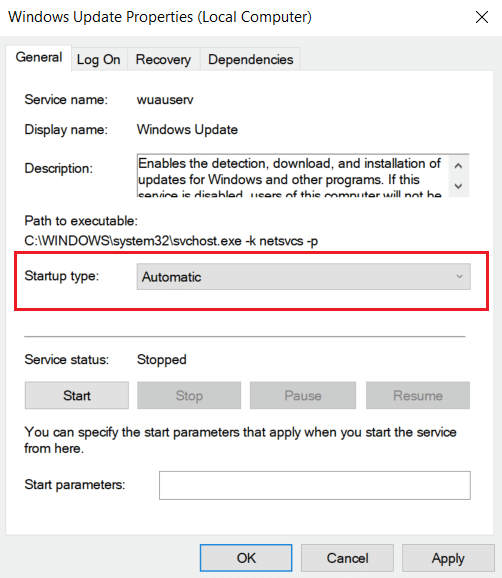
4. ikklikkja Applika u, OK biex isalva l-bidliet.
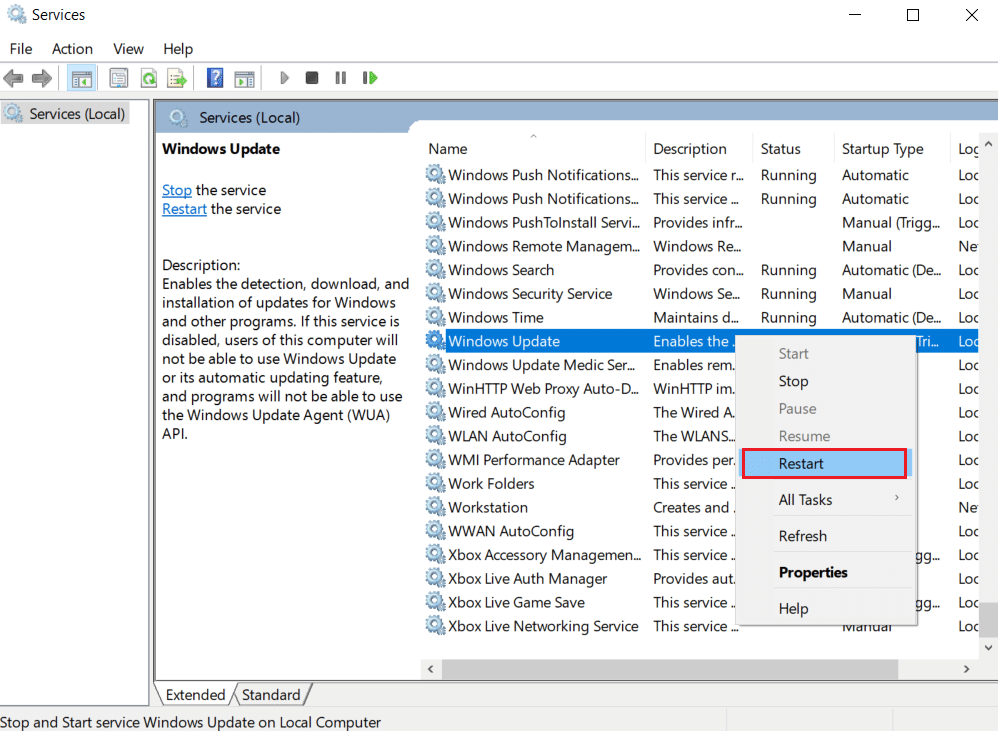
5. Fil Servizzi window right-click on Windows Update servizz mill-ġdid u agħżel Erġa ibda.
6. When Windows update has restarted, close Servizzi tieqa.
Nota: If the error persists, try to stop automatic updates and check if it works for you.
Method 9: Run Windows Update Troubleshooter and Power
Troubleshooting detects and resolves any problem present within a program. As MoUSO Core Worker Process is related to Windows updates, running Windows update troubleshooter can resolve the error. You can do it by following our guide to Run Windows Update Troubleshooter.
Ukoll Aqra: Fix .NET Runtime Optimization Service High CPU Usage
Method 10: Run Power Troubleshooter
If you are still facing this issue after running Windows Update Troubleshooter, try running Power troubleshooter to see if it resolves it. Follow the steps to do the same.
1. Agħfas il- Ċwievet Windows + I flimkien biex tiftaħ Settings.
2. Agħżel Aġġornamenti u Sigurtà on Settings paġna.
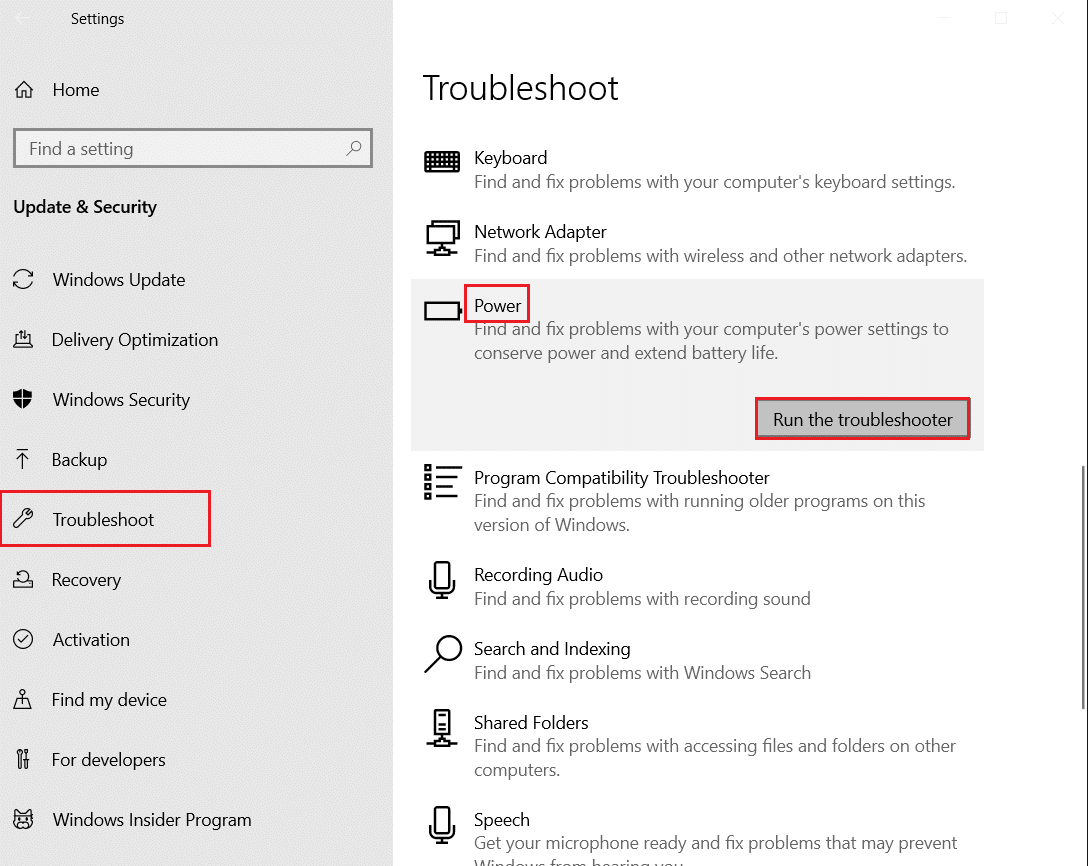
3. Ikklikkja fuq il - Soluzzjoni ta 'problemi menu on the left pane.
4. Imbagħad agħżel bl-eletriku għażla taħt Sib u rranġa problemi oħra sezzjoni u kklikkja fuq Mexxi l-troubleshooter buttuna.
5. Wait for the troubleshooting process to complete and erġa 'ibda l-PC tiegħek.
Method 11: Restore Default Power Settings
If power settings are misconfigured, then can affect functioning of sleep mode on PC. Try changing power settings to default and see if it fixes this MoUsoCoreWorker.exe process issue. To do so, follow the given steps.
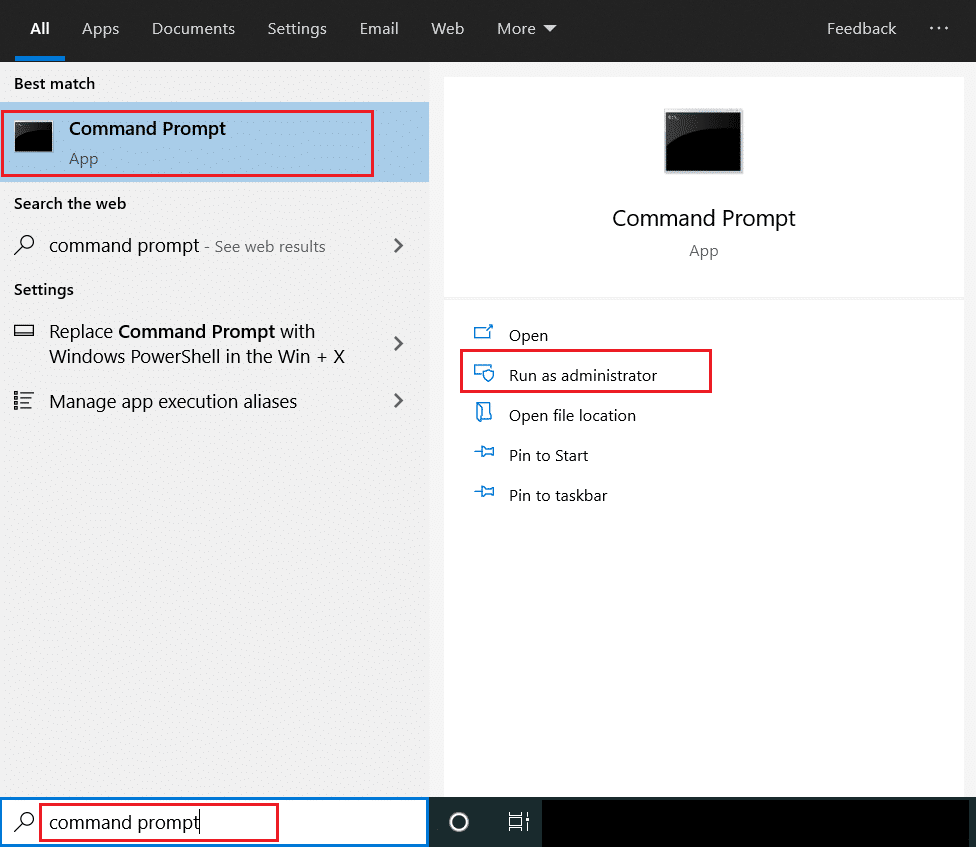
1. Agħfas il-buttuna twieqi ċavetta u tip kmand fil-pront u agħżel Mexxe bħala amministratur li tniedi Kmand Prompt.
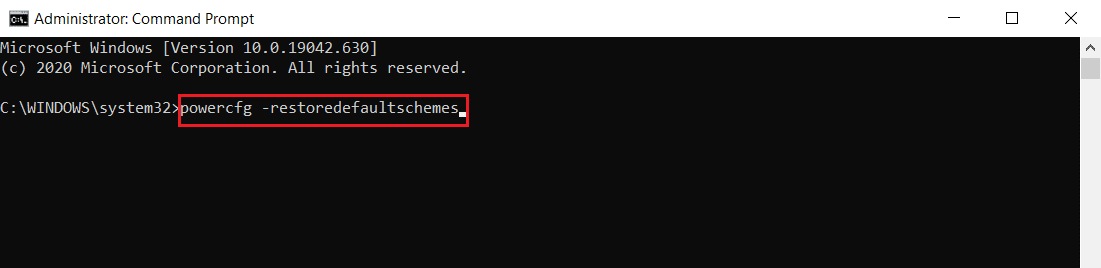
2. Type the following command in Kmand Prompt u l-istampa Ikteb iċ-ċavetta to execute it. Once command is executed, power settings will revert to default settings.
powercfg -restoratfaċċati skemi
3. Exit Command Prompt and reboot il-PC.
Method 12: Overrule MoUSO Core Worker Process Request
Another way to fix this issue is by modifying your power settings to overrule MoUSO Core Worker Process request. To do it, follow these instructions carefully.
1. Segwi 1 pass minn Metodu 11 biex tiftaħ Kmand Prompt bħala amministratur.
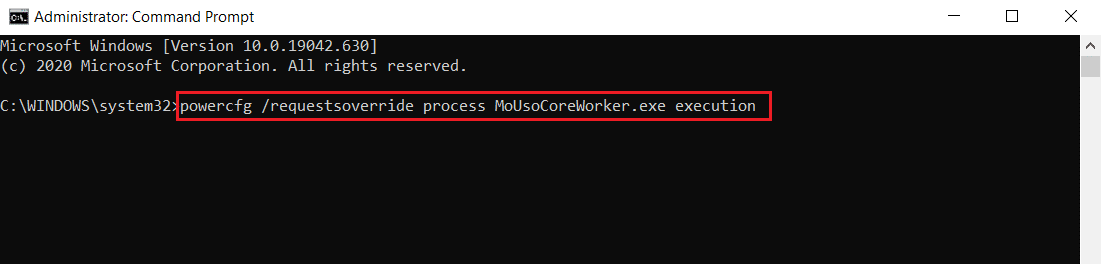
2. Type the following command to overrule MoUSO Core Worker Process request and press the Ikteb iċ-ċavetta.
powercfg /requestsoverride process MoUsoCoreWorker.exe execution
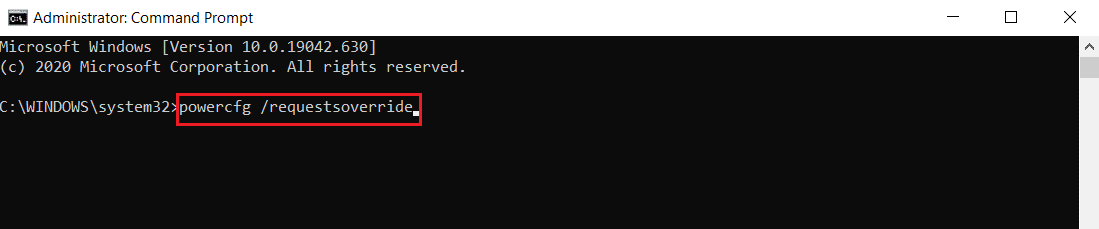
3. After executing the previous command, type the following command to verify the overrule process and press the Ikteb iċ-ċavetta.
powercfg /requestsoverride
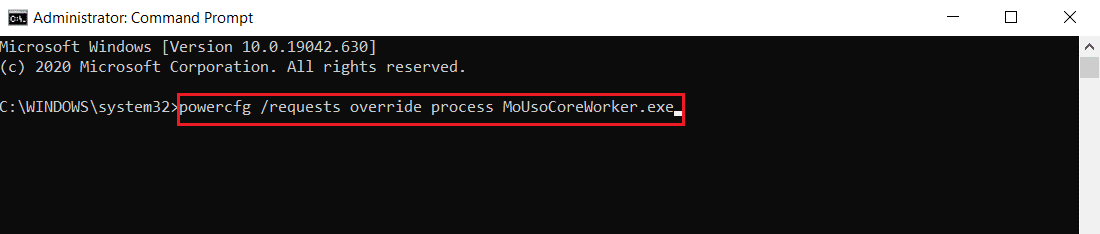
Nota: In case you want to stop overruling MoUSO Core Worker Process request, simply execute this command in Kmand Prompt.
powercfg /requests override process MoUsoCoreWorker.exe
Ukoll Aqra: Waħħal il-Proċess ta' Servicing Ospitanti tad-DISM Użu Għoli tas-CPU
Method 13: Disable Troublesome Hardware Components
MoUSO Core Worker Process may stay if it is unable to power off certain hardware components. It can be fixed by disconnecting such hardware devices by enabling PC to power them off. Follow the steps below do the same
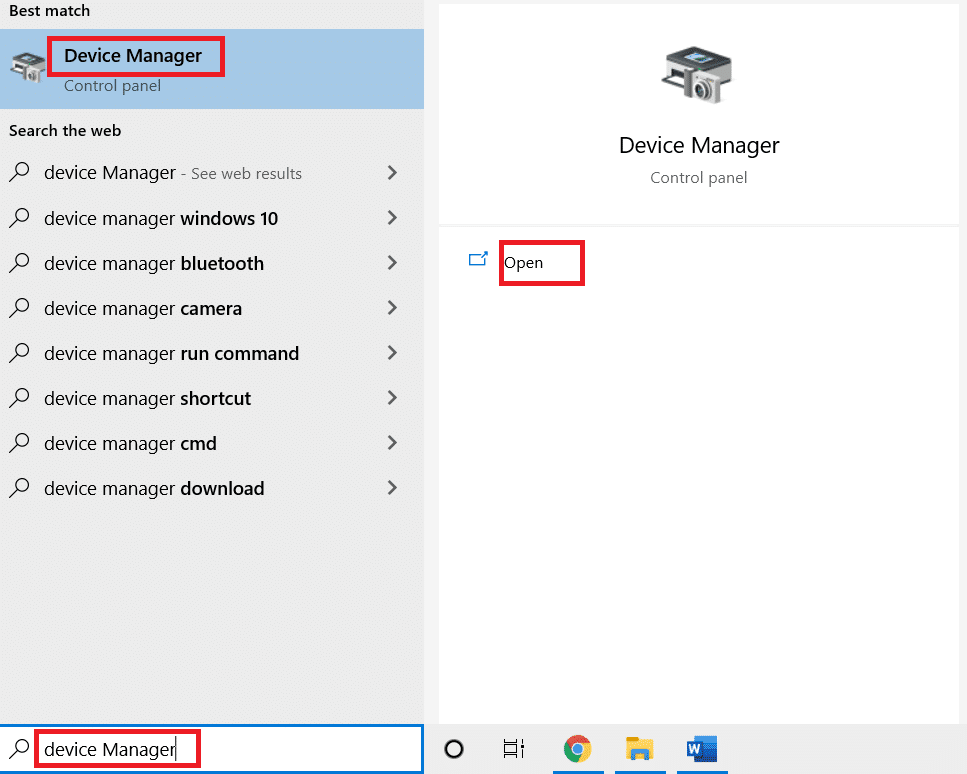
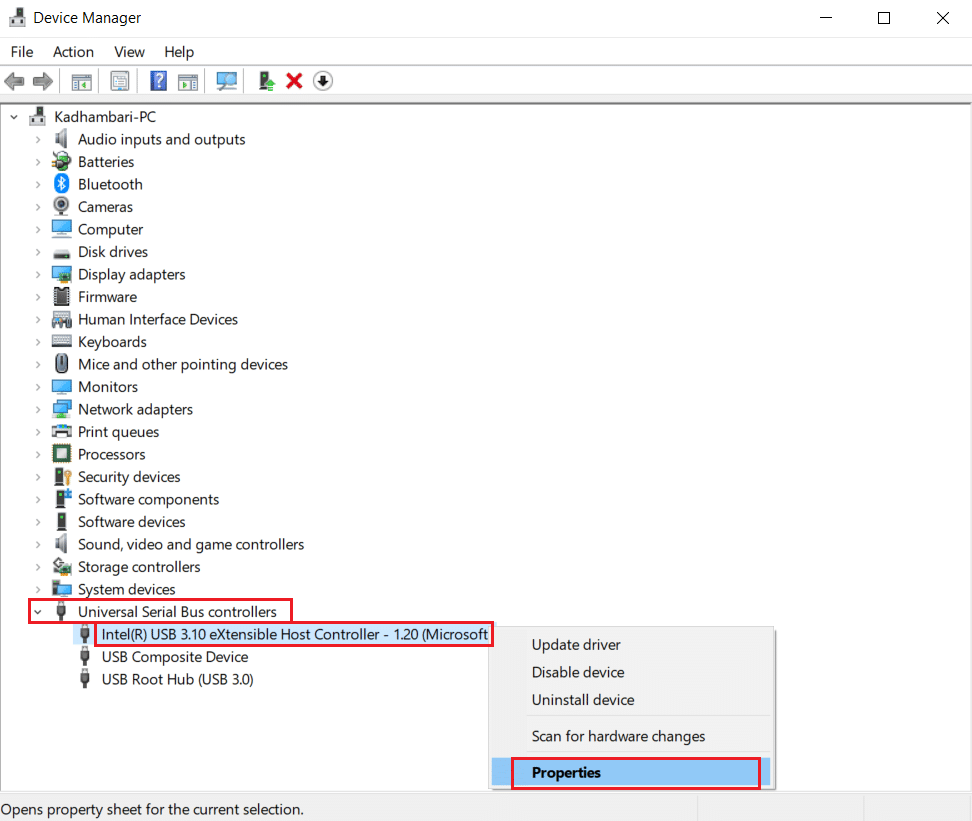
1. Agħfas il-buttuna Windows key, it-tip Apparat Manager u kklikkja fuq miftuħa.
2. Agħżel u tespandi Kontrolluri Universali tas-Serje Bus. Choose a device, right-click on it and select Properties. It will open Properties window.
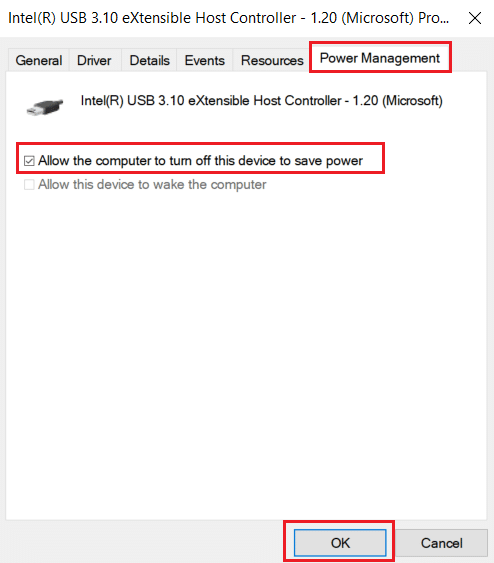
3. Mur għal Ġestjoni tal-qawwa tab, check the box marked Ħalli l-kompjuter itfi dan it-tagħmir biex jiffranka l-enerġija u kklikkja OK biex isalva l-bidliet.
4. Repeat the process for all other devices to identify which ones are the problematic hardware devices and disable them.
5. If the issue persists, you can run the following command to check which devices are not powered off and hit the Ikteb iċ-ċavetta.
powercfg -devicequery wake_armed
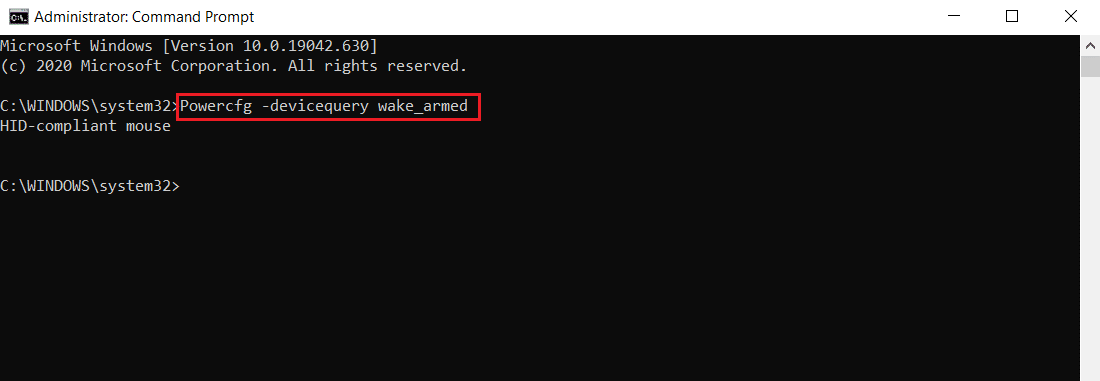
6. After this command is executed unplug the device mentioned in Command Prompt or modify its properties by going to the Ġestjoni tal-qawwa tab kif muri fi 3 pass.
Metodu 14: Wettaq ir-Restore tas-Sistema
If none of the above solutions works, your final option is to perform System Restore. If you are unable to identify any program or driver causing MoUSO Core Worker Process to constantly wake up PC from sleep, restore your PC to a previous date by following our guide to Use System Restore on Windows 10. This method will surely fix the issue.
Rakkomandata:
We hope that this guide was helpful and you were able to stop MoUSO Core Worker Process from waking your PC from sleep. Let us know which method worked for you the best. If you have any queries or suggestions then feel free to drop them in the comments section.

