SD cards are mainly used in mobile devices like smartphones, game consoles, cameras and the like. However, we often have to use them on a Windows computer. Either to copy data as quickly as possible or to do some troubleshooting with SD cards that don’t seem to work więcej.
One of the most common reasons to format an SD card in Windows is that it’s stopped working properly in whatever device you were using it. Formatting is the usual first step to figuring out whether the card should be tossed in the trash. Let’s look at how it’s done.
Danger! Your Data Will Be Gone!
Before we go any further, you need to be very aware of the fact that when you format an SD card (or any drive for that matter) all of your data will be gone. So if at all possible, and if it matters, make a backup of your SD card’s contents before formatting it!

Co będziesz potrzebował
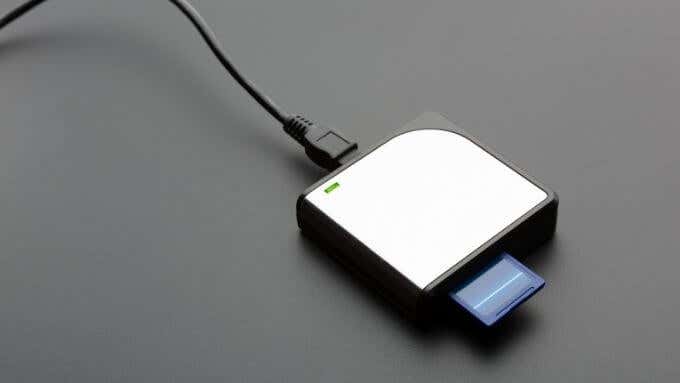
In order to format an SD card on Windows 10, you need an SD card! However, you will also need some way to read that SD card.That means using an Czytnik kart SD! Most desktop computers do not come with one and not every laptop has one these days either. So you might need to buy one.
Luckily they aren’t expensive and work with USB, so it’s a plug-and-play solution.
Why Format an SD Card?
The “format” of any disk describes the standard of organizations it used to store data. It’s like the system used to organize library books, describing what goes where and which codes to use for the different locations.
Jest wiele różne formaty for disks. Each with their own strengths and weaknesses, but any disk needs one to work. An unformatted drive can’t be used, because there is no map or rules for how data should be stored.
These days SD cards are usually formatted straight out of the box, but you might want to format them anyway if you need a different format than the one offered.
Formatting an SD card is also a good way to fix it if it’s become uszkodzony and your data is lost either way. It will overwrite a fresh format, and if your SD card isn’t physically broken somehow, means you can go back to using it like before.

Choosing the Correct Format
In Windows, using the native formatting tools, you have a choice between NTFS i exFAT.
NTFS is the preferred format for hard drives in Windows for various reasons, but it does not have wide compatibility outside of Windows. exFAT on the other hand, is compatible with just about every device and operating system. So it’s almost always the right one to choose.
If the device you want to use the SD card in needs a different, specialized format you’re far better off formatting the SD card with that device, using its built-in formatting feature.
Formatting an SD Card Using the Native Windows Solution
The easiest way to format an SD card is by using the built-in formatting utility you can access from within Windows Explorer. Here’s how:
1. otwarte Windows Explorer. naciśnij Win + e to do this instantly.
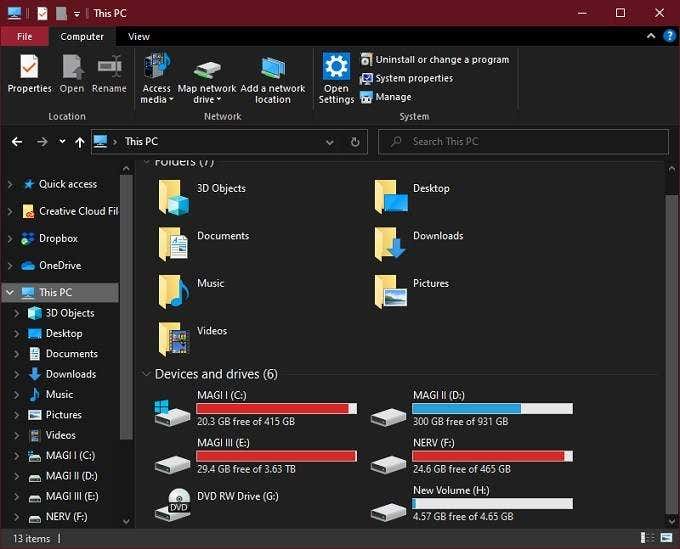
2. Insert your SD card into the card reader. It should appear among your other drives.
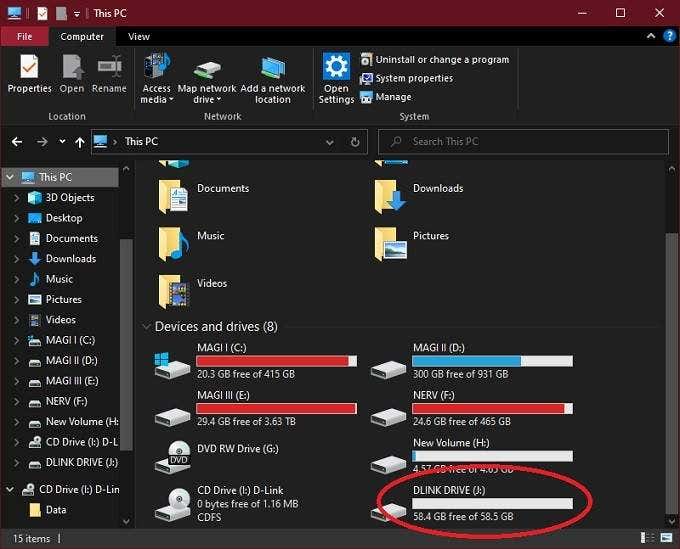
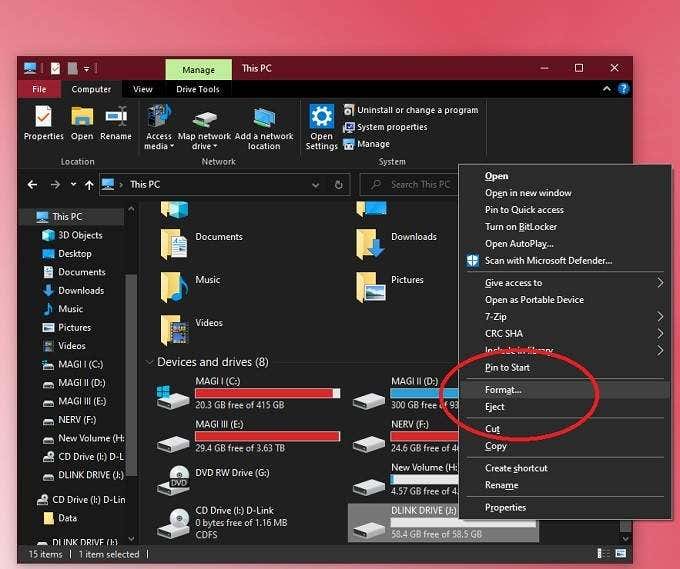
3. Kliknij prawym przyciskiem myszy plik SD card’s icon i wybierz Format.
4. Wybierać exFAT jako system plików.
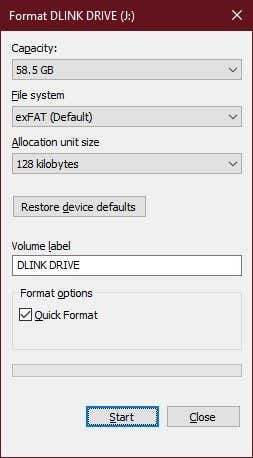
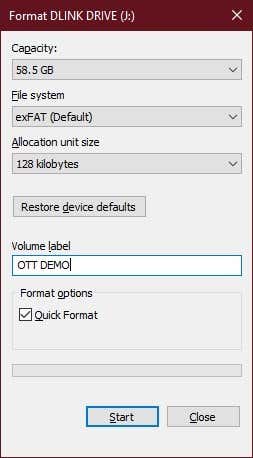
5. Give your card a volume label of your choosing.
6. Odznacz szybkie formatowanie. Unless your SD card is working normally and you just want to wipe it, rather than rebuild every byte.
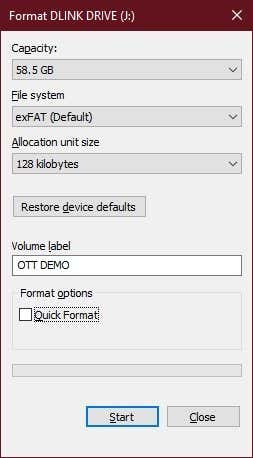
7. wybierać Start and wait for the format to complete.
That’s pretty much it. Your SD card should be clean, fresh and ready to go! If it doesn’t work properly after the format, you likely have a broken card on your hands.
Formatting an SD Card With Multiple Partitions Using the Disk Management Tool
Podczas Windows Explorer applet for formatting disks is quick and easy to use, it doesn’t have that many options for formatting. Which is why you’ll want to know about the Windows Narzędzie do zarządzania dyskami.
This tool lets you see all disks connected to your computer and gives you pretty much full control over what you can do. For example you can modify and manage partitions on the disk, which is not something you can do with the standard applet.
To format your SD card using the Disk Management Tool, do the following:
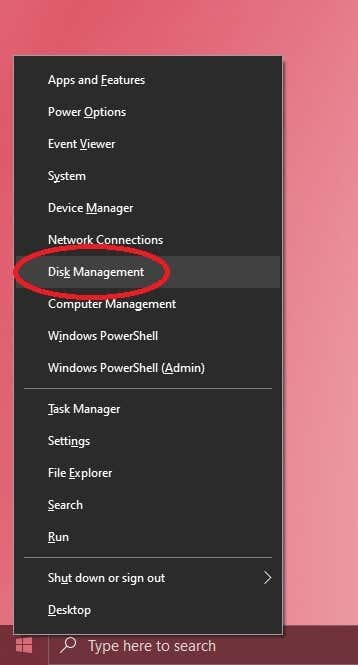
- Right-click on the Start Button and select Zarządzanie dyskiem.
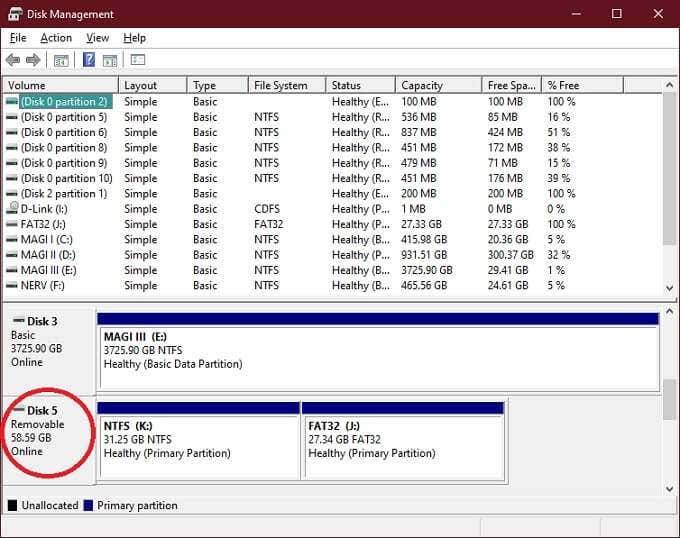
- Scroll down to the SD card’s numer dysku. The drive letter of the SD card will show up in a partition on that disk. There may be a small amount of unallocated space.
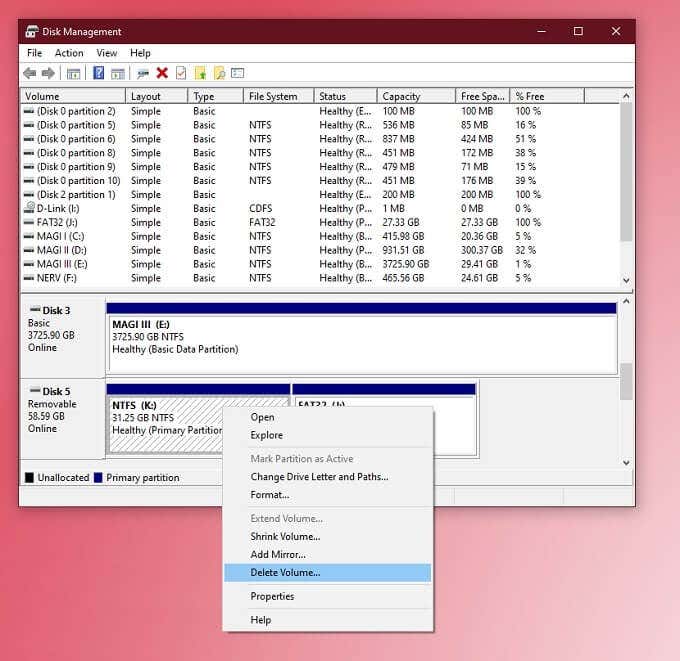
- If there are multiple partitions, right-click on one in turn and choose usunąć. Until there is only unallocated space on the card.
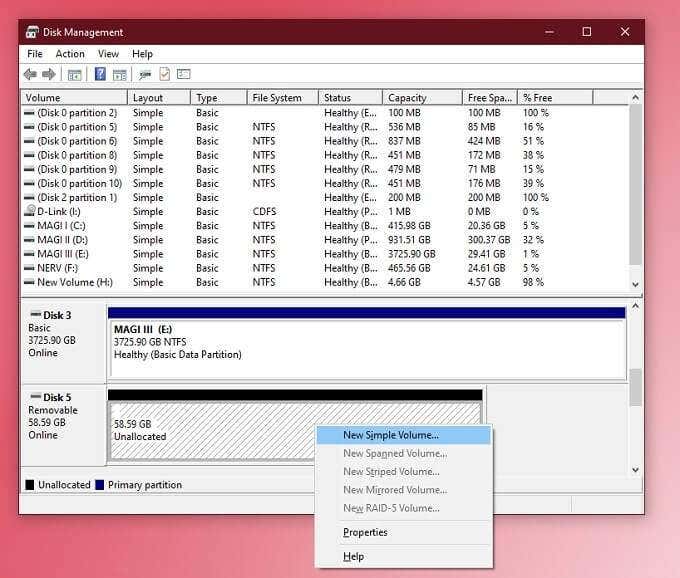
- Right-click on the unallocated space and choose Nowy prosty tom.
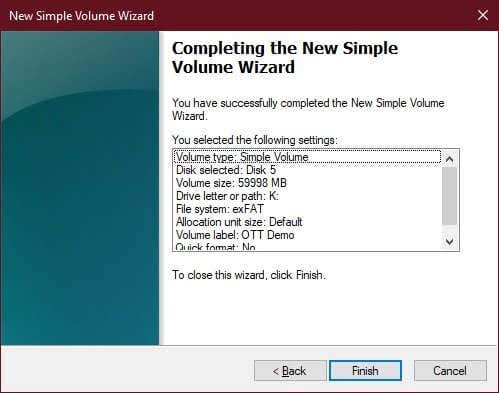
- You will see this wizard.
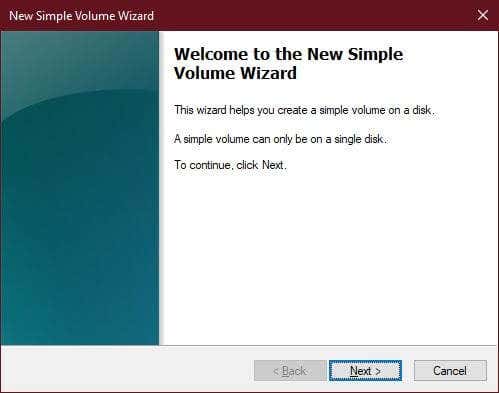
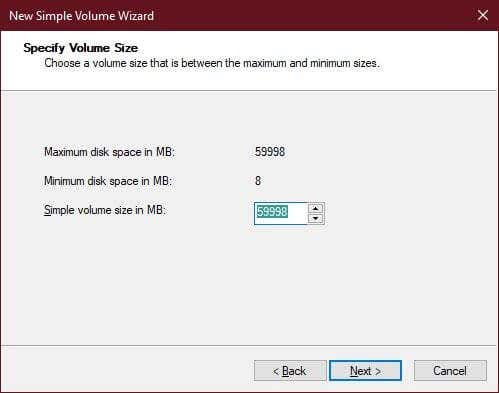
- Select Next, then leave the volume size at maximum if you wish.
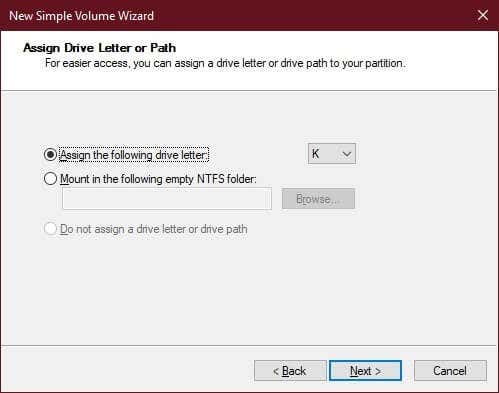
- Here you can choose a drive letter, it’s usually okay to leave this unchanged, so select Dalej.
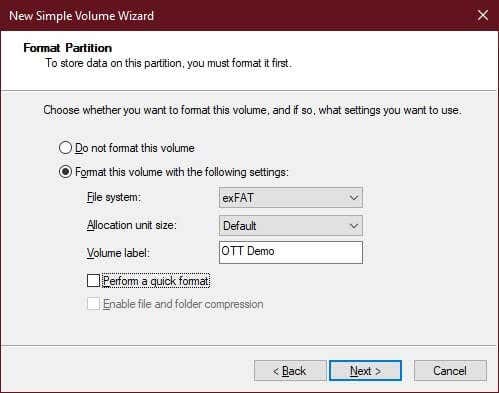
- Now choose to format the volume. For an SD card we recommend FAT32 or exFAT for anything over 32GB. Leave the allocation size at Domyślnie. Change the volume label if you want to and uncheck Wykonaj szybki format unless you only want a superficial wipe and don’t mind data being recoverable. Select następny.
- Review your changes and if you are happy, select koniec w celu zakończenia procesu.
You can of course choose to only format or delete certain partitions. You can also create multiple partitions on your SD card using this tool, though unless a specific device needs this there is usually not much reason to do so.
Formatting An SD Card With The Official SD Alliance Application
All SD cards conform to the standards set out by the SD Card Alliance. That includes how they should be formatted. Which is why they strongly recommend that you use the official formatting app rather than the tools that come with Windows.
There are a few reasons for this, but the main ones have to do with staying within SD card specifications and performance. Other apps might format parts of the SD card not meant to be overwritten and may not lay out the physical data in a way that lets the card reach its maximum speed.
The good news is that this app is completely free and easy to use. Here’s how:
- Do pobrania and install the application and open it.
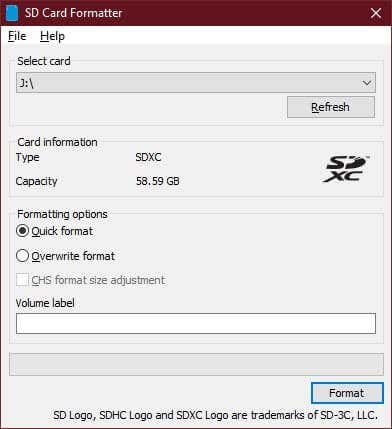
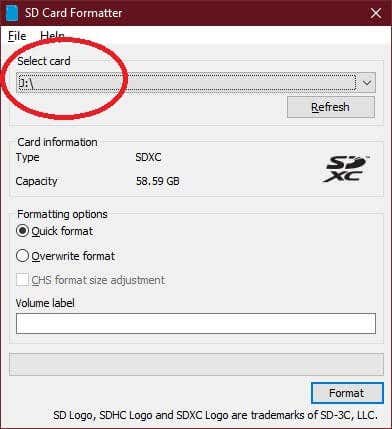
- Make sure the correct drive letter is selected.
- Dodaj overwrite format, unless you only want to wipe the disk superficially and choose a volume label if you wish.
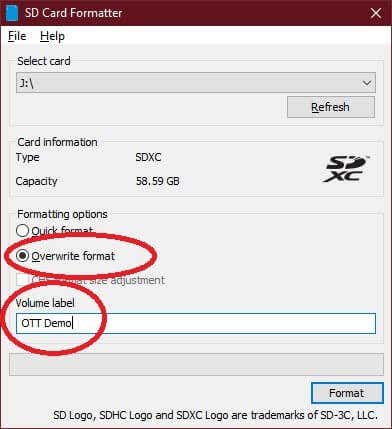
- Wybierz Format.
Now simply wait for the utility to finish its job.
Formatting a Write-protected SD Card With PowerShell in Windows 10
SD cards can be write-protected, which will prevent formatting. If there’s a small sliding tab on the card, then you simply have to switch it to the other position.
If there’s no tab you can actually use the Windows PowerShell to do the job. Just be careful with this method, since it’s a little too easy to misread which disk is which and then format the wrong one!
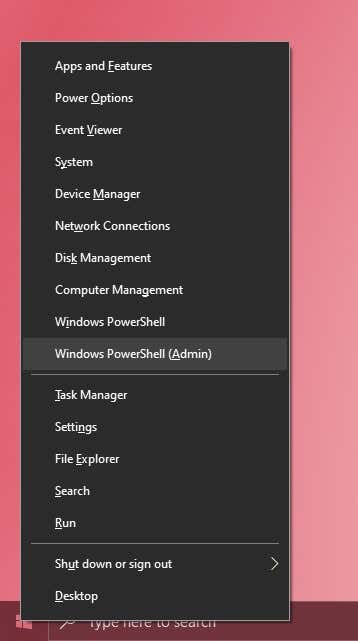
- Kliknij prawym przyciskiem myszy przycisk Start i wybierz Windows PowerShell (administrator).
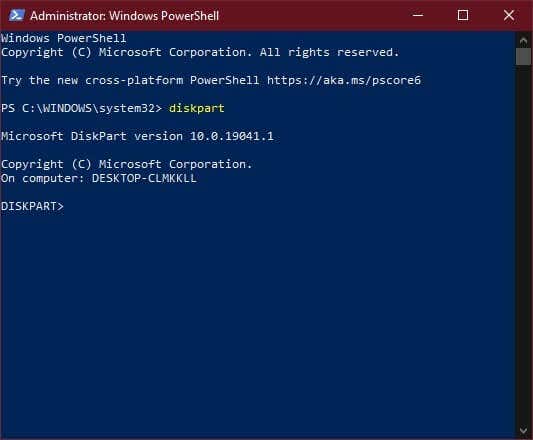
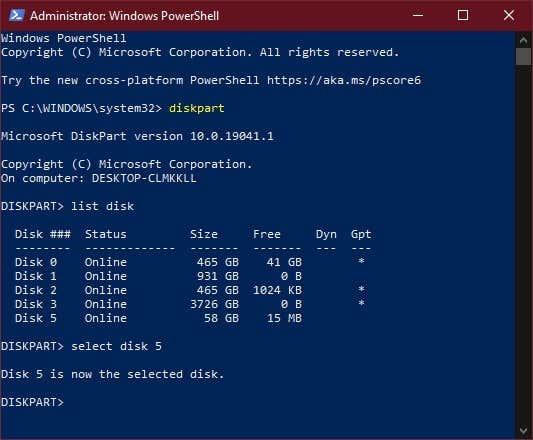
- Rodzaj Nieruchomości diskpart i naciśnij Enter.
- Rodzaj Nieruchomości list disk i naciśnij Enter.
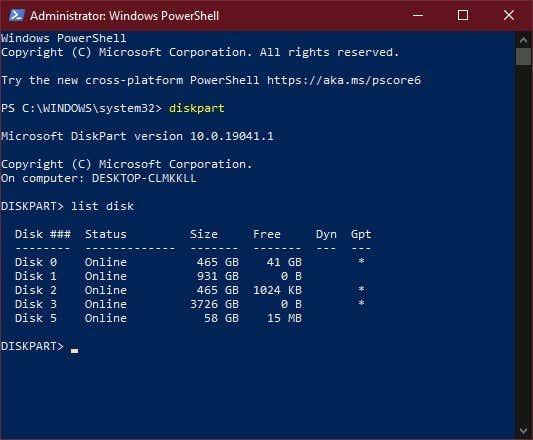
- Look for the disk number that’s the correct size for your SD card.
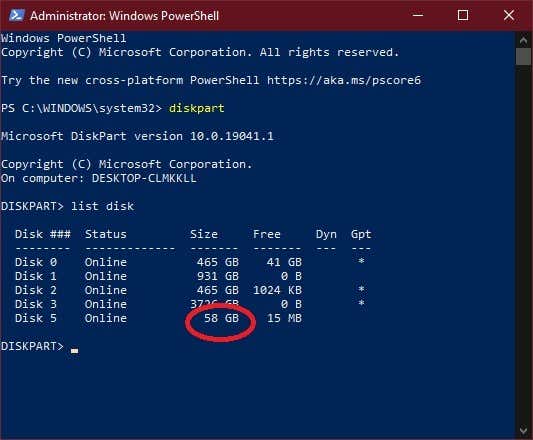
- Rodzaj Nieruchomości wybierz dysk X, where “X” is the number of the disk you want from the previous list and press Enter.
- Rodzaj Nieruchomości atrybuty wyczyść dysk tylko do odczytu a następnie naciśnij Enter.
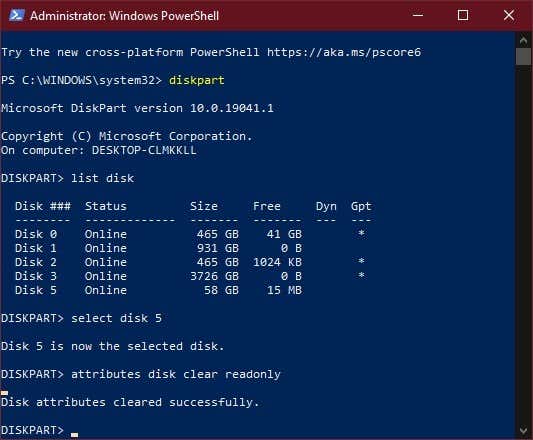
The SD card is not formatted yet, but the write protection has been removed. You can now format it using one of the other methods outlined in this article.
That’s it! Now you know all the most important ways you can format an SD card in Windows 10.
 w systemie Windows")