Many Windows users are not aware that you can change the folder picture to anything you like to say. For example, you like a beautiful background image or a car picture. You can set this image as the picture of the folder in Windows 10 using a simple trick. One thing to note here is that folder picture and folder icons are two entirely different things, and we are only discussing how to change a folder picture here.

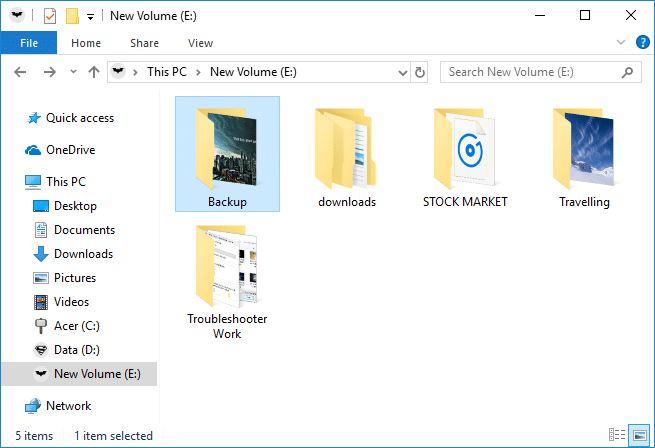
Folder Picture is the image you see on the folder when the image layout is set to thumbnail view (tiles, medium icons, large icons etc.). Windows Explorer automatically displays the default picture for all the folder until the user changes it to something else. Anyway, without wasting any time, let’s see How to Change a Folder Picture in Windows 10 with the help of the below-listed tutorial.
Como alterar a imagem de uma pasta no Windows 10
Certifique-se de criar um ponto de restauração caso algo dê errado.
Method 1: Change a Folder Picture in Windows 10
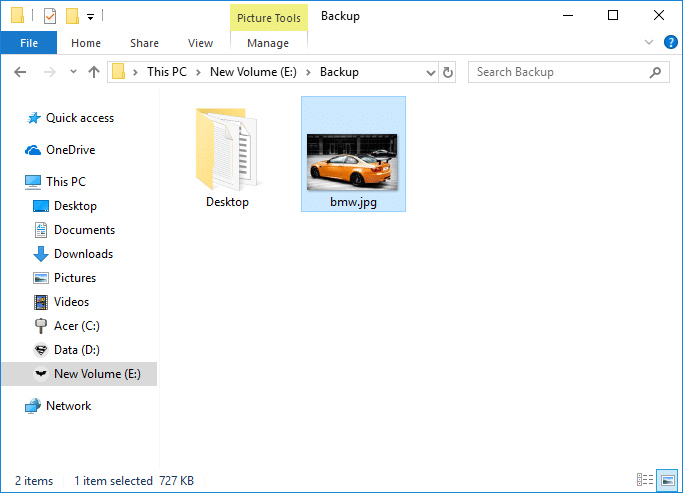
1. Navigate to the folder for which you want to change the picture.
2. Agora clique em Ver from the Ribbon and marca de seleção "Extensões de nome de arquivo".

3. Próximo, copy and paste the image you want to use as the folder picture in the above folder.
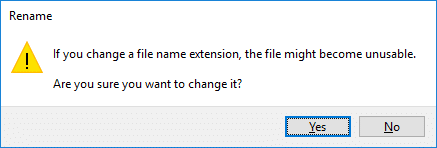
5. Clique com o botão direito do mouse no imagem e selecione Rebatizar. Change the name & the extension of the image as “pasta.gif” and hit Enter. You will get the warning, click Sim para continuar.
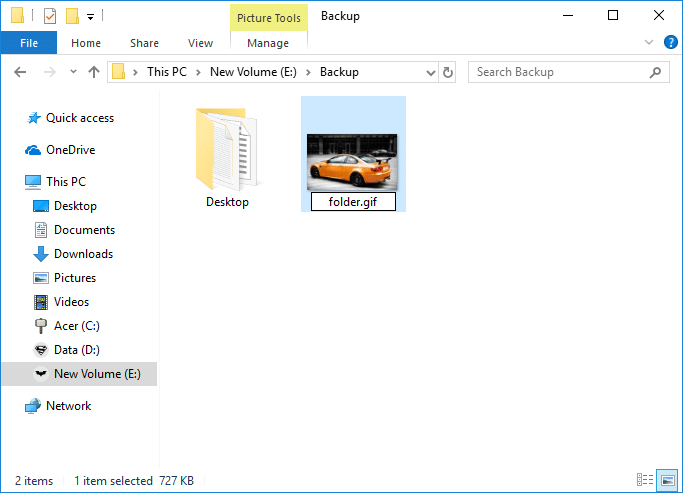
Por exemplo: The image you posted in the above folder is car.jpg, to use this as your folder picture rename it to pasta.gif e pressione Enter.
6. Você pode usar any jpg, png or fig image, you need to make sure that you rename it to pasta.gif. If you can’t open the image after renaming it, you won’t be able to use that image.
Method 2: How to Change a Folder Picture in Folder Properties
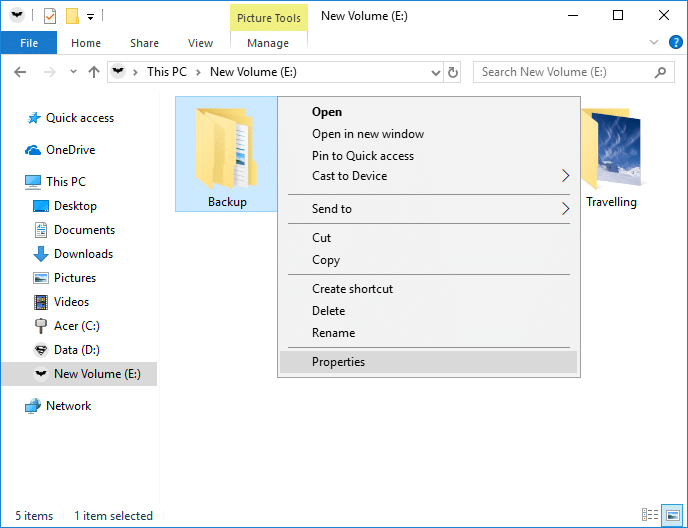
1. Navigate to the folder for which you want to change the folder picture.
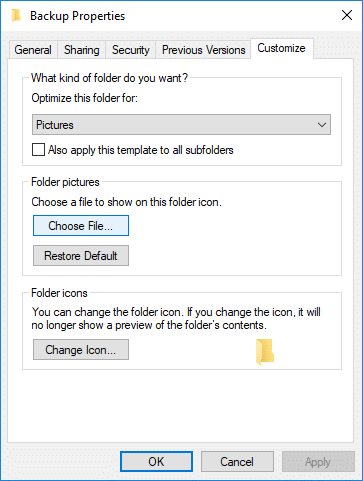
2. Botão direito do mouse na above folder então seleciona Propriedades.
3. Mude para o Personalizar guia em seguida, clique em “Escolha Arquivo” button under Folder pictures.
4. Agora browse to the image you want to use as the Folder picture for the selected folder and clique em Abrir.
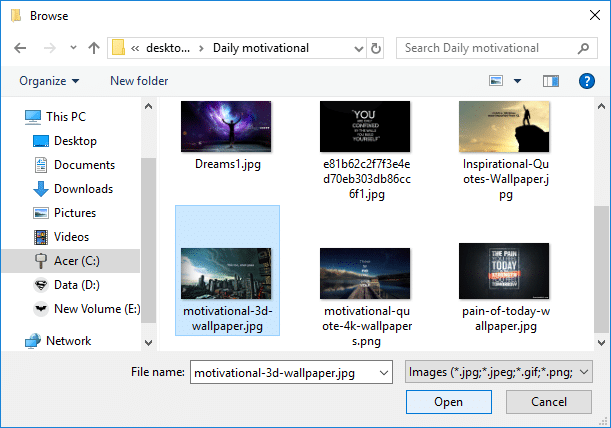
5. Clique em Aplicar, seguido de OK para salvar as alterações.
Recomendado:
É isso, você aprendeu com sucesso Como alterar a imagem de uma pasta no Windows 10 mas se você ainda tiver alguma dúvida sobre este tutorial, sinta-se à vontade para perguntar na seção de comentários.

