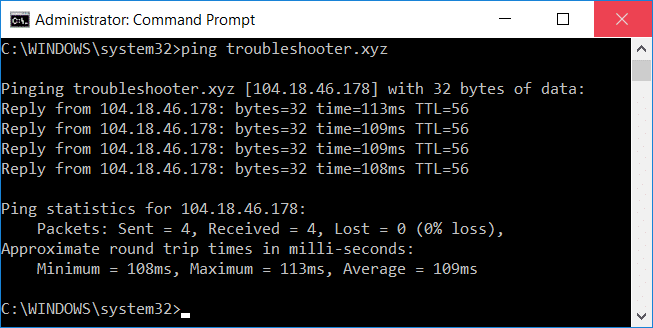
Fix High Ping on Windows 10: It becomes really irritating for online gamers who use the internet for playing games to have a high ping on your system. And having a high ping is definitely not good for your system and while playing online having high ping doesn’t help at all. Sometimes, you will get such pings when you have high configuration system. Ping can be defined as the computational speed of your connection or, more particularly, the latență of its connection. If you facing problems while playing the game due to the interruption of such above-mentioned issue, here is an article for you that will show some methods through which you can reduce ping latency on your Windows 10 system.
5 moduri de a remedia ping-ul ridicat pe Windows 10
Asigurați-vă că ați creat un punct de restaurare în cazul în care ceva nu merge bine.
Method 1: Disable Network Throttling using Registry
1.Press Windows Key + R to open Run then type regedit și apăsați Enter pentru a deschide Editor de registri.

2. Navigați la următoarea cheie de registry:
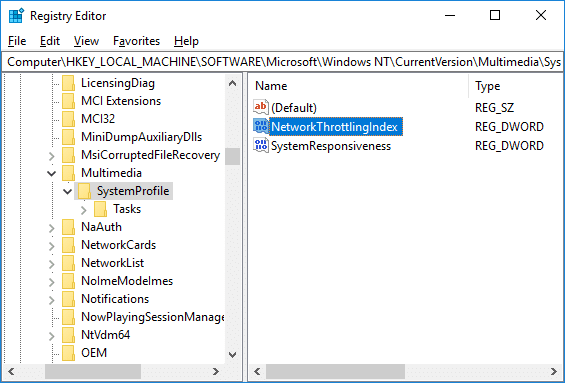
HKEY_LOCAL_MACHINESOFTWAREMicrosoftWindows NTCurrentVersionMultimediaSystemProfile
3.Select SystemProfile then in the right window pane double-click on “NetworkThrottlingIndex".
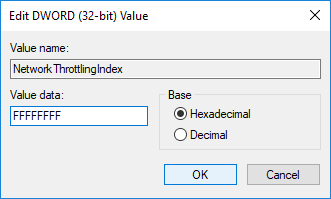
4.First, make sure the Base is selected as “Hexazecimal” then in the value data field type “FFFFFFFF”Și faceți clic pe OK.
5. Acum navigați la următoarea cheie de registry:
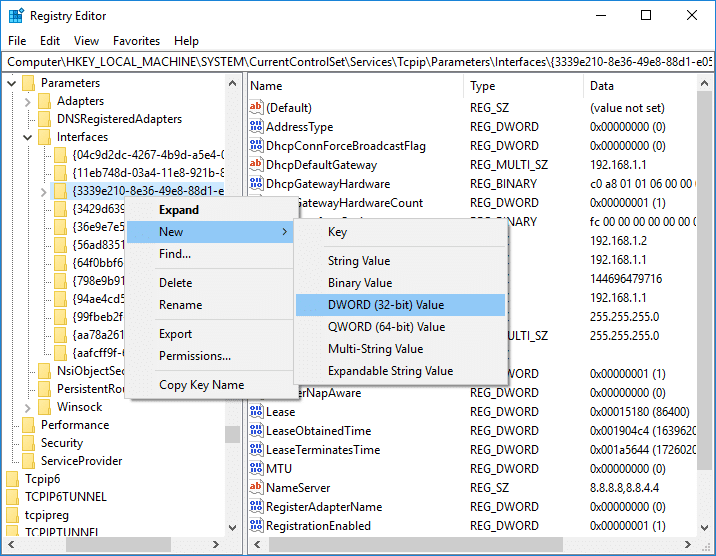
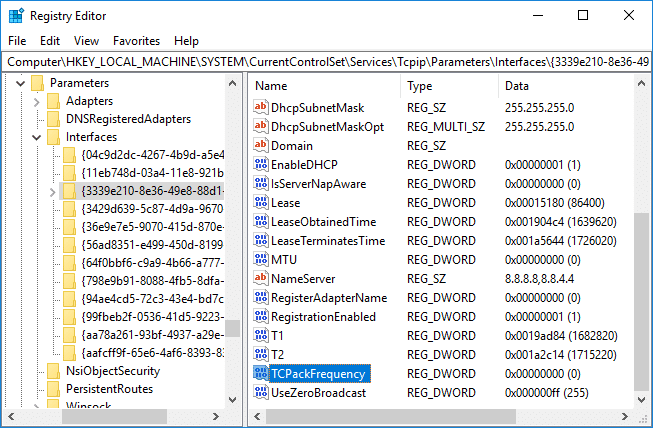
HKEY_LOCAL_MACHINESYSTEMCurrentControlSetServicesTcpipParametersInterfețe
6.Here you need to select a subkey (folder) which represents your conexiune retea. To identify the correct folder you need to check the subkey for your IP address, gateway, etc information.

7.Now right-click on the above subkey then select Nou > Valoare DWORD (32 de biți).
8.Name this newly created DWORD as “TCPackFrequency”Și apăsați Enter.
9.Similarly, again create a new DWORD and name it as “TCPNoDelay".
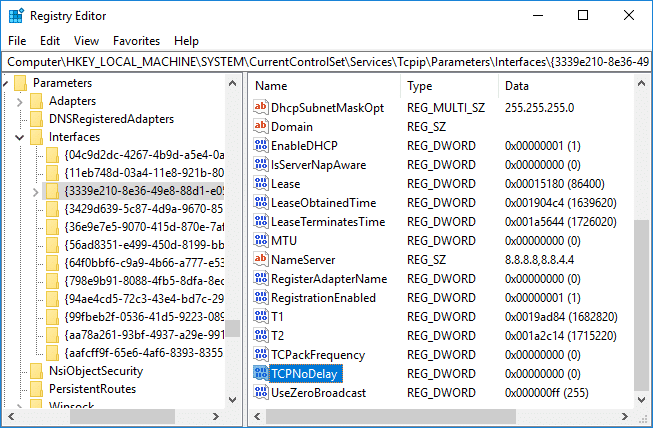
10.Set the Value of both “TCPackFrequency” & “TCPNoDelay” DWORD to 1 & click OK to save changes.

11.Next, navigate to the following registry key:
HKEY_LOCAL_MACHINESOFTWAREMicrosoftMSMQ
12.Right-click on MSMQ then select Nou > Valoare DWORD (32 de biți).
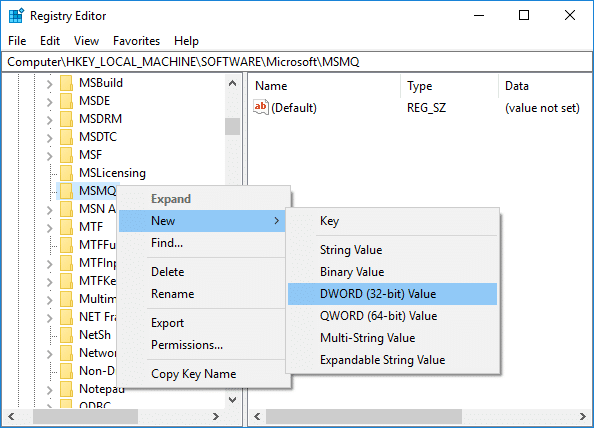
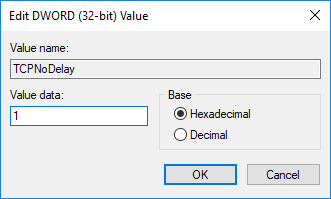
13.Name this DWORD as “TCPNoDelay”Și apăsați Enter.
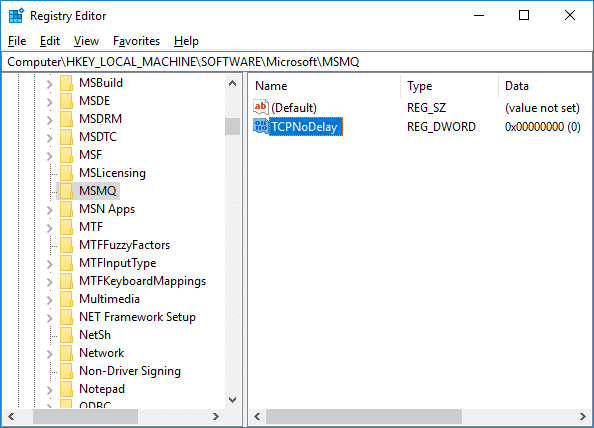
14.Double-click on “TCPNoDelay” then set the value as 1 în date de valoare field and click OK.
15.Extindeți MSMQ key and make sure it has parametrii subcheie.
16.If you can’t find parametrii folder then right-click on MSMQ & Selectați Nou > Cheie.
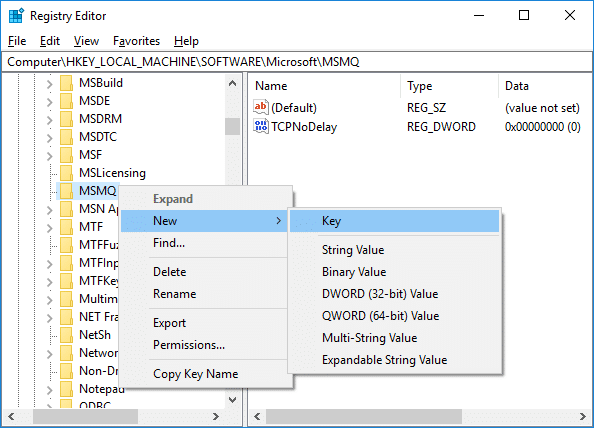
17. Denumiți această cheie ca parametrii & hit Enter.
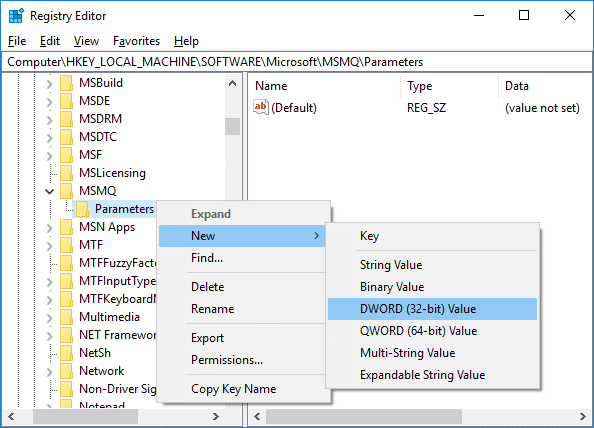
18.Clic dreapta pe parametrii & Selectați Nou > Valoare DWORD (32 de biți).
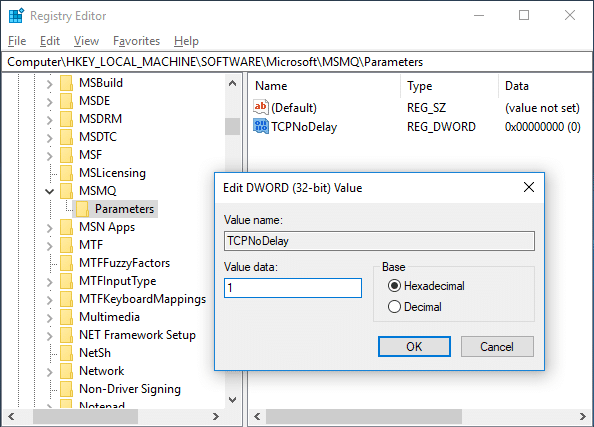
19.Name this DWORD as “TCPNoDelay” and set it’s value to 1.
20.Click OK to save changes and reboot your PC.
Method 2: Disable Apps with High Network Usage using Task Manager
Usually, Windows 10 permits its users to observe which applications are employing or eating up the most network bandwidth in the background.
1. Apăsați Ctrl + Shift + Esc tastele împreună pentru a deschide Gestionar de sarcini.

2. Faceți clic pe „Mai multe detalii” to expand Task Manager.
3.You can sort the “Reţea” column of Task Manager in descending order which will allow you to see those applications which are taking the most bandwidth.
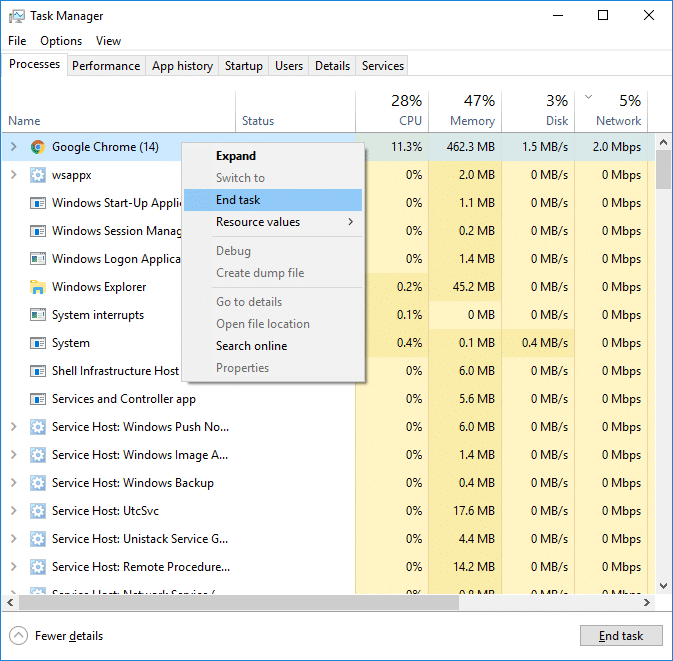
4.Close acele aplicații care sunt eating a high amount of bandwidth,
Notă: Don’t close the processes which are a system process.
Method 3: Disable Windows Auto-Updates
Windows usually download system updates with no notification or permission. Hence it may eat up your internet with high ping & slow your game. That time you cannot hiatus an update which has already started; & may ruin your online game experience. So you can stop your Windows update so that it doesn’t eat up your internet bandwidth.
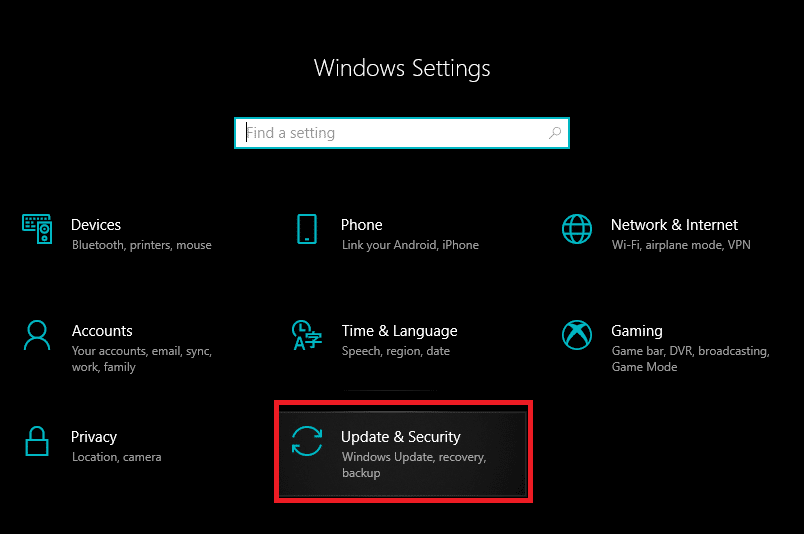
1.Press Windows Key + I to open Settings then click on “Actualizare și securitate"Pictogramă.
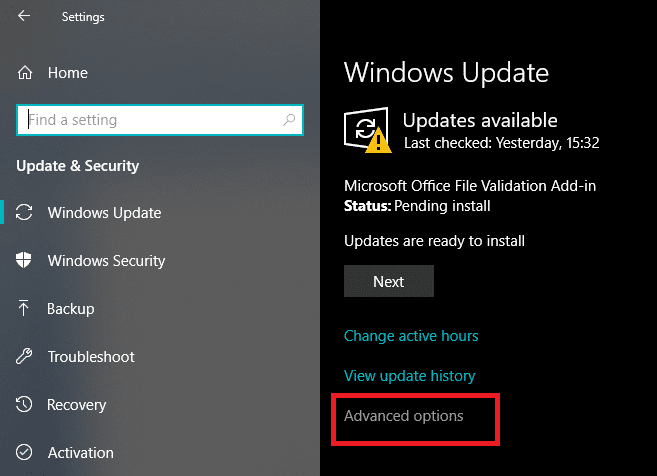
2.From the left-hand window select “Windows Update".
3.Now under Windows Update click on “Avansat" Opțiuni.
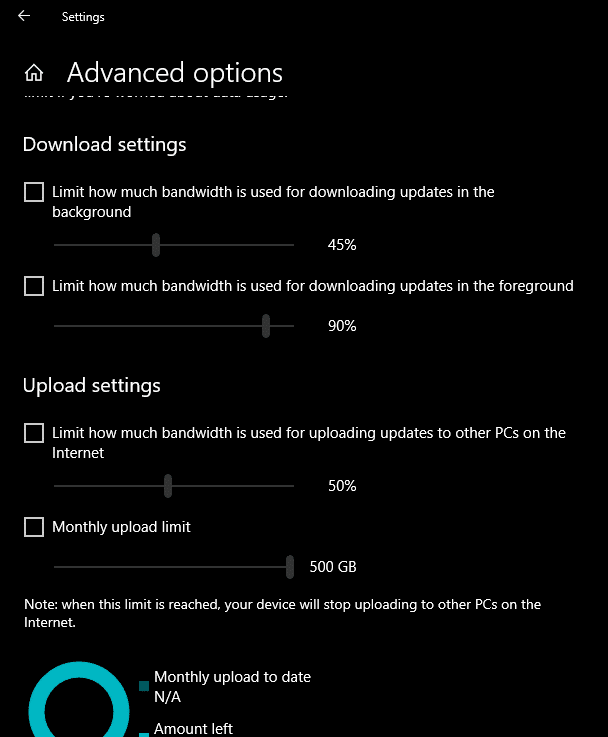
4.Now look for “Optimizarea livrării” option & click on it.

5.Again click on “Opţiuni avansate".

6.Acum adjust your Download & Upload Bandwidth procent.
If you don’t want to mess System updates then another way to Fix High Ping on Windows 10 issue is to set your network connection as contorizat. This will let system think that you’re on a metered connection and hence it will not download the Windows updates automatically.
1. Faceți clic pe Butonul de start apoi du-te la Setări.
2.From Settings window click on “Rețea și Internet"Pictogramă.
![]()
3.Now make sure you select Ethernet option from the left window pane.
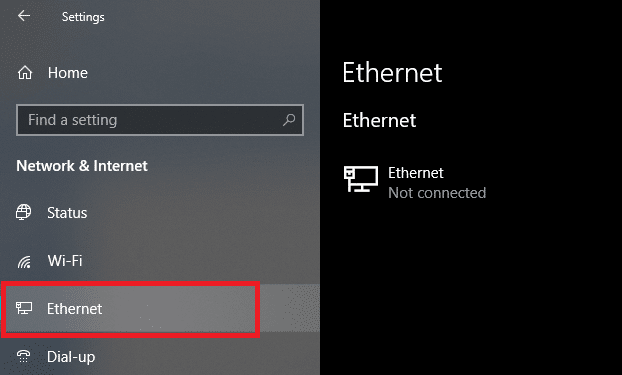
4.Choose the Network which you currently connected to.
5.Turn ON the toggle for “Setați ca conexiune măsurată".

Metoda 4: Resetați conexiunea la rețea
1.Apăsați tasta Windows + I pentru a deschide Setări, apoi faceți clic pe Rețea și Internet.

2. Din fereastra din stânga, faceți clic pe Stare.
3. Derulați în jos și faceți clic pe Resetarea rețelei.

4. În fereastra următoare faceți clic pe Resetați acum.

5. Dacă vă cere confirmarea, selectați Da.
6.Reporniți computerul pentru a salva modificările și pentru a vedea dacă puteți Fix High Ping on Windows 10 Issue.
Method 5: Disable WiFi Sense
1.Apăsați tasta Windows + I pentru a deschide Setări, apoi faceți clic pe Rețea și Internet.
2.Acum faceți clic pe Wi-Fi from the left window pane and make sure to Disable everything under Wi-Fi Sense.
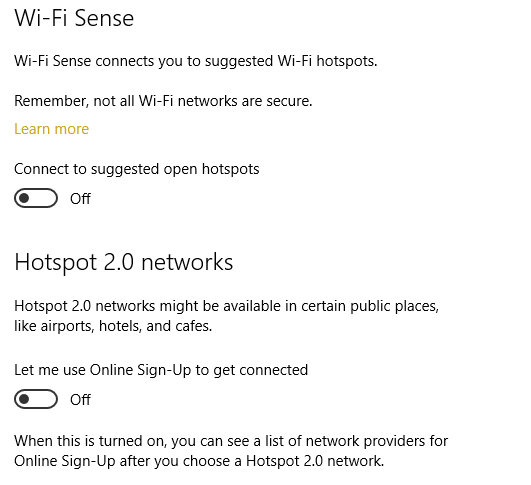
3.Also, make sure to disable Hotspot 2.0 networks and Paid Wi-Fi services.
Recomandat:
Sper că acest articol a fost util și acum puteți cu ușurință Fix High Ping on Windows 10, but if you still have any questions regarding this guide then feel free to ask them in the comment’s section.
")
