The autofill feature is an important part of the Outlook program. AutoComplete allows you to enter an entire email while composing a message with just one email initial. This feature helps you save time and gives you quick access to emails. However, sometimes users may experience Outlook AutoComplete not working issue; this issue can be caused for various reasons, such as an outdated Office version or bugs with the Outlook program. In this guide, we will discuss methods to resolve Outlook Address AutoComplete not working issue on your Outlook.
How to Fix Outlook AutoComplete Not Working Correctly
There can be various reasons for Outlook Autofill email address not working on your Outlook account; some of the most common reasons are mentioned here.
- If you have disabled AutoComplete in Outlook, you won’t be able to use this feature.
- Bugs and glitches with the Outlook program can also cause this issue.
- Issues with a user profile can also cause AutoComplete feature not working issue.
- Corrupt Outlook Add-ins can also cause this issue.
- Corrupt Outlook data PST files can also cause this issue with Outlook.
- Outdated or corrupt Microsoft Office updates can also cause this issue.
- A corrupt RoamCache folder can also cause this issue with Outlook.
Following are the troubleshooting methods to solve this problem.
Method 1: Enable AutoComplete in Outlook
If you have not enabled the AutoComplete feature in Outlook, you will not be able to use this feature. You will have to manually enable AutoComplete to resolve this Outlook address AutoComplete not working issue. You can follow these simple steps to enable AutoComplete in Outlook.
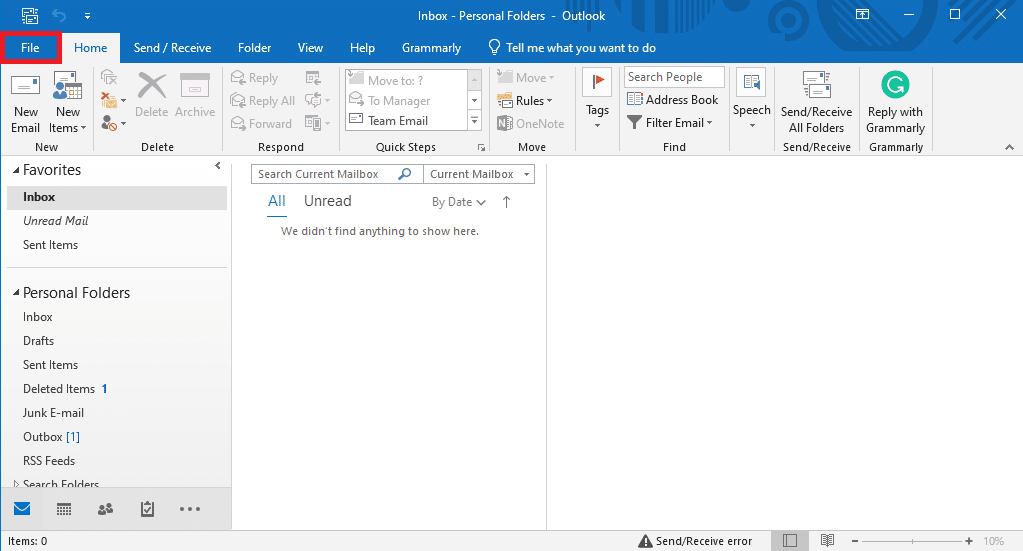
1. Deschide Outlook, și navigați la Fișier from the top-left side of the window.
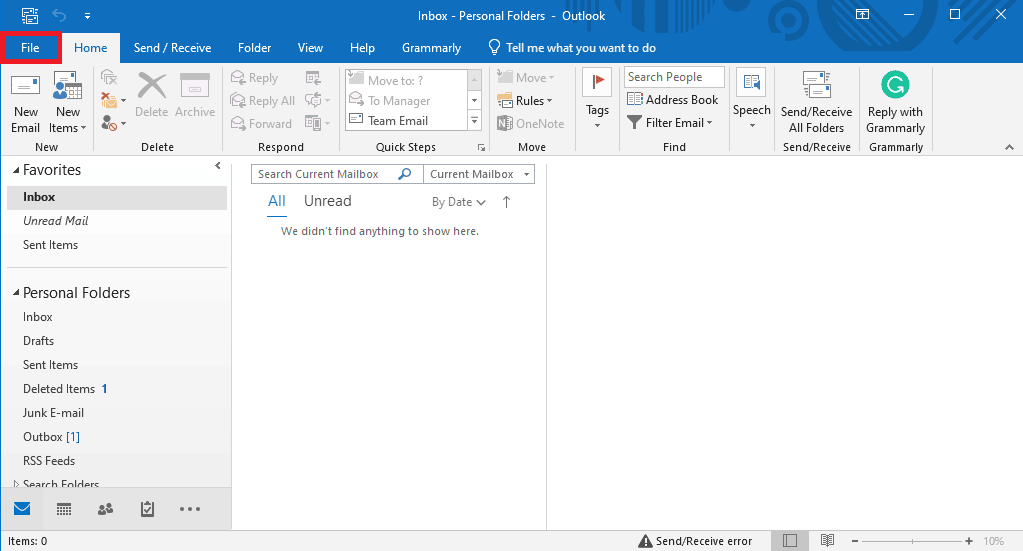
2. Here, from the left-side panel, click on Opţiuni.

3. Navigați la Mail tab.
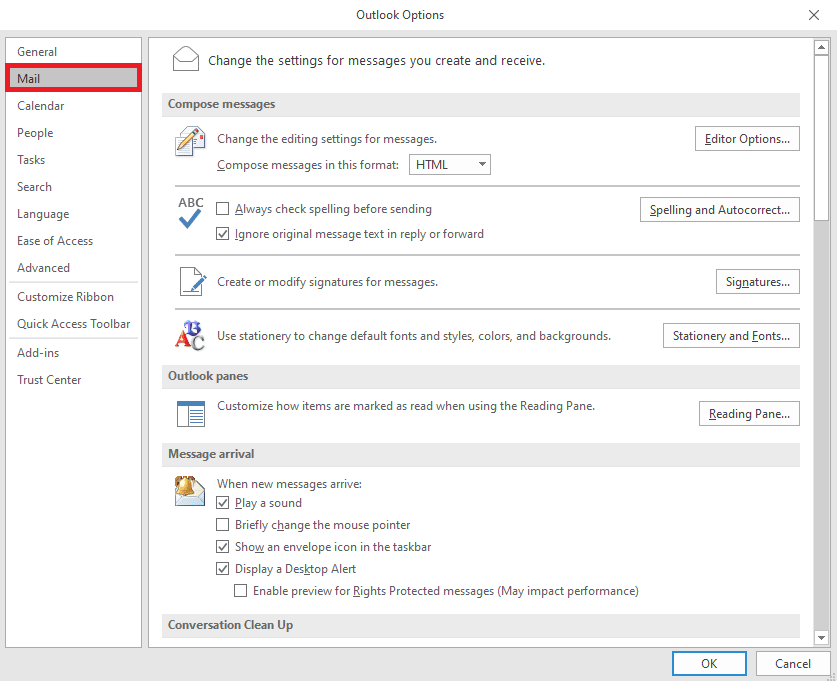
4. Scroll down here, and locate trimiteţi mesaje de opțiuni.
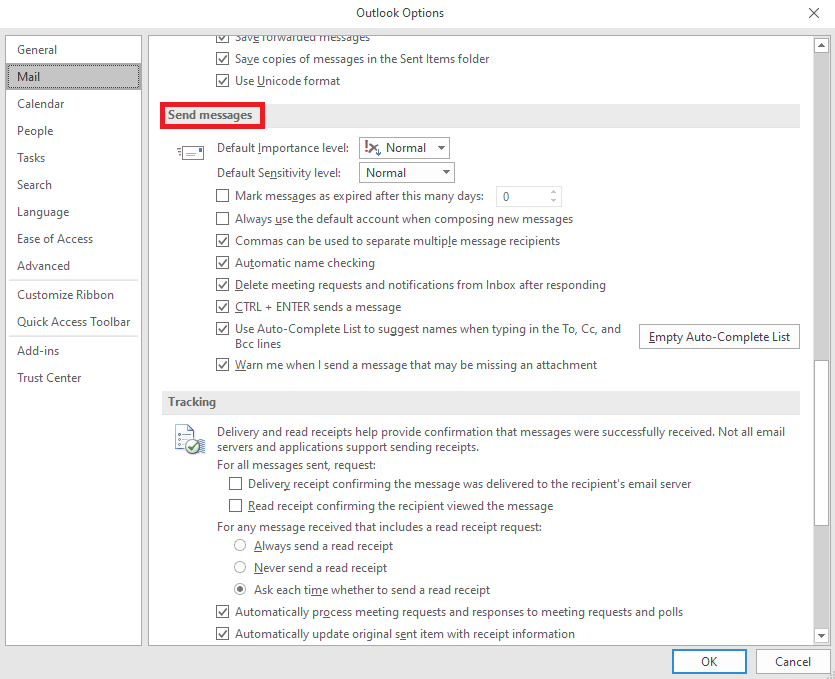
5. Here, check the Utilizați Lista de completare automată pentru a sugera nume atunci când tastați în liniile Către, Cc și Cco.
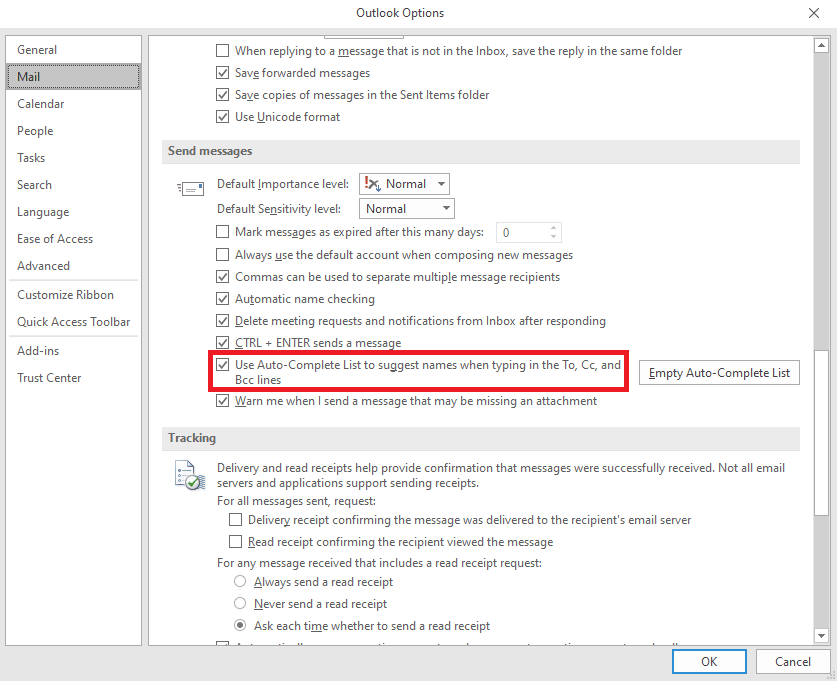
6. If you find this option already checked, click on the Goliți lista de completare automată.
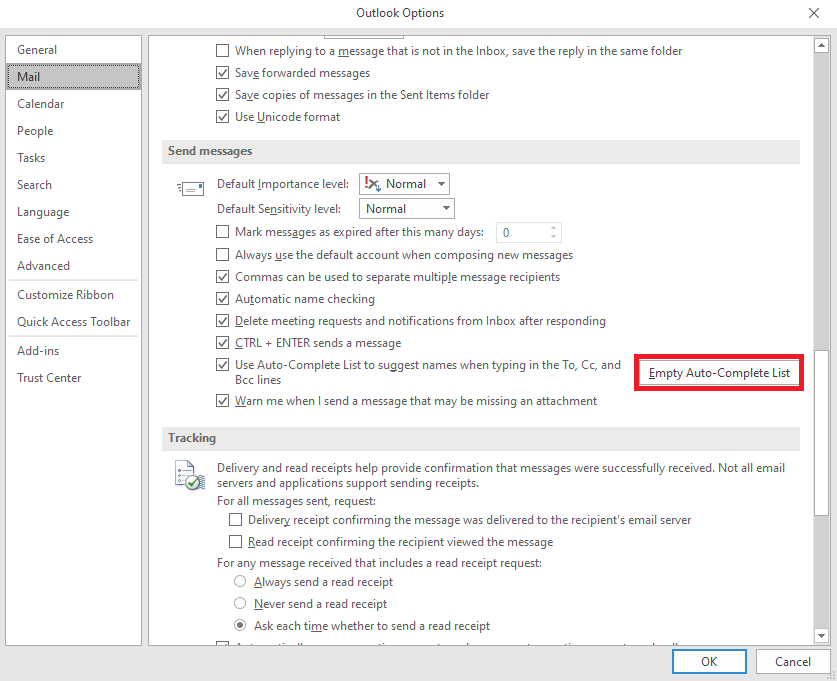
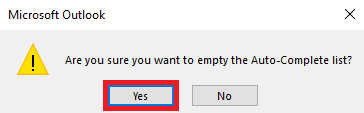
7. clic Da pentru a confirma acțiunea.
Method 2: Run Outlook in Safe Mode
Running programs in safe mode can help you avoid various issues. You can use safe mode to make the troubleshooting process easier and avoid hardware issues. You can follow these simple steps to run Outlook in safe mode to resolve Outlook autocomplete not working issue.
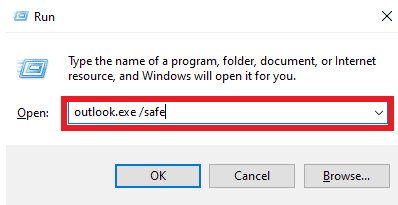
1. presa Tastele Windows + R pentru a deschide Run dialog box.
2. În caseta de dialog Executare, tastați Outlook.exe/safe și apăsați tasta Introduce cheia.
Citeste si: Remediați Outlook încercând să se conecteze la server pe Windows 10
Method 3: Run Outlook with Different Profile
Make sure the Outlook issue is happening only in your Outlook program and not on the entire system. You can try to log in to Outlook with a different profile. You can also add a different account on Outlook.
1. Deschide Perspectivă on your computer, and click on Fișier.
2. În Informatii despre cont page, locate and click on Adaugă cont.
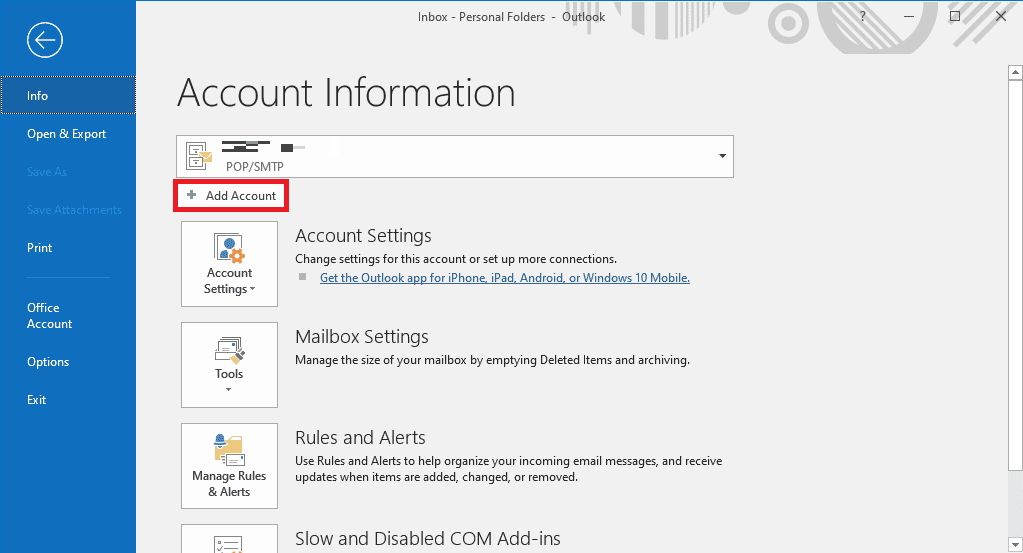
3. Introduceți fișierul date de conectare for a different account.
Method 4: Disable Outlook Add-Ins
Sometimes, the issue can be caused by an Outlook Add-in. Ad-ins can be very useful and help you organize your Outlook application. However, if Outlook Add-ins get corrupt for some reason, you may experience various issues, such as AutoComplete not working on Outlook. To resolve these issues, you can try to disable Outlook Add-ins. You can follow these simple steps to disable Outlook Add-ins.
1. Deschide Perspectivă on your computer and navigate to Fișier.

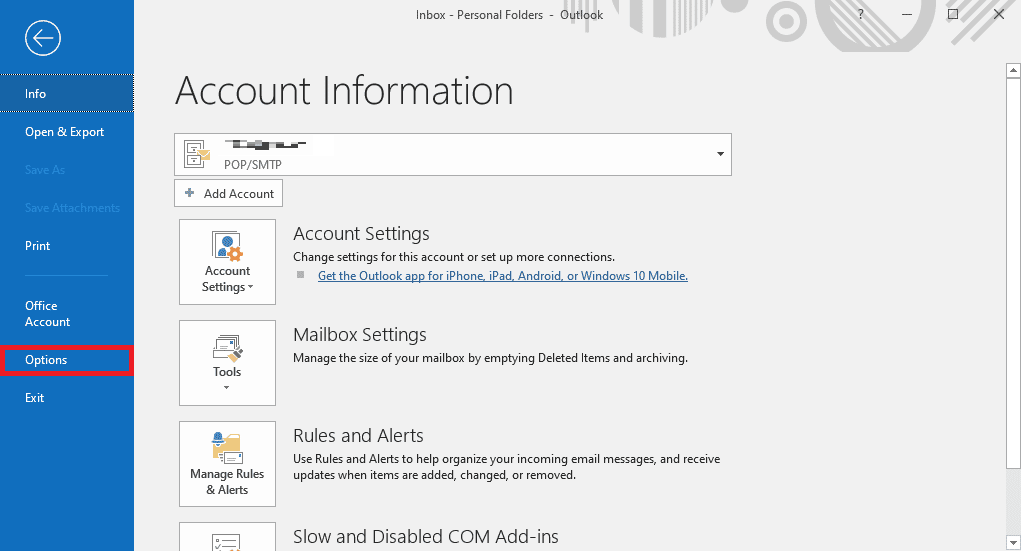
2. Here, from the left-side panel, click on Opţiuni.
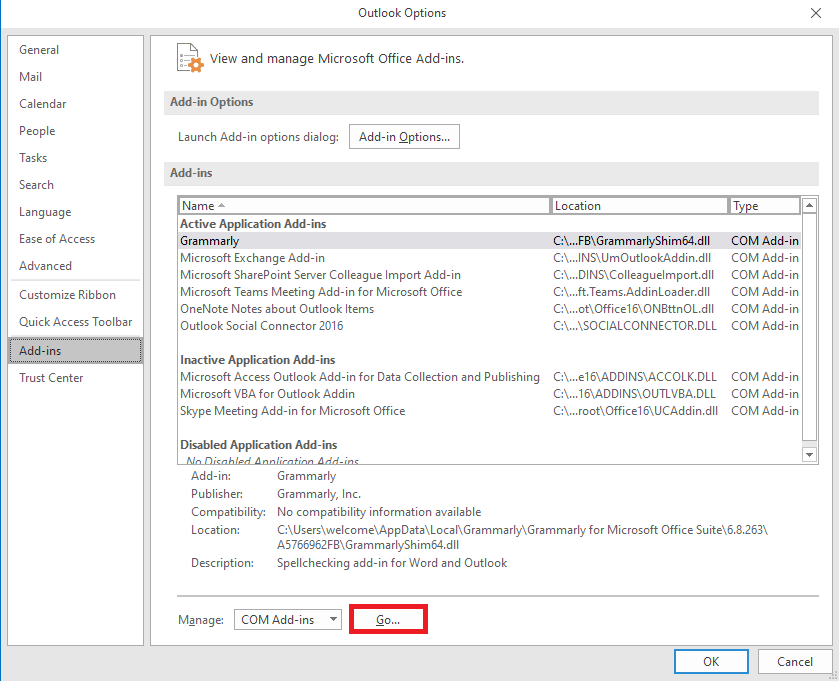
3. Now, locate and navigate to Add-in-uri.

4. Here, locate the Administrare drop-down și selectați Accesorii COM.
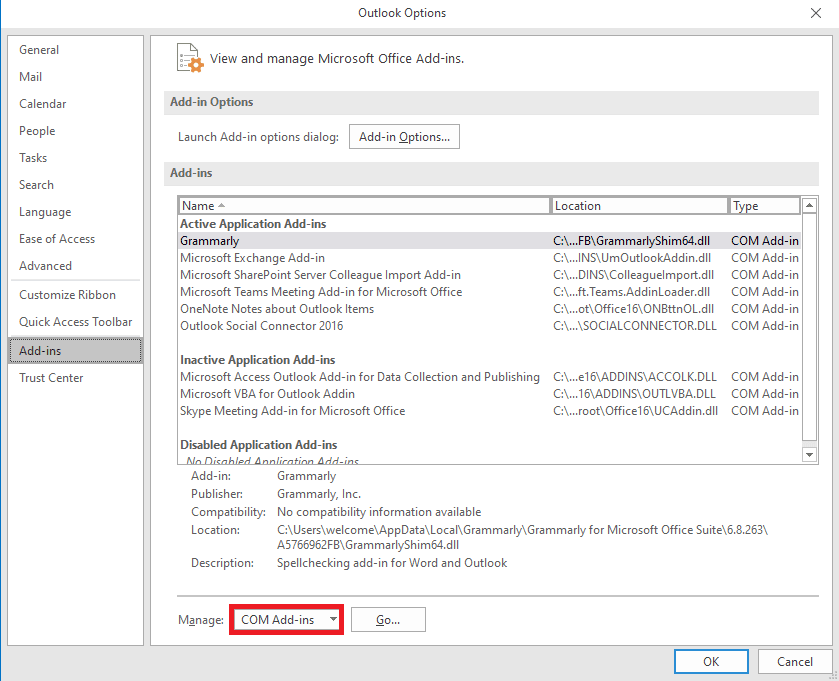
5. Acum, faceți clic pe Go.
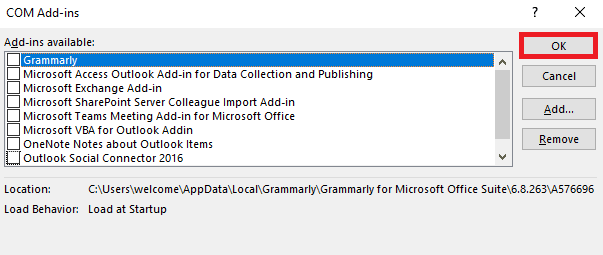
6. Aici, debifează all the Add-ins and then click OK.
Method 5: Repair Outlook Data PST File
PST, or Personal Table Storage, files store Outlook emails; if this file is corrupt or causing issues, you may experience Outlook address AutoComplete not working error. You can use the Inbox repair tool to help you figure out a solution for this issue. Follow these simple steps to execute this method.
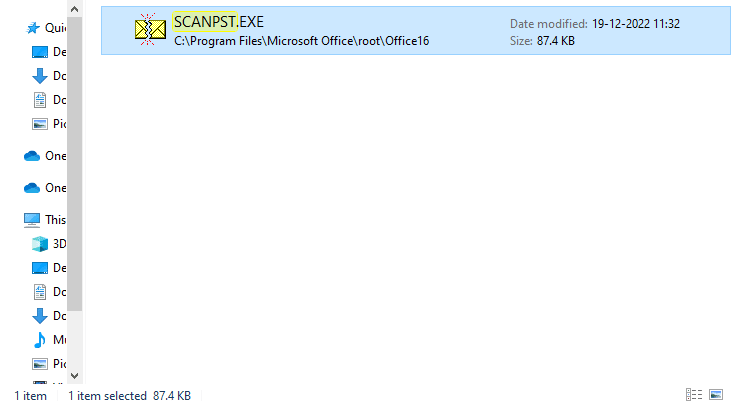
1. Deschide Perspectivă folderul activat Explorator de fișiere.
C: Program FilesMicrosoft OfficerootOffice16
2. Faceți clic pe SCANPST.EXE fișier.
3. Acum, selectați Naviga option to locate the file you wish to scan.
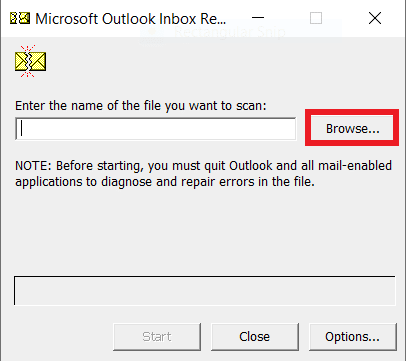
4. In the new dialog box, click on acasă.
5. În cele din urmă, faceți clic pe Reparație to fix all the PST file issues.
If this method does not fix Outlook autocomplete not working issue, move on to the next method.
Citeste si: How to Recover Deleted Draft in Outlook 365
Metoda 6: Actualizați Microsoft Office
If the Microsoft Office program is experiencing bugs and glitches, updating it can help you fix the issues. An outdated Microsoft Office can make your Outlook vulnerable to bugs and other application issues. Therefore, manually updating Office is a great way to fix not just the AutoComplete issues but also other underlying issues with the Microsoft Office package. You can follow these simple steps to update Microsoft Office from the Microsoft Outlook program.
1. Deschide Perspectivă on your computer and navigate to Fişiere.

2. From the left-side panel, click on the Contul de birou.
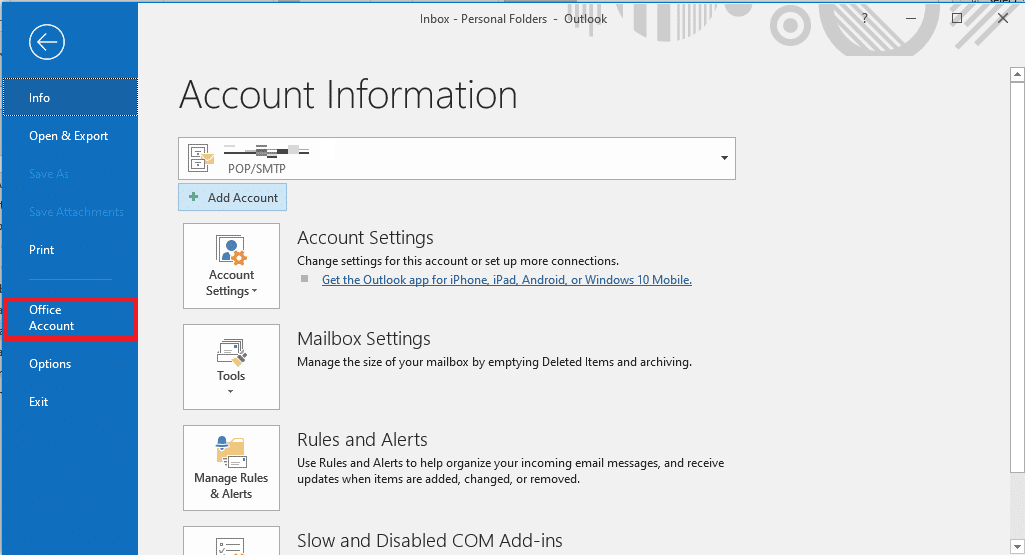
3. Here, locate Birou actualizări.
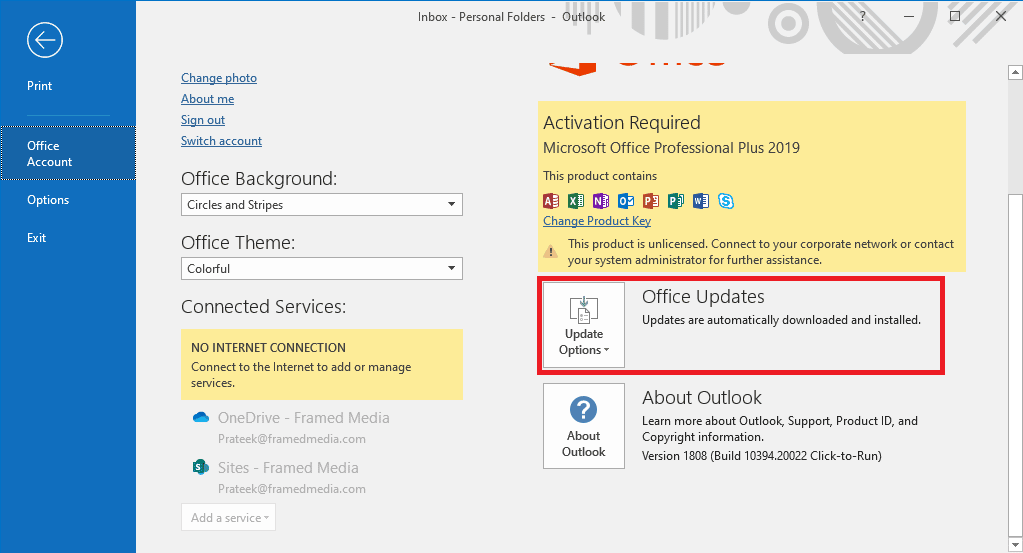
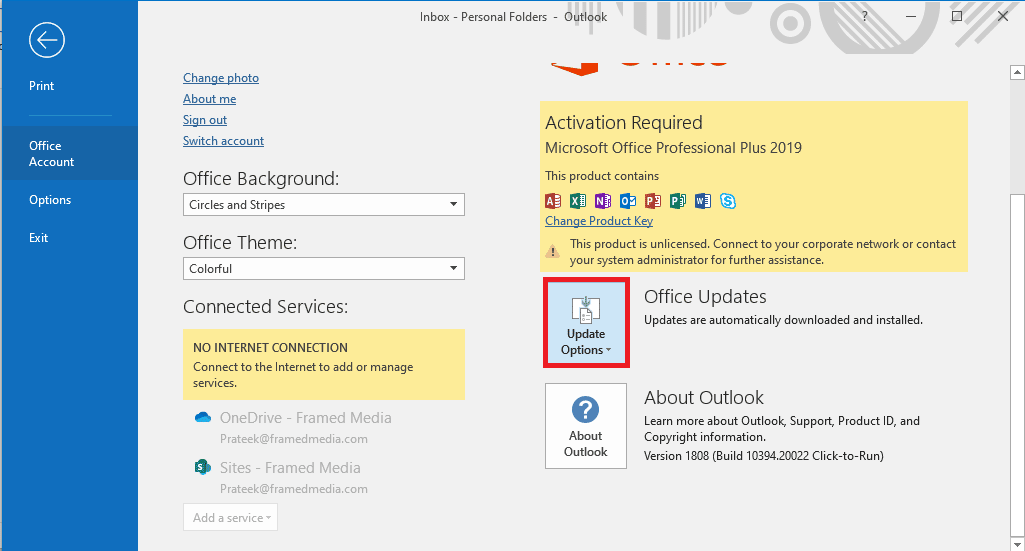
4. Acum, faceți clic pe Opțiuni de actualizare scapă jos.
5. În cele din urmă, faceți clic pe Actualizează acum.
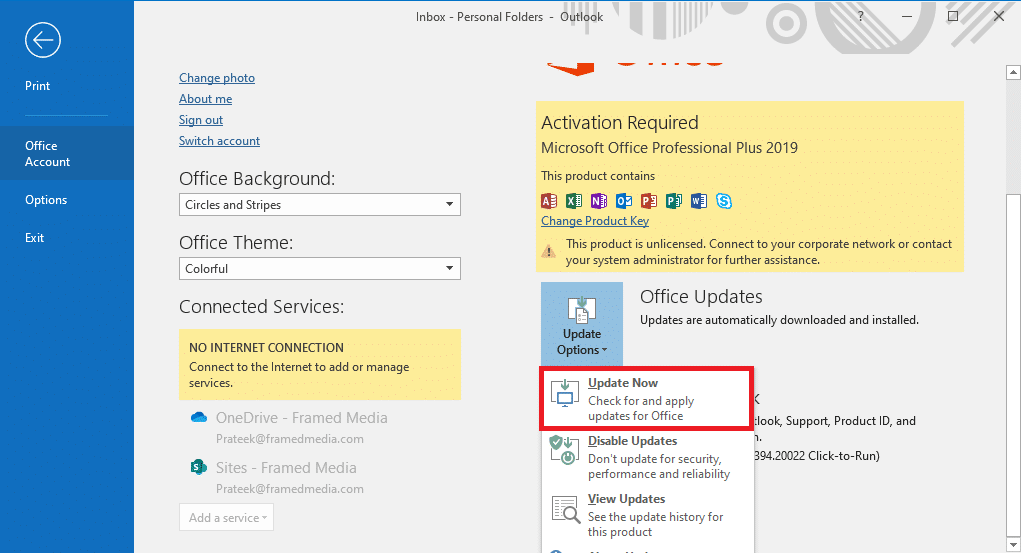
If this method does not fix Outlook Autofill email address not working issue, move on to the next method.
Method 7: Rename RoamCache Folder
If you have enabled the AutoComplete feature but still have the issue, it can be due to a corrupt RoamCache folder. You can fix this issue by resetting the AutoComplete folder. You will only need to rename the RoamCache folder in the directory. You can rename the RoamCache folder for both, a home email account and a Microsoft Exchange server account.
Option I: Rename RoamCache Folder for Home Email Account
You can follow these simple steps to rename the RoamCache folder in a home email account.
1. Deschide Perspectivă on your computer and navigate to Fișier.

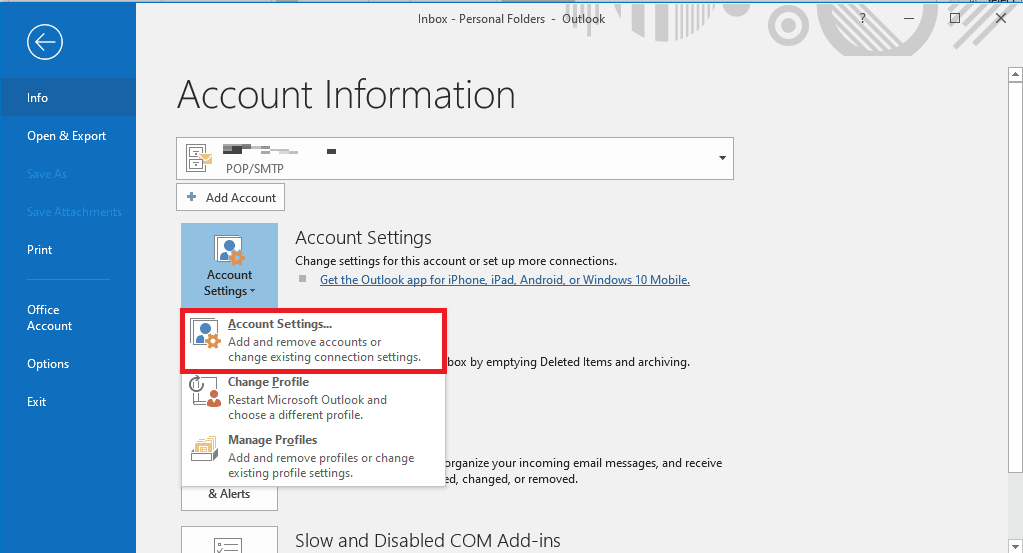
2. Acum, faceți clic pe Setările contului drop-down and then select Setările contului.

3. Here, select your Home Email Account.
4. Închide the Outlook program.
5. presa Windows + E keys pentru a deschide Explorator de fișiere.
6. Navigate to the following location cale.
%LOCALAPPDATA%MicrosoftOutlook

7. Here, locate the RoamCache dosar.

8. Rename this folder with a new name.
Citeste si: Fix Your Microsoft Exchange Administrator Has Blocked This Version of Outlook
Option II: Rename RoamCache Folder for Microsoft Exchange Server Account
You can follow these simple steps to rename the RoamCache folder in a Microsoft Exchange server account to solve Outlook address AutoComplete not working issue.
1. Deschide Perspectivă on your computer and navigate to Fișier.

2. Acum, faceți clic pe Setările contului drop-down and then select Setările contului.
3. Here, select your Microsoft Exchange Server Account.
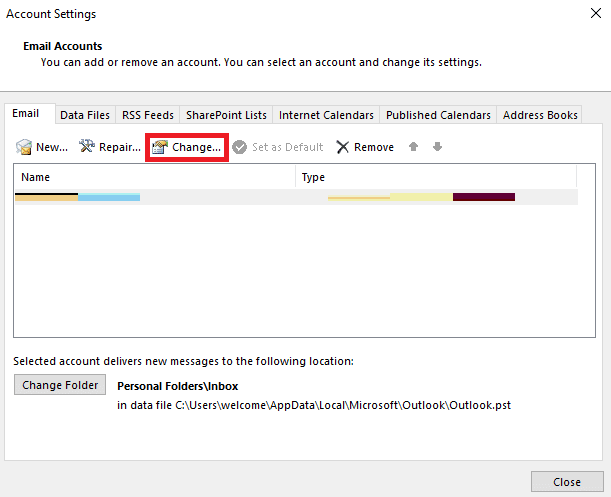
4. Acum, faceți clic pe Schimbare.
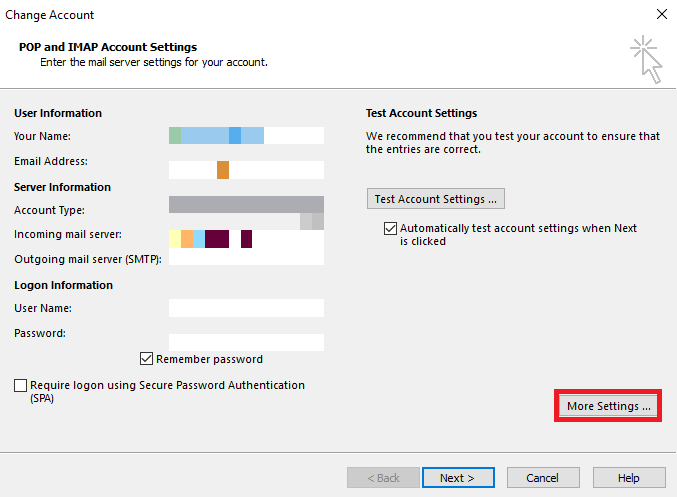
5. Aici, faceți clic pe Mai multe setări.
6. Navigați la Avansat tab.
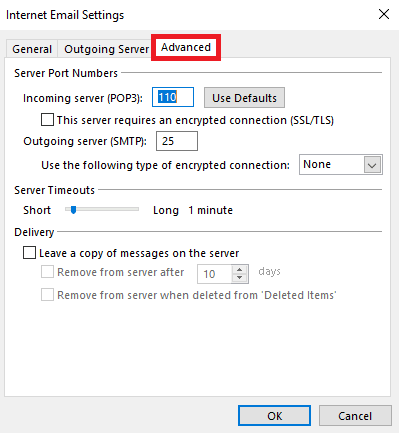
7. Unselect the Utilizați modul de schimb cache caseta și selectați Pagina Următoare →.
8. În cele din urmă, faceți clic pe finalizarea.
9. Închideți Perspectivă programul.
10. presa Windows + E keys simultan să se deschidă Explorator de fișiere.
11. În Explorator de fișiere, navigate to the following location cale.
%LOCALAPPDATA%MicrosoftOutlook
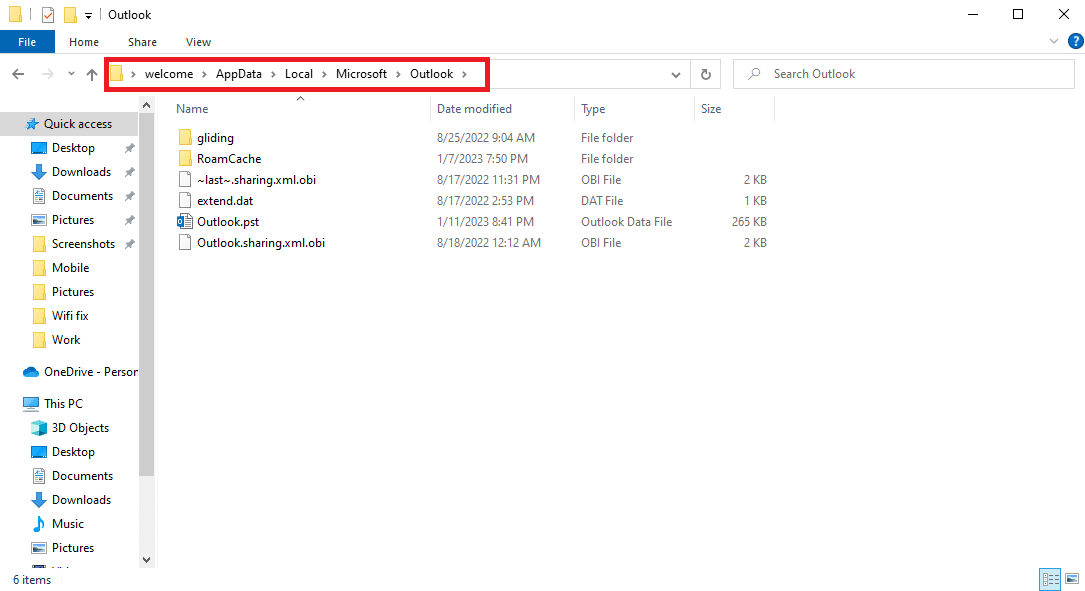
12. Here, locate the RoamCache dosar.
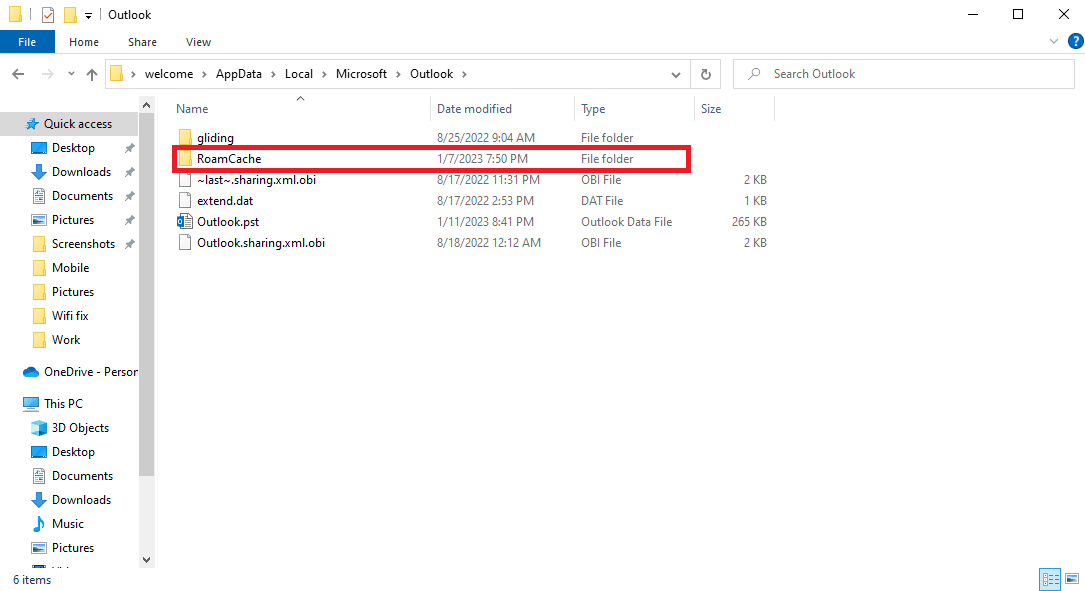
13. Rename this folder to old_RoamCache.
14. Acum, deschideți secțiunea Perspectivă program and follow the steps mentioned above to navigate to the Utilizați modul de schimb cache opțiune.
15. Verifică Use Cached Exchange Mode.
16. În cele din urmă, reporniți aplicația Outlook.
Recomandat:
Sperăm că acest ghid v-a fost de ajutor și că ați reușit să remediați Outlook AutoComplete not working issue. Let us know which method worked for you. If you have any suggestions or queries for us, please let us know in the comment section.

