Windows Store allows users to download games and applications with a free Microsoft account. This is a safe way to download applications and games without any danger of malware and/or unwanted applications. Windows users report error 0x80240024 frequently when downloading applications or games. This particular type of error happens when an application or game is downloaded and is beginning to install on the computer through Windows Store. There are various reasons why this happens. If you are searching for how to fix this error, then you are at the right place. Here, you will learn about methods on how to fix Windows store error 0x80240024 by troubleshooting with step by step guide.
How to Fix Windows Store Error 0x80240024
Before seeing the methods on how to troubleshoot and fix the issue, let us see the causes
- Conflicts with ongoing downloads
- Incorrect region settings
- Corrupt Microsoft Store
- Conflicting Windows updates
- Side load option is enabled in Microsoft Store.
- Microsoft services are not enabled
- Corrupt System files
طريقو 1: هلايو ونڊوز اسٽور ايپس ٽربلشوٽر
Windows Store errors can be usually solved by a Windows اسٽور troubleshooter which will guide the user with a simple interface to troubleshoot any problems.
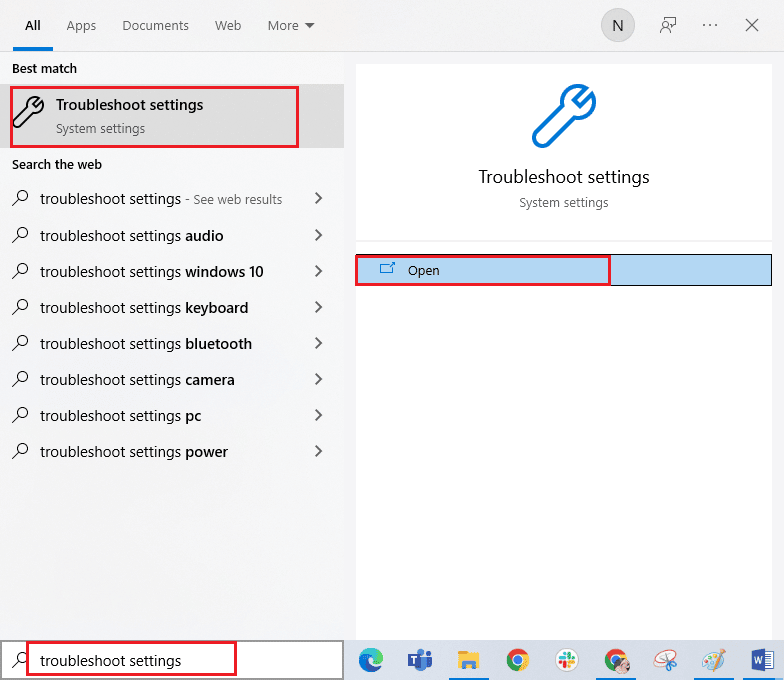
1. مارو Windows key, قسم مسئلي جي سيٽنگون ۽ ڪلڪ ڪريو کوليو.
2. چونڊيو Windows اسٽور ايپليڪيشنون troubleshooter and click on مسئلي جو حل ڪريو button shown highlighted below.
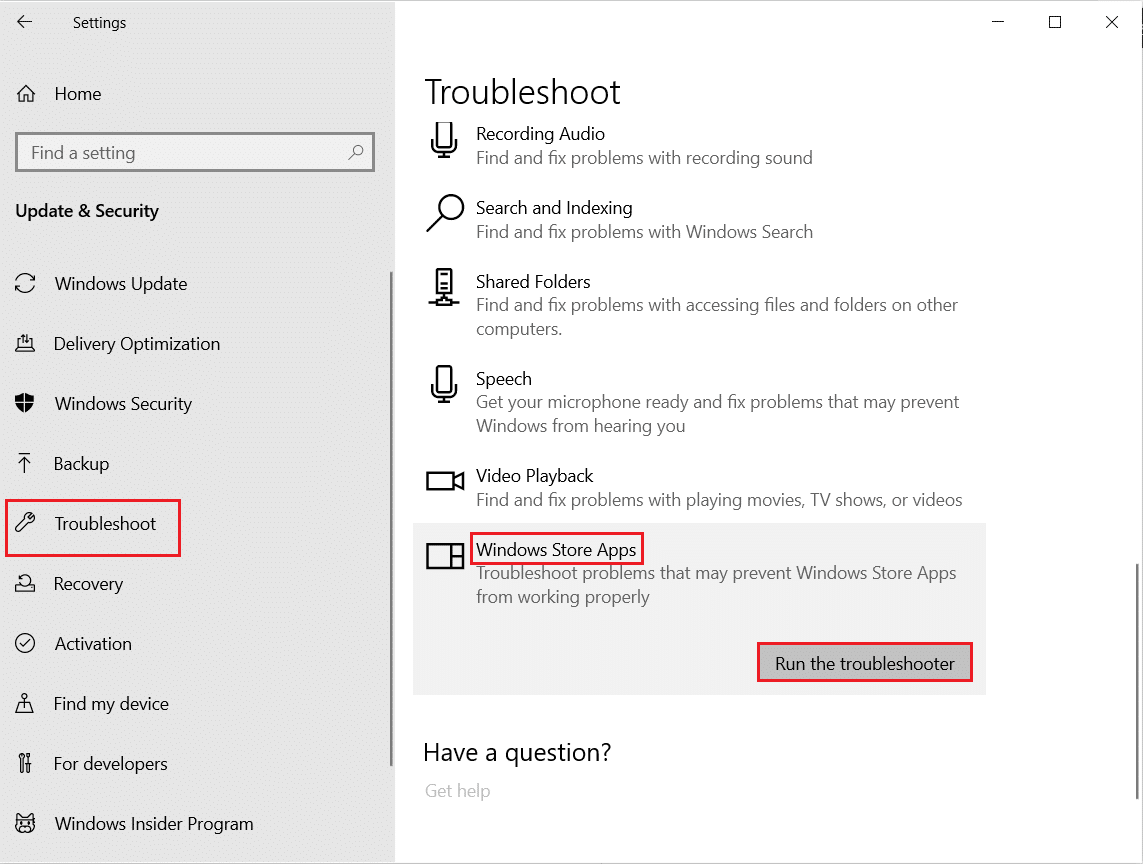
3. جيڪڏهن مسئلا حل ڪرڻ واري عمل کان پوءِ سڃاڻپ ٿيل ڪي به مسئلا آهن، تي ڪلڪ ڪريو ھن غلطي کي لاڳو ڪريو.
4. آخرڪار، ايندڙ هدايتن ۾ ڏنل هدايتن تي عمل ڪريو ۽ شروع ڪر توهان جو پي سي.
Method 2: Log out and Log into Windows Store
One of the simple fixes is to log out from Windows Store and log in again. Follow the steps below to perform this method:
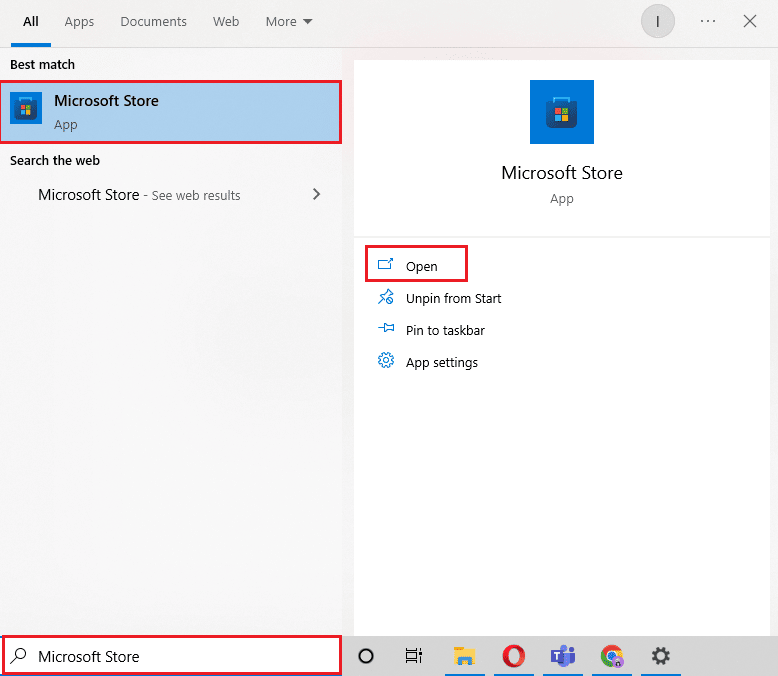
1. پريس ڪريو Windows key, قسم Microsoft جي دڪان، پوء ڪلڪ ڪريو کوليو.
2. تي ڪلڪ ڪريو پروفائل تصوير present on the top right-hand side.
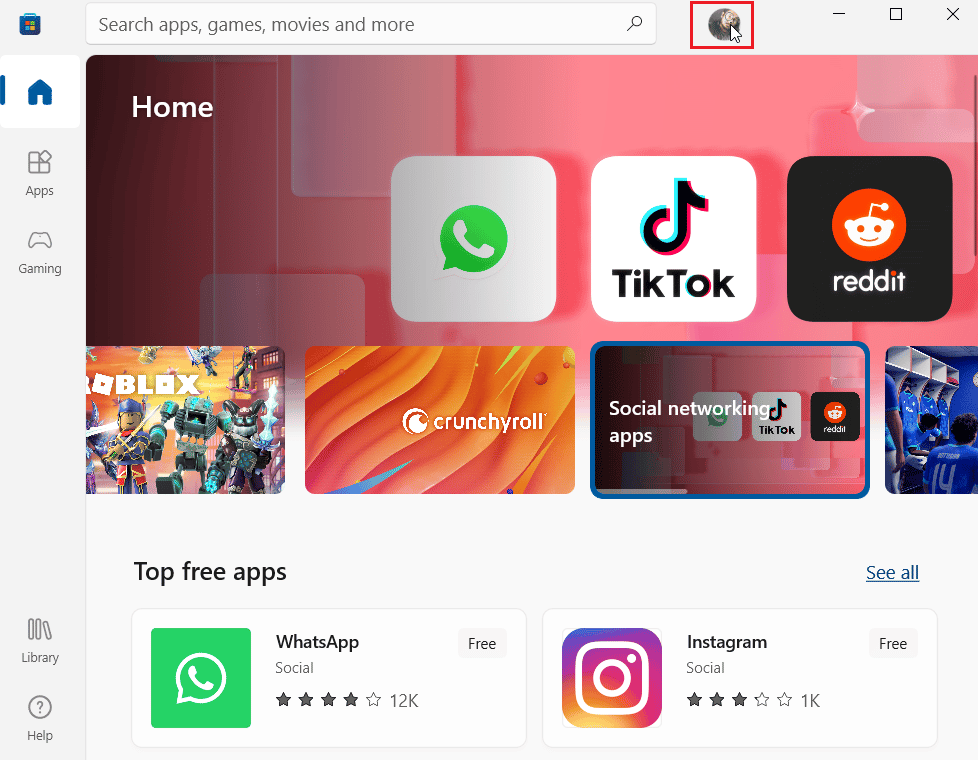
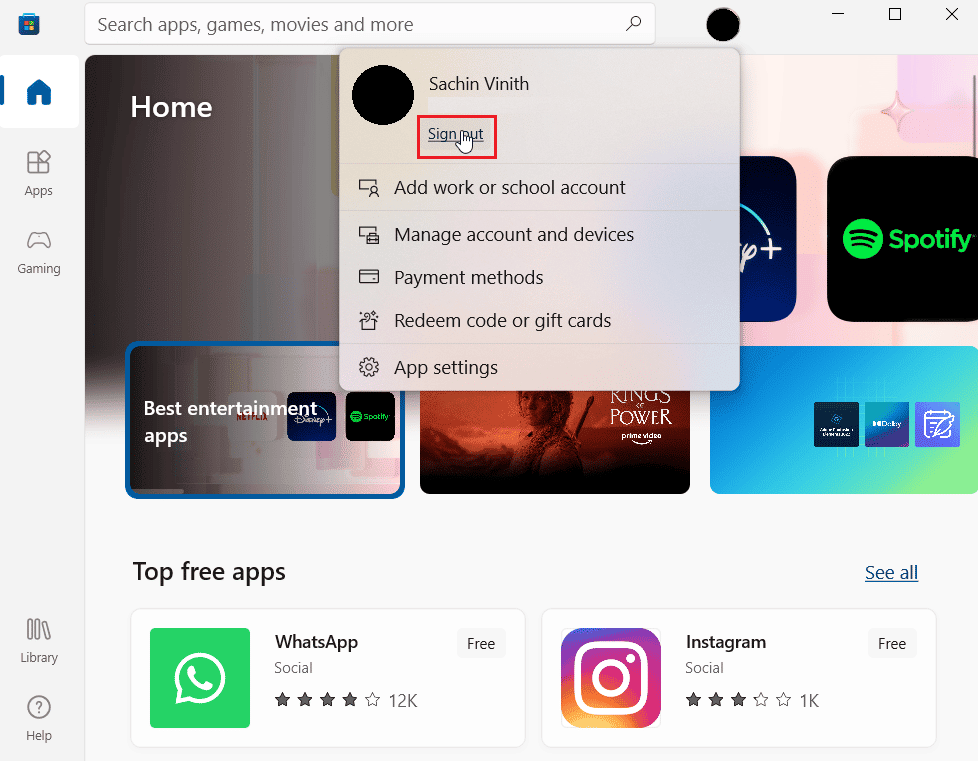
3. هاڻي، ڪلڪ ڪريو سائن آئوٽ ڪريو under the account you are currently logged into.
4. After logout, پنهنجو ڪمپيوٽر ٻيهر شروع ڪيو.
5. هاڻي ، کوليو Windows اسٽور again as you did previously.
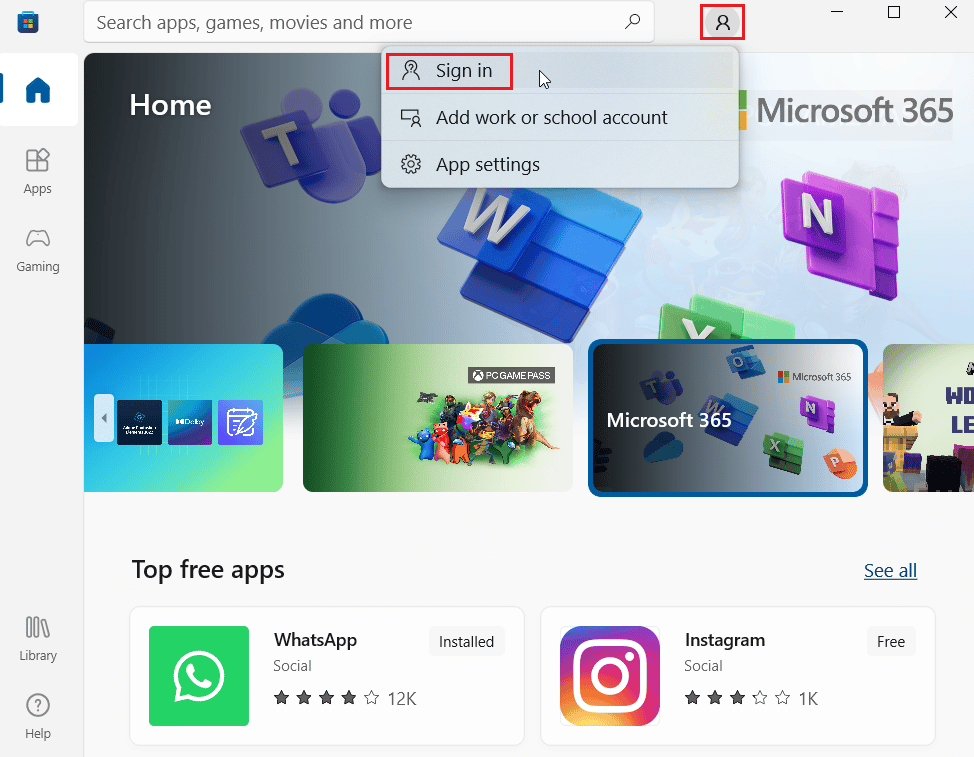
6. هاڻي، تي ڪلڪ ڪريو اڪائونٽ آئکن. ان کان پوءِ ، ڪلڪ ڪريو سائن ان ڪريو اختيار.
7. داخل ڪريو اعتبار ٻيهر لاگ ان ٿيڻ
پڻ پڙهو Fix Microsoft Store Not Working on Windows 10
Method 3: Clear Windows Store Cache
Try resetting the Windows Store cache to see if it solves Error 0x80240024. Most Windows store-related problems can be fixed by a simple Windows store reset.
1. لانچ شروع ڪريو هل dialog by simultaneously pressing ونڊوز + آر ڪي.
2. قسم wsreset.exe ۽ اچي ويو ڪيٻو داخل ڪريو صاف ڪرڻ Microsoft جي دڪان cache data.
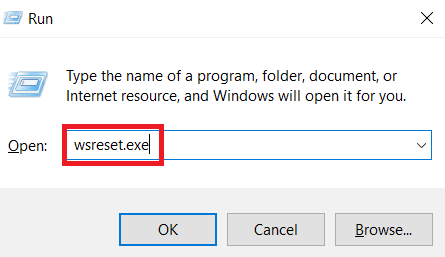
This will automatically reset the Microsoft Store cache and launch Microsoft Store.
Method 4: Stop Running Downloads
If you have other downloads in the queue this issue can occur, you can try to disable the download and see if it solves the issue.
1. کوليو Microsoft جي دڪان from the Windows Search bar.
2. تي ڪلڪ ڪريو لائبريري کاٻي پاسي ۾.
![]()
3. تي ڪلڪ ڪريو رکو button to stop the download if you are downloading anything.
پڻ پڙهو درست ڪريو Microsoft اسٽور تان ڊائون لوڊ نٿو ڪري سگھجي
Method 5: Disable Sideload Apps
Users reported that Windows store error 0x80240024 issue occurs when side load applications option is enabled in the Windows Store. Try turning off the Side load applications option to see if it fix 0x80240024 error while trying to download some app.
1. پريس ونڊوز + I ڪيز simultaneously to launch the جوڙ پروجيڪٽ.
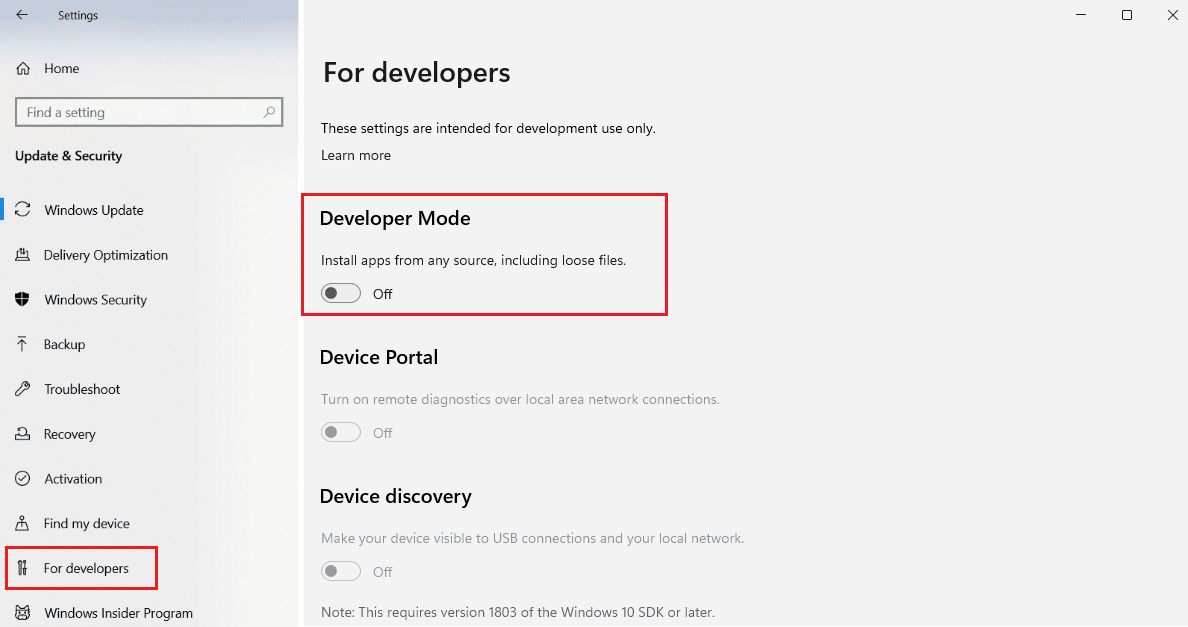
2. In the Settings menu, click on تازه ڪاري ۽ سيڪيورٽي.
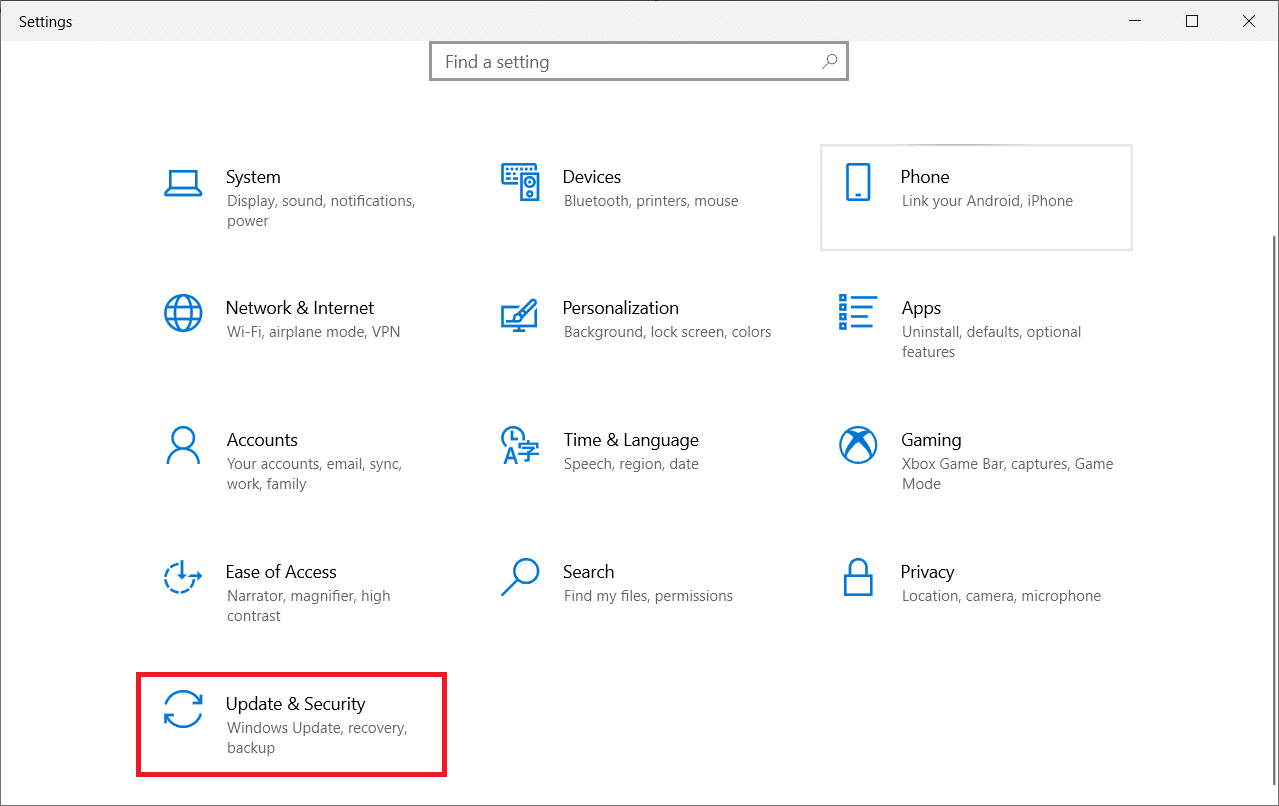
3. In the left-hand pane, click on the section ٺاهيندڙن لاء.
4. Now, on the right side turn off the toggle for Install apps from any source, including loose files اختيار.
Method 6: Change Region Settings
Error 0x80240024 can also occur due to an incorrect region selected in the settings. Make sure you have set the region correctly in the settings and see if it fixes the issue.
1. لانچ شروع ڪريو ونڊوز جوڙ.
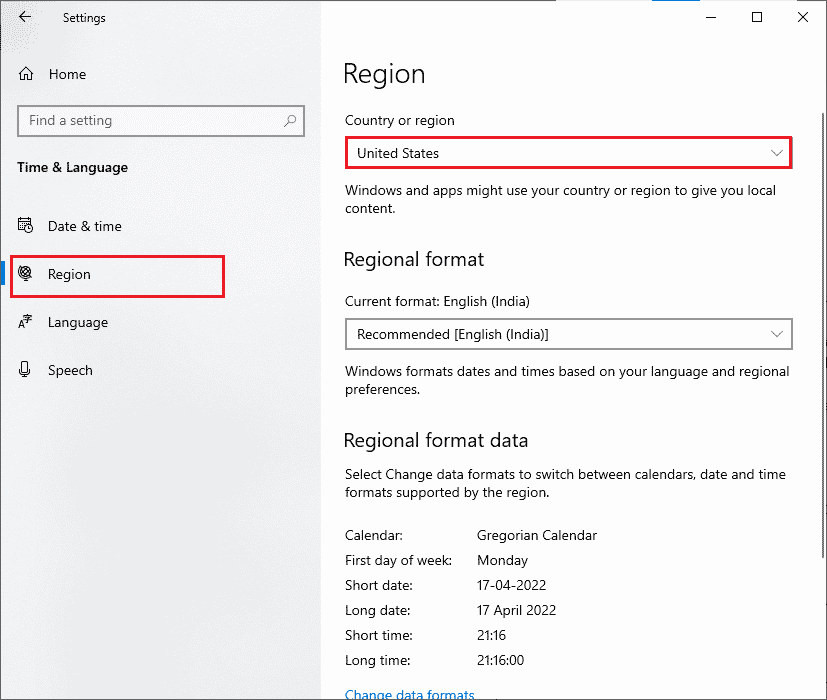
2. تي ڪلڪ ڪريو وقت ۽ ٻولي to open options related to region settings.

3. تي ڪلڪ ڪريو علائقو menu in the left pane.
4. Make sure the region ڊراپ ڊائون box is set correctly on the right-hand side.
پڻ پڙهو How To Fix Microsoft Store Slow Download Issue?
Method 7: Run BITS Troubleshooter
The Background Intelligent Transfer Service (BITS) allows downloads to continue in the background. The main advantage of this service is that downloads are continuing even on idle bandwidth (amount of data transfer per unit time). Try running the BITS troubleshooter to fix the error.
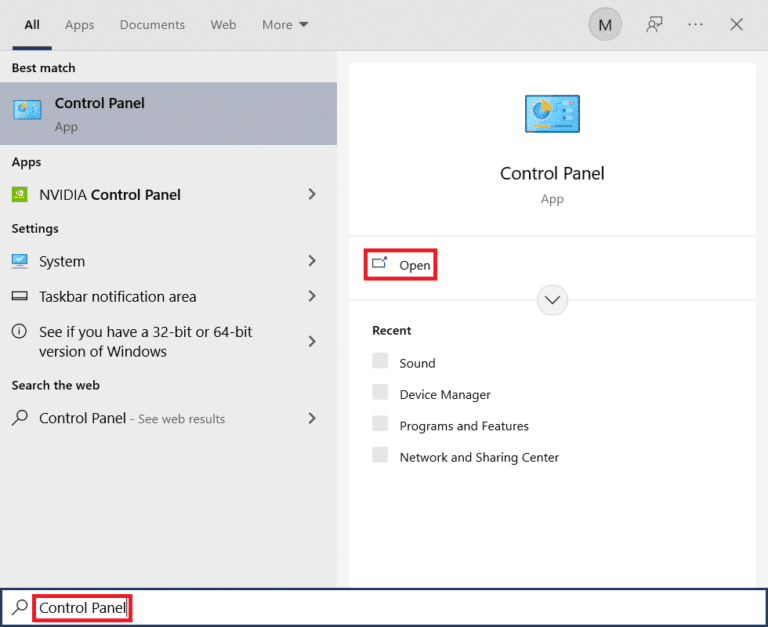
1. پريس ڪريو Windows key، قسم جو ڪنٽرول پينل ۽ ڪلڪ ڪريو کليل.
2. سيٽ ڪريو ڏسو خصوصيت ڏانهن Large icons.
![]()
3. پوء، تي ڪلڪ ڪريو مسئلا حل ڪرڻ سيٽنگ.
![]()
4. پوء، تي ڪلڪ ڪريو سڀ نظارو کاٻي پاسي ۾.
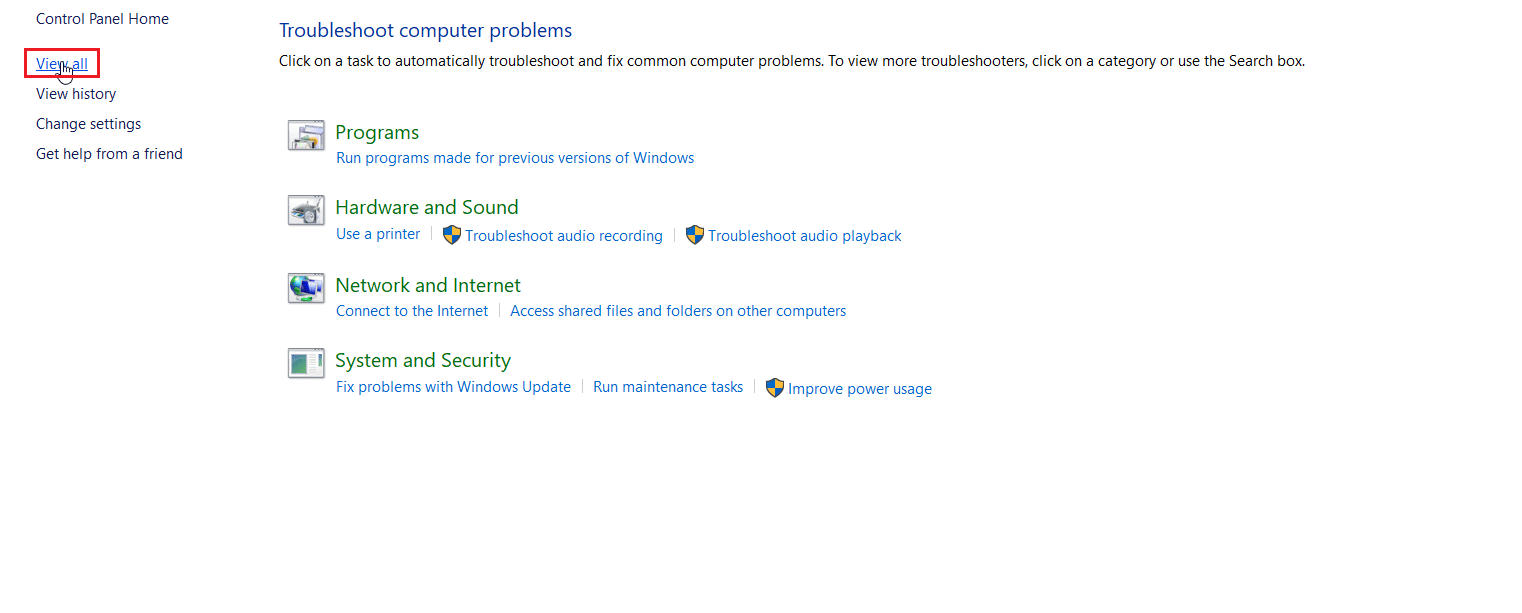
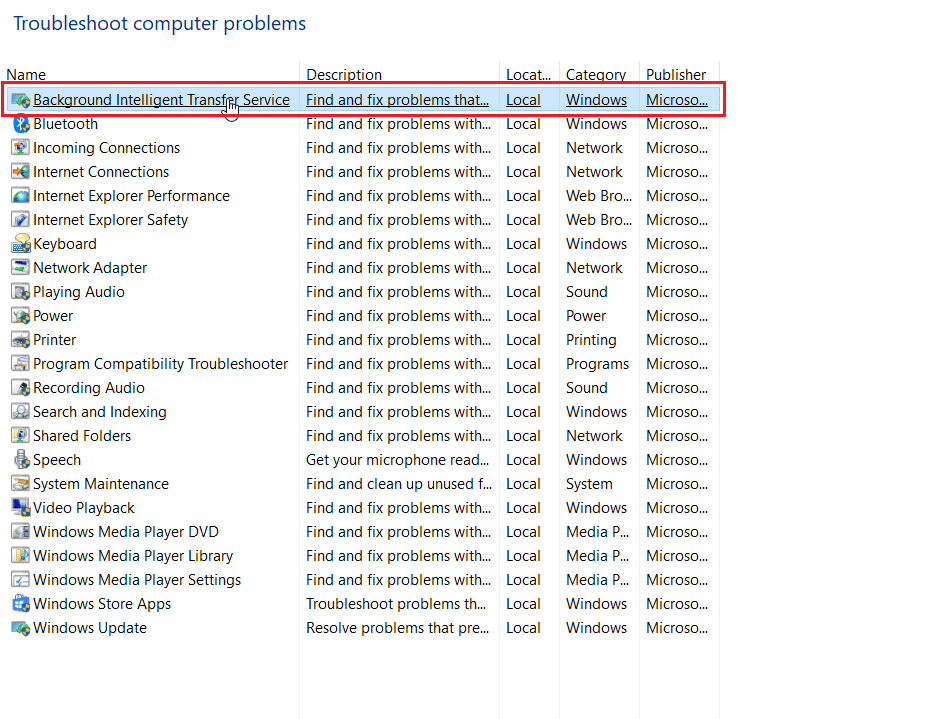
5. ھن کي ڪلڪ ڪريو پس منظر جو ذليل منتقل سروس مسئلو حل ڪرڻ وارو لانچ ڪرڻ لاءِ.
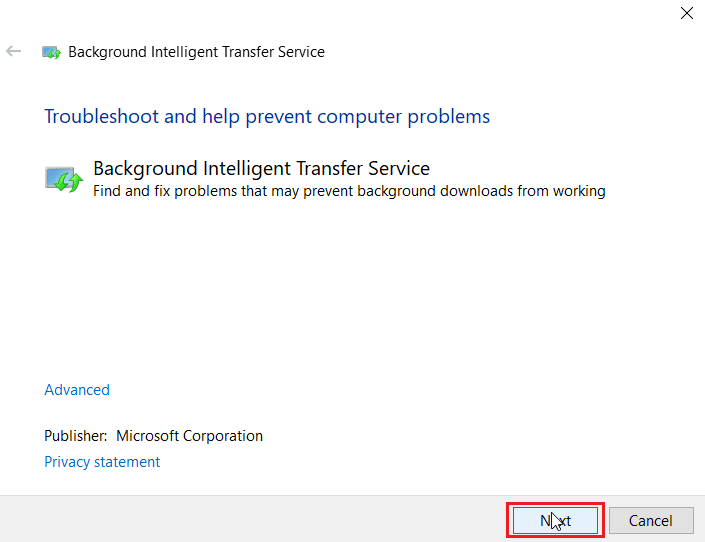
6. The troubleshooter will then identify the problem and fix it for you. Then click on اڳيون.
7. آخر ۾، تي ڪلڪ ڪريو مسئلي جو مسئلو بند ڪريو.

طريقو 8: سسٽم فائلن جي مرمت ڪريو
If there are any corrupt system files in your Windows Operating system, your PC may face a lot of issues. If you are experiencing Error 0x80240024 issue very recently, there are some chances that your computer files have become corrupt or damaged.
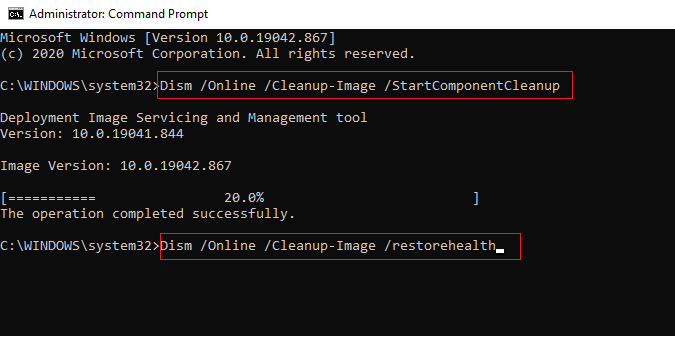
Luckily, your Windows 10 PC has inbuilt repair tools like SFC (System File Checker) and DISM (Deployment Image Servicing and Management) that will help you fix all the corrupt files.
اسان جي گائيڊ تي پڙهو سسٽم فائلن جي مرمت ڪيئن ڪجي Windows 10 ۽ انهن قدمن تي عمل ڪريو جيئن توهان جي سڀني خراب فائلن کي مرمت ڪرڻ جي هدايت ڪئي وئي آهي.
پڻ پڙهيو ونڊوز اپڊيٽ ڊائون لوڊ 0x800f0984 2H1 غلطي کي درست ڪريو
Method 9: Enable Necessary Windows Services
Some Windows Services are required to run before starting Microsoft Store, make sure the services are enabled to ensure the smooth functioning of Microsoft Store. Follow these steps to enable the sevices.
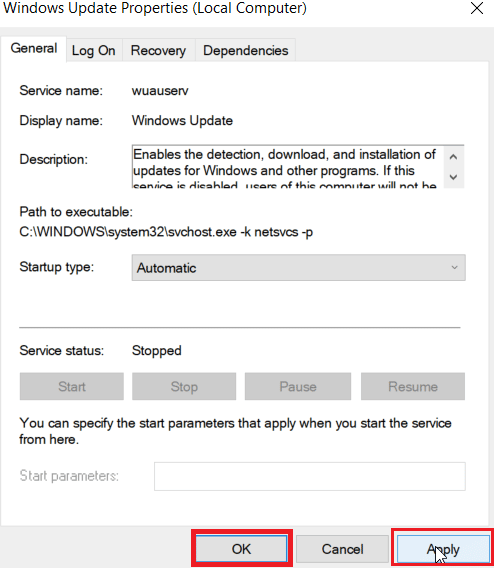
Step I: Enable Windows Update Service
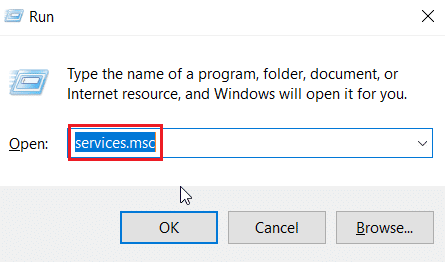
1. لانچ شروع ڪريو هل dialog by simultaneously pressing ونڊوز + آر ڪي.
2. قسم خدمتون .msc ۽ اچي ويو ڪيٻو داخل ڪريو کولڻ خدمتون دري.
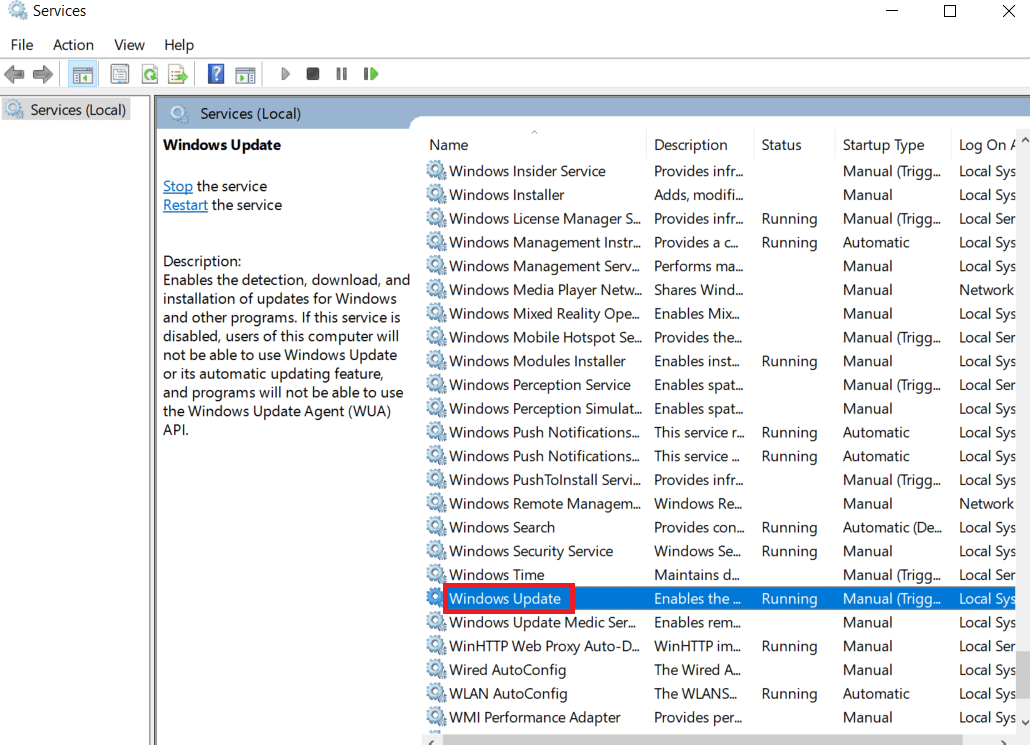
3. ڳولهيو ونڊوز تازه ڪاري service ۽ ڊبل ڪلڪ ڪريو ان تي.
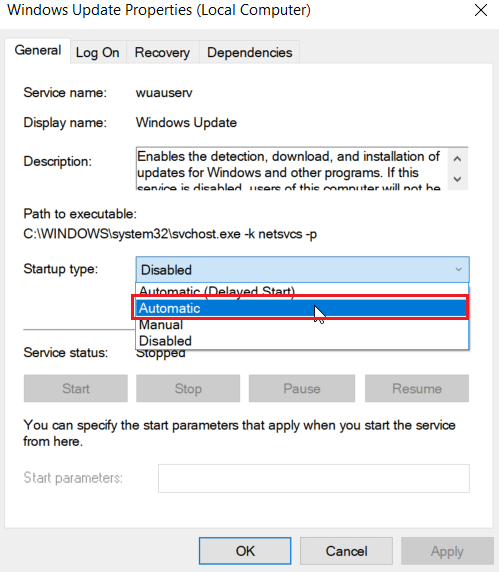
4. تي ڪلڪ ڪريو Startup type: dropdown to خودڪار.
5. Now, check if the Service status is Running, if it is ختم ٿي وئي تي ڪلڪ ڪريو شروع button present under خدمت جي حيثيت.
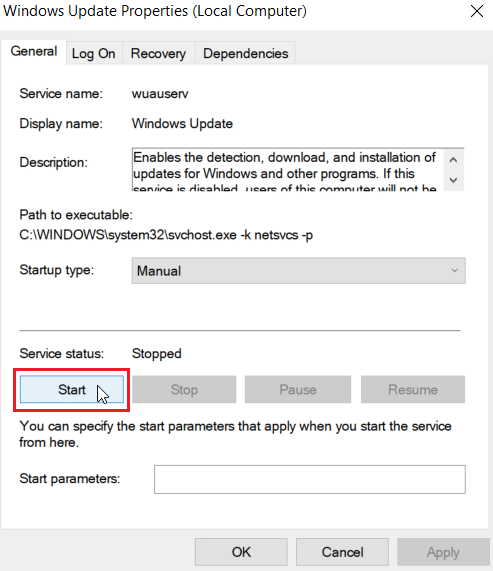
6. آخر ۾، تي ڪلڪ ڪريو درخواست ڏيو ۽ پوءِ OK.
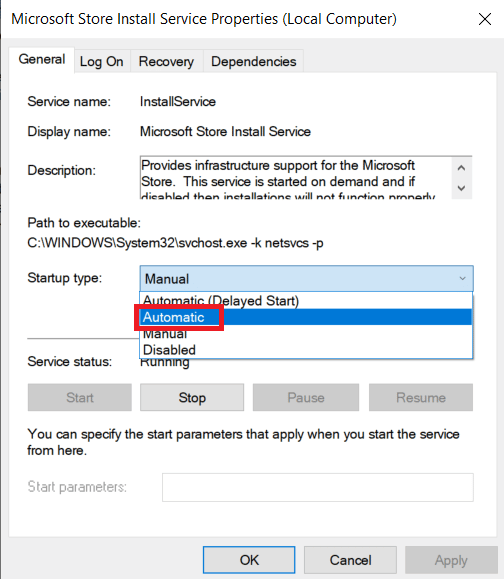
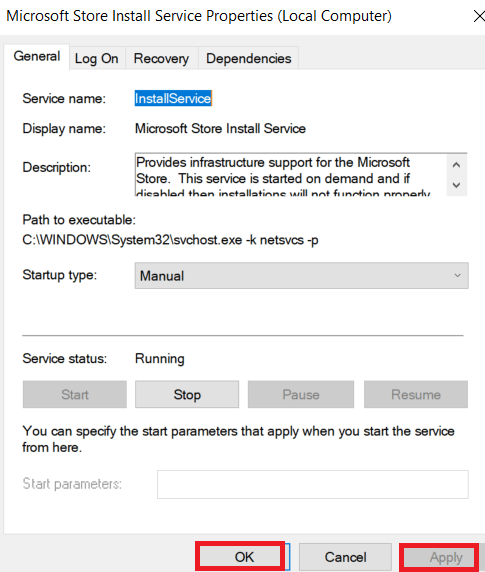
Step II: Enable Microsoft Store Install Services
1. کليل خدمتون window as before.
2. ڊبل ڪلڪ ڪريو Microsoft Store Install Services.
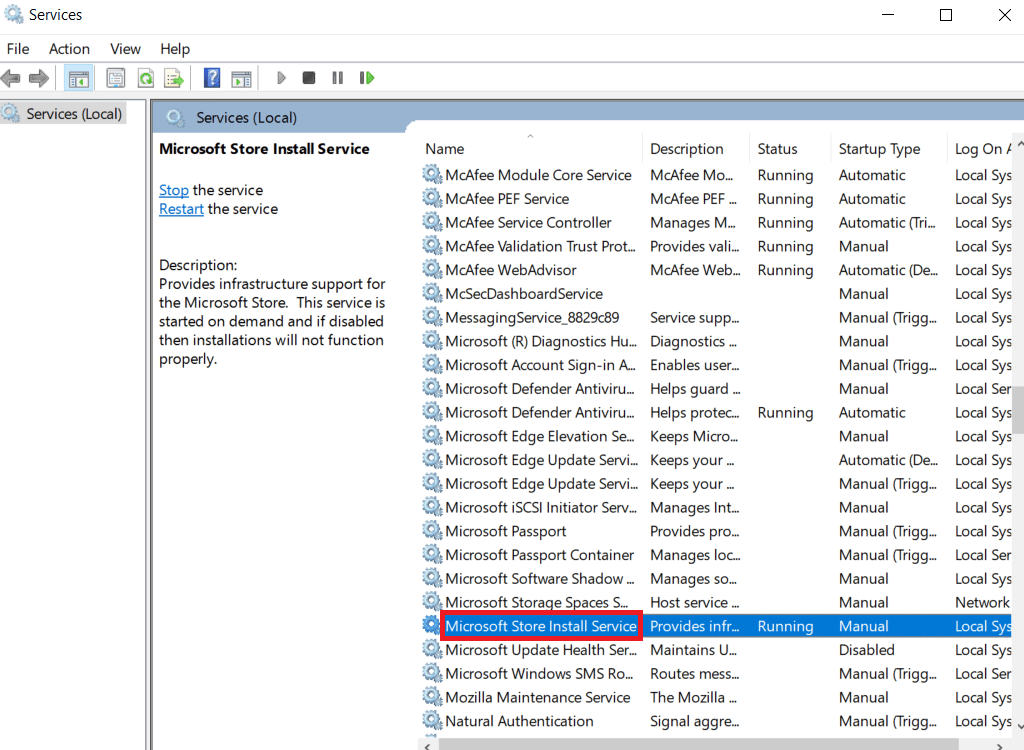
3. تي ڪلڪ ڪريو Startup type: dropdown to خودڪار.
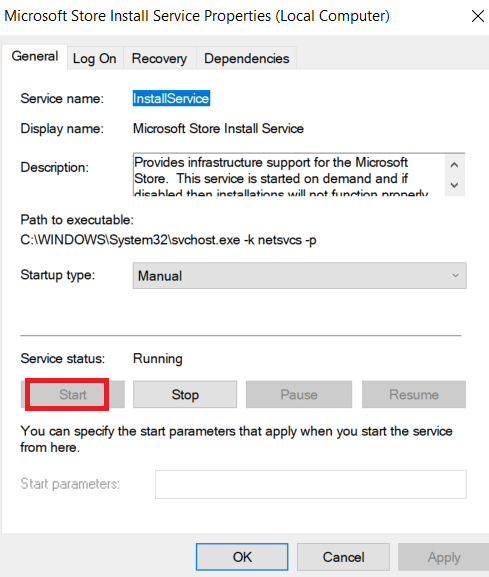
4. Now, check if the Service status is Running, if it is ختم ٿي وئي تي ڪلڪ ڪريو شروع button present under خدمت جي حيثيت.
5. آخر ۾، تي ڪلڪ ڪريو درخواست ڏيو ۽ پوءِ OK.
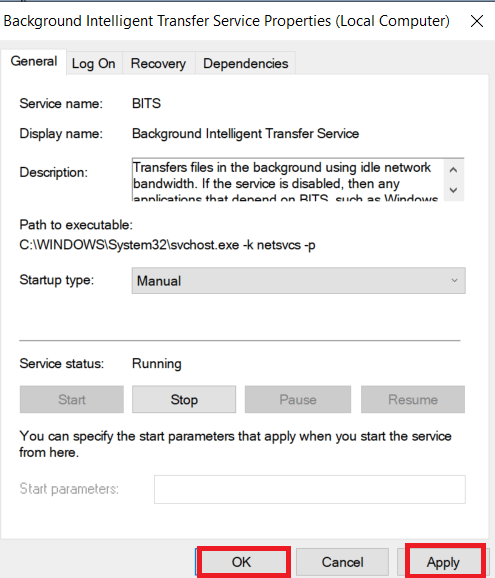
Step III: Enable Background Intelligent Transfer Service
1. As explained earlier, set Startup type: dropdown to خودڪار ۽ تي ڪلڪ ڪريو شروع button present under خدمت جي حيثيت for BITS too.
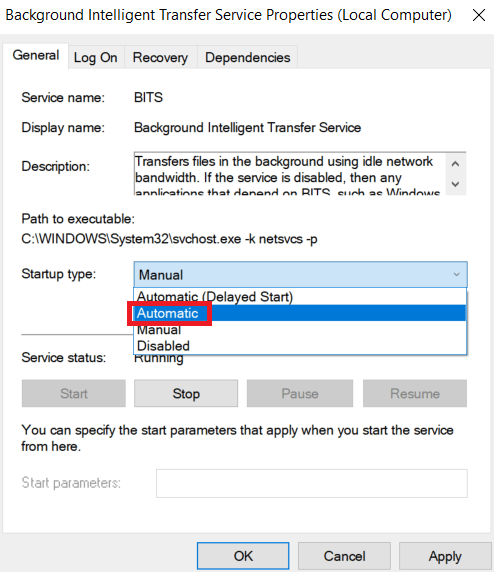
2. آخر ۾، تي ڪلڪ ڪريو درخواست ڏيو ۽ پوءِ OK.
Method 10: Postpone Windows Updates
You can try to turn off a feature called defer updates. Windows users reported that this method solved Error 0x80240024 issue. If defer updates is set to on, Windows will postpone the Windows updates for an extensive amount of time.
نوٽ: This method involves using gpedit.msc or Group Policy Editor command via Run dialog box. By default Group policy editor is disabled in Windows 10 home edition, continue with this method if you have Windows 10 Pro.
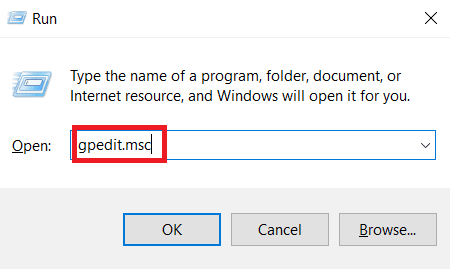
1. پريس ونڊوز + آر ڪي گڏجي کولڻ لاءِ هل دٻي جو دٻو.
2. قسم gpedit.msc ۽ اچي ويو شامل ڪريو اهم شروع ڪرڻ مقامي گروپ پاليسي جو ايڊيٽر.
3. هن ڏانهن وڃو ڪمپيوٽر جي ٺاھ جوڙ> انتظامي نمونا> ونڊوز جا حصا> ونڊوز جي تازه ڪاري directory in the left pane.
4. ڳولا ڪريو Defer upgrades and updates ۽ ان تي ڊبل ڪلڪ ڪريو.
5. منتخب ڪريو معطل ٿيل radio button at the top left side of the window.
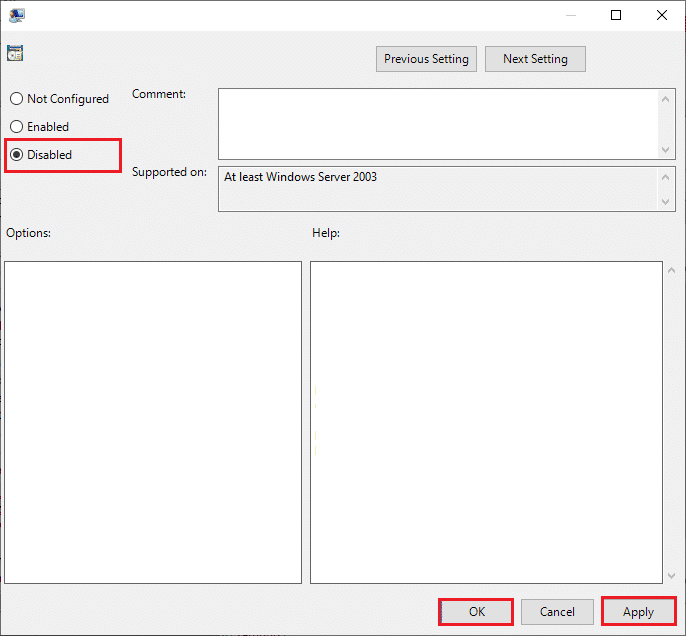
6. آخر ۾، تي ڪلڪ ڪريو درخواست ڏيو ۽ پوء تي ڪلڪ ڪريو OK ڪيل تبديلين کي بچائڻ لاءِ.
پڻ پڙهو Fix Windows Store Error 0x80072ee7
طريقو 11: ونڊوز اسٽور ري سيٽ ڪريو
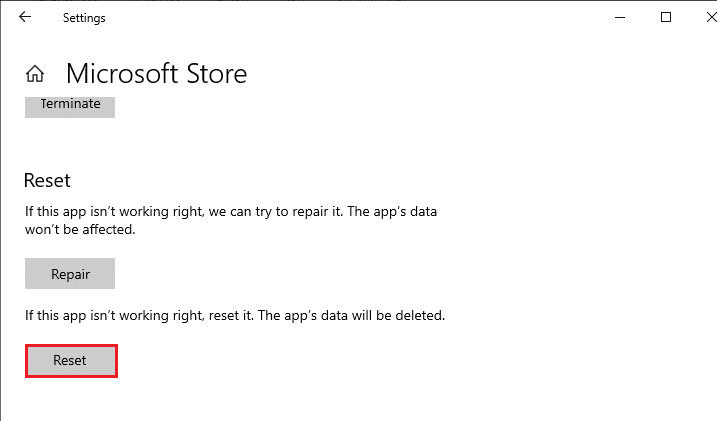
Resetting Microsoft Store will restore the current settings to default. Follow the below steps to reset Microsoft store and fix Error 0x80240024.
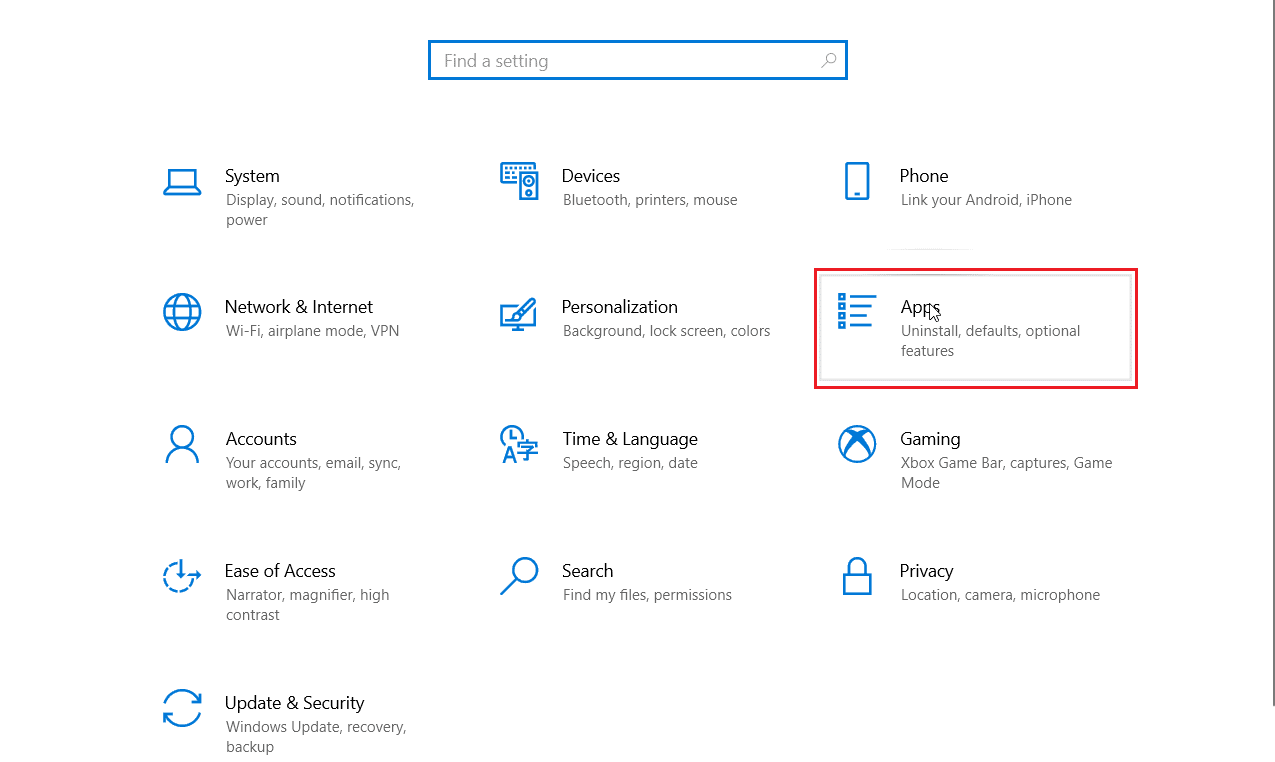
1. هڪ ئي وقت تي دٻايو Window key + I کي کولڻ جوڙ پروجيڪٽ.
2. تي ڪلڪ ڪريو ائپس to see the installed applications.
3. هاڻي ڪلڪ ڪريو Microsoft جي دڪان ۽ ڪلڪ ڪريو ڳوڙھي آپشنز.
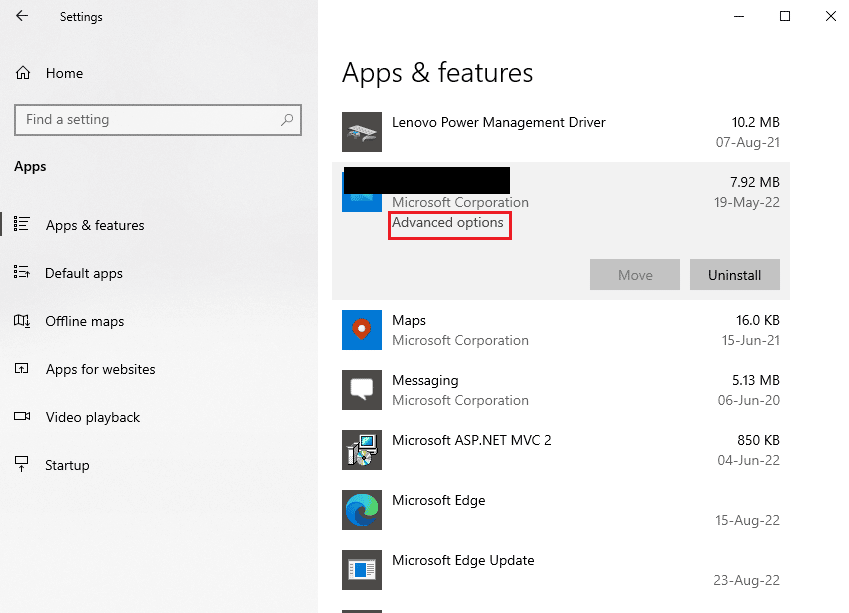
4. پوء، تي ڪلڪ ڪريو مٽائڻ هيٺ مٽائڻ سيڪشن.
پڻ پڙهو Fix Windows 10 0xc004f075 Error
Method 12: Reinstall Windows Store
If none of the above-discussed methods has helped you Fix 0x80240024 error while trying to download some app, you have no other option than to reinstall Microsoft Store. As you do regularly, reinstalling Microsoft Store cannot be implemented by جو ڪنٽرول پينل or جوڙ طريقو. PowerShell حڪم توهان کي Microsoft اسٽور کي ٻيهر انسٽال ڪرڻ ۾ مدد ڏيندو جيئن هيٺ ڏنل بحث ڪيو ويو آهي.
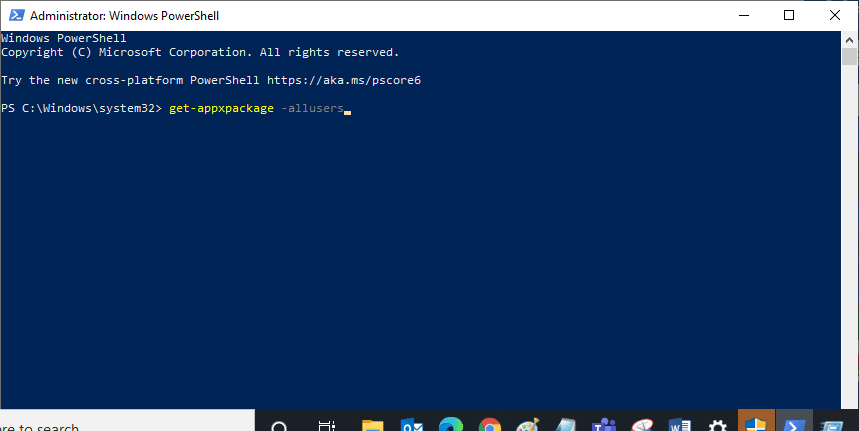
1. مارو Windows key، قسم Windows PowerShell، پوء ڪلڪ ڪريو منتظم طور تي هليو.
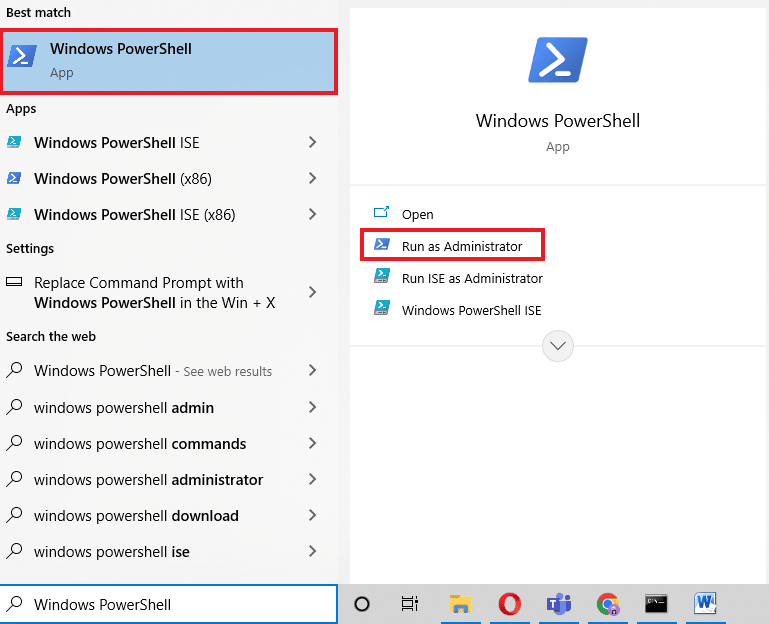
2. ھاڻي، ھيٺ ڏنل ٽائپ ڪريو حڪم ۽ پريس ڪريو ڪيٻو داخل ڪريو.
get-appxpackage –allusers
3. ڳولا ڪريو مائڪروسوفٽ ونڊوز اسٽور جي داخلا جو نالو ۽ نقل ڪريو PackageFullName.
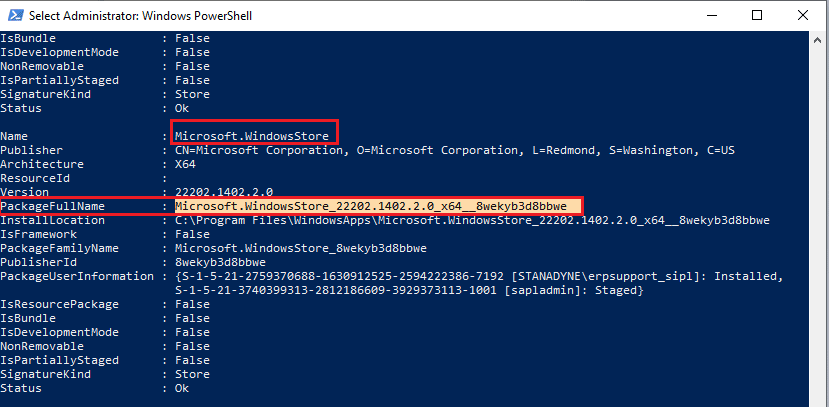
4. ھاڻي، PowerShell ونڊو ۾ ھڪڙي نئين لائن ڏانھن وڃو ۽ ٽائپ ڪريو هٽايو-appxpackage بعد ۾ هڪ خلا ۽ جيڪا لائن توهان نقل ڪئي آهي in the before step.
مثال ،
remove-appxpackage Microsoft.WindowsStore_22202.1402.2.0_x64__8wekyb3d8bbwe
نوٽ: توھان جي استعمال ڪيل ونڊوز جي ورزن جي مطابق حڪم ڪجھ مختلف ٿي سگھي ٿو.
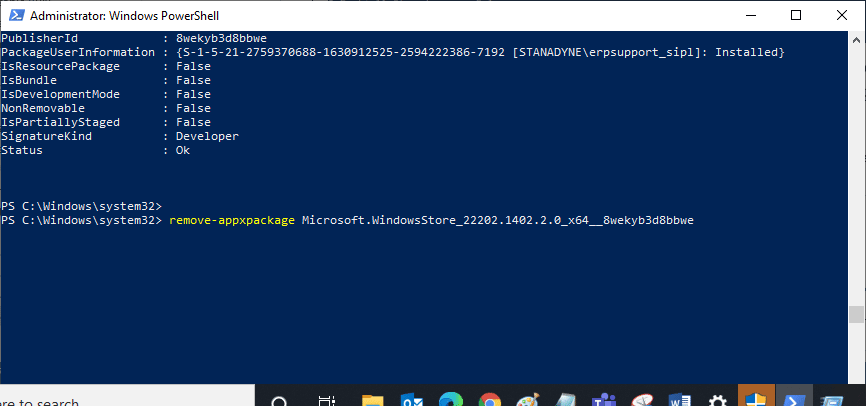
5. آخرڪار، PC کي ريبوٽ ڪريو.
6. Then, launch the Windows PowerShell as an administrator and execute the following حڪم.
Add-AppxPackage-رجسٽر "C:Program FilesWindowsAppsMicrosoft.WindowsStore_11804.1001.8.0_x64__8wekyb3d8bbweAppxManifest.xml" -DisableDevelopmentMode
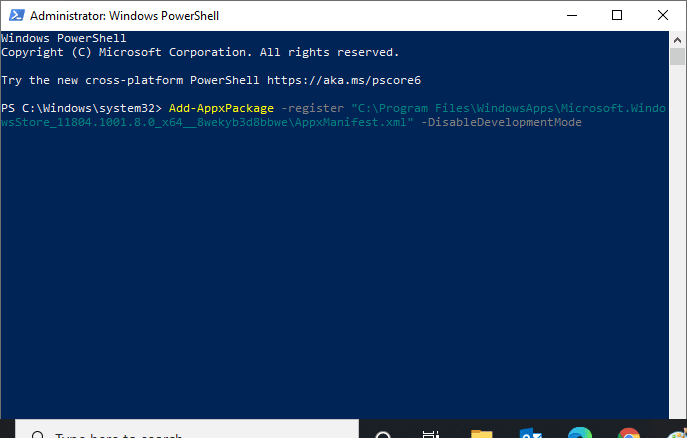
Finally, Microsoft Store will be reinstalled on your PC and you will not face Microsoft Store not opening Windows 10 issue.
وچين سوالن جا جواب
Q1. How do I fix Windows store automatically through system?
جواب. You can fix Windows store automatically by running the Windows اسٽور ايپليڪيشنون مسئلو ڀڄڻ وارو
Q2. How do I clean my Microsoft store if it is clogged up?
جواب. To clean your Microsoft Store, follow the above Method 11 to reset Windows Store.
صلاح ڏني ته:
اسان کي اميد آهي ته مٿي ڏنل مضمون کي ڪيئن درست ڪجي Error 0x80240024 in Windows Store was helpful and you were able to fix 0x80240024 error while trying to download some app issue. Let us know which one of the methods worked best for you. If you have any suggestions or queries please share them in the comment section below.

