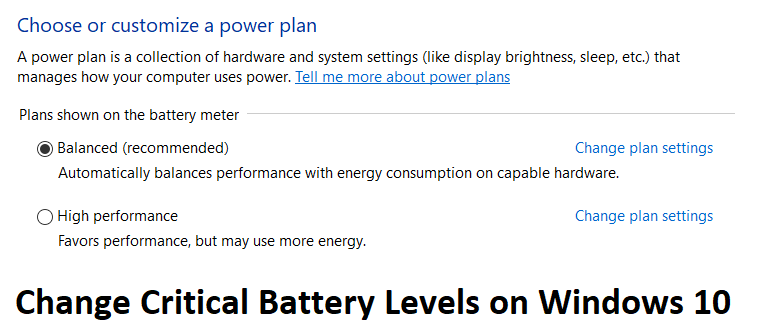
Change Critical Battery Levels on Windows 10: Users are unable to change the critical & low battery levels below a specific point and if you got a big battery then you are not able to utilize your battery to the optimum levels. You won’t be able to change the critical battery levels below 5% on Windows 10 and 5% means close to 15 minutes of battery time. So in order to utilize that 5 %, users want to change the critical battery levels to 1%, because once the critical battery levels are met the system is automatically put into hibernation which just takes close to 30 seconds to complete.
By default the following battery levels are set by Windows:
Low Battery Level: 10%
Reserve Power: 7%
Critical Level: 5%
Once the battery is below 10% you will get a notification saying low battery levels accompanied by a beep sound. After that, once the battery is below 7% the Windows will flash a warning message to save your work and turn off your PC or plug in the charger. Now once the battery levels are at 5% then Windows will automatically get into hibernation. So without wasting any time let’s see How to Change Critical Battery Levels on Windows 10 with the help of the below-listed guide.
Change Critical Battery Levels on Windows 10
Uistite sa, že ste vytvorili bod obnovenia pre prípad, že by sa niečo pokazilo.
Method 1: Change Critical & Low Level Battery Levels
Poznámka: This method doesn’t seem to work on all computers, but it’s worth a try.
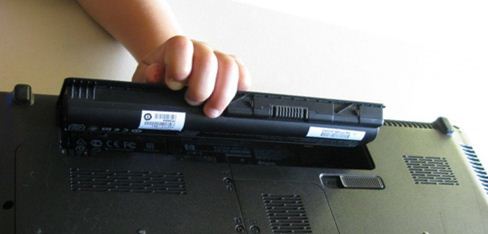
1.Turn off your PC then remove battery from your laptop.
2.Plug in the power source and start your PC.
3.Log into Windows then right-click on Power icon a zvoľte Možnosti napájania.
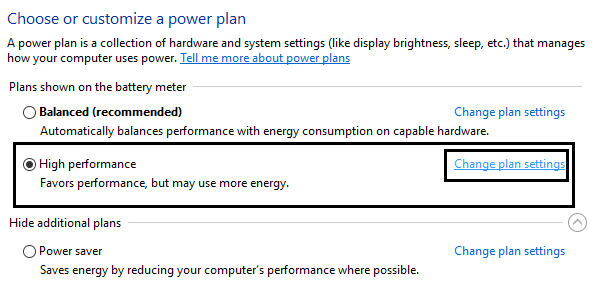
4. Potom kliknite na Zmeniť nastavenia plánu next to your currently active plan.
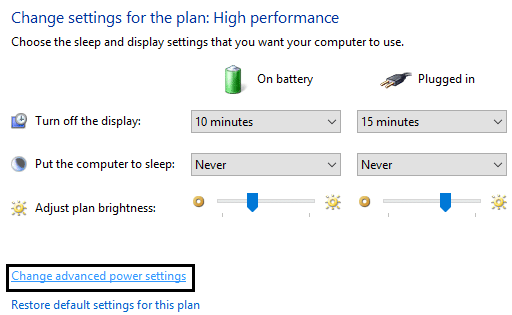
5. Ďalej kliknite na Zmeňte rozšírené nastavenia napájania.
6.Scroll down till you find batérie, click the plus icon to expand it.
7.Now if you want to then you can change the actions which computer takes on reaching a specific battery level by expanding Critical battery actions.
8. Ďalej rozbaľte Kritická úroveň nabitia batérie a zmeňte settings to 1% for both Plugged in and On battery.
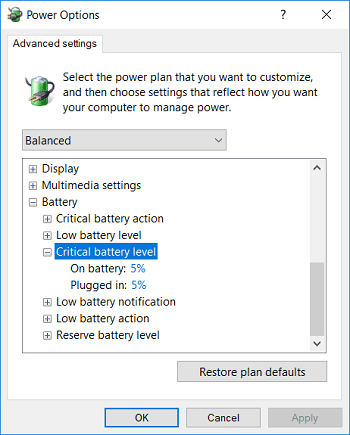
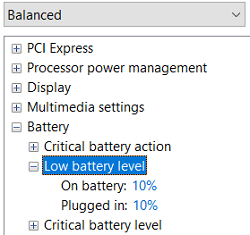
10.If you want then do the same for Nízka úroveň nabitia batérie just make sure to set it to 5%, not below it.
11. Kliknite na tlačidlo Použiť a potom na tlačidlo OK.
12. Reštartujte počítač, aby ste uložili zmeny.
Method 2: Use Powercfg.exe to change battery levels
1. Stlačte kláves Windows + X a potom vyberte Príkazový riadok (Admin).

2. Zadajte nasledujúci príkaz do cmd a stlačte Enter:
powercfg -setdcvalueindex SCHEME_CURRENT SUB_BATTERY BATLEVELCRIT <percentage>
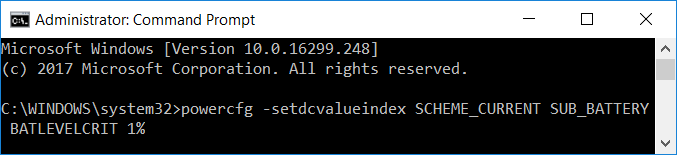
Poznámka: If you want to set the critical battery level to 1% then the above command will be:
powercfg -setdcvalueindex SCHEME_CURRENT SUB_BATTERY BATLEVELCRIT 1%
3.Now if you want to set the critical battery level for plugged into 1% then the command will be:
powercfg -setacvalueindex SCHEME_CURRENT SUB_BATTERY BATLEVELCRIT 1%

4. Reštartujte počítač, aby ste uložili zmeny.
In addition to above, you could learn more about troubleshooting power plans from tu.
Odporúčaná:
To je to, čo máte úspešne za sebou Change Critical Battery Levels on Windows 10 ale ak máte stále nejaké otázky týkajúce sa tejto príručky, neváhajte sa ich opýtať v sekcii komentárov.

