When you buy a new computer or connect a new hard drive to your computer, it usually comes with a single partition. However, it is always a good idea to have at least three partitions on your hard drive for a variety of reasons. The more partitions you have, the larger the capacity of your hard drive. Predelne stene of a hard drive are referred to as Diski in Windows and typically have a letter associated with it as an indicator. Hard Drive Partitions can be created, shrunk, or resized, among other things. We bring to you a perfect guide that will teach you how to partition hard disk drive in Windows 11. So, continue reading!
How to Partition Hard Disk Drive in Windows 11
Why Create Partitions on the Hard Drive?
Ustvarjanje rezultati on a hard drive can be beneficial in a variety of ways.
- It is always best to keep the operating system and system files on a separate drive or partition. If you need to reset your computer, if you have your operating system on a separate drive, you can save all other data by simply formatting the drive where the operating system is installed.
- Aside from the above, installing apps and games on the same drive as your operating system will eventually slow down your computer. Hence, keeping the two separate would be ideal.
- Creating partitions with labels also aids in file organization.
Thus, we recommend you divide hard disk drive into several partitions.
How Many Disk Partitions Should be Made?
The number of partitions you should create on your hard drive is solely determined by the size of the hard drive you have installed on your computer. In general, it is recommended that you create tri particije na vašem trdem disku.
- Ena za Windows operacijski sistem
- The second one for your programov such as software and games etc.
- The last partition for your osebne datoteke such as documents, media, and so on.
Opomba: If you have a small hard drive, such as 128GB ali 256GB, you should not create any additional partitions. This is because it is recommended that your operating system be installed on a drive with a minimum capacity of 120-150GB.
On the other hand, if you’re working with a 500GB to 2TB hard drive, you can create as many hard drive partitions as you need.
To utilize space on your Windows PC, you can choose to use an external drive to store most of your data instead. Read our list of Best External Hard Drive for PC Gaming here.
How to Create & Modify Hard Disk Drive Partitions
The process of creating partitions on a hard drive is both, systematic and straightforward. It makes use of the built-in Disk Management tool. If your computer has two partitions, the File Explorer window will show two drives indicated by a letter and so on.
Step 1: Shrink Partition Drive to Create Unallocated Space
To successfully create a new drive or partition, you must first shrink an existing one to free up unallocated space. Your Hard Drive’s unallocated space cannot be used. To create partitions, they must be assigned as a new drive.
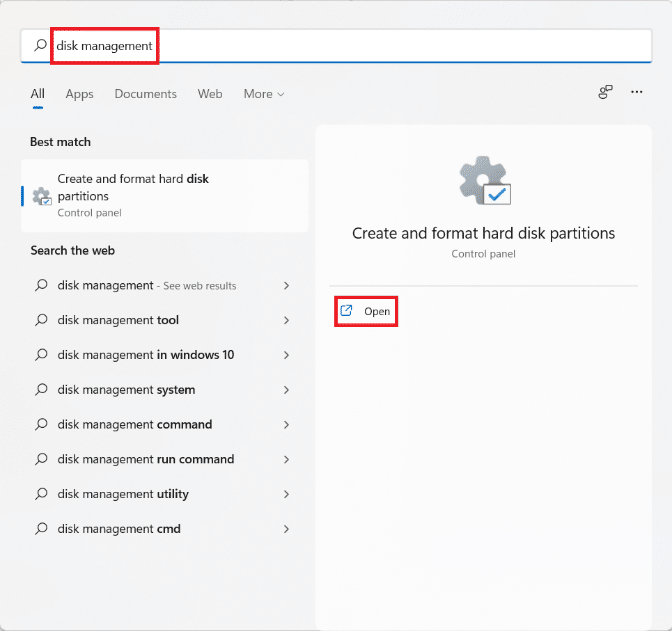
1. Kliknite na Ikona iskanja in tip disk za upravljanje.
2. Nato kliknite Odprto za Ustvarite in formatirajte particije trdega diska, kot je prikazano.
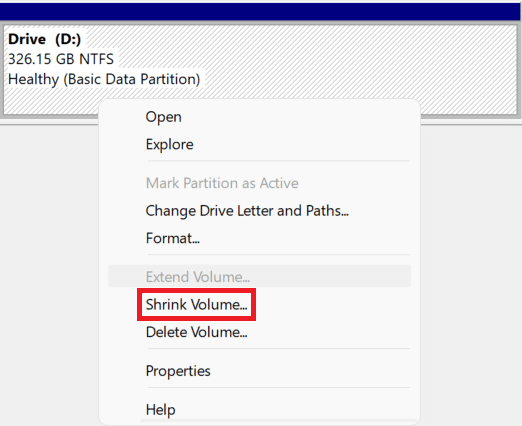
3. V Ljubljani disk za upravljanje window, you will find information regarding existing disk partitions and drives installed on your PC named Disk 1, Disk 2, and so on. Click on the box representing the Drive you want to shrink.
Opomba: The selected drive will have diagonalne črte highlighting the selection.
4. Z desno miškino tipko kliknite Selected drive (npr Drive (D:)) and select Skrči glasnost ... from the context menu, as illustrated below.
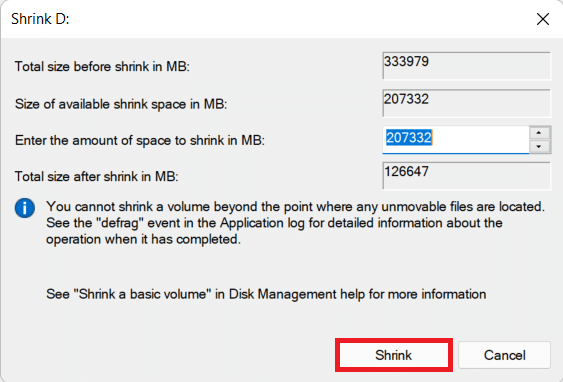
5. V Ljubljani Skrči D: pogovorno okno, vnesite Velikosti you want to separate from the existing drive in Megabytes (MB) in kliknite na Shrink.
6. After shrinking, you will see a newly created space on the disk labeled as Nerazporejen od Velikosti you chose in Step 5.
Preberite tudi: Popravek: Nov trdi disk se ne prikaže v upravljanju diskov
Step 2: Create New Drive Partition From Unallocated Space
Here’s how to partition hard disk drive in Windows 11 by creating a new drive partition using unallocated space:
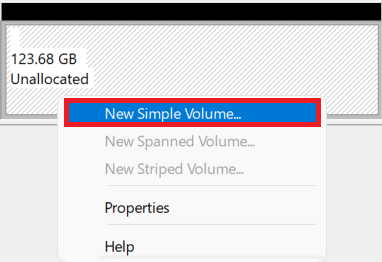
1. Right-click on the box labeled Nerazporejen.
Opomba: The selected drive will have diagonalne črte highlighting the selection.
2. Kliknite na Nova enostavna glasnost ... from the context menu, as shown.
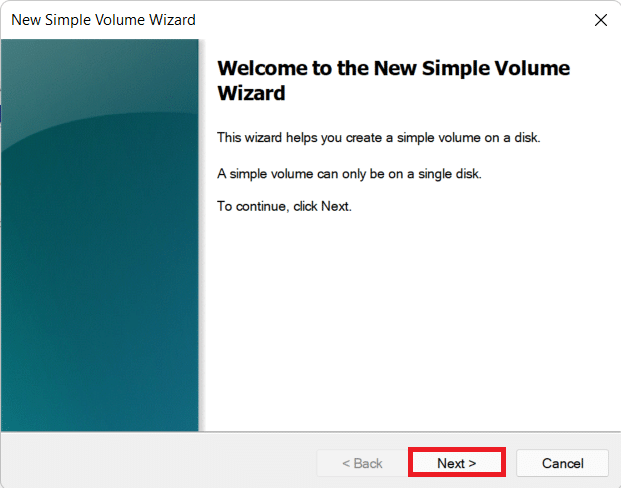
3. V Ljubljani Čarovnik za novo Enostavno zvezek, kliknite na Naslednji.
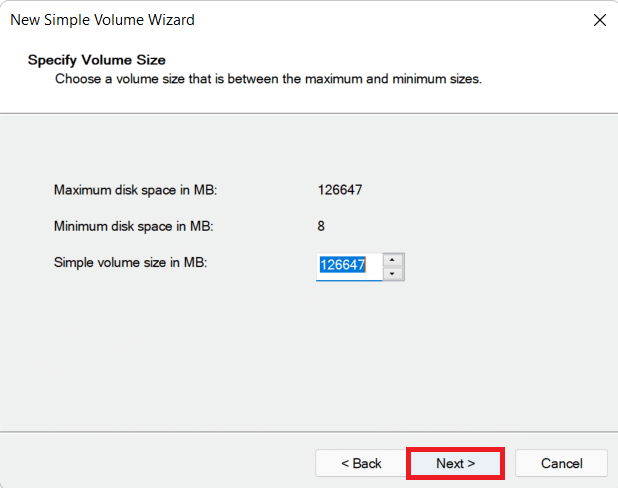
4. V Ljubljani Preprosta velikost glasnosti window, enter the desired volume velikost in MBin kliknite na Naslednji.
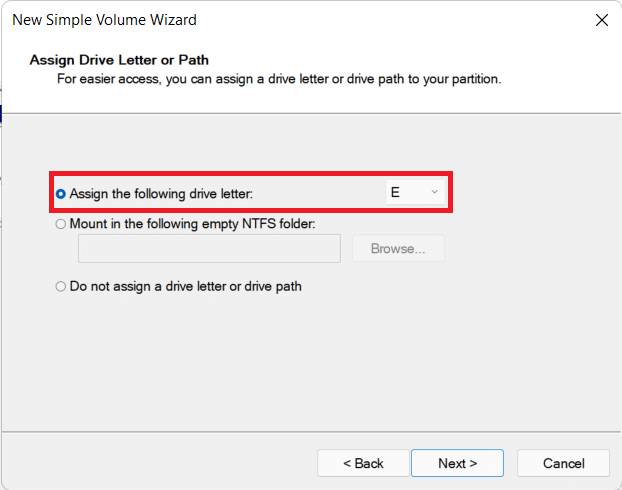
5. Na Dodeli pismo ali pot vožnje screen, choose a Pismo iz Assign the following drive pismo drop-down menu. Then, click Naslednji, kot je prikazano.
6A. Now, you can format the partition by selecting Oblikujte to glasnost z nastavitvami GMT opcije.
- Datotečni sistem
- Razporeditev enoto velikosti
- Oznaka dela
6B. If you do not want to format partition, then select Do not format this volume možnost.
7. Na koncu kliknite Konec, kot je prikazano.
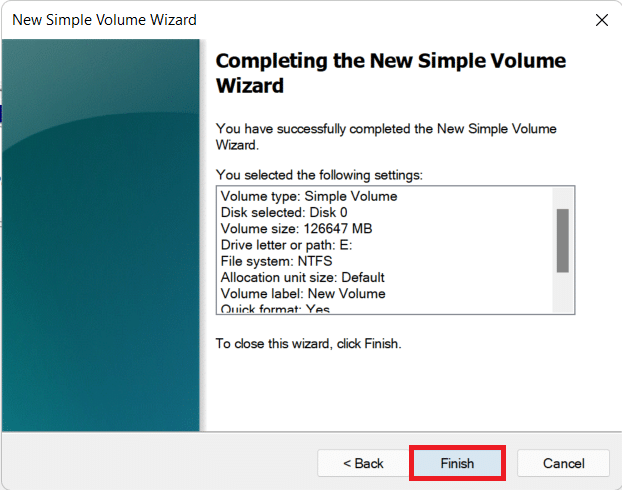
You can see the newly added partition indicated by the assigned letter and space as chosen.
Preberite tudi: 3 Ways to Check if a Disk Uses MBR or GPT Partition in Windows 10
How to Delete Drive to Increase the Size of Another Drive
In case, you feel system performance has slowed down or that you do not require any additional partition, you can choose to delete the partition as well. Here’s how to modify disk partition in Windows 11:
1. Kliknite na Ikona iskanja in tip disk za upravljanje.
2. Nato izberite Odprto možnost za Ustvarite in formatirajte particije trdega diska, kot je prikazano.

3. Izberite Drive želite izbrisati.
Opombe: Make sure you have prepared a varnostno kopiranje podatkov for the drive you want to delete on a different drive.
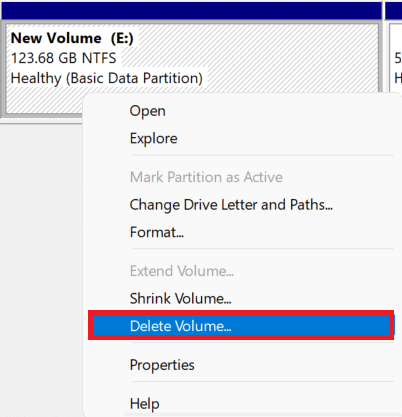
4. Right-click on the selected drive and select Izbriši nosilec … iz kontekstnega menija.
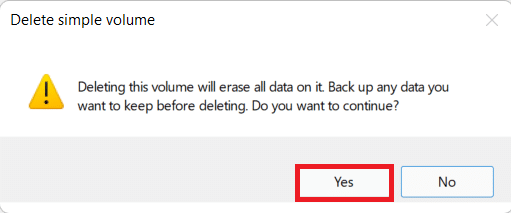
5. Kliknite na Da v Izbrišite preprost glasnost confirmation prompt, as depicted.
6. Boš videl Nerazporejen prostor with the size of the drive you deleted.
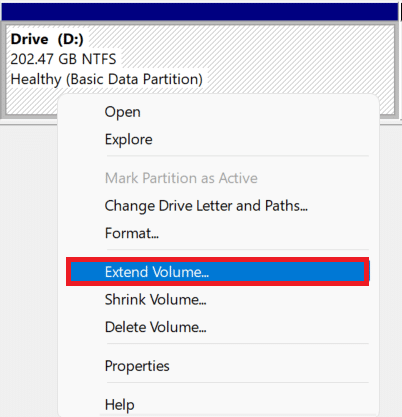
7. Z desno miškino tipko kliknite Drive you want to expand in size and select Razširitev glasnosti… kot je prikazano spodaj.
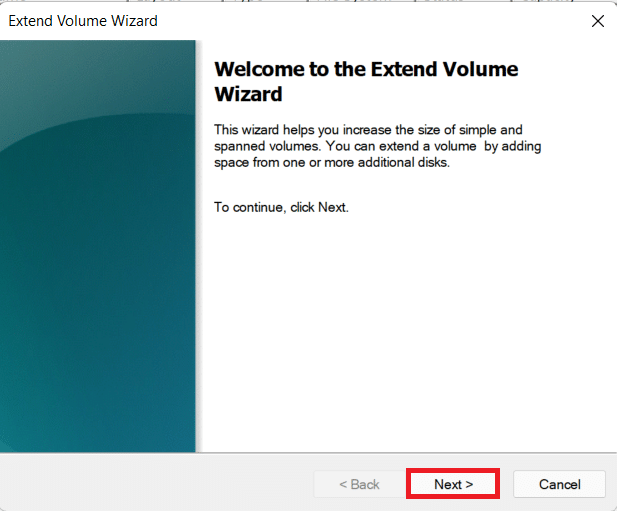
8. Kliknite na Naslednji v Podaljšajte čarovnika Volume.
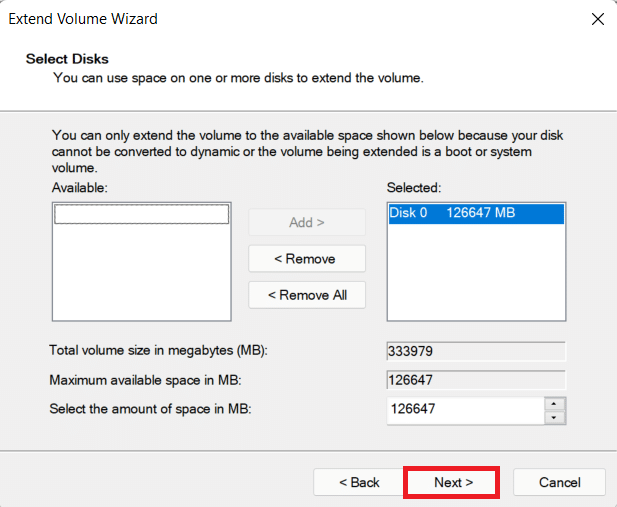
9. Zdaj pa kliknite Naslednji na naslednjem zaslonu.
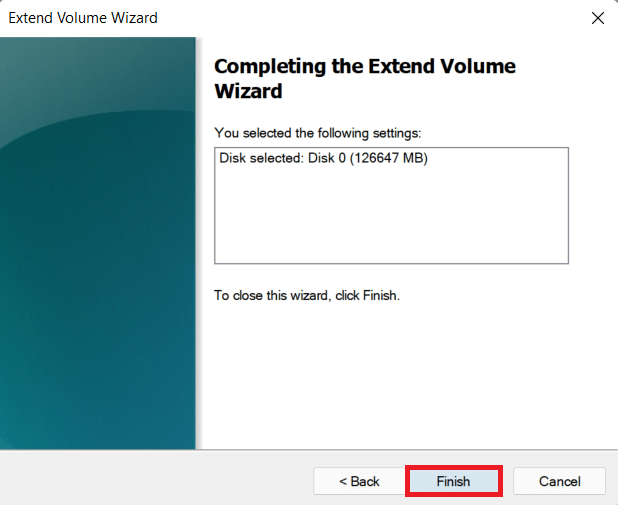
10. Na koncu kliknite Konec.
Priporočamo:
We hope you found this article interesting and helpful about how to partition hard disk in Windows 11. You can send your suggestions and queries in the comment section below. We would love to gear from you!

![[SOLVED] 0xc000000e: The selected entry could not be loaded](https://lbsite.org/wp-content/uploads/2023/01/Fix-Boot-Error-0xc000000e-The-selected-entry-could-not-be-loaded.jpg "[SOLVED] 0xc000000e: The selected entry could not be loaded")