In Windows 10, you can easily download Remote Server Administration Tools (RSAT) from Microsoft’s website. Things are different in Windows 11. Microsoft doesn’t provide a direct RSAT download link for Windows 11—the tools are built into the operating system.
We’ll show you different ways to install and manage RSAT features in Windows 11. As always, you need an Enterprise or Professional edition of any Windows version to use RSAT tools. So, ensure your PC runs a compatible version of Windows 11 before you proceed.

Install RSAT Tools via the Windows 11 Settings Menu
The Windows 11 Settings app has an option to install optional features to improve your computer’s functionality. These could be fonts, Windows server tools, storage management utilities, etc.
Follow the steps below to install RSAT as an optional feature in Windows 11.
- Fur Daaqadaha Settings app, dooro Apps dhinaca dhinaca, oo dooro Optimal features.
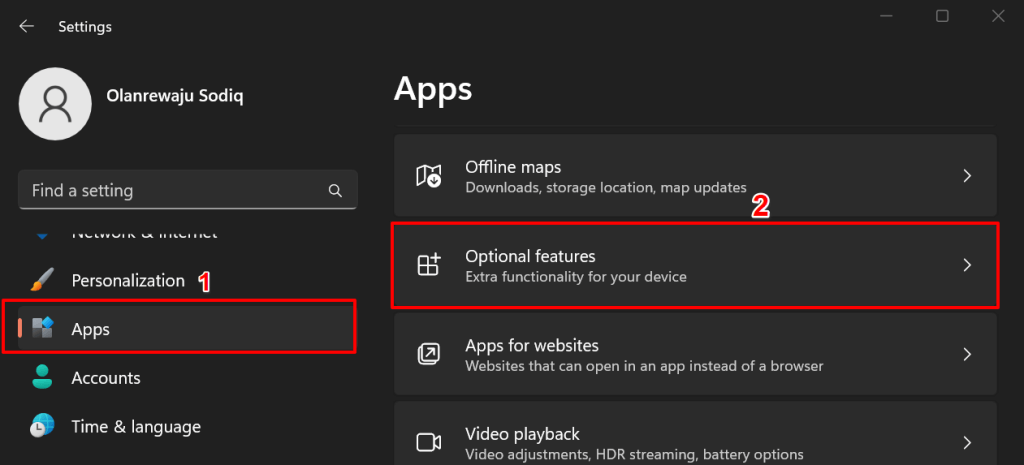
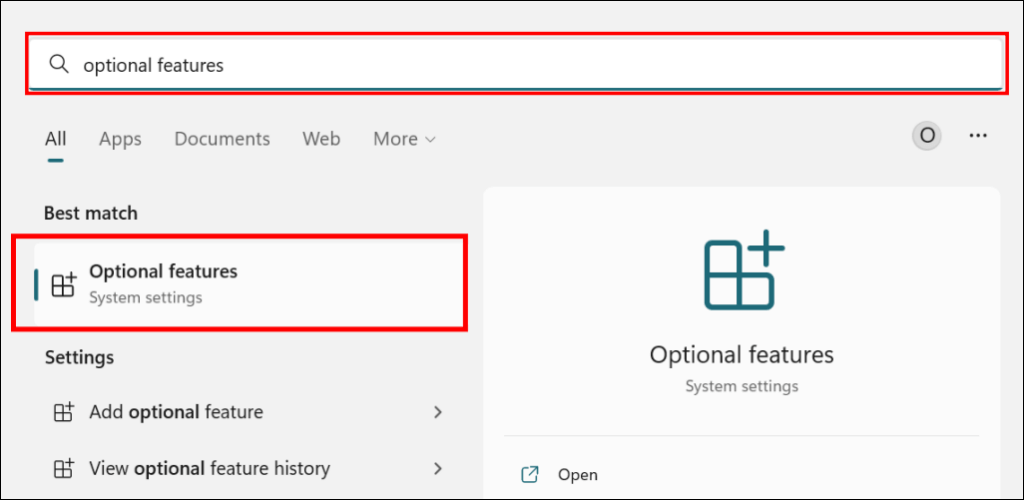
Haddii kale, riix Start badhanka, nooca sifooyinka ikhtiyaariga ah gudaha bar raadinta, oo dooro kan Tilmaamo kala duwan system settings option.
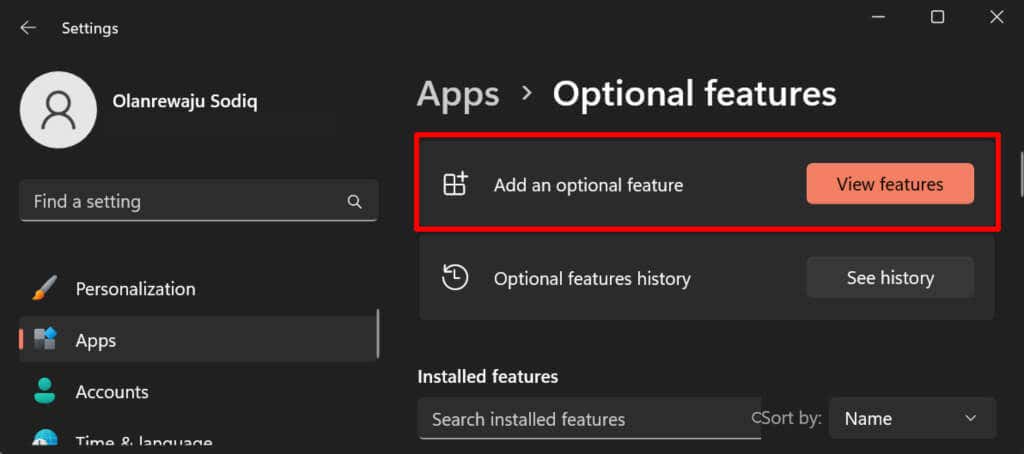
- Xulo Eeg muuqaalada button in the “Add an optimal feature” row.
- nooca rsat in the search bar and select the checkbox next to the RSAT component(s)you want to install. Select Next sii wadaan.

Talo Quick: Xulo arrow-down icon below a Remote Server Administration Tool to see its features.
- Verify your selection and select the Ku rakib Badhanka.
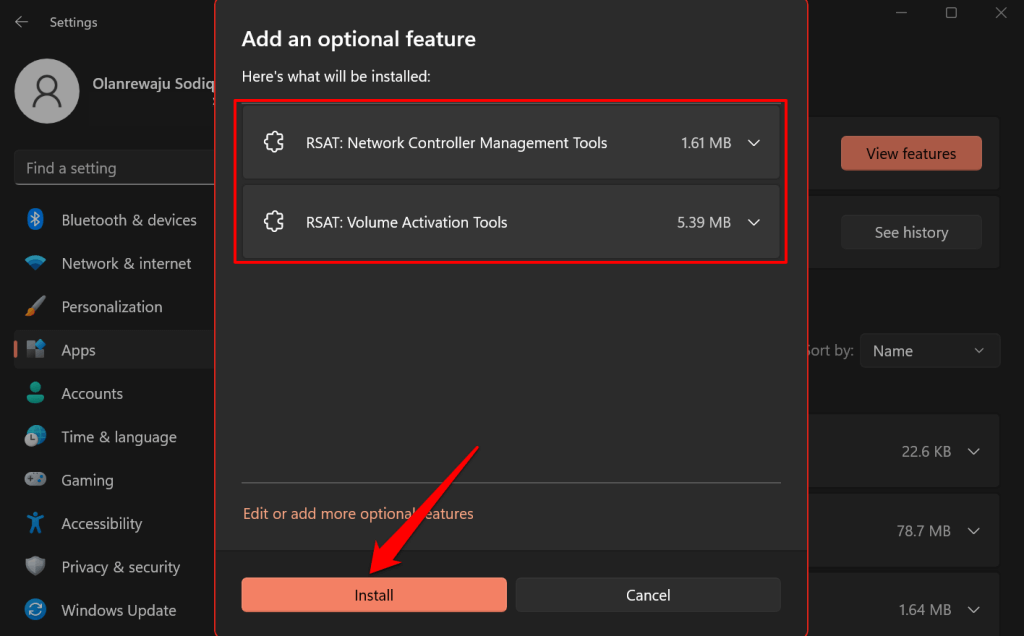
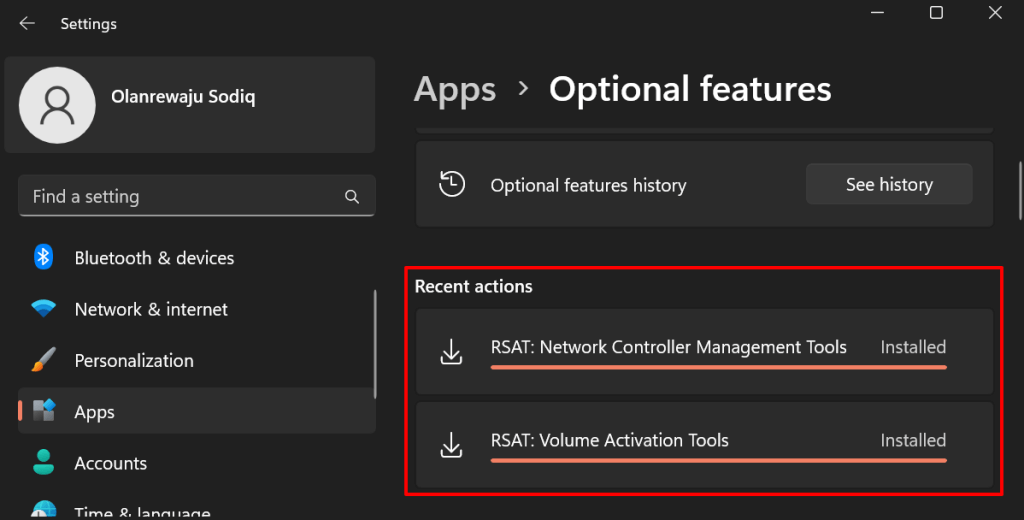
Windows will close the pop-up and install the tools in the background. You can monitor the installation progress in the “Recent actions” section.
Install RSAT Using Windows Powershell
You need an internet connection to install RSATs in Windows 11. Connect your computer to a Wi-Fi or Ethernet network and follow the steps below.
- Right click guji Astaanta Windows on the Taskbar or press Furaha Windows + X dooro Terminalka (Maamulka).

- Paste the following command in the console and press Ku qor.
Get-WindowsCapability -Name RSAT* -Online | Select-Object -Property Name, State.
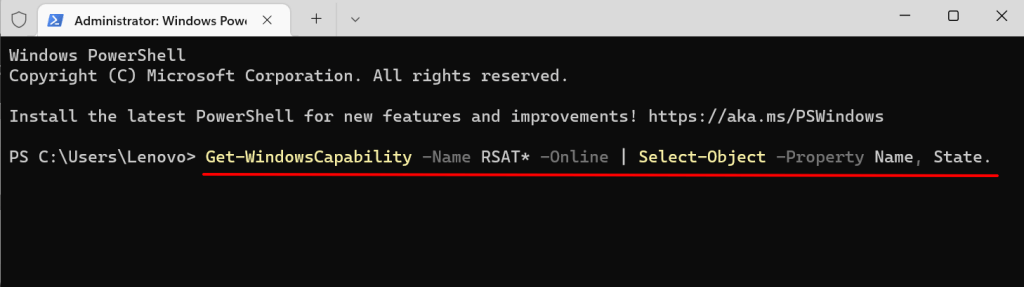
The Powershell command reveals all Remote Server Administration Tools built into Windows 11.
- Locate and copy the name of the RSAT feature you want to install. Highlight the display name and press Ctrl + C.

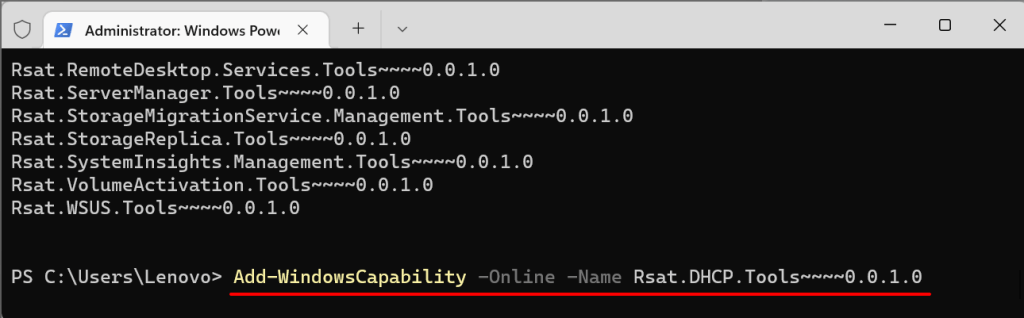
- Paste the command below in the console and press Ku qor.
Add-WindowsCapability -Online -Name Tool-Name
Fiiro gaar ah: Replace Tool-Name with the name of the RSAT feature you copied in step #5. If you’re installing the “RSAT DHCP.Tools,” the command should look like this:
Add-WindowsCapability -Online -Name Rsat.DHCP.Tools~~~~0.0.1.0
- Close the Terminal when you see a success message. You can also check the installation status in the Windows Settings menu.
Tag Settings > Apps > Tilmaamo kala duwan oo iska hubi Ficiladii dhawaa qaybta.

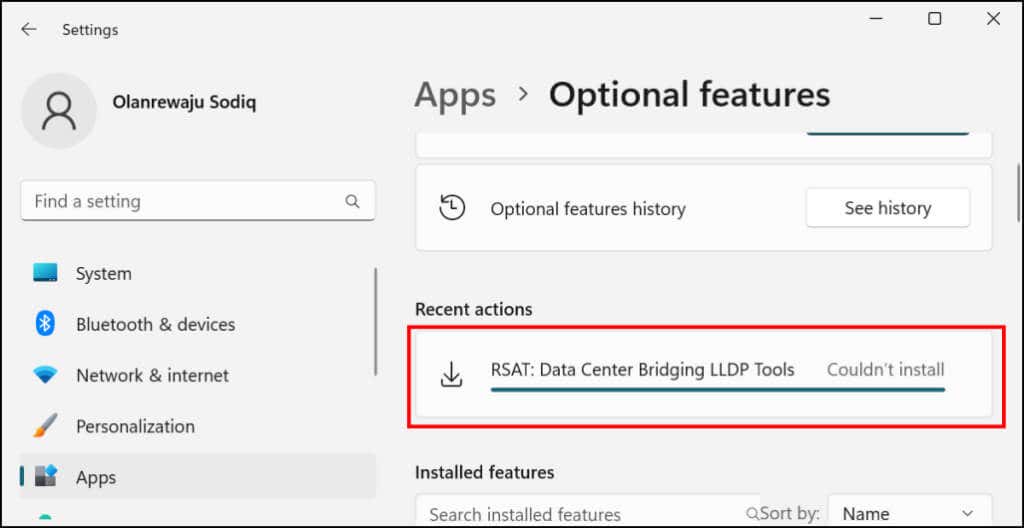
If you’re getting a “Couldn’t install” error, check your internet connection or restart your PC and try again.
View Remote Server Administration Tools in Windows 11
You can check the RSATs installed on your PC in the Windows Settings menu or via Terminal Windows.
View Installed RSATs in Windows Settings
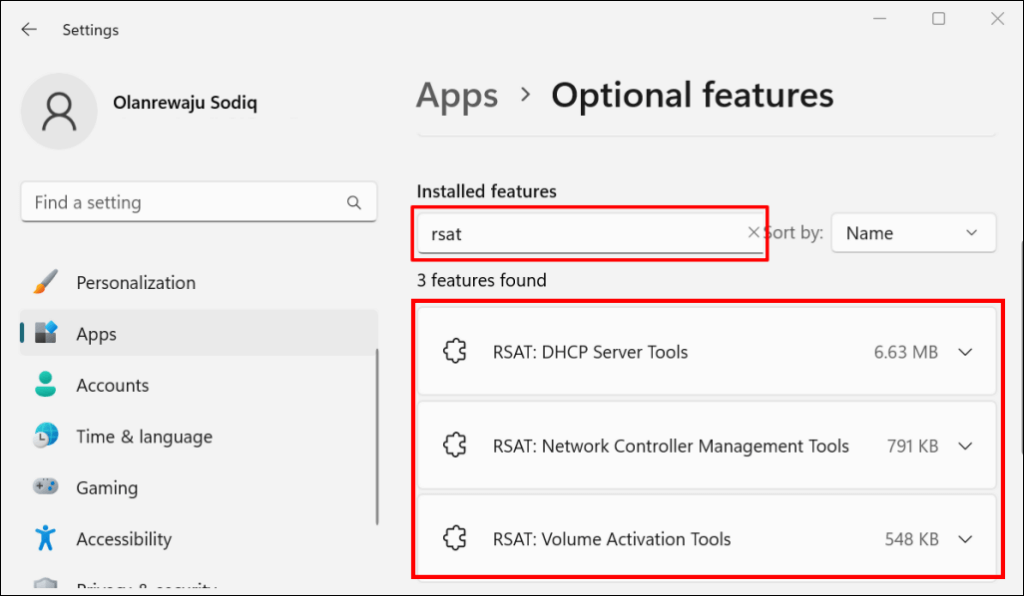
Tag Settings > Apps > Tilmaamo kala duwan iyo nooca rsat in the “installed features” search box. You’ll see RSAT features installed on your computer in the search results.
View Installed RSATs in Windows Terminal
- Press Furaha Windows + X dooro Terminalka (Maamulka) or Terminalka Daaqadaha (Maamulka).

- Paste the following command in the console and press the Ku qor furaha.
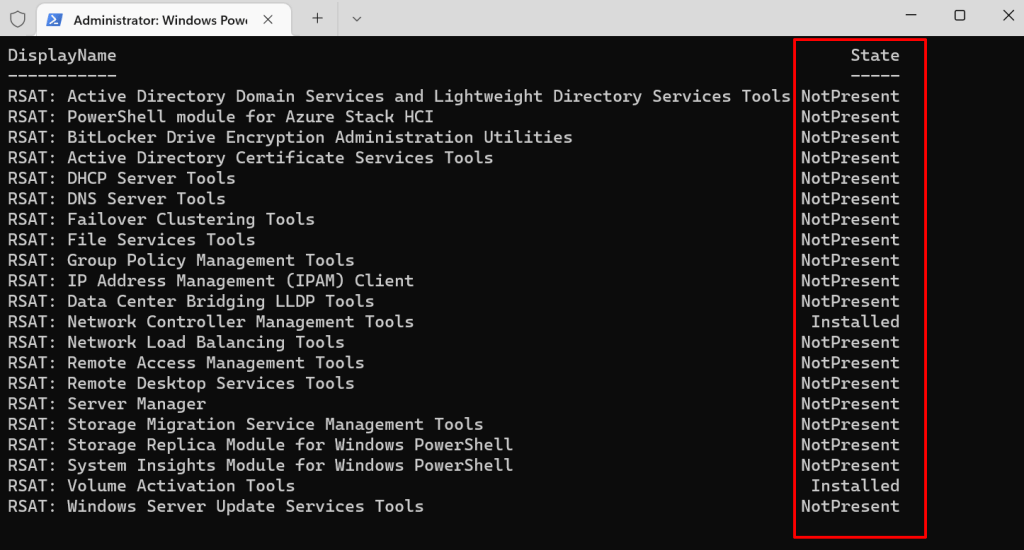
Hel-WindowsCapability -Magaca RSAT* -Online | Dooro-Shay -Magaca Bandhiga Hantida, Gobolka

You should see a list of Remote Server Administration Tools available in Windows 11. Check the “Status” column to see if an RSAT feature is “Installed” or “Not Present” on your PC.
Uninstall RSAT in Windows
You may need to uninstall an RSAT if it crashes or doesn’t work on your computer.
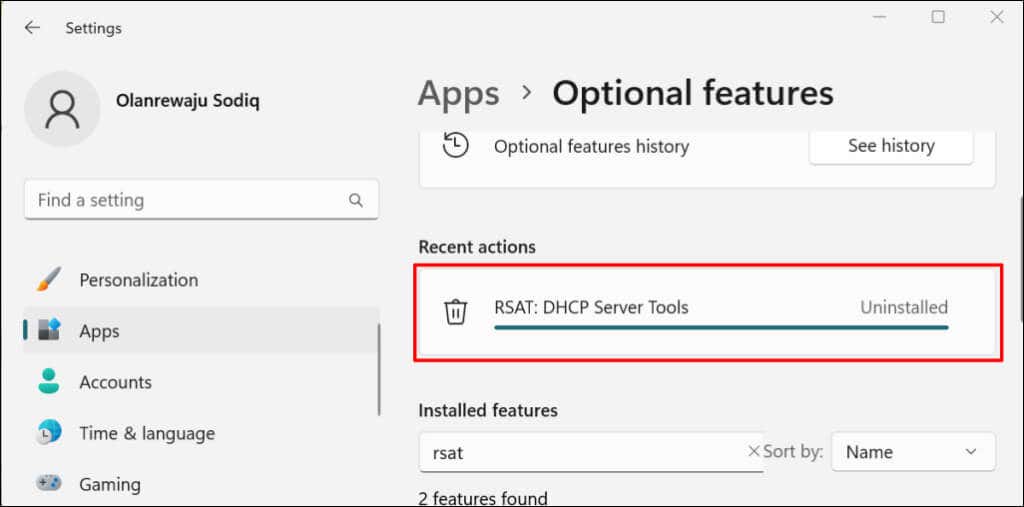
- Tag Settings > Apps > Tilmaamo kala duwan, nooca rsat in the “Installed features” search box, and select the RSAT you want to uninstall.

- Wait a few seconds and check the “Recent actions” section to verify that Windows uninstalled the RSAT.
Run Remote Server Administration Tools in Windows 11
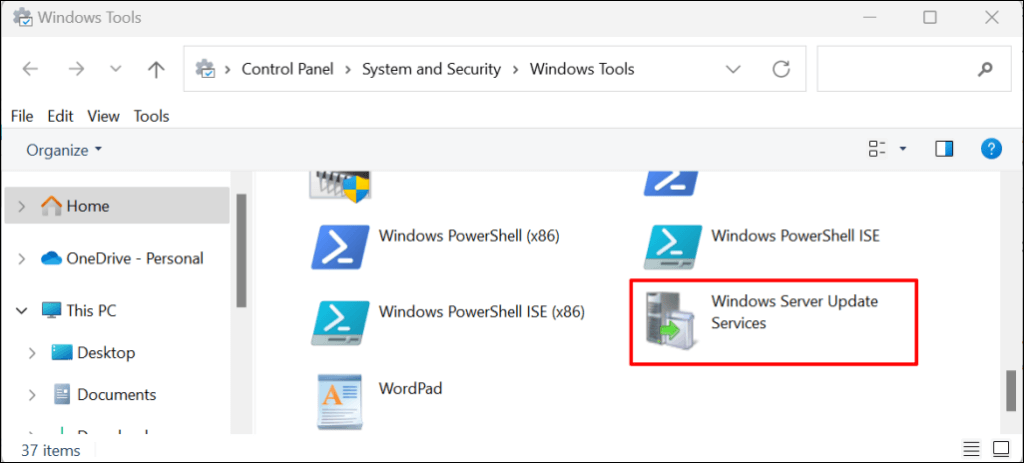
- Fur fur Start menu, nooca qalabka daaqadaha in the search bar, and open the Qalabka Daaqadaha app.
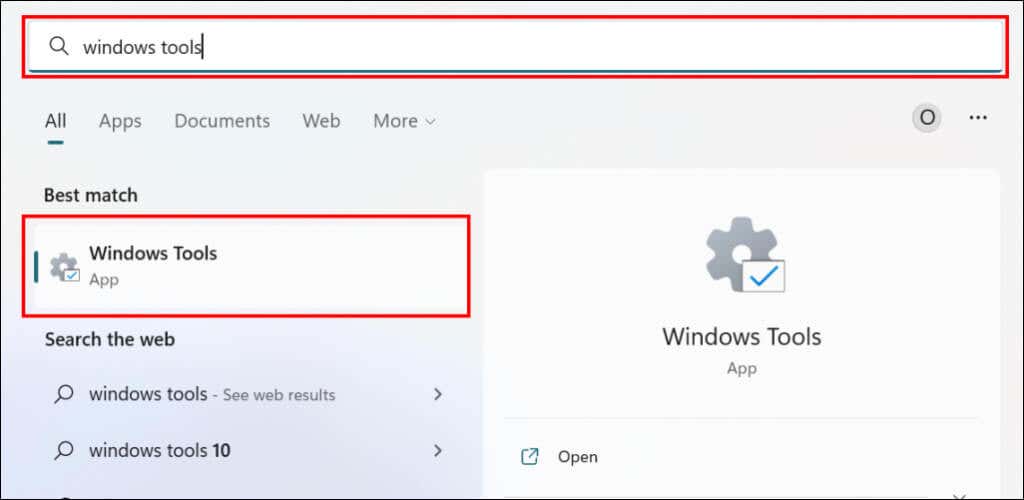
- Find and double-click the RSAT you want to run.
Can’t Install or Run RSATs in Windows 11?
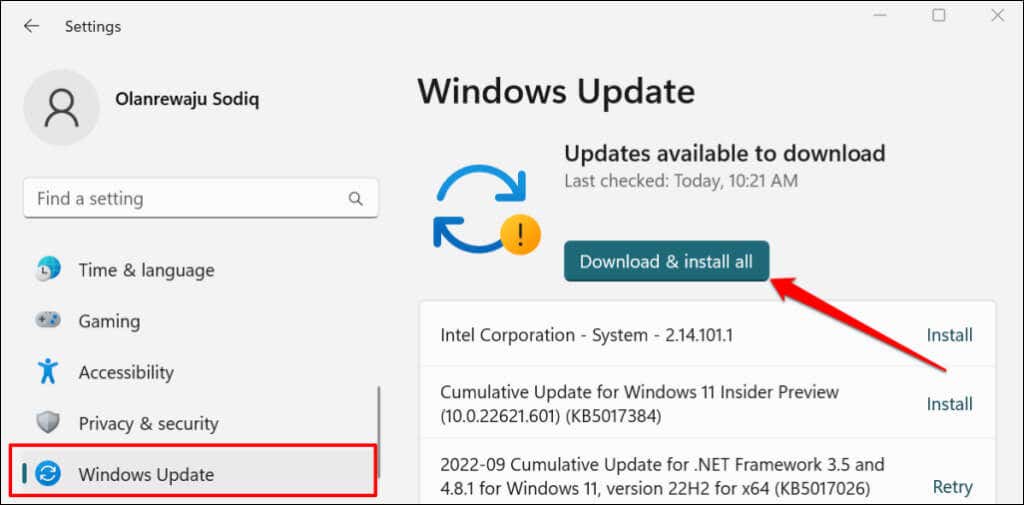
Rebooting and updating your computer to the latest Windows 11 version can fix RSAT issues. Go to Settings > Cusbooneysiin Windows dooro Hubi wixii cusbooneysiin ah or Soo deji oo ku shub dhammaan.
A faulty Windows update can also cause some RSAT components to crash. If you recently updated your computer, uninstall the Windows 11 update and check if the RSAT component stops crashing.

