On a Windows computer, if you want to connect to another device, you can do so by setting up a remote desktop connection. You can use the Microsoft Remote Desktop app on Windows 10 to remotely connect to and access another computer over the same network or internet. Setting up a remote connection allows you to access your Windows computer’s files, programs and resources from some other computer using Windows. To set up your computer and your network for remote connection, follow the steps given below.
Sida loo isticmaalo abka Desktop-ka fog ee Windows 10
Enable Remote Connections On Your Computer
Before setting up remote access on your computer, you need to enable Remote Desktop Connections on your computer. The limitation, however, is that not all versions and editions of Windows allow Remote Desktop Connections. This feature is available only on Pro and Enterprise versions of Windows 10 and 8, and Windows 7 Professional, Ultimate and Enterprise. To enable remote connections on your PC,
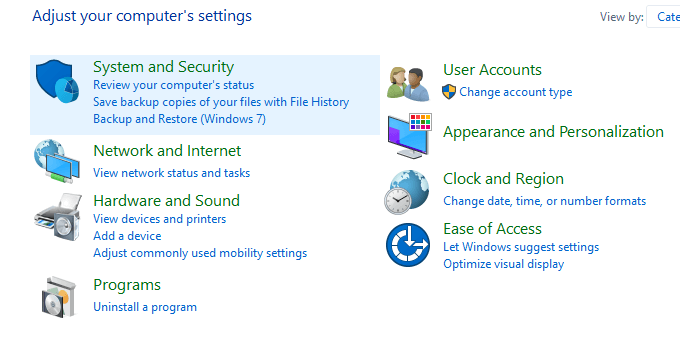
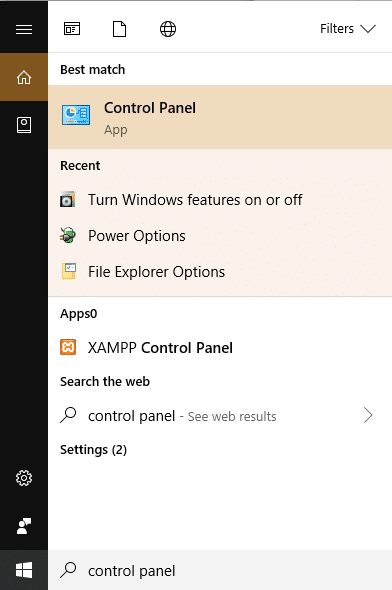
1. Type ‘gudida xakamaynta’ in Start Menu Search Bar and click on the search result to open.

2. Guji 'Nidaamka iyo Amniga'.
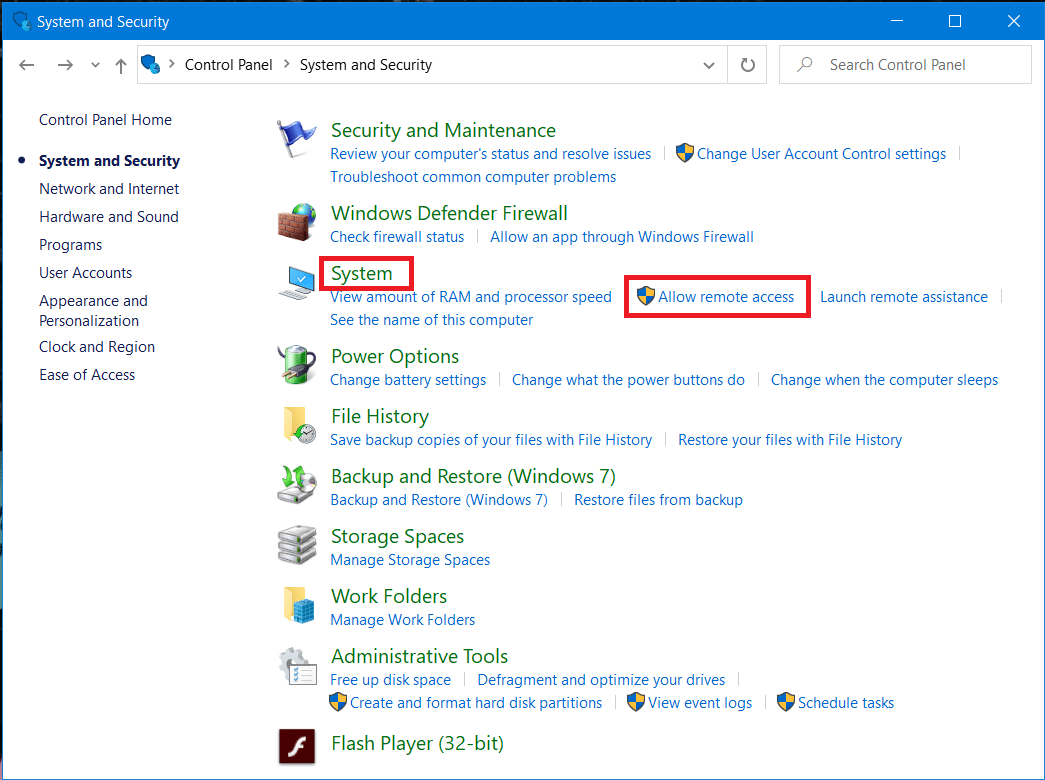
3. Now under System tab Click on ‘U oggolow marinka fog'.
4. Under ee Remote tab, check the checkbox ‘Allow remote connections to this computer' ka dibna ku dhufo 'Codso’ and OK si loo badbaadiyo isbedeladaada.
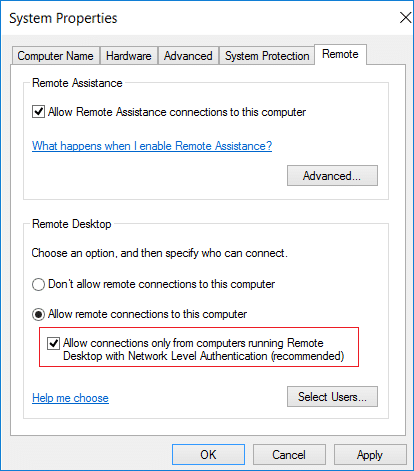 '
'
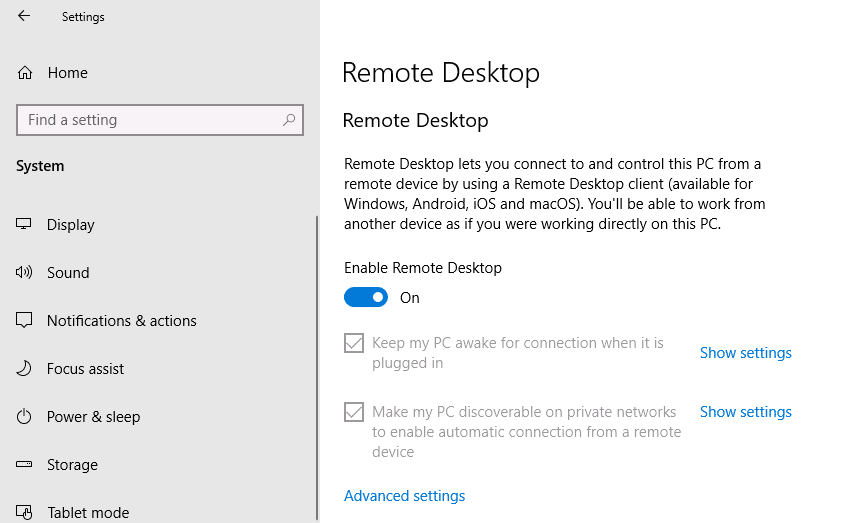
If you’re running Windows 10 (with Fall Update), then you can do the same by following the below steps:
1. Saxiix Windows Key + I to open Settings then click System.

2. Xullo 'Desktop Remote’ from the left pane and Turn on the toggle next to Enable Remote Desktop.
Configuring Static IP Address on Windows 10
Now, if you’re using a private network, then your IP addresses will change every time you connect/disconnect. So, if you’re going to utilize the remote desktop connection regularly, then you should assign a static IP address on your computer. This step is crucial because, if you don’t assign a IP taagan, then you will need to reconfigure the port forwarding settings on the router every time a new IP address is assigned to the computer.
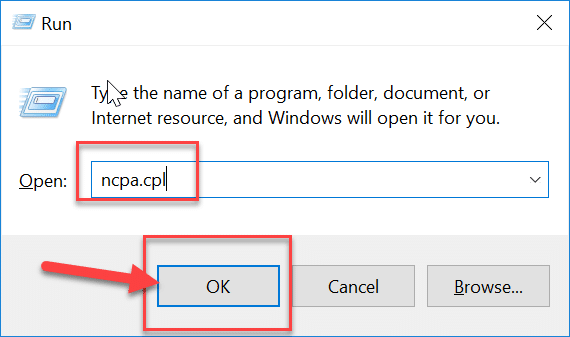
1. Saxiix Windows Key + R ka dibna ku qor ncpa.cpl iyo garaacaan Ku qor to open Network Connections window.
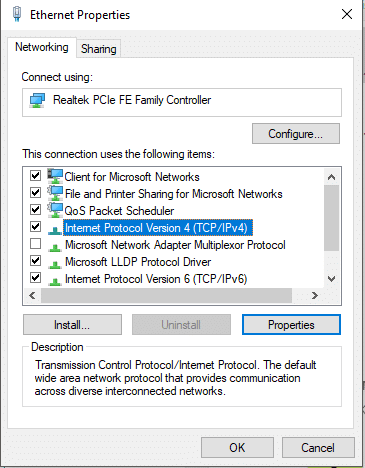
2. Riix xuquuqda on your network connection (WiFi/Ethernet) and select Guryaha.

3. Xulo Xeerka Internet Protocol 4 (TCP / IPv4) ikhtiyaar oo guji halka Guryaha Badhanka.
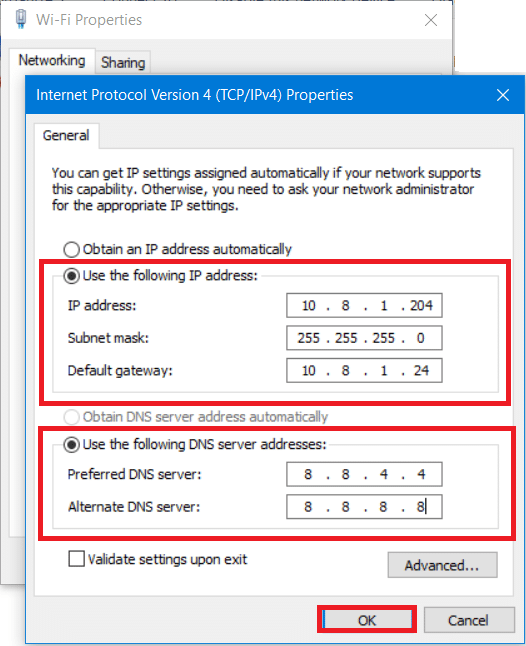
4. Now checkmark “Isticmaal cinwaanka IP ee soo socda” option and enter the following information:
Cinwaanka IP: 10.8.1.204
Maaskarada hoose: 255.255.255.0
Albaabka caadiga ah: 10.8.1.24
5. You need to use a valid local IP address that shouldn’t conflict with the local DHCP Scope. And the default gateway address should be the IP address of the router.
Fiiro gaar ah: Si aad u hesho DHCP configuration, you need to visit the DHCP settings section on your router admin panel. If you don’t have the credentials for the router’s admin panel then you can find the current TCP/IP configuration using the ipconfig / dhamaan amarka Command Prompt.
6. Marka xigta, calaamadee "Isticmaal cinwaanada DNS server ee soo socda” and use the following DNS addresses:
Serverka la doorto ee DNS: 8.8.4.4
Nidaam kale oo DNS ah: 8.8.8.8
7. Ugu dambayntii, dhagsii OK button followed by Close.
Set Up Your Router
If you want to set up remote access over the Internet, you will need to configure your router to allow remote connection. For this, you need to know the public IP address of your device so that you contact your device on the Internet. If you don’t know it already, you can find it by following the given steps.
1. Fur browser kaaga oo tag google.com or bing.com.
2. Raadi 'What’s my IP’. You will be able to see your public IP address.

Once you know your public IP address, continue with the given steps to forward the port 3389 on your router.
3. Type ‘gudida xakamaynta’ in Start Menu Search Bar and click on the search result to open.
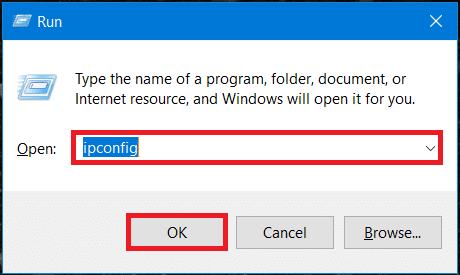
4. Saxiix Windows Key + R, a Run dialogue box will appear. Type the command ipconfig iyo saxaafadda Ku qor furaha.
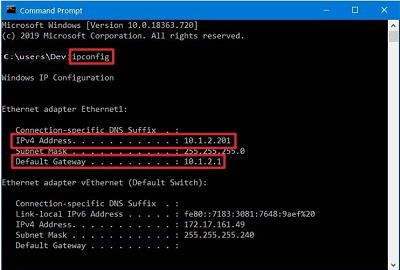
5. The Windows IP configurations will be loaded. Note down your IPv4 Address and Default Gateway (which is your router’s IP address).
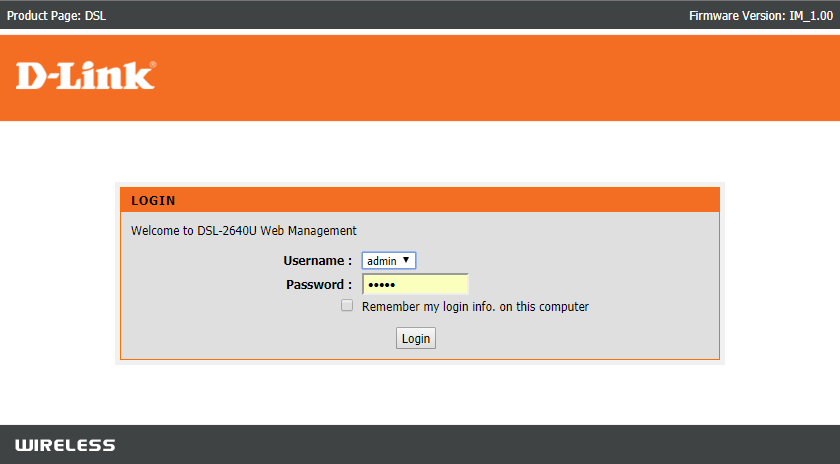
6. Now, open your web browser. Type the noted default gateway address and press Ku qor.
7. You will have to log in to your router at this point using your username and password.
8. gudaha 'Soo gudbinta Dekadda’ section of the settings, enable Port Forwarding.
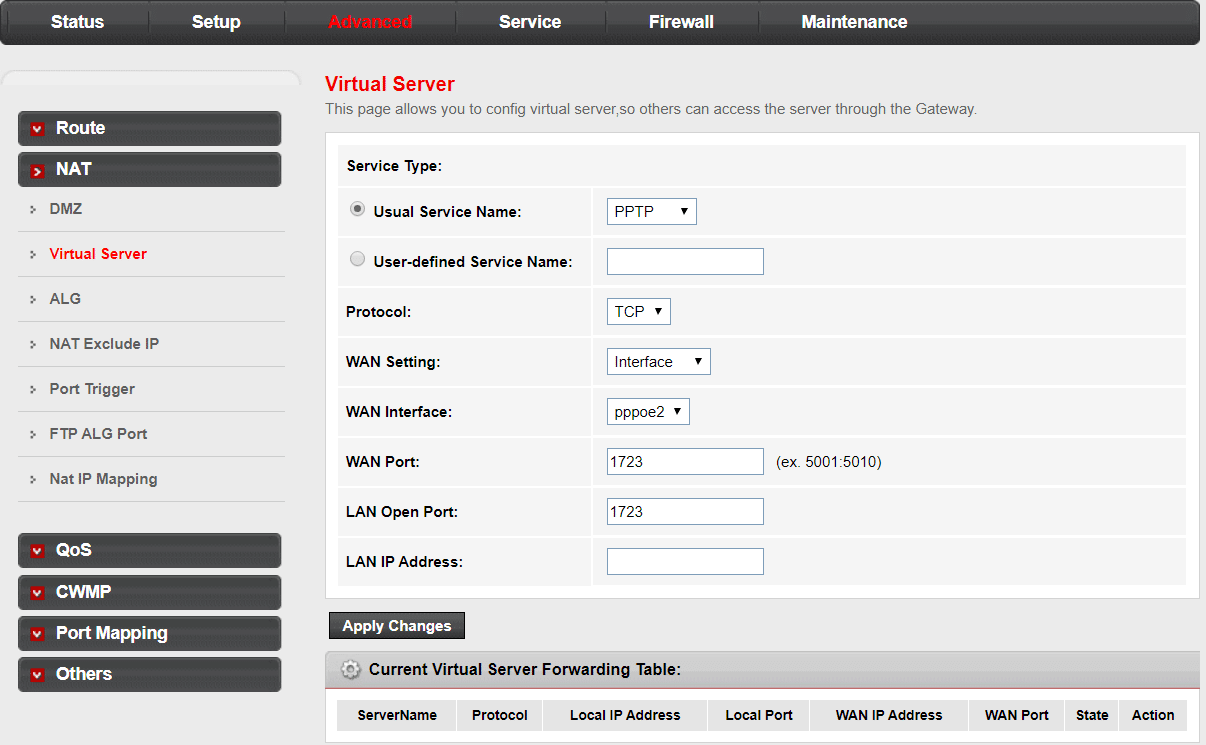
9. Add the required information under port forwarding like:
- In the SERVICE NAME, type the name you want for reference.
- Under PORT RANGE, type port number 3389.
- Enter the IPv4 address of your computer under the LOCAL IP field.
- Type 3389 under the LOCAL PORT.
- Finally, select TCP under PROTOCOL.
10. Add the new rule and click on Codso si loo badbaadiyo qaabeynta.
lagu talinayo: Change Remote Desktop Port (RDP) in Windows 10
Use the Remote Desktop app on Windows 10 to start Remote Desktop Connection
By now, all the computer and network configurations have been set up. You can now start your remote desktop connection by following the command below.
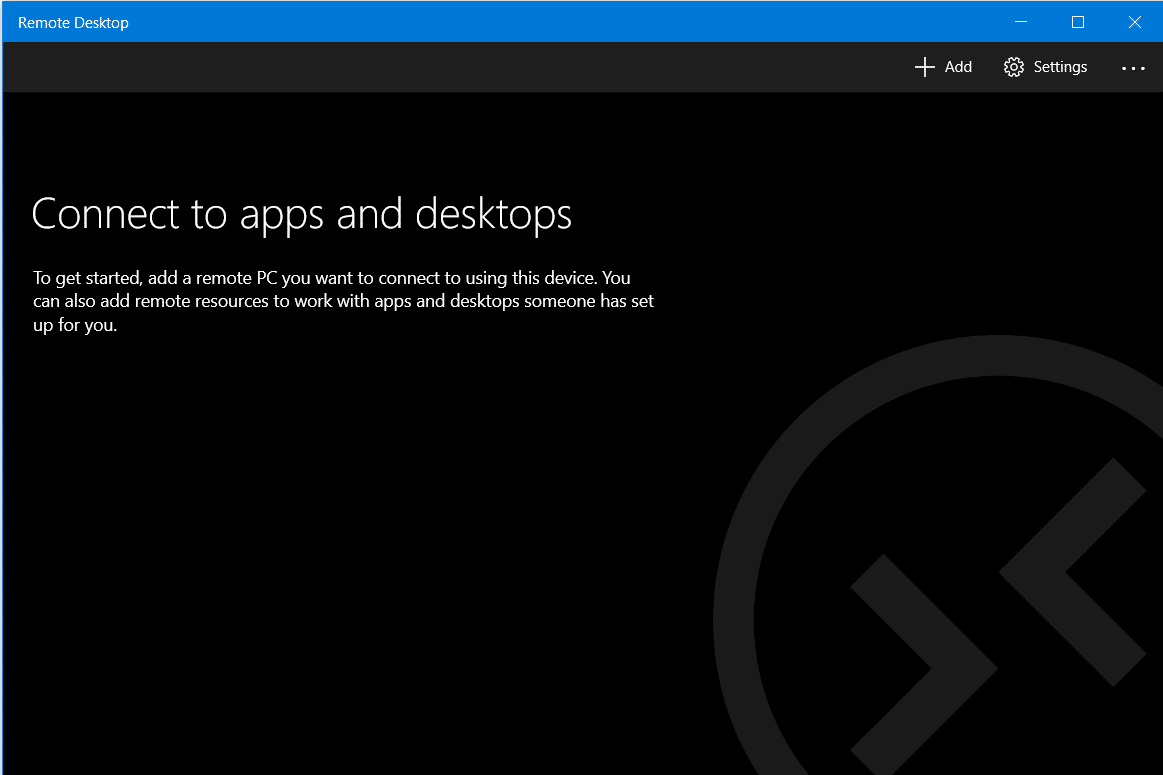
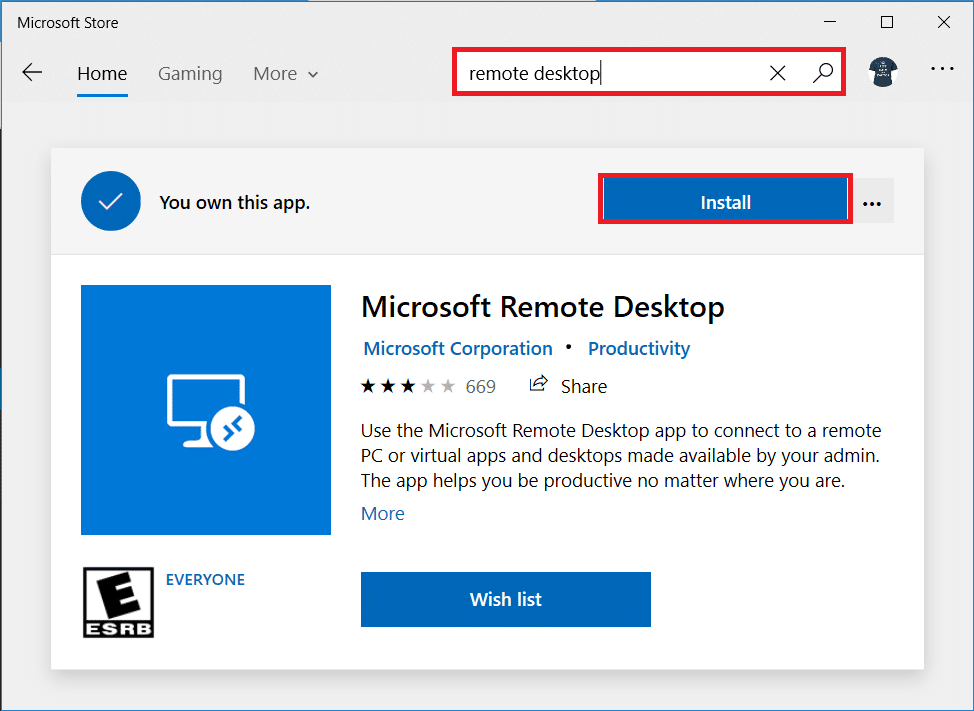
1. From the Windows Store, download the Muuqaalka Muuqaalka Microsoft app.
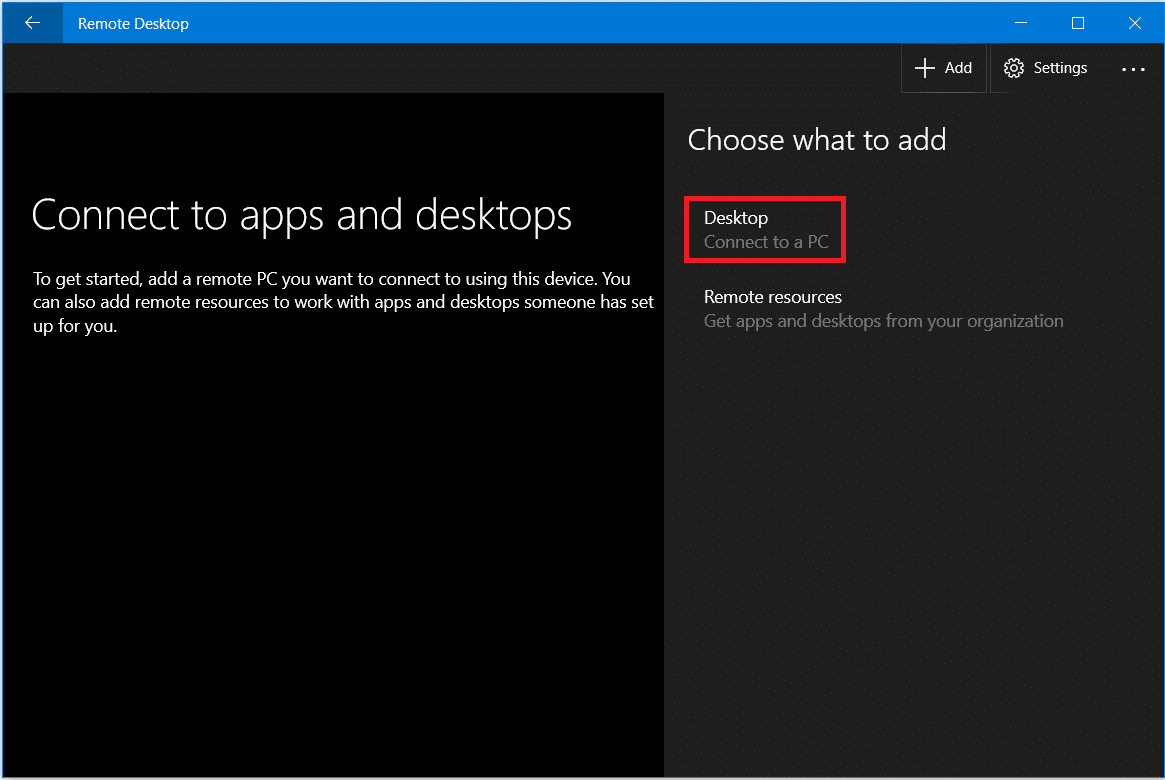
2. Launch the app. Click on the ‘Add’ icon on the top right corner of the window.
![]()
3. Select the ‘desktop’ option form the list.
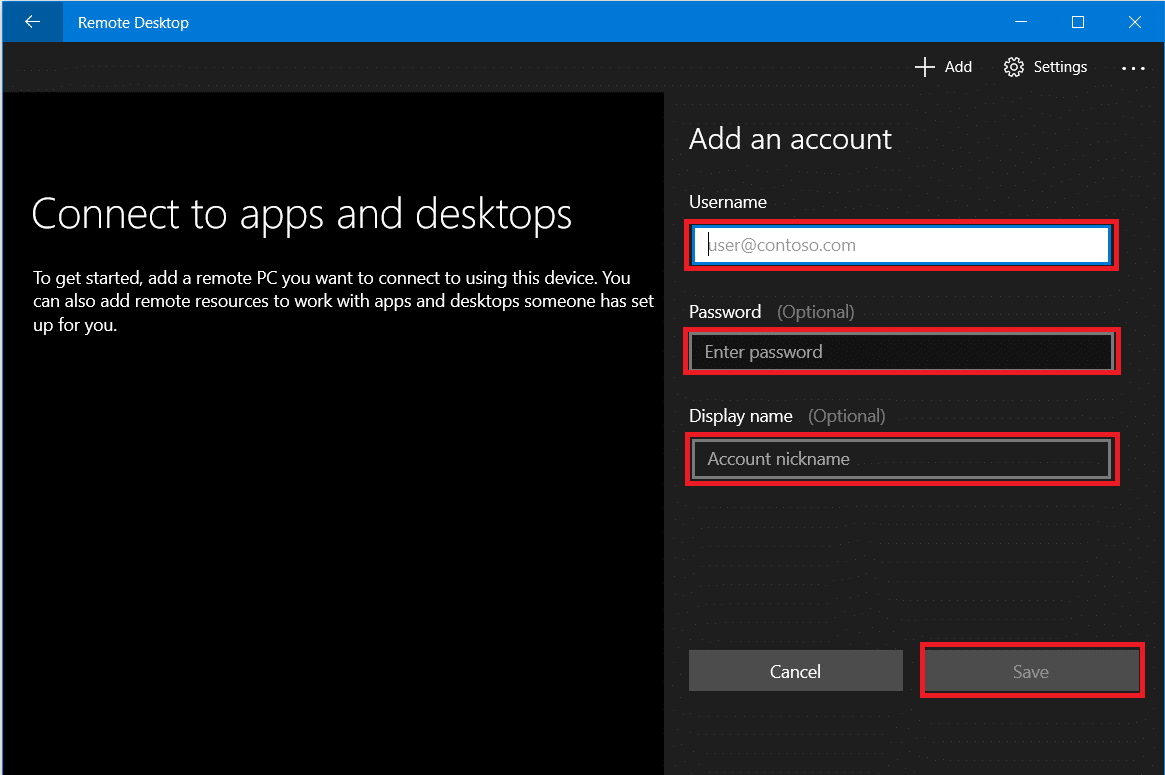
4. Under the ‘Magaca PC’ field you need to add your PC’s cinwaanka IP, depending upon your choice of connection than click on ‘Ku dar xisaabta'.
- For a PC located in your private network, you need to type the local IP address of the computer that you need to connect to.
- For a PC over the Internet, you need to type the public IP address of the computer that you need to connect to.
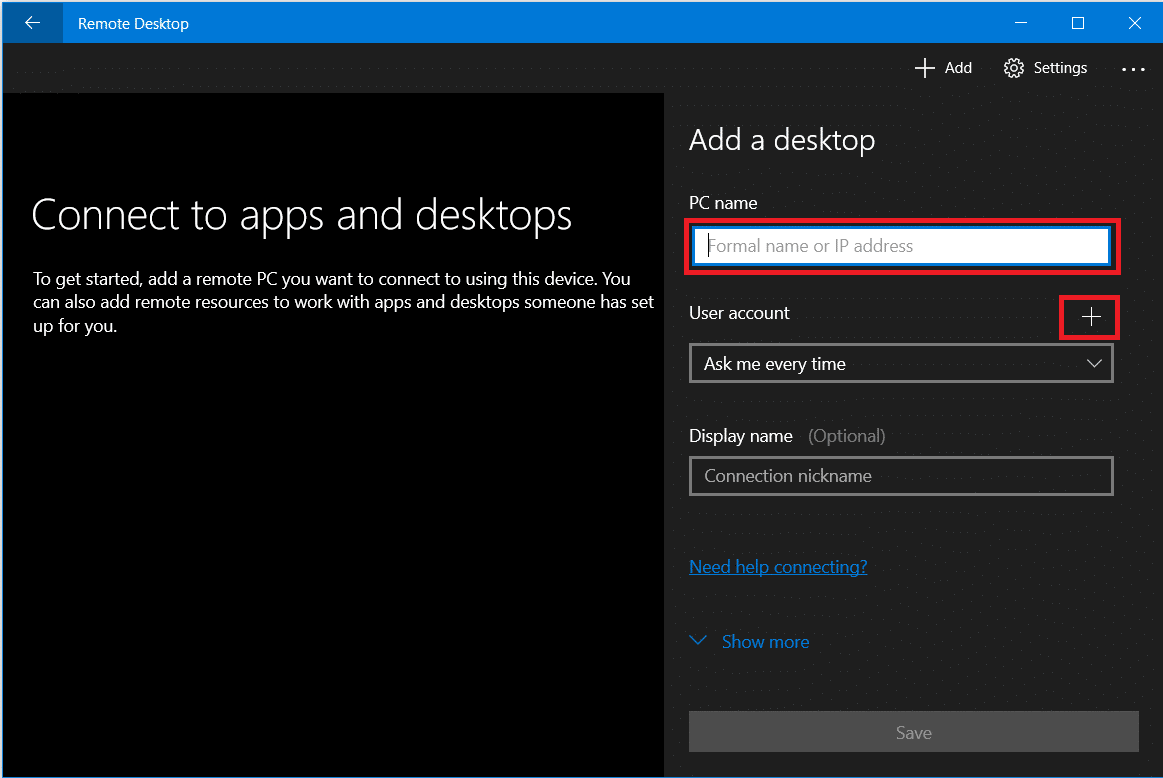
5. Enter your remote computer’s aqoonsiga gelida. Enter the local username iyo password for a local account or use the Microsoft account credentials for a Microsoft account. Click on ‘Save'.
6. You will see the computer that you want to connect to the available connections list. Click on the computer to start your remote desktop connection and click on ‘Connect'.
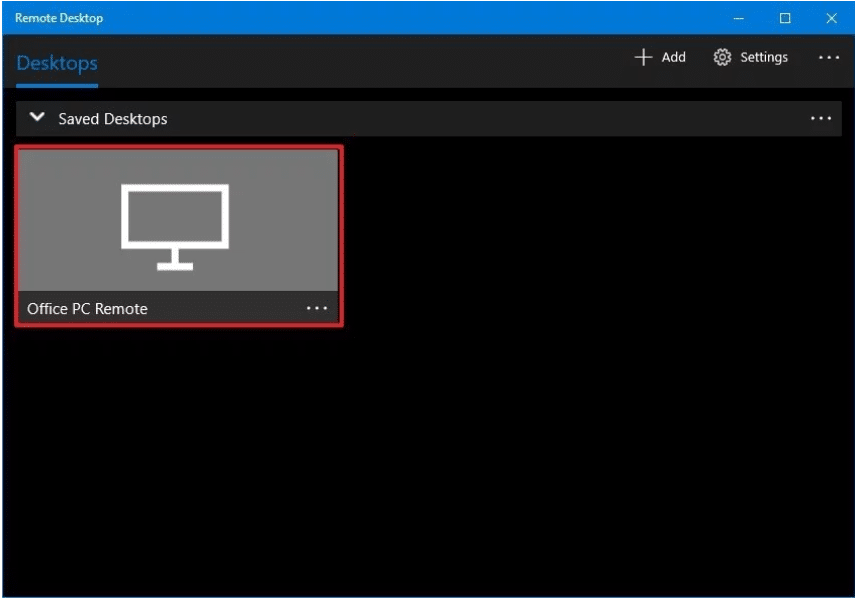
You will be connected to the required computer remotely.
To further change settings of your remote connection, click on the gear icon on the top right corner of the Remote Desktop window. You can set the size of the display, session resolution, etc. To change settings for just one particular connection, right-click on the required computer from the list and click on ‘Edit'.
lagu talinayo: Access Your Computer Remotely Using Chrome Remote Desktop
Instead of the Microsoft Remote Desktop app, you can also use the older Remote Desktop Connection app. To use this app,
1. In the Start Menu Search field, type ‘Isku Xirka Teleefanka Tooska ah’ and open the app.
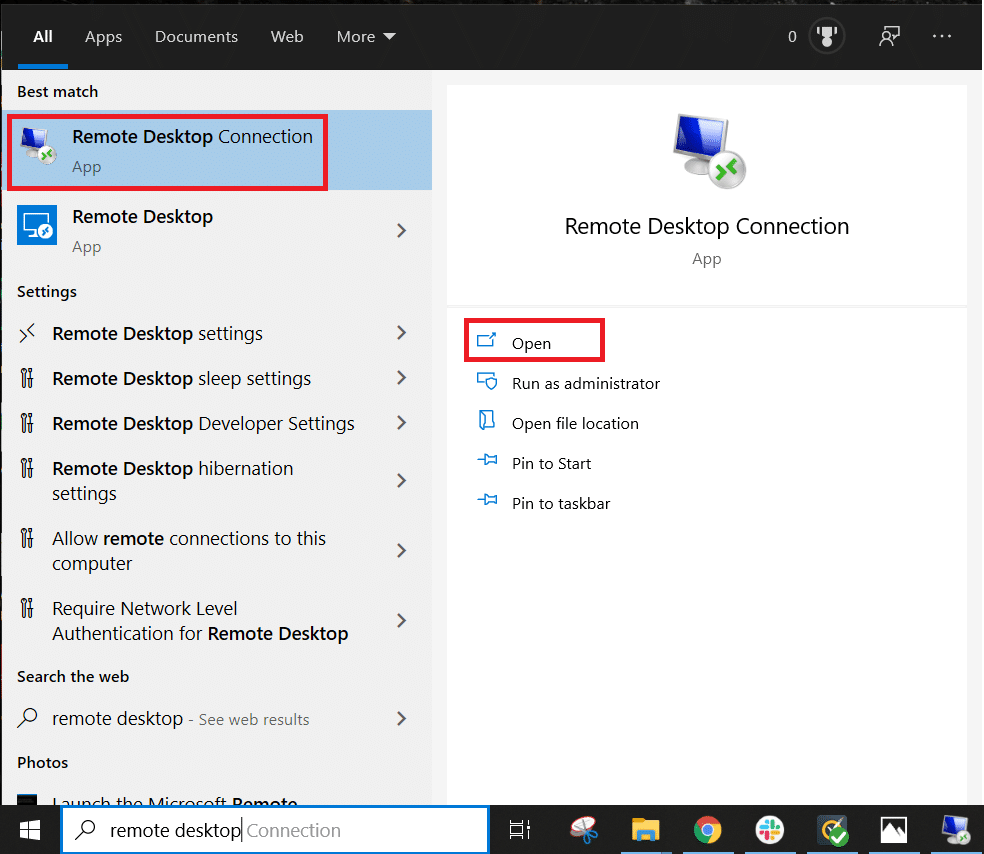
2. The remote desktop app will open, type the name of the remote computer (You will find this name in the System Properties on your remote computer). Click on Isku xir.
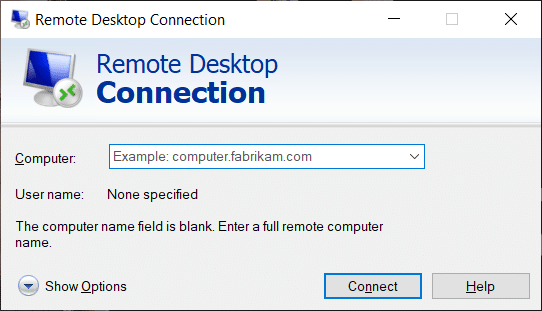
3. Tag 'Ikhtiyaari dheeraad ah’ in case you want to change any settings that you may need.
4. You can also connect to the remote computer using its cinwaanka IP-ga deegaanka.
5. Enter the credentials of the remote computer.
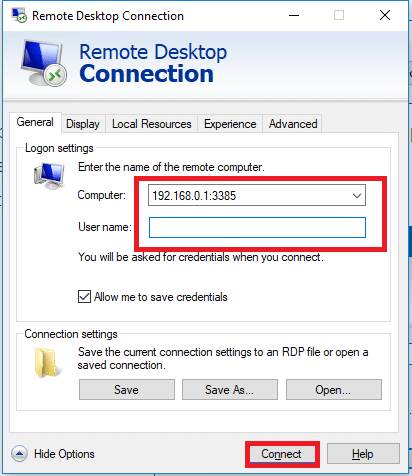
6. Click on OK.
7. You will be connected to the required computer remotely.
8. To connect to the same computer in the future easily, open File Explorer and go to Network. Right-click on the required computer and select ‘Connect with Remote Desktop Connection'.
These were the steps that you need to follow in order to use the Remote Desktop app on Windows 10. Note that you should take care of the security concerns related to preventing yourself from any unauthorized access.

