Millions of corporate offices and domestic industries use Epson scanners for their documentation processes. These Epson scanners are available as standalone or integrated models with a printer. Amidst many scanners in the world, Epson printers are known for their robustness and feature in scanning documents. Although these scanners have many advantages, few users complain Epson scan cannot communicate with the scanner Windows 10 issue. If you are also facing the same problem, we will help you fix the Epson scanner communication error with the help of effective troubleshooting hacks. So, continue reading to resolve Epson scanner cannot communicate issue.
How to Fix Epson Scanner Cannot Communicate in Windows 10
In this section, we have gathered a list of reasons why Епсон scan cannot communicate with the scanner issue on your Windows 10 PC. Analyze them deeply to pick the correct troubleshooting method accordingly.
- The scanning software is not running with administrative privileges. Hence, a proper connection is not established.
- The network adapter is not effectively communicating with the scanner.
- Few other background tasks are interfering with the scanner.
- Few essential background services are not running on PC.
- There are corrupt or broken files on your computer.
- Presence of malware or viruses.
- You are using an outdated version of the Windows operating system.
- The proxy connection is preventing the scanning operations.
- The scanner drivers are not compatible.
- The overprotective antivirus or firewall program is interfering with the functions.
Here are some effective troubleshooting methods to help you fix the Epson scanner communication error on your Windows 10 PC.
Метод 1: Основне методе за решавање проблема
Following are a few basic methods that you can follow;
1А. Затворите Позадинске задатке
Several users have confirmed that the Epson scanner communication error can be resolved by closing all the background tasks running on your PC. To implement the task, follow our guide on How to End Task in Windows 10 and proceed as instructed.
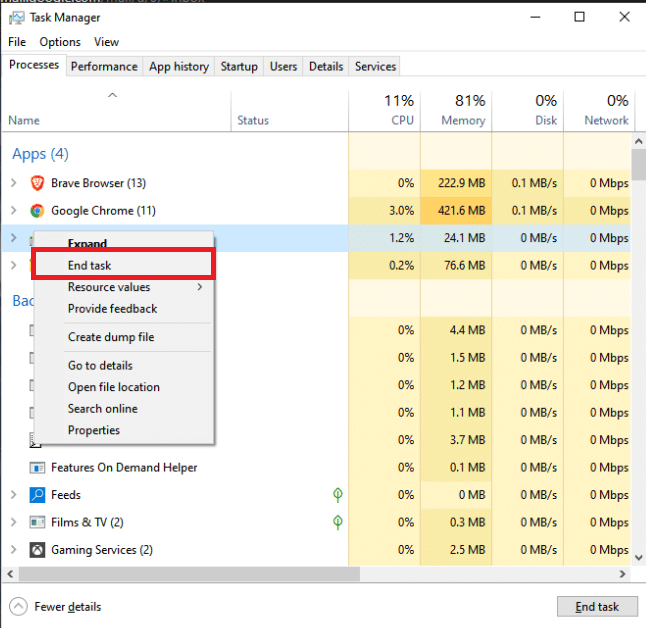
Once you have closed all the background processes, check if you could use the Epson scanner without any issues.
1B. Switch to Short USB Cables
Although many tech professionals suggest that devices can be connected through very long USB cables, this may lead to signal loss between the scanner and the network. If you have located the scanner in another corner of the room, try relocating it and connecting it using a short USB cable. Try this temporarily and check if this works or not. If it resolves the Epson scan cannot communicate with the scanner Windows 10 issue, the culprit is the long USB cables.
1C. Disable Proxy Server
Sometimes, with inappropriate network configurations on your Windows 10 computer, you will face communication errors of Epson scanners. If you have installed any VPN service or use proxy servers on your PC, read our guide on How to Disable VPN and Proxy on Windows 10 guide and implement the steps as instructed in the article.
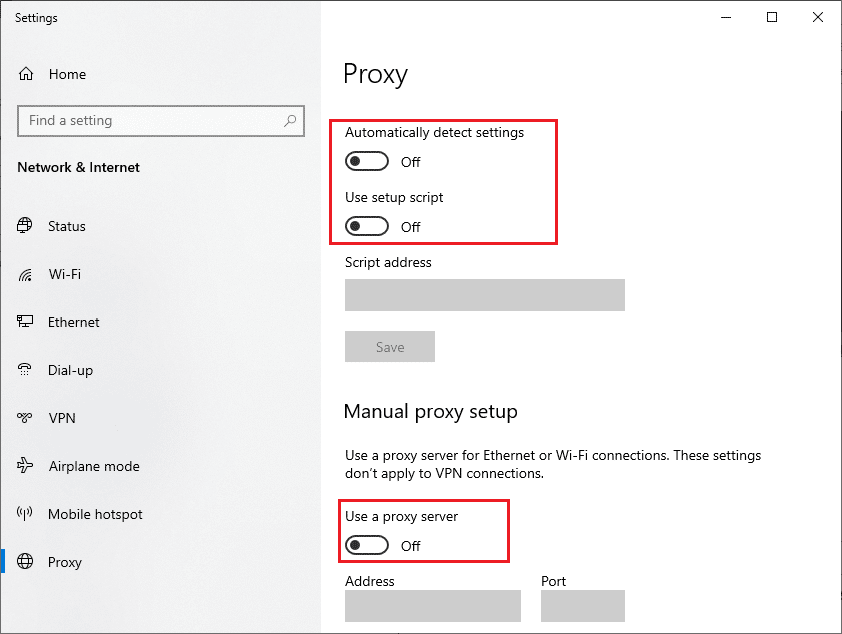
After disabling the VPN client and proxy servers, check if you have fixed the communication error of Epson scanners. Still, if you face the same problem, try connecting to a мобиле хотспот.
1D. Disable Antivirus Temporarily (If Applicable)
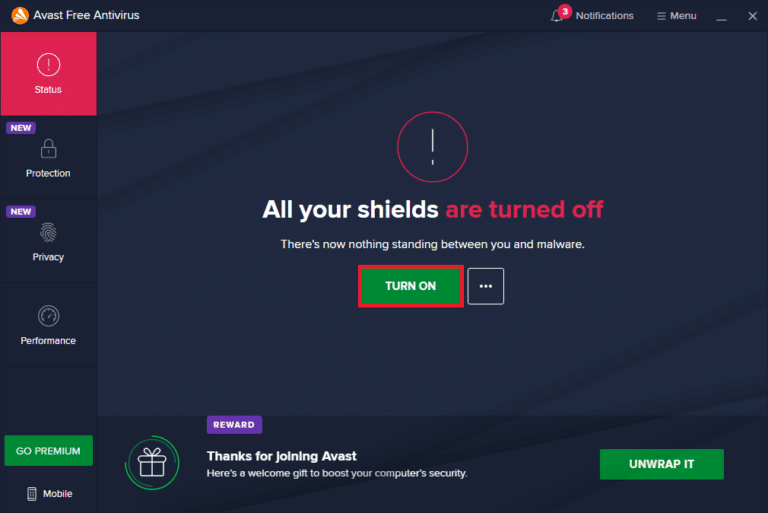
Your antivirus program may mistakenly prevent any updated features of Windows apps like Epson. Several Windows users identified many compatibility issues. They are difficult to tolerate and rectify. You are advised to temporarily disable any inbuilt or third-party antivirus software to resolve the communication error of Epson scanners. Read our guide on How to Disable Antivirus Temporarily on Windows 10 and follow the instructions to disable your Antivirus program temporarily on your PC.
Такође читајте: Како деинсталирати МцАфее ЛивеСафе у оперативном систему Виндовс 10
1E. Update Windows
You can also eradicate communication errors of Epson scanners in your computer by updating your operating system. Always ensure if you have updated your Windows Operating System and if any updates are pending in action, use our guide on How to Download and Install Windows 10 Latest Update.
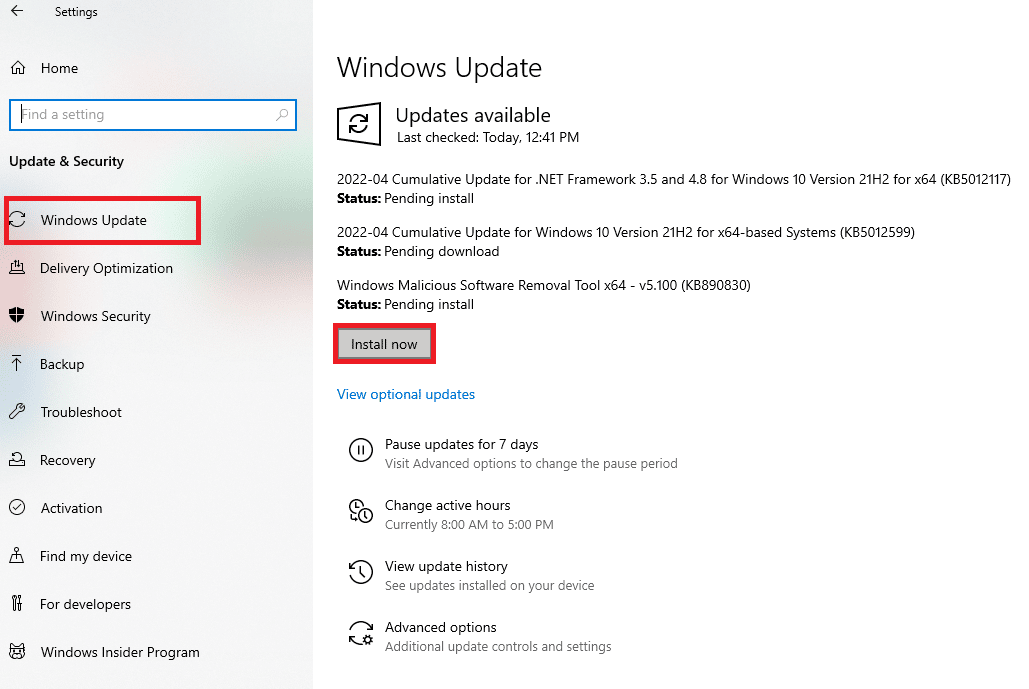
After updating your Windows operating system, check whether you can connect to your scanner.
1F. Repair System Files
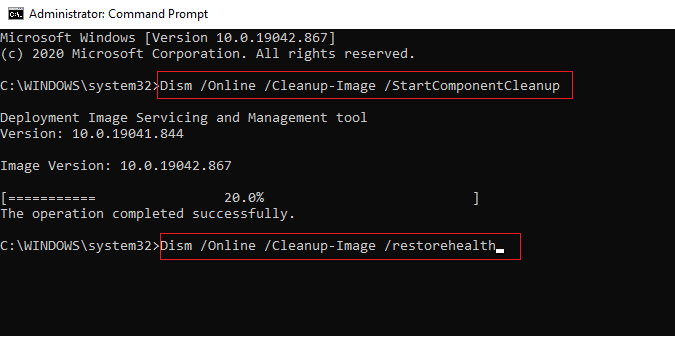
If corrupt system files are in your Windows Operating system, your PC may face many Internet connectivity issues. If you are experiencing communication errors with Epson scanners very recently, there are some chances that your computer files have become corrupt or damaged. Windows 10 PC has inbuilt repair tools like SFC (System File Checker) and DISM (Deployment Image Servicing and Management) that will help you fix all the corrupt files. Read our guide on How to Repair System Files on Windows 10 and follow the steps as instructed to repair all your corrupt files.
1G. Run Malware Scan
The presence of viruses causes conflicts and errors like communication errors of Epson scanners. So, install reliable antivirus software on your computer and run a complete scan. If you are confused about running a malware scan, our guide on How do I Run a Virus Scan on my Computer? will help you do so.
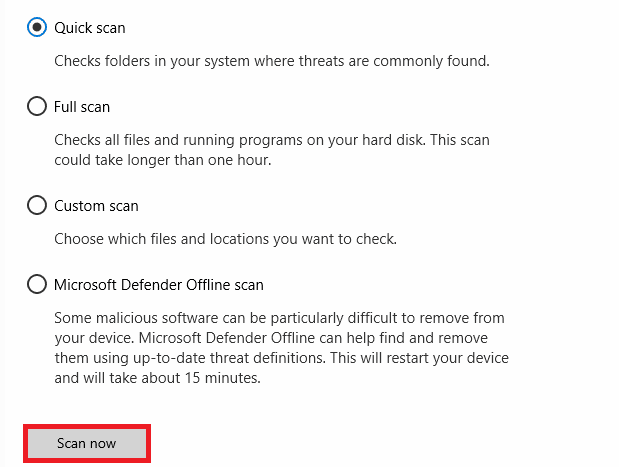
Also, if you want to remove malware from your computer, check our guide on How to Remove Malware from your PC in Windows 10.
Method 2: Run Scanner Software with Admin Privileges
You must first try to run the scanning application with admin rights. Several apps and programs that require input from any external source will require admin rights. Hence, follow the below-mentioned steps to do the same.
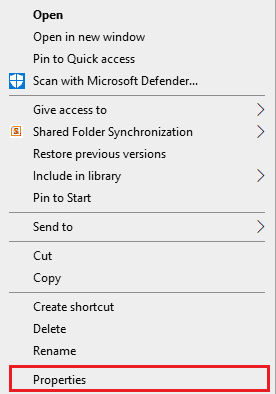
1. Десни клик на Епсон Сцан пречица on the desktop and select Некретнине.
2. Затим пређите на Компатибилност картицу и означите поље Покрените овај програм као администратор.
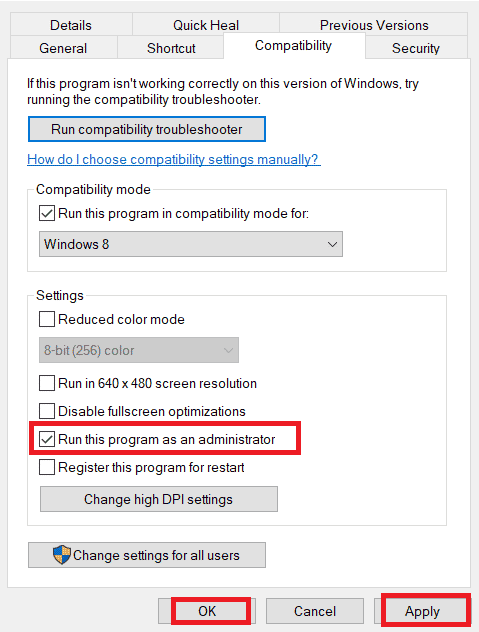
3. На крају кликните на Аппли> ОК да сачувате промене.
Такође читајте: Како пронаћи администраторску лозинку на Виндовс 10
3. метод: Покрените алатку за решавање проблема са мрежом
To fix various internet connectivity issues, you can use the inbuilt tool provided in Windows 10 PC whenever needed. You can analyze and diagnose common network-related issues using the Windows network troubleshooter tool. It is a systematic process that, when implemented step by step, will help you fix the Epson scanner that cannot communicate issue. Follow our guide on How to Troubleshoot Network Connectivity Problems on Windows 10 to fix all network-related issues using a Network Adapter troubleshooter.

You can use the steps mentioned in the guide to diagnose Wi-Fi connections, Ethernet, and all network adapters on your Windows 10 PC. Finally, check if you have fixed the communication error of Epson scanners.
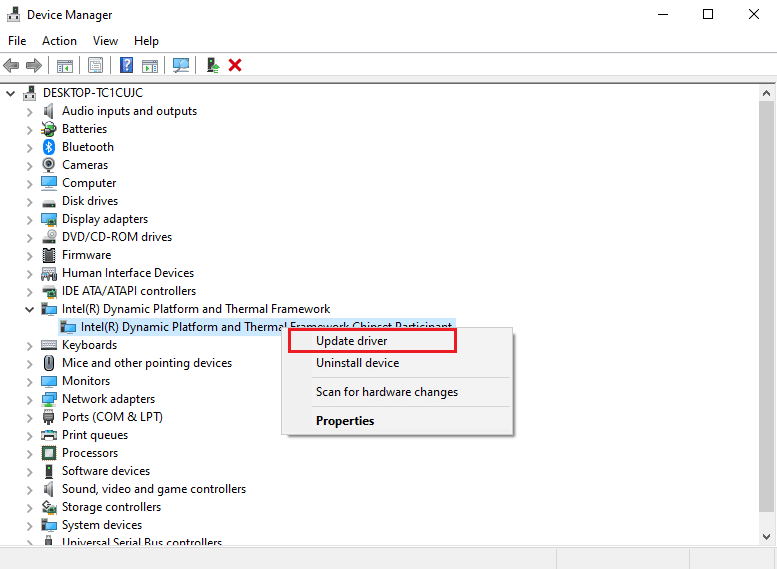
Method 4: Update Scanner Drivers
Device drivers establish a connecting link between your computer’s hardware and operating system. Also, faulty or corrupt drivers lead to a communication error in Epson scanners. Many users have reported that updating WLAN drivers have helped them fix the issue. You are advised to update scanner drivers to improve the reliability of your network adapters, fix compatibility issues, and resolve communication error. Follow our guide on How to Update Device Drivers on Windows 10 to do so. Make sure you expand Image devices као што је приказано у наставку.
Такође читајте: Поправите Подесите корисничке поставке на Дривер Фаилед у Виндовс 10
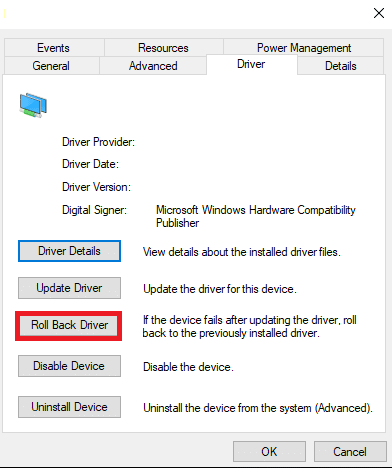
Method 5: Roll Back Scanner Drivers
When you roll back your drivers, all the current versions of the hardware device will be uninstalled, and previously installed drivers will be installed on your PC. This feature will be very helpful when any new driver update does not work well with your computer. Follow the steps as instructed in our guide on How to Rollback Drivers on Windows 10 to fix the Epson scanner communication error.
After your Windows 10 computer has installed the previous version of drivers, check if you have fixed the communication error of Epson scanners.
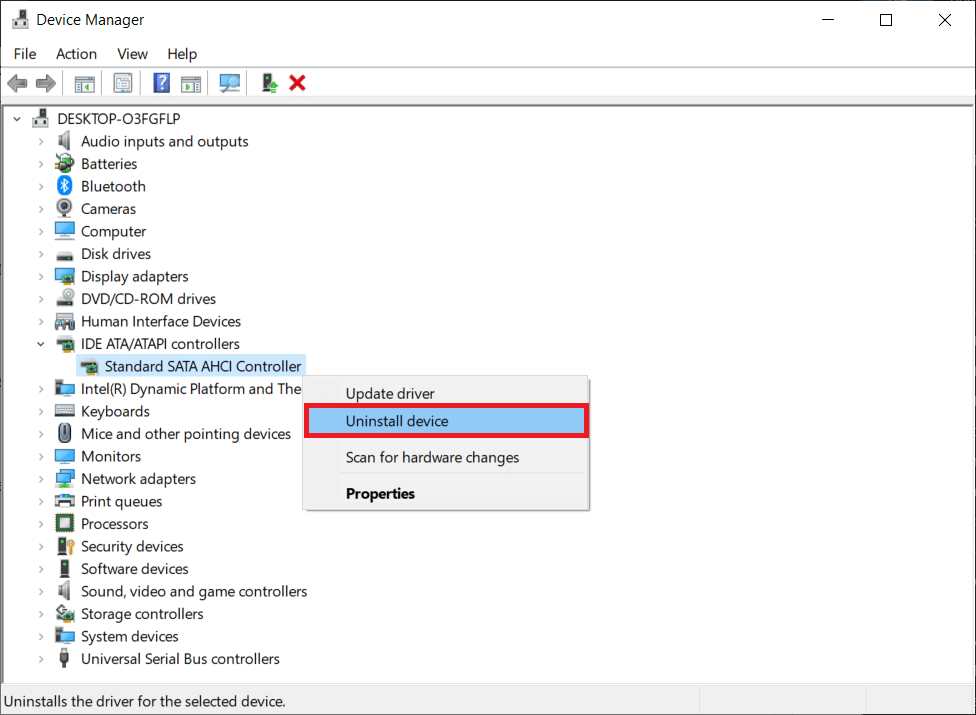
Method 6: Reinstall Scanner Drivers
Incompatible drivers must be reinstalled to fix the Epson scanner cannot communicate problem. You are advised to reinstall device drivers only if you cannot attain any fix by updating them. Steps to reinstall drivers are very easy, and you can do so by using a third-party application or manually. Follow our guide on How to Uninstall and Reinstall Drivers on Windows 10 to reinstall drivers on your Windows 10 computer. Make sure you expand Image devices као што је приказано у наставку.
After reinstalling scanner drivers, check if you have fixed the communication error of Epson scanners.
Такође читајте: Поправите грешку Блуетоотх драјвера у оперативном систему Виндовс 10
Method 7: Restart Shell Hardware Detection Service
The Shell Hardware Detection service detects whether any other hardware is connected to your system or not and detects all the scanners, storage devices, and printers connected to your device. It provides notifications for AutoPlay hardware events. If this service is stopped for any reason, you will face an Epson scanner cannot communicate error. Follow the below-mentioned steps to restart this service:
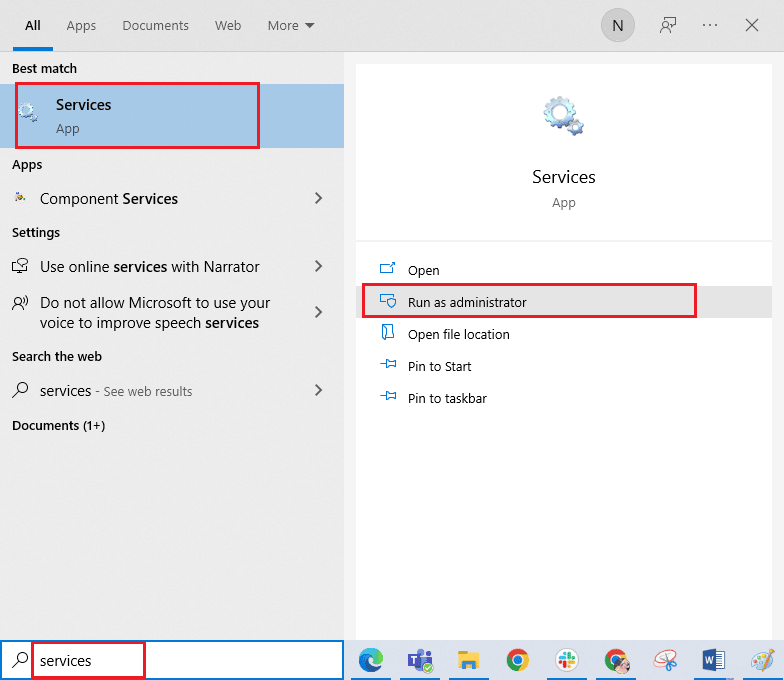
КСНУМКС. Тип Usluge у менију за претрагу и кликните на Покрени као администратор.
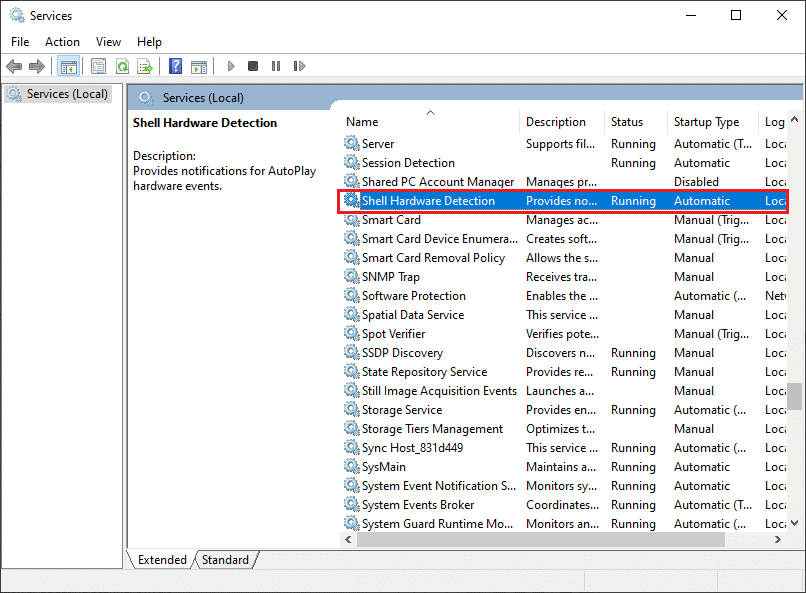
2. Сада, скролујте надоле и двапут кликните на Схелл Хардвер Детецтион сервис.
3. In the new pop-up window, select the Стартуп Типе до Аутоматски.
Белешка: Ако Статус услуге is Стоппед, кликните на Почетак дугме. Ако је Статус услуге is Running, кликните на Стоп и Почни поново.
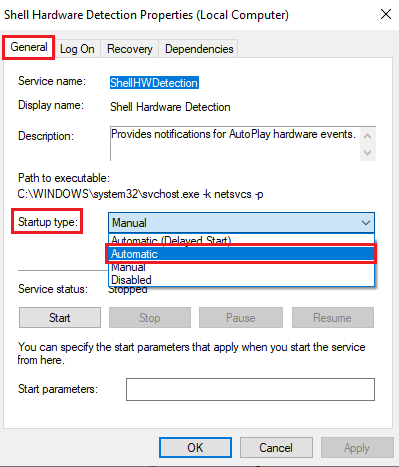
КСНУМКС. Кликните на Аппли> ОК да сачувате промене.
5. Unplug your scanner and wait for a while. Re-plug it back.
6. Поновите исте кораке за Windows Image Acquisition Service and check if this works or not.
Method 8: Fix Wireless Connection
In several cases, the Epson scan program on your PC fails to establish the connection between the LAN addresses automatically. This happens more often when you use a wireless network. Even though you can find the addresses within the app, this does not always work. Hence, manually add the address as instructed below.
КСНУМКС. Тип Епсон Сцан Сеттингс in the search menu. Now, click on отворен.
2. In the Scan Settings, select додати опција испод Network Scanner Address.
Белешка: Ensure you select the correct scanner with the help of the Select Scanner drop-down menu at the top.
3. Now, a screen to enter the address will pop up. Follow the below-mentioned steps to find the correct address.
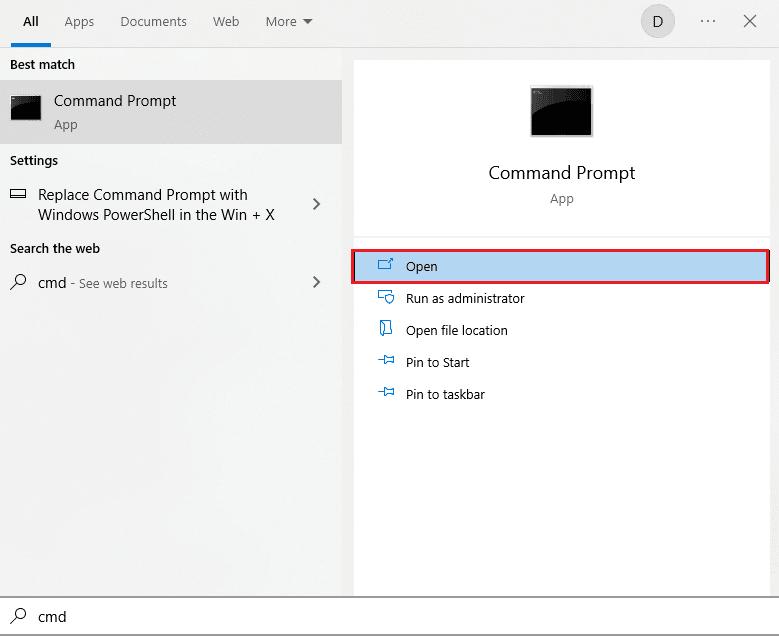
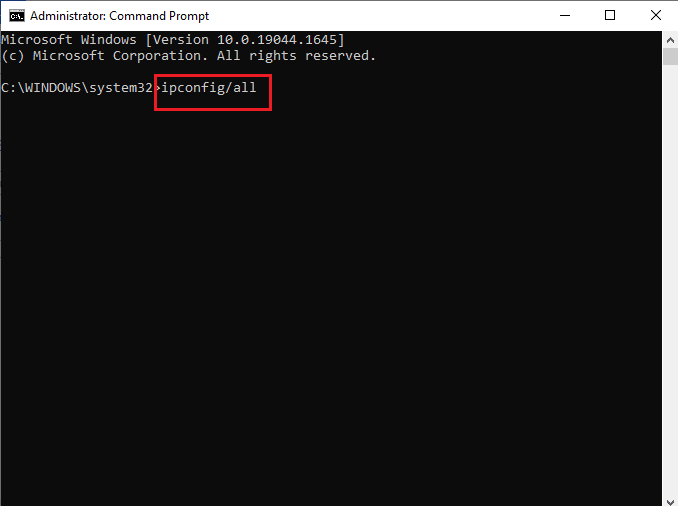
КСНУМКС. Тип cMD in the search bar and click on отворен.
5. Затим откуцајте ипцонфиг / алл командујте и притисните Типка на тастатури.
6. Now, note down the Дефаулт Гатеваи detail from the window.
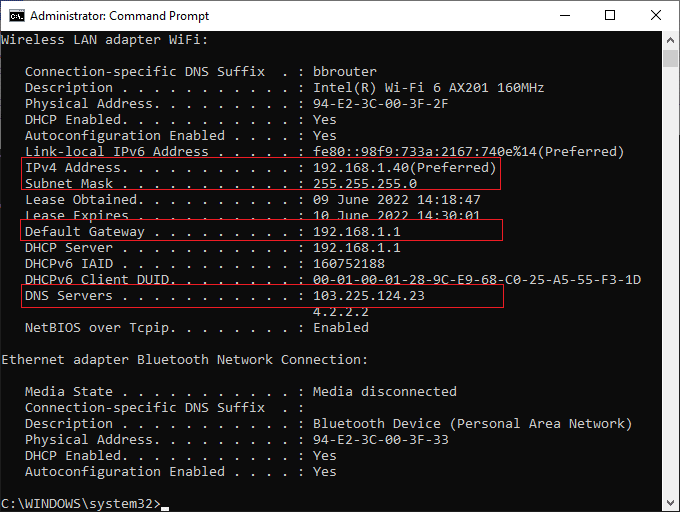
7. Копирајте ово адреса (here, 192.168.1.1) and type it in your browser to access your router.
8. Note down the list of devices connected to the network. On the same screen, you can find the IP address of your scanner. Note down its value.
9. Затим идите на додати window of the Scan settings window and type the IP address of your scanner under Унесите адресу мени.
КСНУМКС. Кликните на OK да сачувате промене.
Белешка: Такође можете кликнути на Тест to ensure the connection is successful.
Такође читајте: Поправите како се чини да је ваш рачунар исправно конфигурисан, али ДНС не реагује у оперативном систему Виндовс 10
Method 9: Turn Off Password Protected Sharing
The Password Protected sharing setting is intended to keep the sharing of files and folders safe and secure. If this setting is turned on, the users connected to your network cannot access the files on your PC unless the privacy password is typed in manually. Several reports suggest that this feature triggers an Epson scan cannot communicate with the scanner error. Hence, you have to disable this setting, reconnect the scanner, and check if this works or not.
Белешка: You must always turn on the setting if things do not go smoothly.
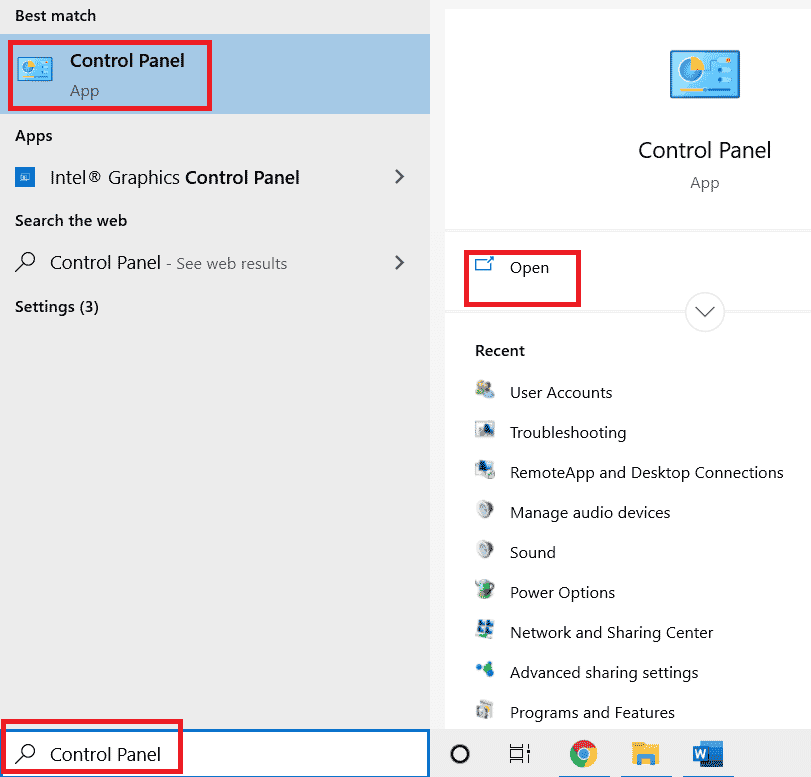
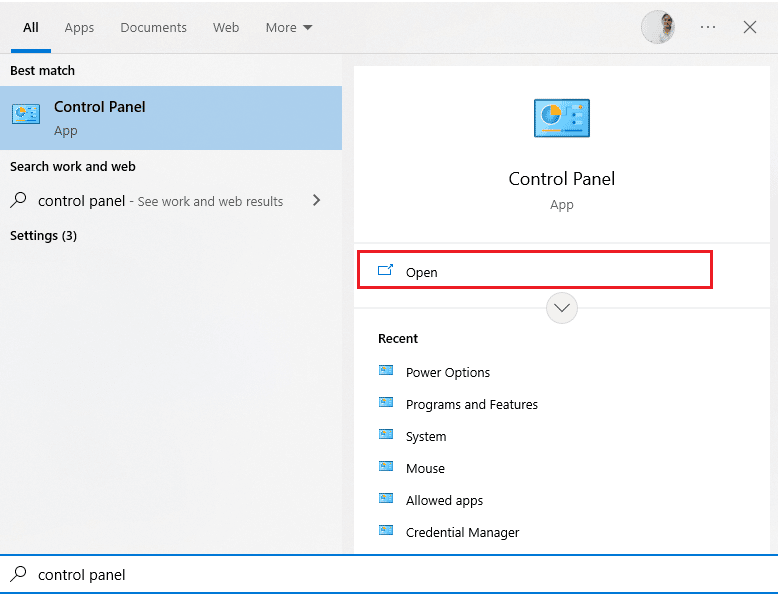
КСНУМКС. Тип Цонтрол panel in the search bar and click on отворен.
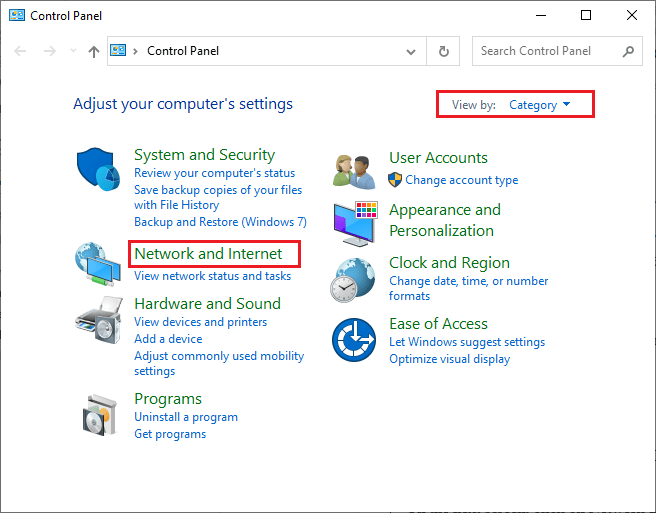
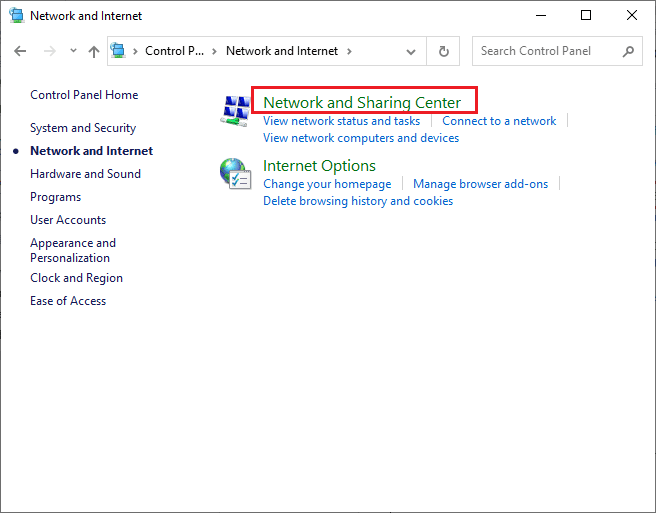
2. Then, set the Приказ по as Категорија и кликните на Мрежа и интернет.
3. Сада кликните на Нетворк анд Схаринг Центер као што је приказано.
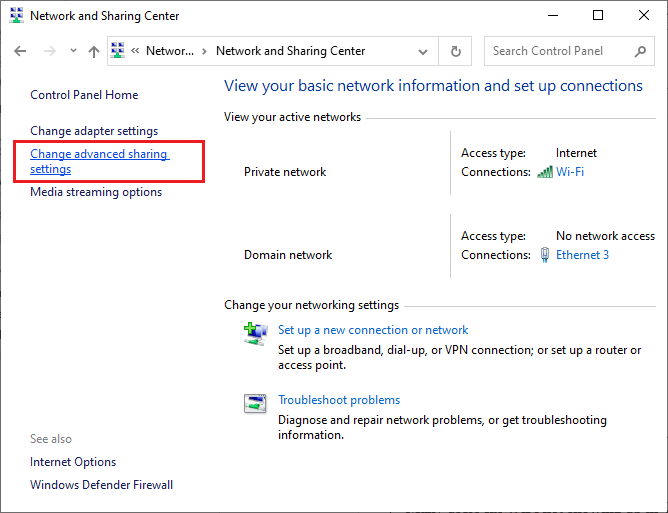
4. Сада кликните на Промените напредне поставке дељења везу као што је приказано.
5. Проширите Све мреже и кликните на Искључите дељење заштићено лозинком опција.
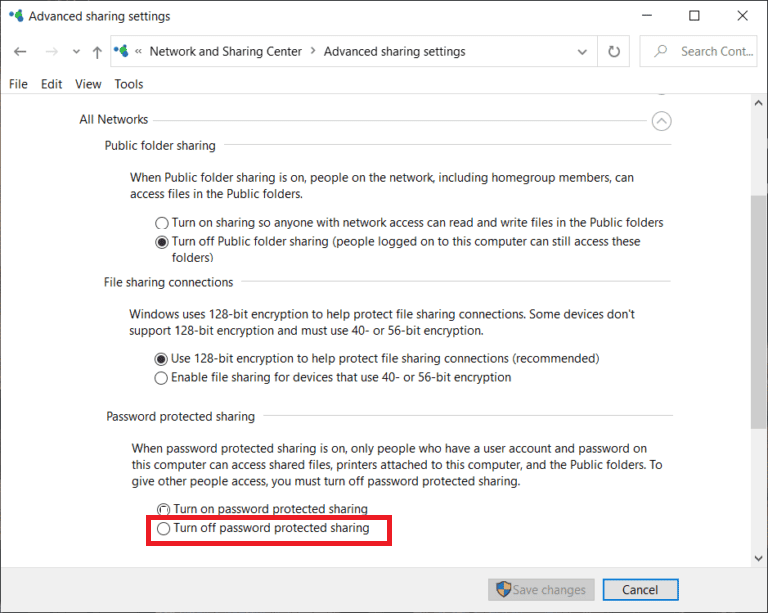
6. Сада кликните на Сачувај промене and unplug the scanner for a minute. Поново повежите your scanner and check if the connection error has vanished or not.
Method 10: Change Ports from LPT1 to USB 001
An old Line Print Terminals technology was used earlier to connect your printers and scanners. Now, most printers and scanners have switched to USB. Hence, check if USB is used in your device and whether this works. This method effectively fixes the Epson scanner cannot communicate if you face the problem after upgrading to Windows 10.
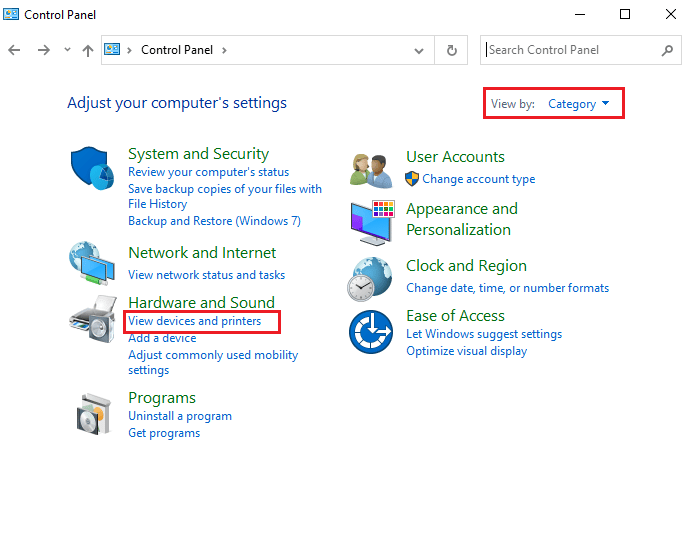
1. Притисните windows тастер и тип Контролна табла. Затим кликните на отворен.
2. Сада, поставите Приказ по as Категорија и кликните на Прегледајте уређаје и штампаче као што је приказано.
3. Сада кликните десним тастером миша на вашу штампач и изаберите Некретнине.
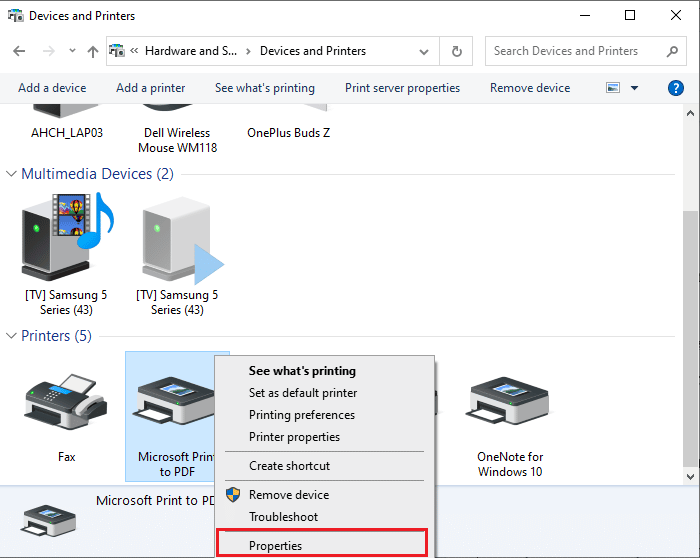
4. Пребаците се на portovi tab and change the ports from ЛПТКСНУМКС до УСБ КСНУМКС.
5. Save the changes by clicking Аппли> ОК. Then, unplug your device and connect it back after a while.
Такође читајте: Поправите напон напајања на УСБ порту у оперативном систему Виндовс 10
Method 11: Modify Windows Defender Firewall Settings
You will also face an Epson scan cannot communicate with the scanner due to an over-reactive or over-protective antivirus suite on your Windows 10 computer. This prevents the connection link between the launcher and the network. So, to fix this problem, you can whitelist Epson in your Firewall settings or disable the firewall protection temporarily.
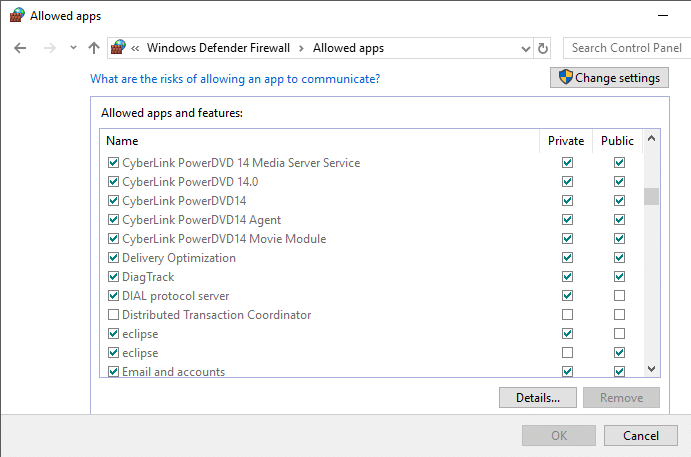
Option I: Whitelist escndv.exe
Допустити C:WINDOWStwain_32escndvescndv.exe in your Windows Defender Firewall, follow our guide on Allow or Block Apps through the Windows Firewall and implement the steps as instructed.
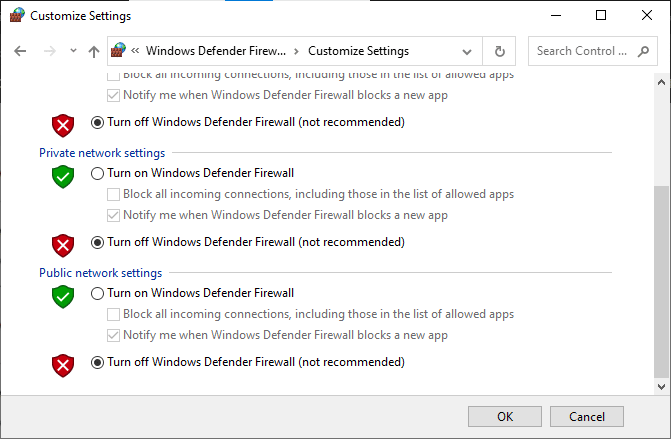
Опција ИИ: Онемогућите заштитни зид (не препоручује се)
Ако не знате како да онемогућите заштитни зид Виндовс Дефендер, наш водич о томе како да онемогућите заштитни зид Виндовс 10 ће вам помоћи у томе.
Такође читајте: Како извршити ажурирање дефиниције Виндовс Дефендер-а
Опција ИИИ: Креирајте ново правило у заштитном зиду
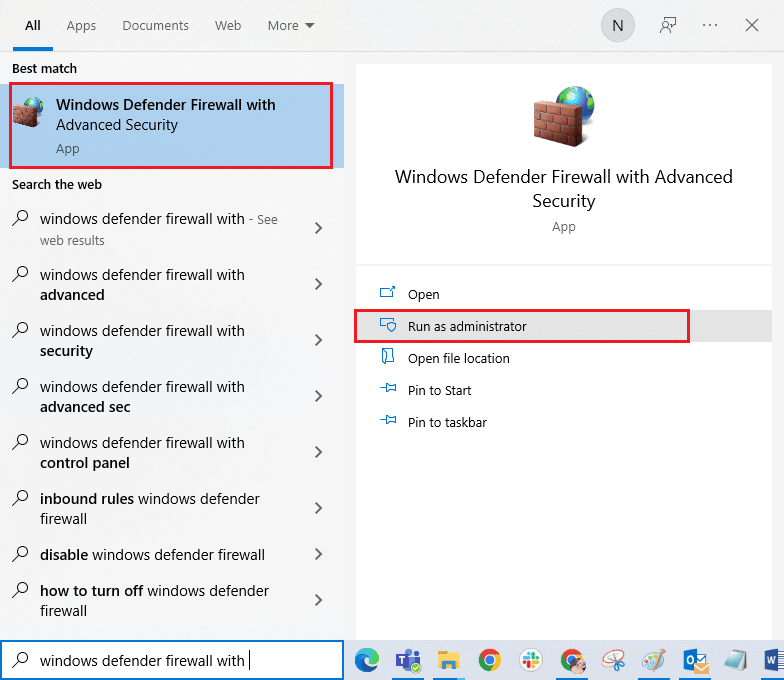
1. Притисните windows тастер и тип Виндовс Дефендер заштитни зид са напредном безбедношћу. Затим кликните на Покрени као администратор.
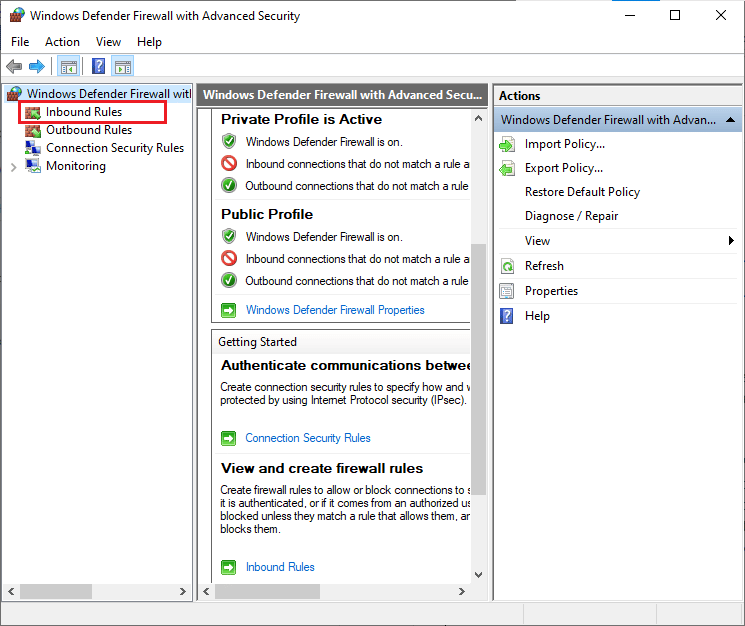
КСНУМКС. Кликните на Унутрашња правила as depicted in the left pane.
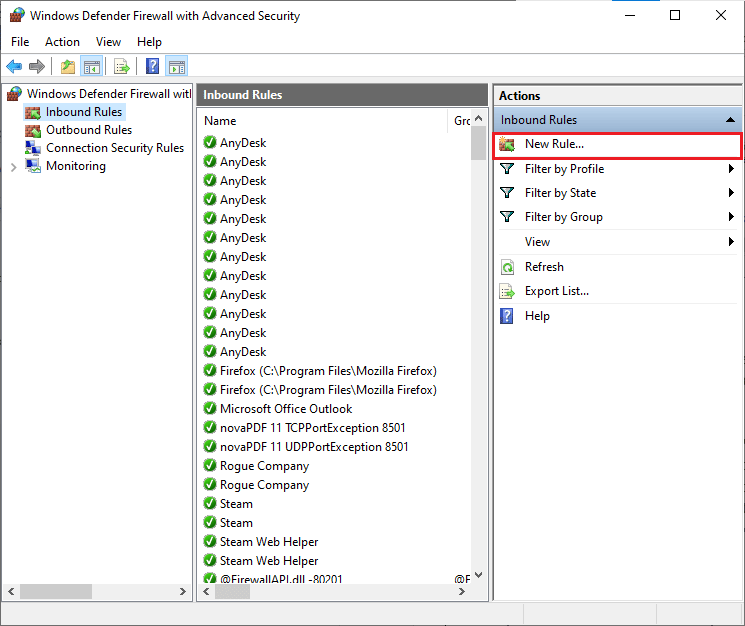
КСНУМКС. Кликните на New Rule… as shown in the right pane.
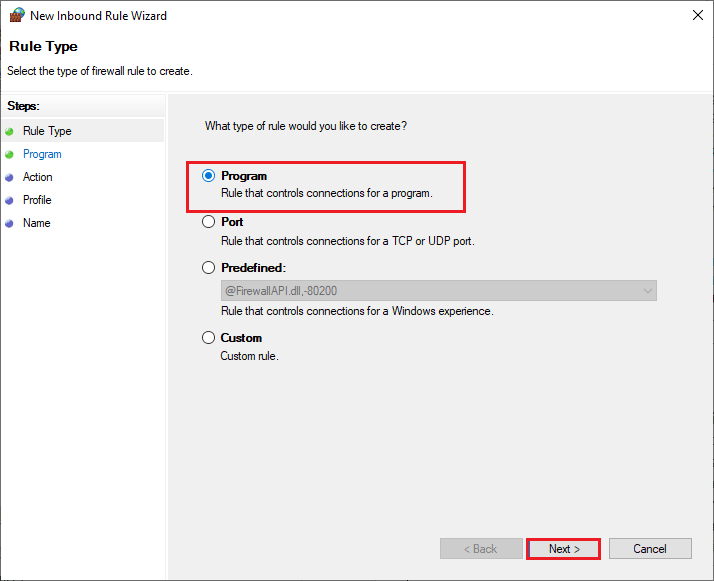
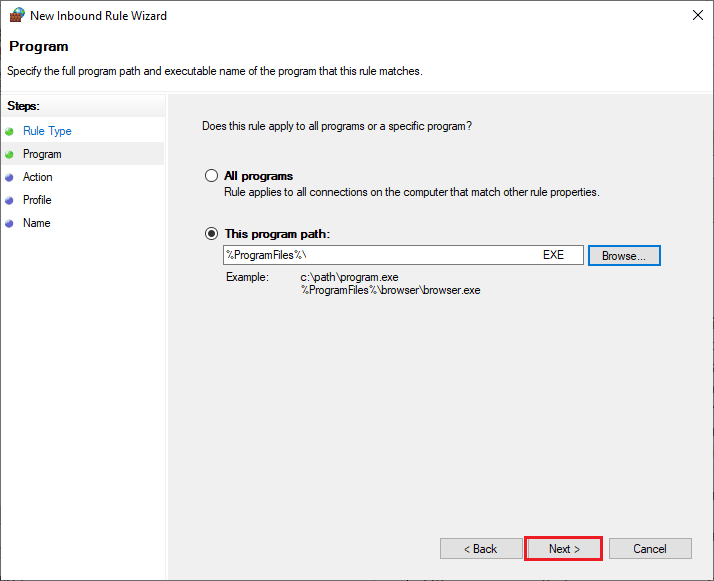
4. Ensure to select the Program опција испод Коју врсту правила желите да креирате? и кликните на Следећа> као што је приказано.
5. Затим кликните на Претражите ... дугме које одговара Ова путања програма: као што је приказано.

6. Идите на C:WINDOWStwain_32escndvescndv.exe path and двапут кликните на намештаљка фајл. Затим кликните на отворен дугме.
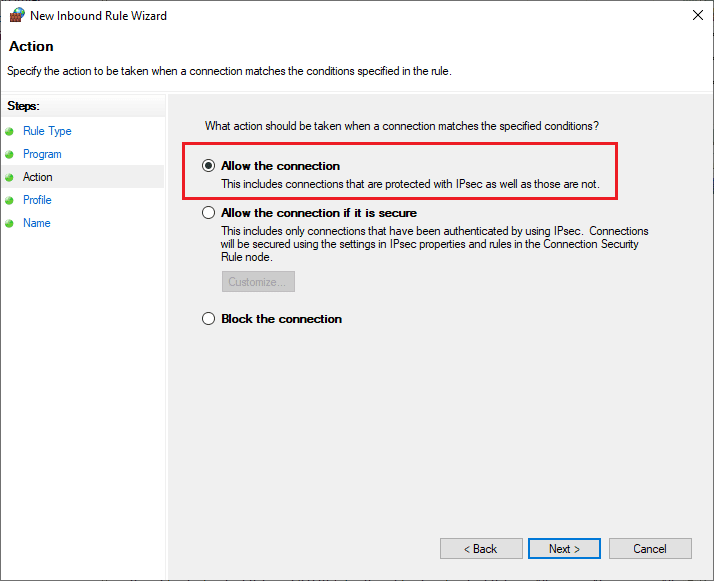
КСНУМКС. Кликните на Следећа> у Чаробњак за нова улазна правила прозор.
8. Сада изаберите Радио дугме поред Дозволите везу и кликните на Следећа> као што је приказано.
9. Обавезно Домен, приватни и јавни су изабрани оквири и кликните на Следећа>.
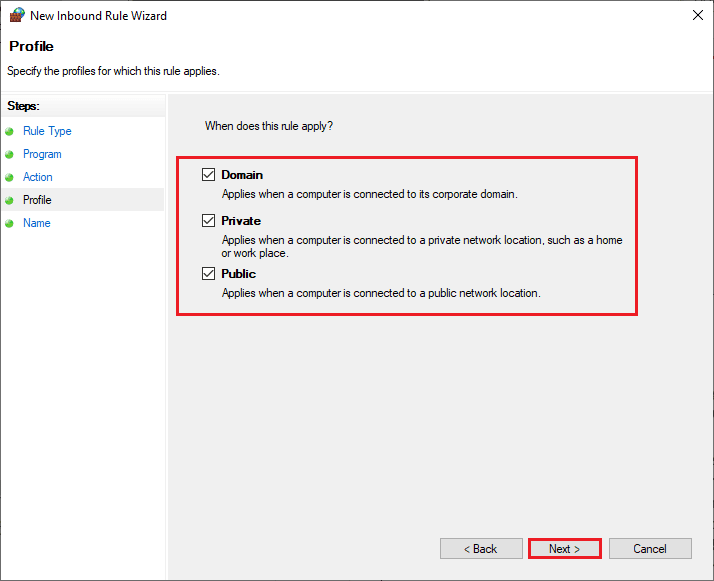
10. Finally, add a име to your new rule and click on завршити.
Препоручује се:
We hope that this guide was helpful and you would have learned how to fix Epson scanner cannot communicate in Windows 10. Let us know how this article has helped you the best. Also, if you have any queries/suggestions regarding this article, feel free to drop them in the comments section.

