Windows 10 has a serious bug since it’s inception which makes text blurred on users PC and the problem is faced system-wide by the user. So it doesn’t matter if you go to System Settings, Windows Explorer or Control Panel, all the text will be somewhat blurred because of the DPI Scaling Level for Displays feature in Windows 10. So today we are going to discuss How To Change DPI Scaling Level for Displays in Windows 10.
Change DPI Scaling Level for Displays in Windows 10
Hakikisha umeunda mahali pa kurejesha ikiwa tu kitu kitaenda vibaya.
Method 1: Change DPI Scaling Level for Displays Using Settings App
1. Press Windows Key + I to open Settings and then click on System.

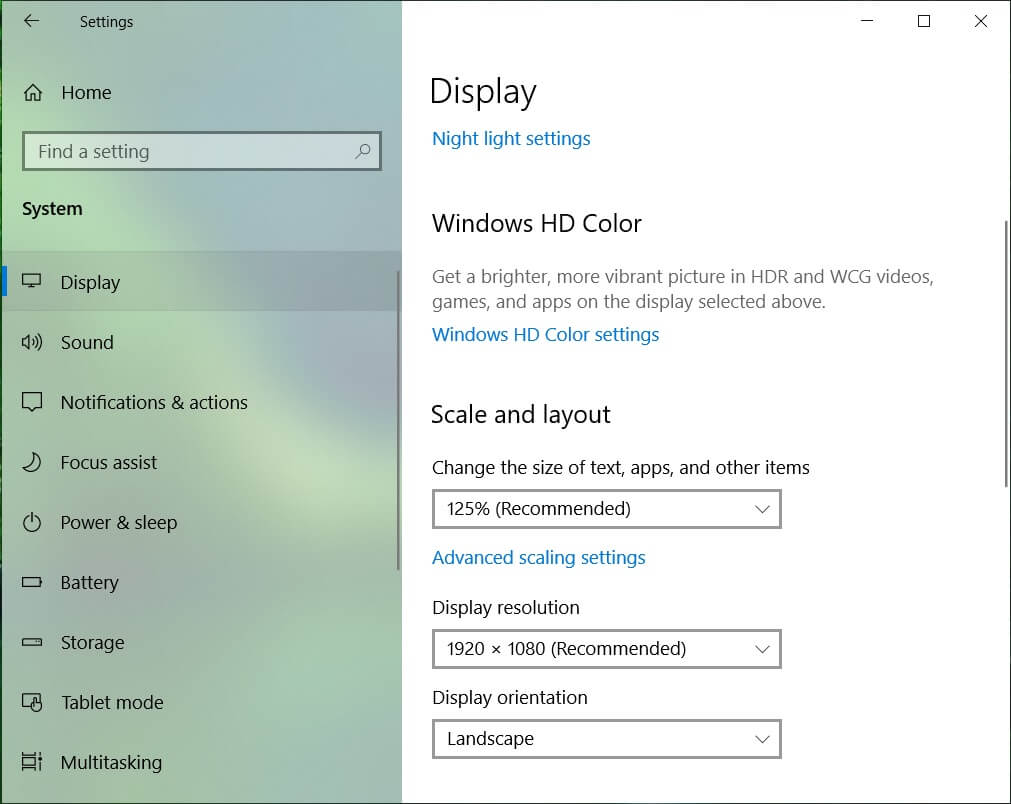
2. From the left-hand menu, make sure to select Onyesha.
3. If you have more than one display, then select your display at the top.
4. Sasa chini Badilisha ukubwa wa maandishi, programu, na vitu vingine, chagua DPI percentage kutoka kushuka chini.
5. Click on the Sign out now link to save changes.
Method 2: Change Custom DPI Scaling Level for All Displays in Settings
1. Press Windows Key + I to open Settings and then click on System.
2. From the left-hand menu, make sure to select Onyesha.
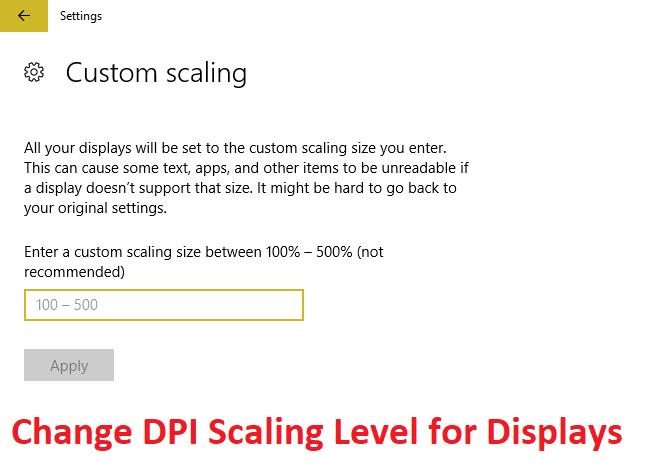
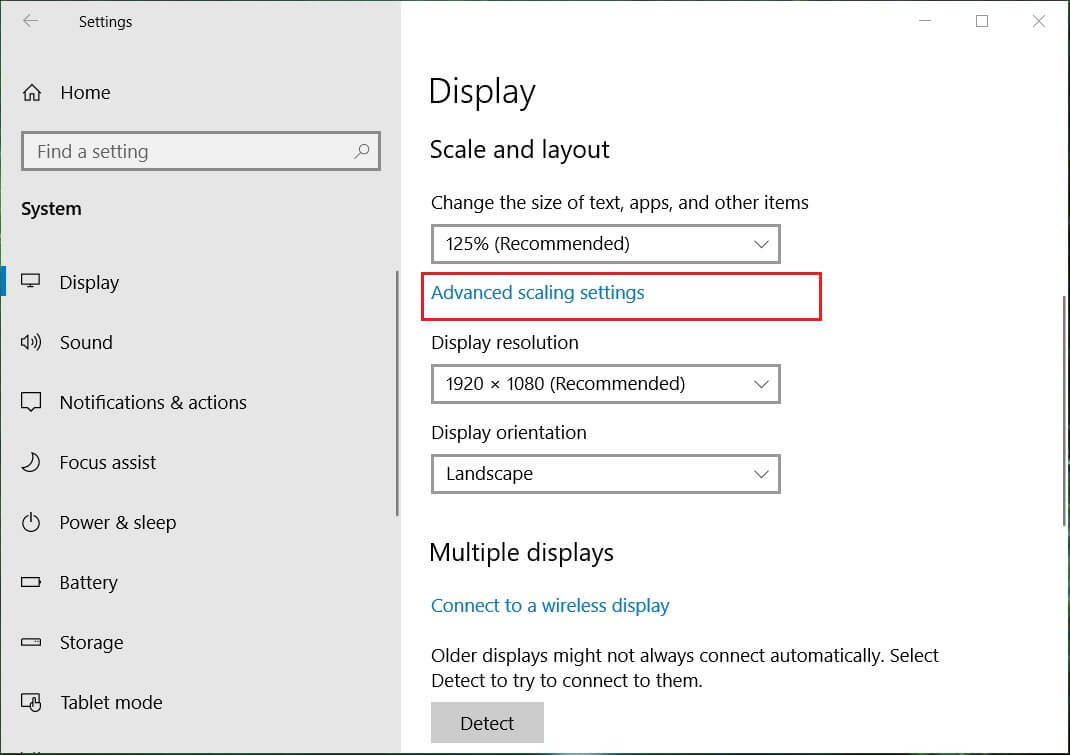
3. Now under Scale and layout click Custom scaling.
4. Enter a custom scaling size between 100% - 500% for all the displays and click on Apply.

5. Click on Sign out now to save changes.
Method 3: Change Custom DPI Scaling Level for All Displays in Registry Editor
1. Bonyeza Windows Key + R kisha uandike regedit na hit Enter.

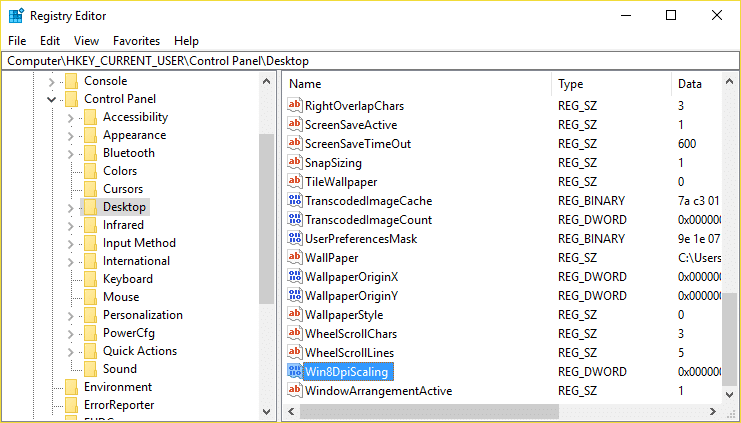
2. Navigate to the following Registry key:
Jopo la HKEY_CURRENT_USERControlDesktop
3. Make sure you have highlighted Eneo-kazi in the left window pane and then in the right window pane double click on LogPixels DWORD.
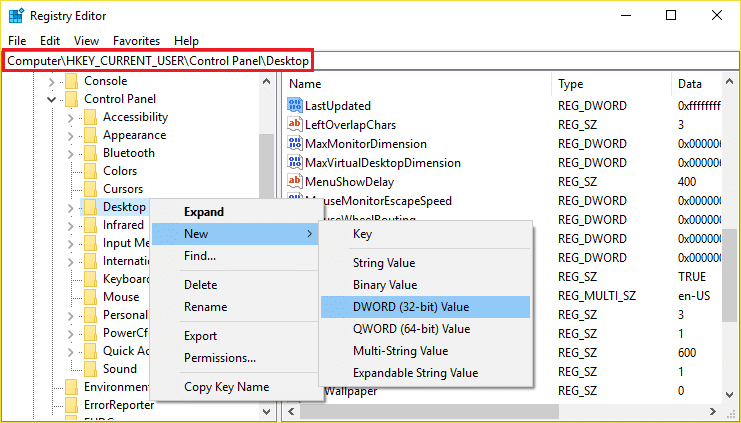
Kumbuka: If the above DWORD doesn’t exist, you need to create one, right-click on Desktop and select New > DWORD (32-bit) value. Name this newly created DWORD as LogPixels.
4. Chagua Decimal under Base then change its value to any of the following data and then click OK:
| DPI Scaling Level |
Thamani data |
| Smaller 100% (default) | 96 |
| Medium 125% | 120 |
| Larger 150% | 144 |
| Extra Large 200% | 192 |
| Custom 250% | 240 |
| Custom 300% | 288 |
| Custom 400% | 384 |
| Custom 500% | 480 |
![]()
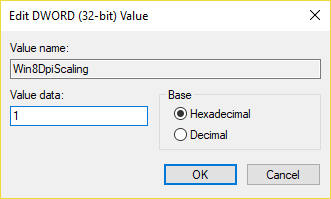
5. Again make sure Desktop is highlighted and in the right window pane double click on Win8DpiScaling.
Kumbuka: If the above DWORD doesn’t exist, you need to create one, right-click on Desktop and select New > DWORD (32-bit) value. Name this DWORD as Win8DpiScaling.
6. Now change its value to 0 if you have chosen 96 from the above table for LogPixels DWORD but if you have chosen any other value from the table then set its thamani ya 1.
7. Click OK and close Registry Editor.
8. Washa upya Kompyuta yako ili kuhifadhi mabadiliko.
Ilipendekeza:
Hiyo ndiyo umefanikiwa kujifunza How To Change DPI Scaling Level for Displays in Windows 10 lakini ikiwa bado una maswali yoyote kuhusu chapisho hili basi jisikie huru kuwauliza katika sehemu ya maoni.
")
