Fix Microsoft Print to PDF Not Working: One of the best features about Windows 10 is it’s print to PDF function where users can print their web pages, files, jpg or word file as a PDF file using an inbuilt PDF Printer by Microsoft called Microsoft Print to PDF. However, reports are coming in that the Print to PDF is not working on their System. When a user clicks on Print to PDF the web browser simply becomes unresponsive and there is no downloading progress or save to dialogue box.
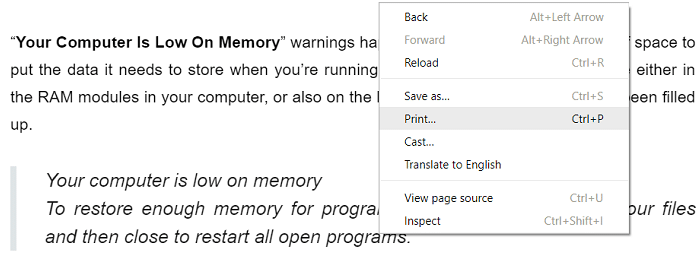
Users don’t see any output when they click on Print to PDF and the browser saves the PDF file but there is no mention of where the file was saved and the save to dialogue box doesn’t appear at all. So without wasting any time let’s see how to actually Fix Microsoft Print to PDF Not Working with the help of below-listed troubleshooting guide.
[SOLVED] Microsoft Print to PDF Not Working
ఏదైనా తప్పు జరిగితే, పునరుద్ధరణ పాయింట్ని సృష్టించినట్లు నిర్ధారించుకోండి.
Method 1: Check the User Folder
Before doing anything, first go to the following directory:
C:users%username%
విండోస్ కీ + ఆర్ నొక్కండి, ఆపై టైప్ చేయండి సి:వినియోగదారులు% వినియోగదారు పేరు% and hit Enter. Now look for the PDF file that went missing, if you still couldn’t find the file then go to the following folder: C:users%username%Documents and again search for the specific file.
Method 2: Disable then Re-Enable the Microsoft Print to PDF feature
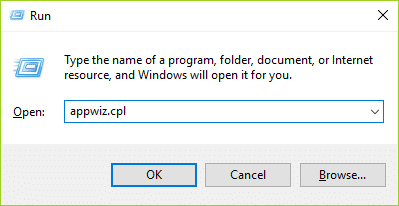
1.Windows కీ + R నొక్కండి, ఆపై టైప్ చేయండి appwiz.cpl and hit Enter to open Programs and Features.
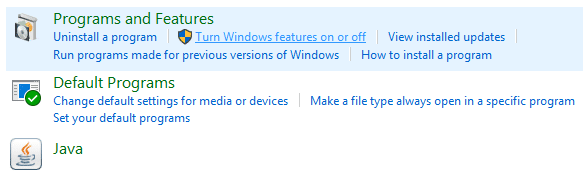
2.ఇప్పుడు ఎడమ చేతి మెను నుండి క్లిక్ చేయండి విండోస్ ఫీచర్లను ఆన్ లేదా ఆఫ్ చేయండి.
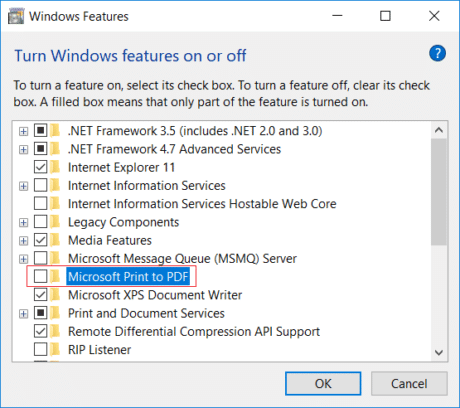
3.Scroll down then uncheck the box next to Microsoft ప్రింట్ PDF కు మరియు సరి క్లిక్ చేయండి.
4.మార్పులను సేవ్ చేయడానికి మీ PCని రీబూట్ చేయండి.
5.Next, again follow the steps from 1 to 3 but this time చెక్ మార్క్ పక్కన పెట్టె మైక్రోసాఫ్ట్ ప్రింట్ పిడిఎఫ్.

6.Click Ok to save changes and restart your PC then see if you’re able to Fix Microsoft Print to PDF Not Working Issue.
Method 3: Set Microsoft Print to PDF as the default printer
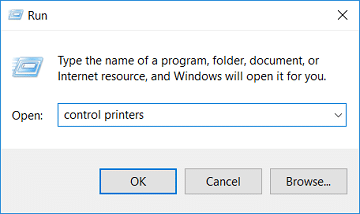
1.Windows కీ + R నొక్కండి, ఆపై "" అని టైప్ చేయండినియంత్రణ ప్రింటర్లు” (without quotes) and hit Enter to open Devices and Printers.
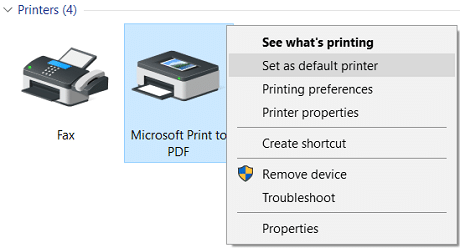
2.Now right-click on Microsoft ప్రింట్ PDF కు ఆపై ఎంచుకోండి Set as Default Printer.
3. మార్పులను సేవ్ చేయడానికి మీ PCని రీబూట్ చేయండి మరియు మీరు చేయగలరో లేదో చూడండి Fix Microsoft Print to PDF Not Working Issue.
Method 4: Re-install Microsoft Print to PDF Drivers
1.Windows కీ + R నొక్కండి, ఆపై "" అని టైప్ చేయండినియంత్రణ ప్రింటర్లు” (without quotes) and hit Enter to open పరికరాలు మరియు ప్రింటర్లు.
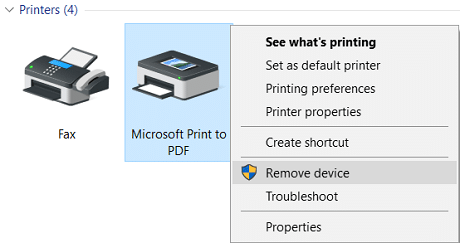
2.Now right-click on Microsoft Print to PDF and then select పరికరాన్ని తొలగించండి.
3.Once you have removed Microsoft Print to PDF then click on ప్రింటర్ను జోడించండి మెను నుండి.

4.Click "The printer that I want isn’t listed” at the bottom of the Add a device screen.

5. చెక్ మార్క్ "Add a local printer or network printer with manual settings” and click Next.

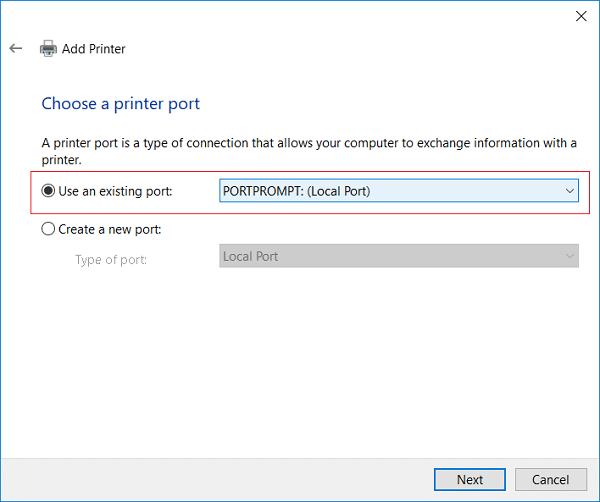
6.Select PORTPROMPT: (Local Port) from “Use an existing port” drop-down and click Next.
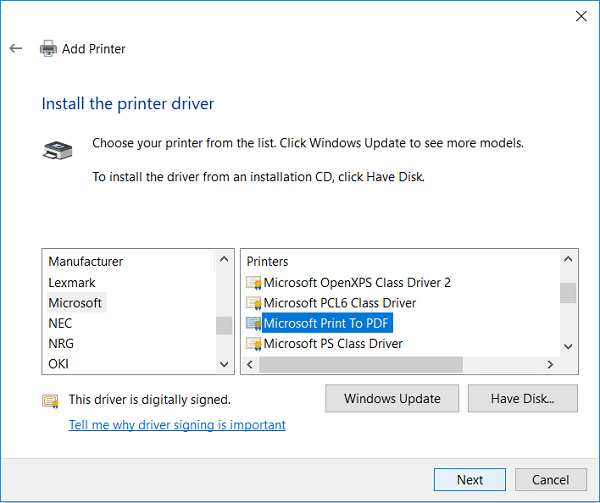
7.Next, from the Manufacturer column select మైక్రోసాఫ్ట్ than from the Printers column select Microsoft ప్రింట్ PDF కు ఆపై తదుపరి క్లిక్ చేయండి.
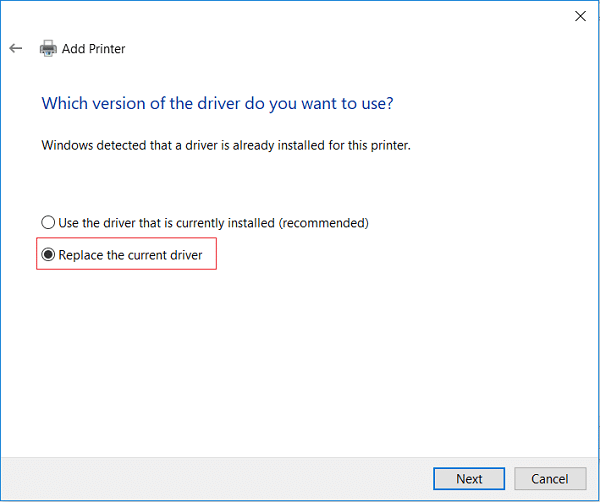
8.Select ప్రస్తుత డ్రైవర్ను భర్తీ చేయండి ఆపై తదుపరి క్లిక్ చేయండి.
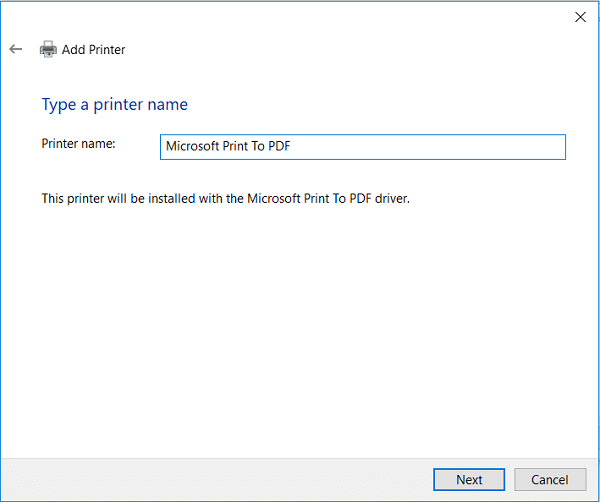
9.Under Printer name type Microsoft ప్రింట్ PDF కు ఆపై తదుపరి క్లిక్ చేయండి.
10.Click Finish to complete the process and reboot your PC.
మద్దతిచ్చే:
అది మీరు విజయవంతంగా సాధించారు Fix Microsoft Print to PDF Not Working అయితే ఈ పోస్ట్కు సంబంధించి మీకు ఇంకా ఏవైనా ప్రశ్నలు ఉంటే, వాటిని వ్యాఖ్య విభాగంలో అడగడానికి సంకోచించకండి.

