How to Map Network Drive in Windows 10: If you have access to multiple servers or a shared folder on your network then connecting them to a network drive will increase your productivity. For example, in a large software company, accessing files between co-worker can sometimes waste a lot of time, so instead the file is shared on a network which is mapped as a network drive on all the PC’s so everyone can access the file easily. A network drive works just like any other drive in File Explorer, and best of all you can access the network disk just like a regular hard disk.
There is a lot of benefit of using network drive because friends, co-workers etc can easily share the files or data on the go without waiting and the administrators can regulate who can access the network drive. So without wasting any time let’s see How to Map Network Drive in Windows 10 with the help of the below-listed troubleshooting guide.
2 Ways To Map Network Drive in Windows 10
Боварӣ ҳосил кунед, ки нуқтаи барқарорсозӣ эҷод кунед, агар чизе хато кунад.
Method 1: Map Network Drive using File Explorer
1.Press Windows Key + E to open File Explorer, make sure to navigate to File Explorer.
2.From the ribbon menu, click on Компютер.
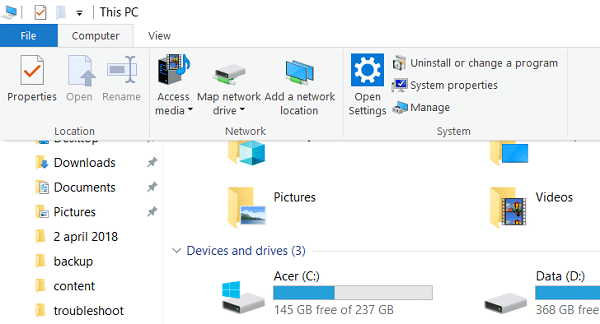
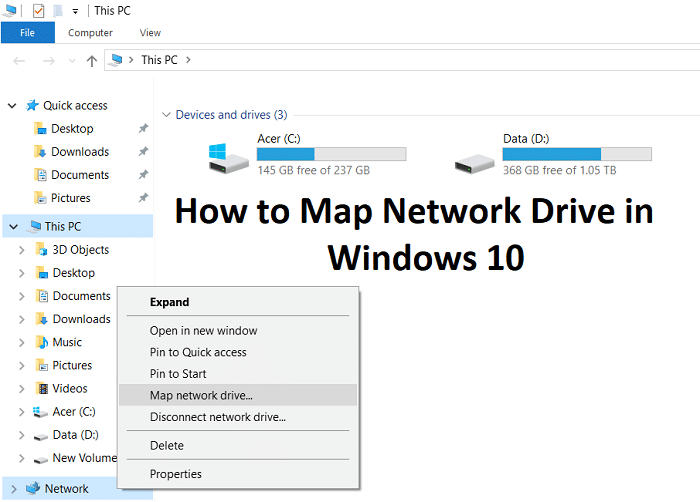
3. Пас тугмаро пахш кунед Map Network Drive зери Шабака.
4.Select the drive letter you want to use for the network folder, пас тугмаи "Click" Мурури.
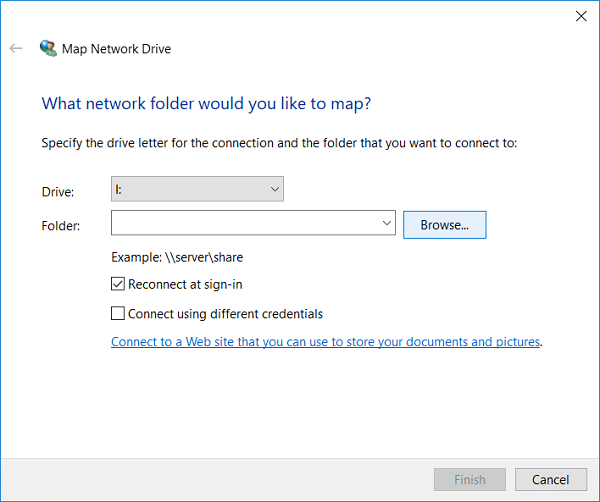
5.Navigate to the folder which you want to map then click OK.
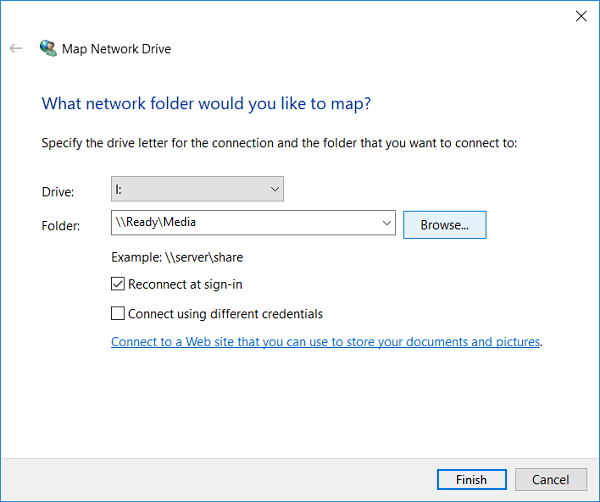
6.Акнун клик кунед тамом кардан in order to complete the process.
7.This mapped network drive will appear in This PC and if you want to remove this drive, simply right-click on the drive and select Disconnect.
Method 2: Map Network Drive using Command Prompt
1.Тугмаи Windows + X-ро пахш кунед ва баъд интихоб кунед Фармоиш Command (Admin).

2. Фармони зеринро дар cmd нависед ва Enterро пахш кунед:
net use x: /persistent:yes servernameshare
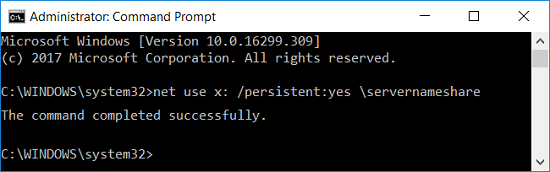
Шарҳ: Replace x: with the drive letter you want to assign.
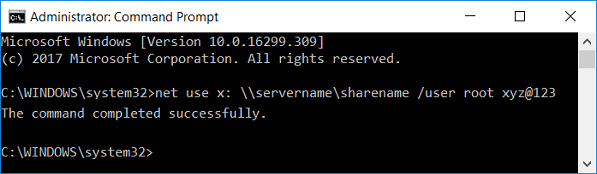
3.Also, if you want to use username & password then use the following command:
net use x: servernamesharename /user username password
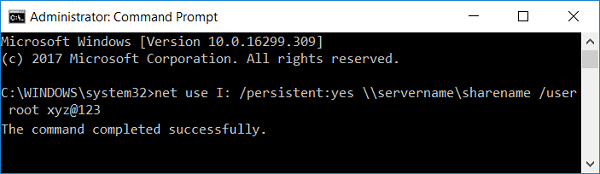
4.Now in order to make this connection to the shared folder permanent i.e. the network drive stays even after a restart, you need to use the following command:
net use x: /persistent:yes servernamesharename /user username password
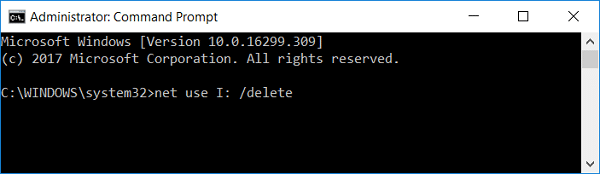
5.In future, if you want to delete a particular mapped network drive or delete all of the mapped network drives use the following commands:
net use x: /delete (For deleting a particular mapped network drive with letter x)
net use * /delete (For deleting all of the mapped network drives)
тавсия мешавад:
Ин аст, ки шумо бомуваффақият омӯхтаед How to Map Network Drive in Windows 10 аммо агар шумо то ҳол ягон саволе дар бораи ин паём дошта бошед, озодона аз онҳо дар бахши шарҳ пурсед.

