Windows 10 has a serious bug since it’s inception which makes text blurred on users PC and the problem is faced system-wide by the user. So it doesn’t matter if you go to System Settings, Windows Explorer or Control Panel, all the text will be somewhat blurred because of the DPI Scaling Level for Displays feature in Windows 10. So today we are going to discuss How To Change DPI Scaling Level for Displays in Windows 10.
เปลี่ยนระดับการปรับสเกล DPI สำหรับการแสดงผลใน Windows 10
ตรวจสอบให้แน่ใจว่าได้สร้างจุดคืนค่าในกรณีที่มีสิ่งผิดปกติเกิดขึ้น
Method 1: Change DPI Scaling Level for Displays Using Settings App
1. Press Windows Key + I to open Settings and then click on ระบบ

2. จากเมนูด้านซ้าย ตรวจสอบให้แน่ใจว่าได้เลือก แสดง.
3. If you have more than one display, then select your display at the top.
4. ตอนนี้อยู่ภายใต้ เปลี่ยนขนาดของข้อความปพลิเคชันและรายการอื่น ๆให้เลือก DPI percentage จากรายการแบบเลื่อนลง
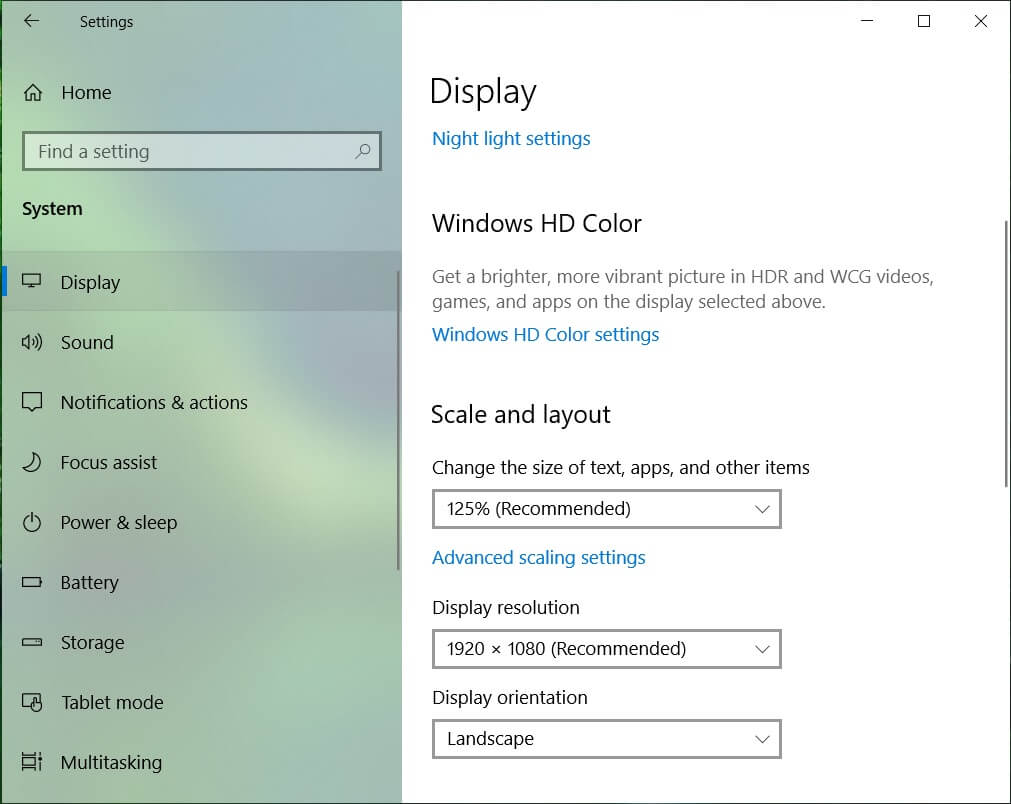
5. Click on the Sign out now link to save changes.
Method 2: Change Custom DPI Scaling Level for All Displays in Settings
1. Press Windows Key + I to open Settings and then click on ระบบ
2. จากเมนูด้านซ้าย ตรวจสอบให้แน่ใจว่าได้เลือก แสดง.
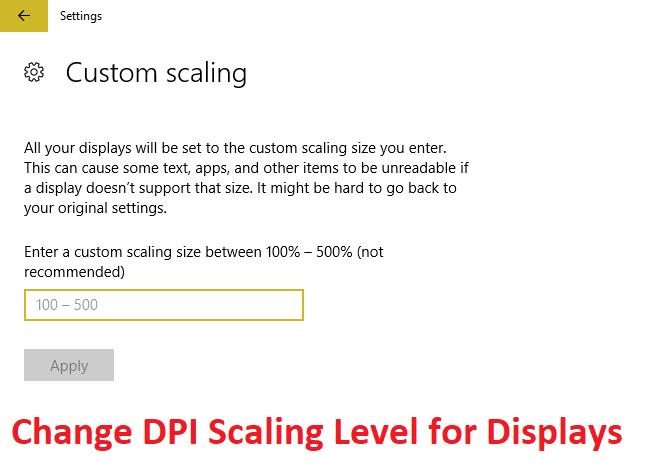
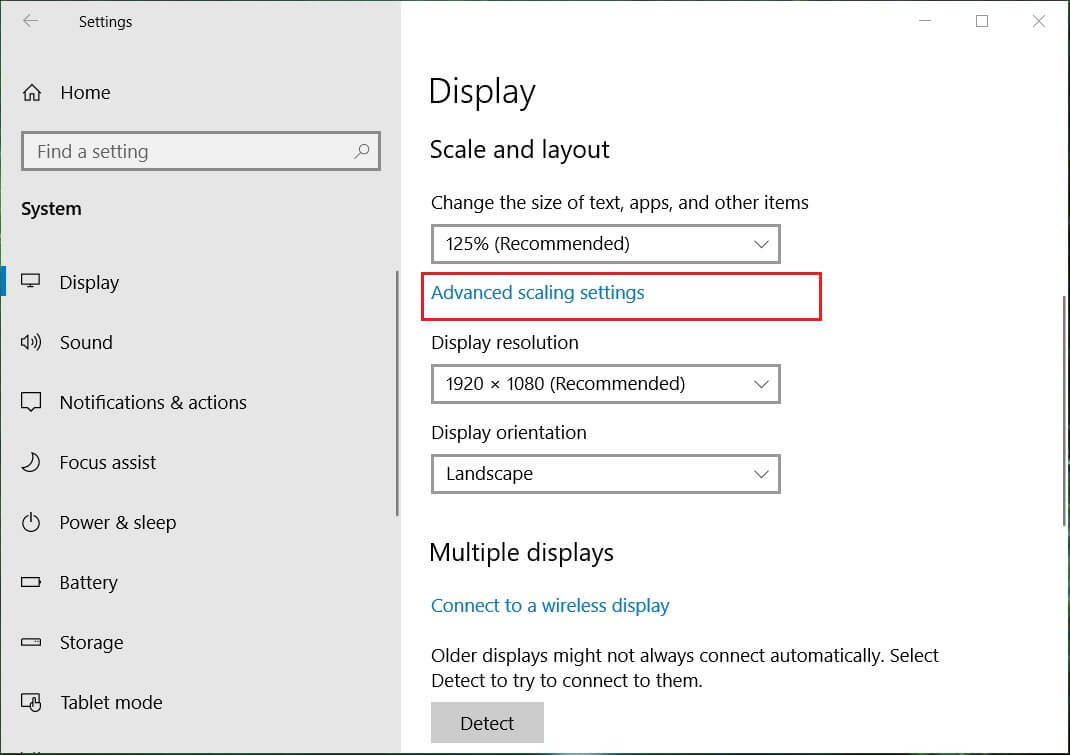
3. Now under Scale and layout click Custom scaling.
4. Enter a custom scaling size between 100% - 500% for all the displays and click on Apply.

5. Click on Sign out now to save changes.
Method 3: Change Custom DPI Scaling Level for All Displays in Registry Editor
1. กด Windows Key + R แล้วพิมพ์ regedit และกด Enter

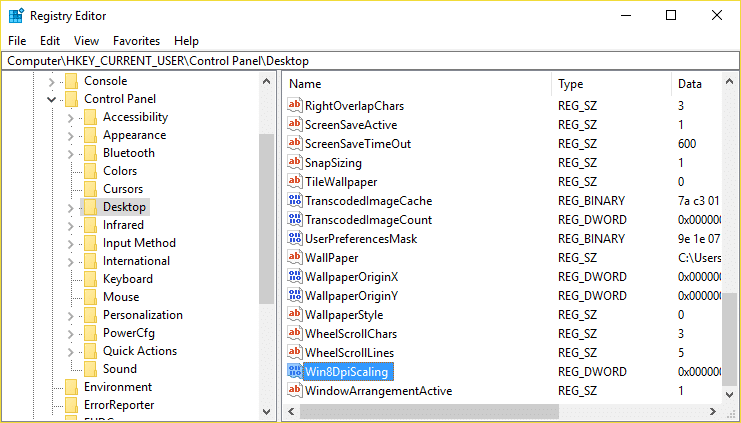
2. Navigate to the following Registry key:
HKEY_CURRENT_USERControl PanelDesktop
3. Make sure you have highlighted เดสก์ทอป in the left window pane and then in the right window pane double click on LogPixels DWORD.
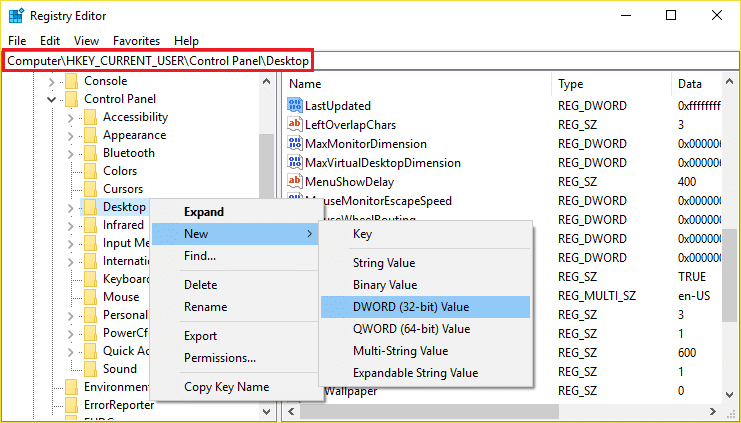
หมายเหตุ If the above DWORD doesn’t exist, you need to create one, right-click on Desktop and select ใหม่ > DWORD (32 บิต) ค่า. Name this newly created DWORD as LogPixels.
4 เลือก ทศนิยม under Base then change its value to any of the following data and then click OK:
| DPI Scaling Level |
วันที่ค่า |
| Smaller 100% (default) | 96 |
| ปานกลาง 125% | 120 |
| Larger 150% | 144 |
| Extra Large 200% | 192 |
| กำหนดเอง 250% | 240 |
| กำหนดเอง 300% | 288 |
| กำหนดเอง 400% | 384 |
| กำหนดเอง 500% | 480 |
![]()
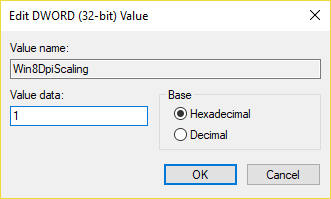
5. Again make sure Desktop is highlighted and in the right window pane double click on Win8DpiScaling.
หมายเหตุ If the above DWORD doesn’t exist, you need to create one, right-click on Desktop and select ใหม่ > DWORD (32 บิต) ค่า. Name this DWORD as Win8DpiScaling.
6. Now change its value to 0 if you have chosen 96 from the above table for LogPixels DWORD but if you have chosen any other value from the table then set its ค่าเป็น 1
7. Click OK and close Registry Editor.
8. รีบูทพีซีของคุณเพื่อบันทึกการเปลี่ยนแปลง
ที่แนะนำ:
นั่นคือคุณได้เรียนรู้สำเร็จแล้ว How To Change DPI Scaling Level for Displays in Windows 10 แต่ถ้าคุณยังมีคำถามใดๆ เกี่ยวกับโพสต์นี้ อย่าลังเลที่จะถามพวกเขาในส่วนความคิดเห็น
")
